
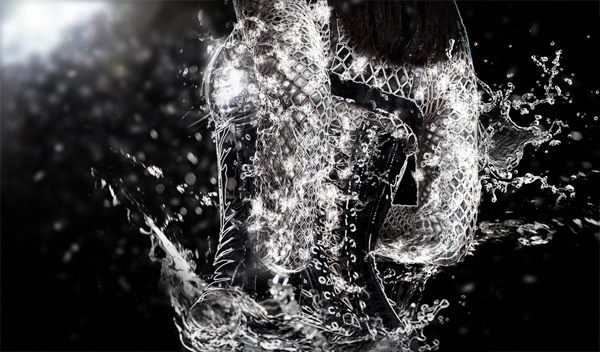
This tutorial all about creating an amazing water woman and how to give the clothes a metallic effect. It’s an easy tutorial, but it is difficult to put it into organized steps. Some techniques applied in this tutorial, need to be tweaked manually until you obtain the desired result. Remember that this is a work of art and not a canned Photoshop Effect.


this is your picture from fotolia: http://www.fotolia.com/id/17079718. Although you can work with the preview image, this tutorial assumes you have a high resolution image and the results may not be exactly the same.

First of all you have to duplicate the image in a new layer and remove all the color information from that new layer using IMAGE > ADJUSTMENTS > DESAUTRATE.

Now you must correct the image using IMAGE > ADJUSTMENTS > LEVELS. Play with the Levels command until you really overexpose the image leaving very little shades of gray and mostly black and white. Check the image above. Pay attention that the picture does not become pixelated. We will use this layer later.
Now select the first layer, the one with the color image. You are now it the color image layer. Go to the Channels palette an select the RED color channel. Duplicate this channel by clicking with the right button and selecting DUPLICATE CHANNEL. You will have to work this new channel the same way you did in the step before, using the Levels. But in this case, you will have to manually paint the clothes and hair to leave them black, because we will use this image as a mask to separate the clothes from the body.
Click on the RGB channel and then go to the LAYERS palette and select the layer with the color image.
Go to SELECT > LOAD SELECTION… and load the duplicate red channel you created in the last step. You will now see a selection.
Go to SELECT > INVERSE. And then go to LAYER > NEW… > LAYER VIA COPY… A new layer with the clothes only will be created above the color image layer.
So now we have A background layer with the color photo, a second layer with the clothes and hair, a third layer with a overexposed grayscale image.
Go to the third layer, the one with the overexposed grayscale image. Select COLOR from the Blending mode palette menu, and set the OPACITY to 63% or similar. This will reduce the color saturation and give the whole image a dark look.

Now select the background layer, the one with the color image and go to FILTER > STYLIZE > GLOWING EDGES… use 3,4,1 as the filter’s settings. Now you will see that the clothes looks like metal.

Your picture should look like this. Now, create a new layer between the BACKGROUND LAYER (the color image) and the clothes layer.

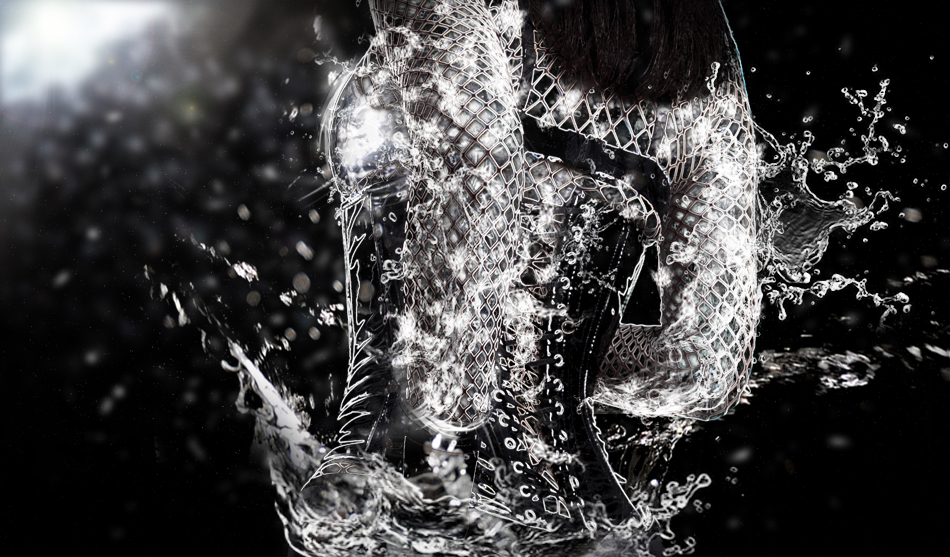
Try to find some water splashes brushes and paint with them in the newly created layer, between the color image and the clothes layer. A quick search in Google will bring you plenty of them.

Using a big water splash brush, create a sun or something similar and blur it. This will give a subtle perspective effect bringing the subject closer to you.
Create a new layer in front of all the layers and paint some more water splashes. Click here for the final, full resolution, image.