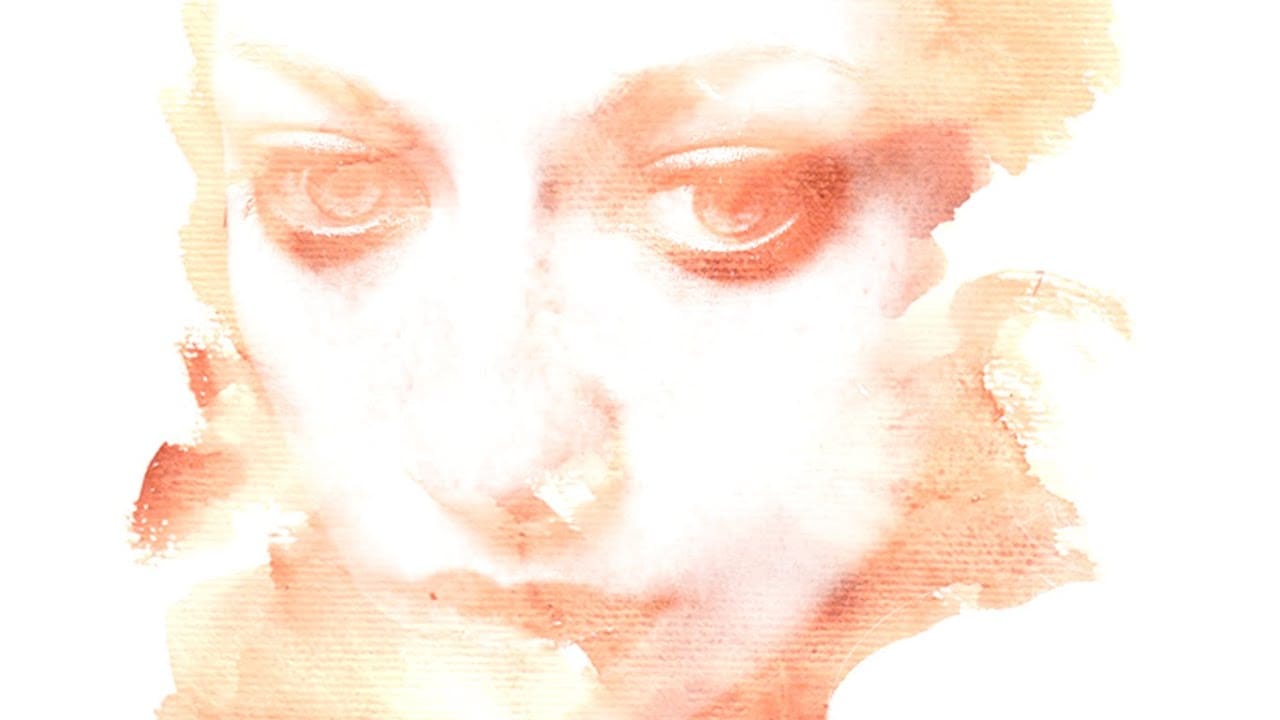
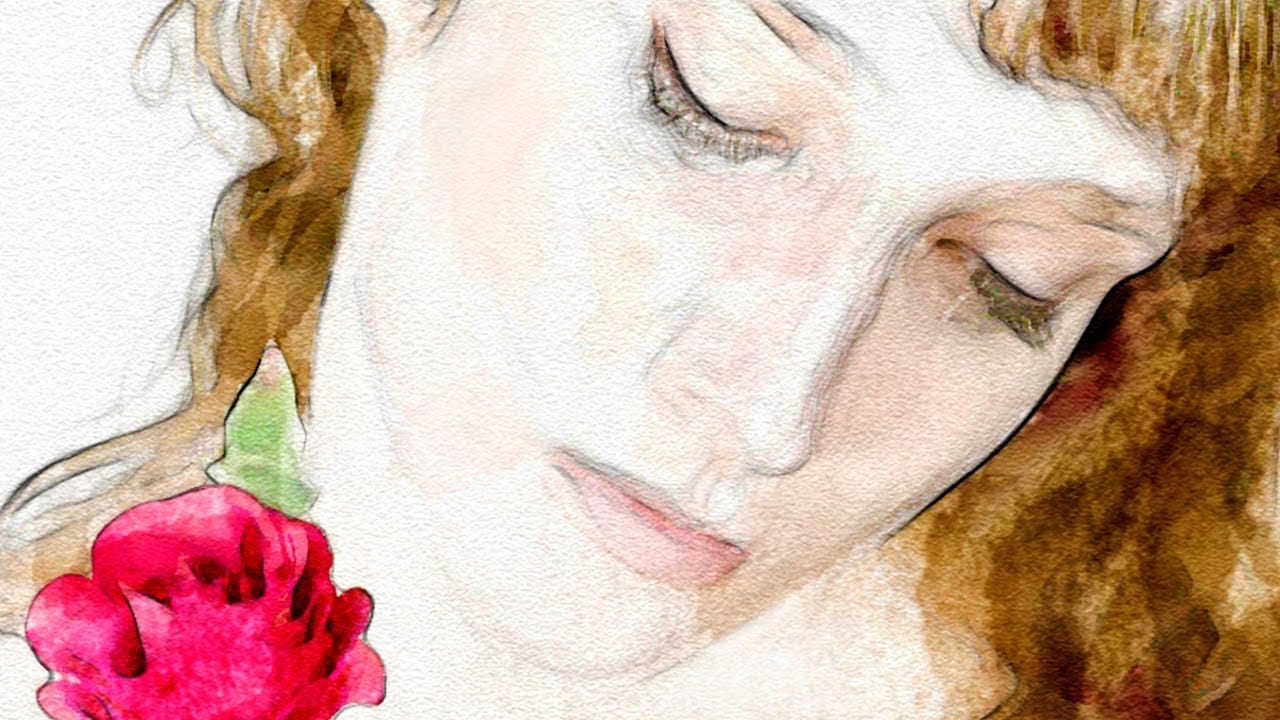
Transforming a photograph into a convincing watercolor painting opens up a world of creative possibilities. This artistic effect adds depth and emotion, turning ordinary images into unique pieces of art. The result captures the delicate washes and textures of traditional watercolor, bringing a hand-painted feel to your digital art.
This tutorial guides you through creating a hand-painted effect in Photoshop, going beyond basic filters. By using a combination of smart blurs, glowing edges, and custom brush strokes, you can achieve a nuanced, painterly look that's uniquely your own. Learn to mimic the subtle gradations and textures of watercolor, giving you full creative control over the final image.
Watch the Video Tutorial
The Allure of Digital Watercolor Effects
Watercolor painting is renowned for its fluid, ethereal quality. The way colors blend and bleed into one another creates a unique sense of depth and texture. Digitally replicating this effect offers artists and designers the best of both worlds: the organic beauty of watercolor with the precision and flexibility of digital tools. While traditional watercolor relies on the unpredictable nature of water and pigment, digital watercolor techniques allow for precise control over every brushstroke and color blend.
The key to a convincing digital watercolor effect lies in understanding the nuances of the medium. It's not just about applying a simple filter; it's about mimicking the way watercolor interacts with paper, the way different pigments layer and blend, and the subtle variations in tone and texture. By paying attention to these details, you can create digital artwork that captures the essence of traditional watercolor.
When creating digital watercolor effects, keep in mind these qualities:
- Blending: Soft color transitions are essential.
- Texture: Paper grain and brushstrokes add depth.
- Light: Subtle gradations create form and volume.
Practical Tips for Digital Watercolor Effects
- Make a smart blur copy of the base layer to soften details while retaining key shapes.
- Apply glowing edges and invert the layer to create fine pencil-like lines, simulating the outlines in a watercolor painting.
- Use a dry brush with low opacity to add random strokes, building up texture gradually.
- Incorporate wet media brushes and vary brush sizes to emulate the natural variations in watercolor washes.
- Increase the vibrance to enhance the colors, making the image look more vivid and painterly.
Related Articles and Tutorials about Watercolor Effects
Explore these hand-picked articles and tutorials to deepen your knowledge and skills in creating authentic and stunning watercolor effects in Photoshop.