This magic texture creates an engraved money effect in Photoshop

This magic texture creates an engraved money effect in Photoshop

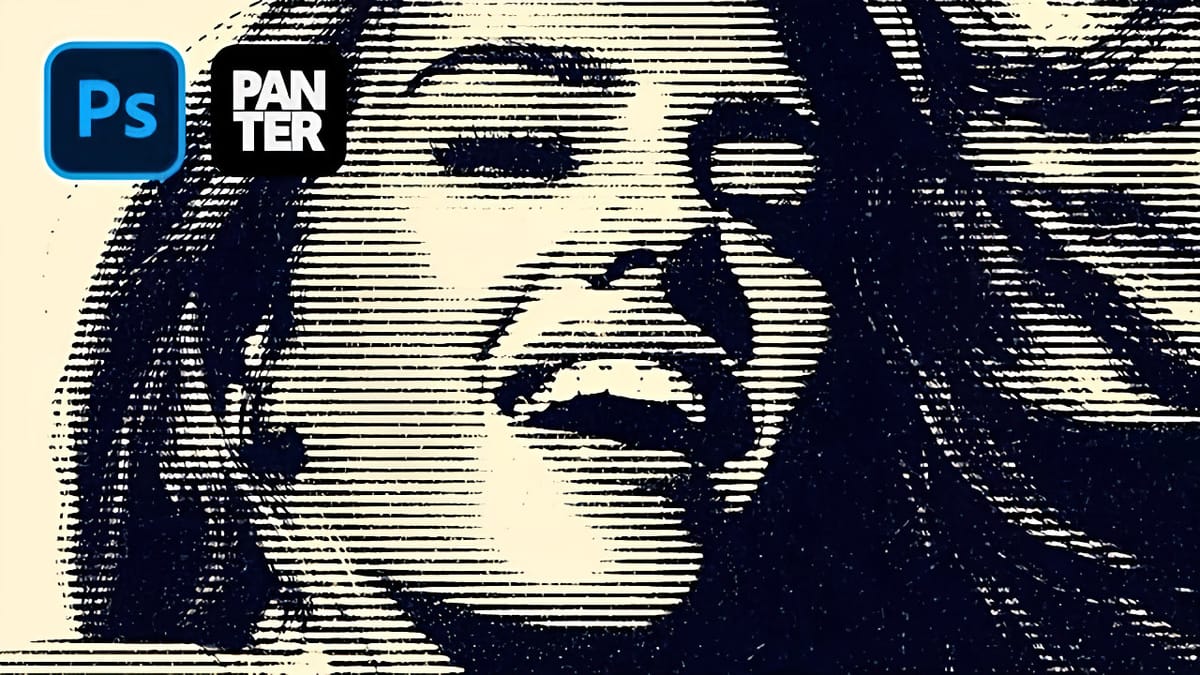
Transform ordinary photos into vintage, engraved artwork using Photoshop's powerful texture and filter techniques. This tutorial reveals a simple method to create a classic dollar bill-style illustration effect that adds depth and artistic character to your images.

Watch the Video

Video by Texturelabs. Any links or downloads mentioned by the creator are available only on YouTube

Practical Tips for Creating the Engraved Money Effect

Master the art of transforming photographs into vintage, engraved illustrations with these key techniques:

  • Create a custom 10x10 pixel grayscale texture as the foundation for your engraving effect
  • Use Photoshop filters like Wave, Ripple, and Box Blur to generate unique line patterns
  • Apply the Hard Mix blending mode to instantly transform your image's appearance
  • Refine the effect using Oil Paint and Shadows/Highlights filters for a more authentic look
  • Experiment with Gradient Map adjustments to add vintage color tones

Explore more creative photo transformation techniques in Photoshop.

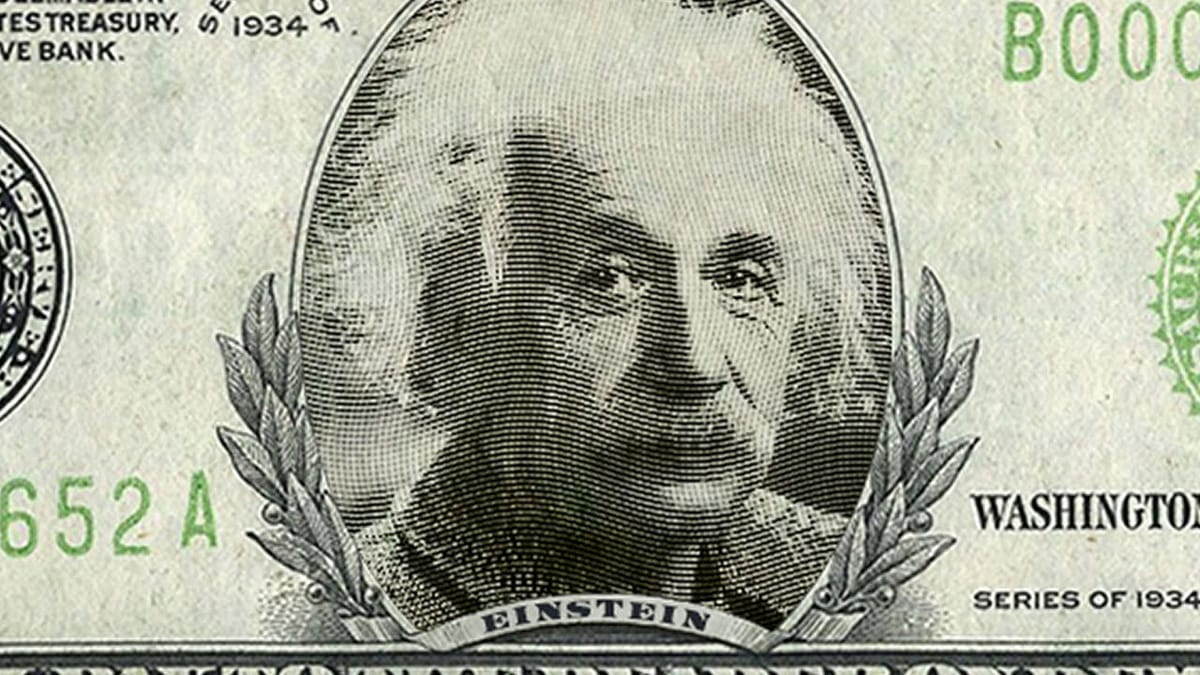
How to Put a Face onto Paper Money in Photoshop
In this Photoshop tutorial by BlueLightning TV you will learn how to transform a photo of someone into the look of a monetary steel engraving and then place it and a name onto paper currency. Download Paper money template PSD file, and download Legal Tender Regular font. More
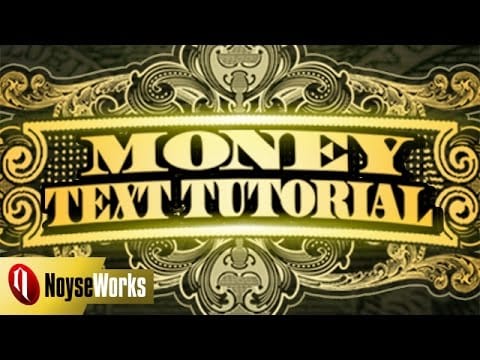
Money Style Lettering in Photoshop
Create an outstanding and shiny lettering similar to those used in bills and stocks. Download the photo files here… and the United States Font here… More
Create Grungy Halftone Line Effects in Photoshop
Grungy halftone effects bring vintage print aesthetics and urban edge to digital designs. This technique combines traditional halftone patterns with noise textures to create compelling visual depth. The method uses smart objects and blend modes to build a flexible, non-destructive workflow that works across different projects. Watch the Tutorial Practical
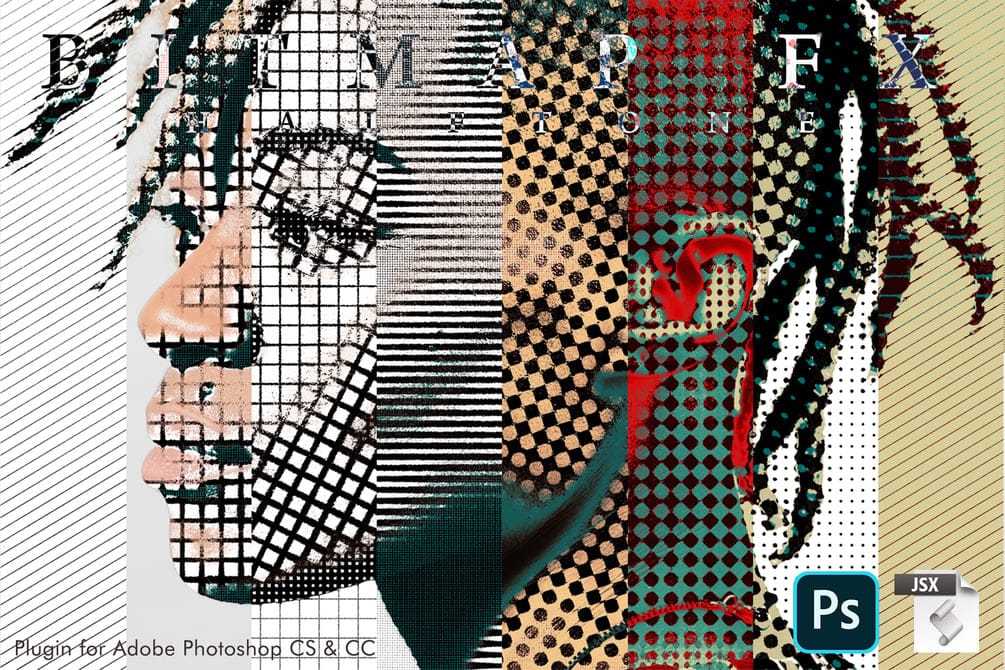
Create Distinctive Halftone Effects with Bitmap Halftone FX
Bitmap Halftone FX is an Adobe Photoshop tool for applying diverse bitmap halftone patterns. Compatible with Photoshop CS and CC, it offers options for circles, lines, diamonds, and crosses. Users can customize sizes and directions for shadows, highlights, and midtones, generating a wide array of visual effects. The script works

Get tutorials & freebies delivered to you.

Subscribe to the Photoshop Roadmap newsletter, a weekly roundup of new tutorials, insights and quality downloads, trusted by 6500+ readers.

You might also like

Complete Photoshop Editing Workflow: 5 Steps from Raw to Polished

Photoshop offers endless possibilities for photo enhancement, but many photographers never move beyond basic adjustments because the software feels overwhelming. This comprehensive workflow breaks down photo editing into five manageable stages that work consistently across different photography styles. The systematic approach covers everything from initial raw processing to advanced lighting...

Photoshop Workspace Basics: Navigation, Zooming, and Essential Interface Elements

Photoshop's interface can feel overwhelming when you first open the program. Dozens of panels, tools, and menus compete for attention, making simple tasks feel complicated. This tutorial breaks down the essential workspace elements and teaches fundamental navigation skills that form the foundation of efficient Photoshop work. Watch the...

How to Restore Old Damaged Photos Using Nano Banana in Photoshop

Old family photos with scratches, tears, and missing sections can seem beyond repair. Google's Nano Banana AI model, now integrated into Photoshop, makes full restoration possible in minutes rather than hours. This powerful tool excels at maintaining facial characteristics while automatically filling in damaged areas and adding realistic...

How to Get Higher Quality Results from Photoshop's Generative Fill Tool

Photoshop's Generative Fill creates impressive AI extensions, but the results often look blurry and pixelated when viewed at full size. This quality limitation makes many AI-generated areas unusable for printing or large displays. This technique shows how to work around the 1024x1024 pixel quality limit to create much...

How to Use Photoshop's Liquify Tool for Non-Destructive Portrait Retouching

Clothing wrinkles, hair that lacks volume, and awkward fabric bunching can distract from an otherwise great portrait. Photoshop's Liquify tool offers a powerful solution for smoothing out these issues while preserving the natural look of your subject. This tutorial demonstrates how to use the Liquify tool non-destructively with...

You’ve successfully subscribed to Photoshop Roadmap
Welcome back! You’ve successfully signed in.
Great! You’ve successfully signed up.
Success! Your email is updated.
Your link has expired
Success! Check your email for magic link to sign-in.