Creating believable composites requires more than perfect cutouts—mismatched lighting instantly reveals when elements don't belong together. When highlights are too bright or shadows too dark compared to the background, even expertly extracted subjects look artificial and out of place.
The threshold adjustment layer provides a precise method for analyzing and matching light levels between your subject and background. This analytical approach removes the guesswork from lighting adjustments, ensuring your composite elements blend seamlessly into their new environment.
Watch the Video
Practical Tips
Master the threshold technique with these essential steps for matching composite lighting:
- Add a threshold adjustment layer and drag the slider to identify where highlights disappear in both your subject and background—they should vanish at the same brightness level
- Create a levels adjustment layer clipped to your subject, then adjust the highlights and midpoint sliders until light areas match between elements
- Use the same threshold method for shadows by dragging the slider left—dark areas should disappear simultaneously in both subject and background
- Change your levels adjustment layer blend mode to luminosity to preserve color saturation while only affecting brightness values
- Paint black on the levels layer mask at low opacity to selectively restore brightness to important areas like faces
Related Articles and Tutorials
Explore more techniques for perfecting composite lighting and creating realistic blends.
How to Use Harmonize to Automatically Match Lighting in Photoshop Composites
Creating seamless composites traditionally requires hours of manual color correction and lighting adjustments. The new Harmonize tool changes this by automatically analyzing your background and matching your subject's lighting, shadows, and color tones with a single click.
This AI-powered feature eliminates the need for complex adjustment layers and advanced color theory knowledge, making professional-quality compositing accessible to editors at any skill level.
Watch the Video
Practical Ti
Learn how to use lighting effects in Photoshop
Bringing different elements together in Photoshop requires more than just careful selection and placement; it demands mastery of lighting to achieve true realism. When composing an image, the way light interacts with each object determines its perceived depth, form, and how seamlessly it integrates into the scene. Neglecting proper lighting can make even the most detailed composite look flat and artificial.
This tutorial demystifies Photoshop's powerful lighting effects, showing how to transfor
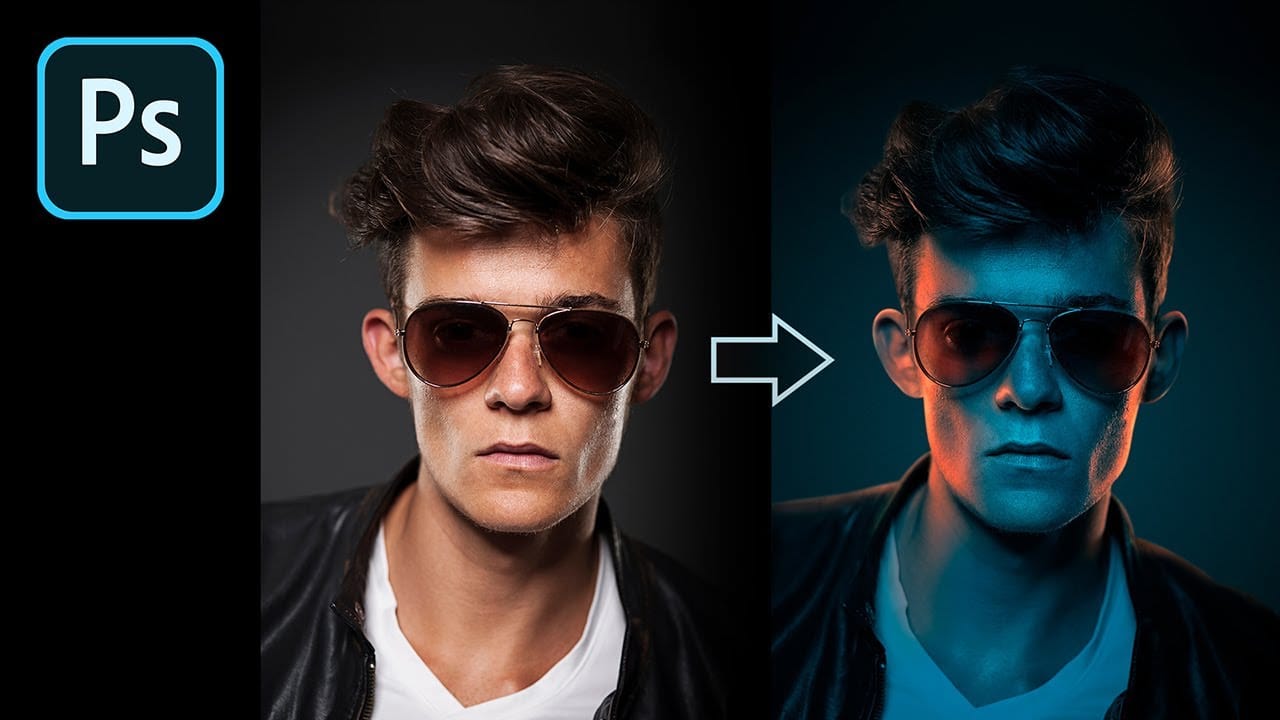
How to Fake Color-Gel Lighting in Photoshop!
In this tutorial, PiXimperfect unveils an inventive method for simulating color-gel lighting effects in Photoshop. You'll explore how to recreate the dynamic look of multiple colored light sources by leveraging Gradient Maps. This technique allows you to precisely control both the brightness and color of the lighting in your images.
The tutorial walks you through the steps to achieve a vibrant and dramatic lighting effect, typically used in studio photography. By the end, you'll know how to app
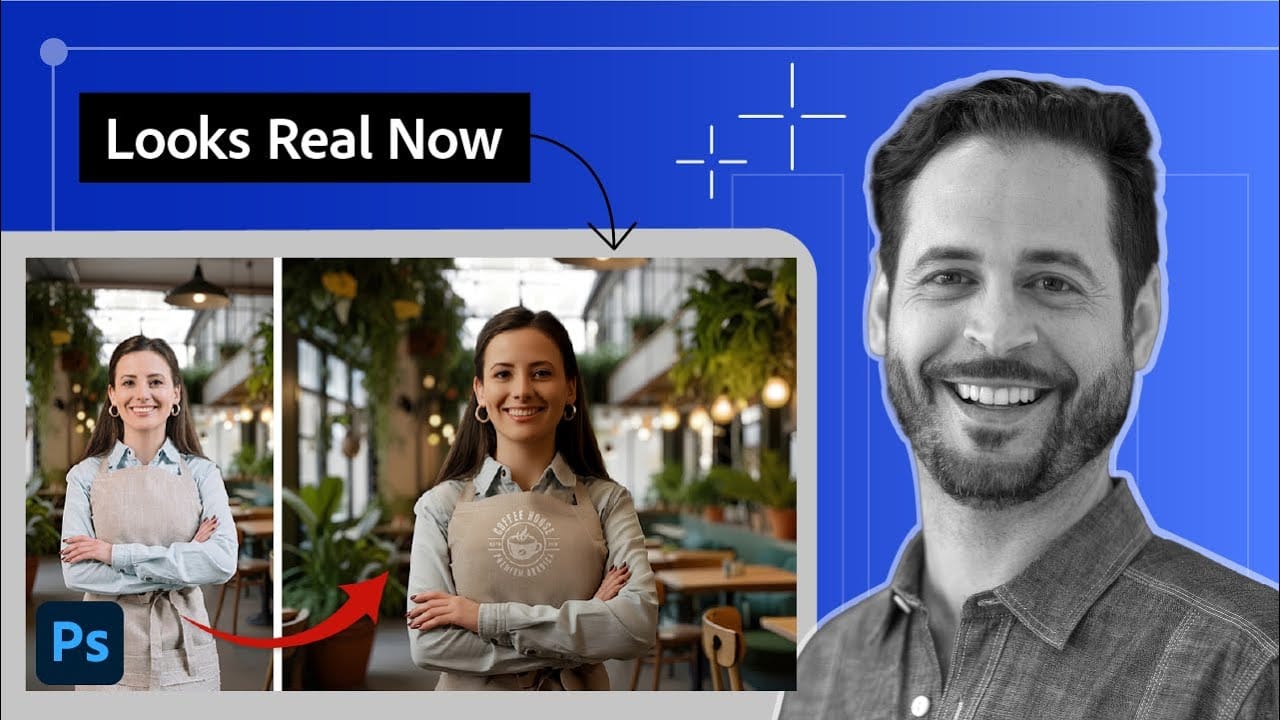
7 easy Photoshop tips to make your composites more realistic
In this tutorial, Jesus Ramirez shares seven essential Photoshop tips and tricks to help you create more realistic composites. If you're struggling to make your composites look convincing, this video is a must-watch.
Jesus covers a range of techniques designed to enhance the realism of your composite images. These tips include how to match lighting and shadows, blend edges seamlessly, and use adjustment layers effectively. You'll also learn about color matching and the importance of perspective

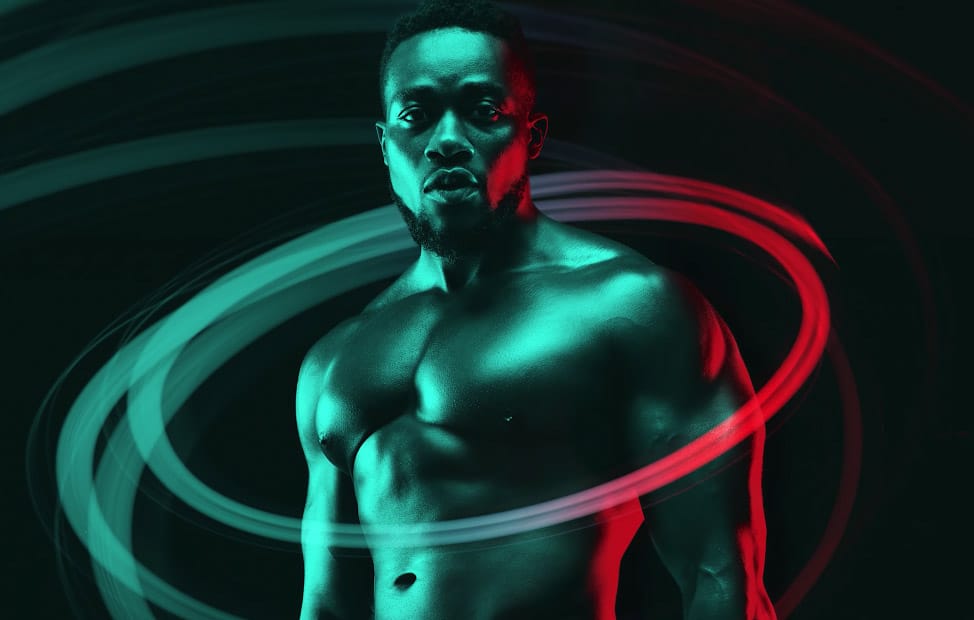
Create a dual lighting effect with just 2 layers in Photoshop
The author, PixImperfect, presents a straightforward technique to create the dual color lighting effect in Photoshop. Using the power of Gradient Maps, this tutorial demonstrates how to color multiple lights from different directions. Viewers also learn to utilize the "Blend If" feature to make the light more realistic. Optionally, the video explores techniques to add and modify interesting light elements to the image.
This concise yet informative tutorial guides viewers through the process ste
Using Photoshop's Harmonize Feature to Create Realistic Shadows for Human Composites
Photoshop's new Harmonize feature excels at compositing objects but struggles with human subjects. This clever workaround uses Harmonize specifically for creating realistic contact and cast shadows when compositing people into new backgrounds.
The technique involves adding a fake light source to improve shadow generation, then isolating only the shadow elements for the final composite.
Watch the Tutorial
Key Tips for Shadow Compositing with Harmonize
* Add a fake light source by duplicati

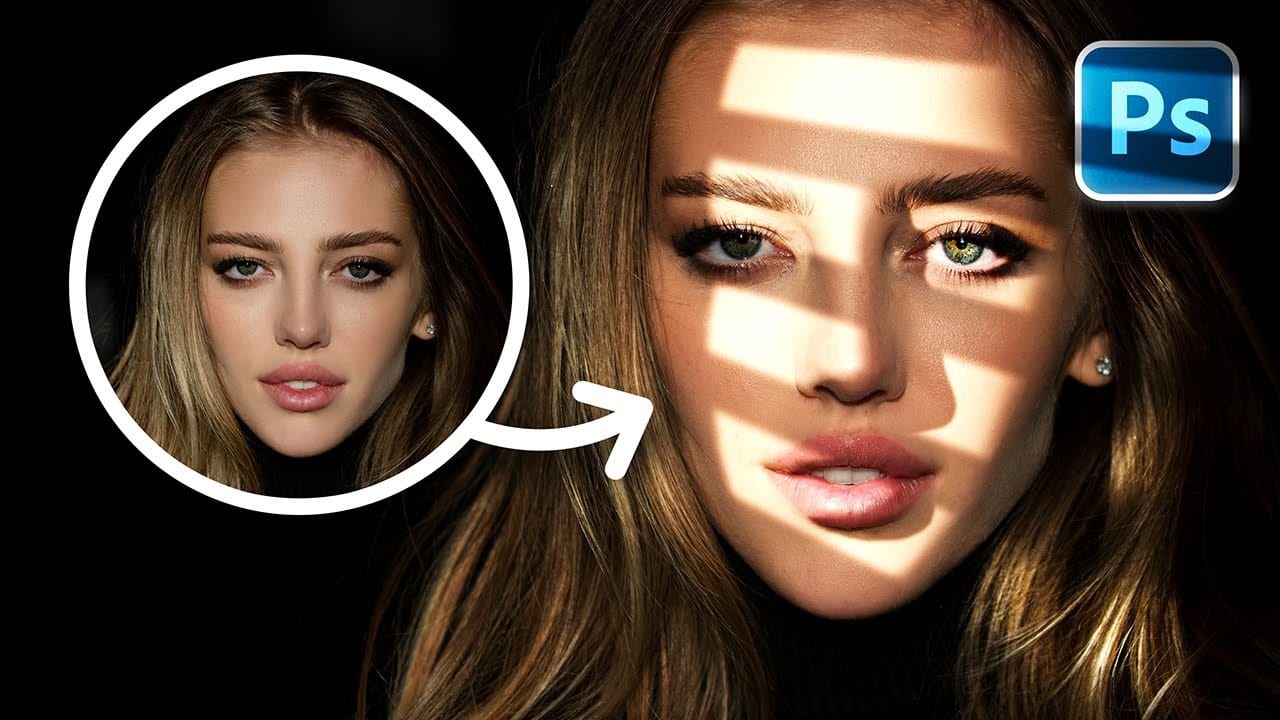
Create Fake Lights for Portraits in Photoshop
Adding artificial light to a portrait can dramatically transform its mood and visual impact, offering creative control far beyond what natural or studio lighting might initially provide. This technique allows artists to craft specific atmospheres, highlight key features, and introduce dynamic elements that enhance the subject's presence.
This tutorial explores a comprehensive method for creating realistic fake lights and, crucially, their corresponding shadows in Photoshop. You will learn how t
Lighting Effects to Create Drama in Photoshop
In this tutorial, John Whitehead demonstrates how to add dramatic lighting effects in Photoshop to transform flat lighting into something much more dynamic. You'll learn how to use various tools such as lighting effects filters, lens flare, smart objects, and LUTs to completely alter the mood and appearance of your image.
If you want to follow along with the tutorial, you can download the provided image and apply the same techniques. This guide is perfect for photographers and digital artists l

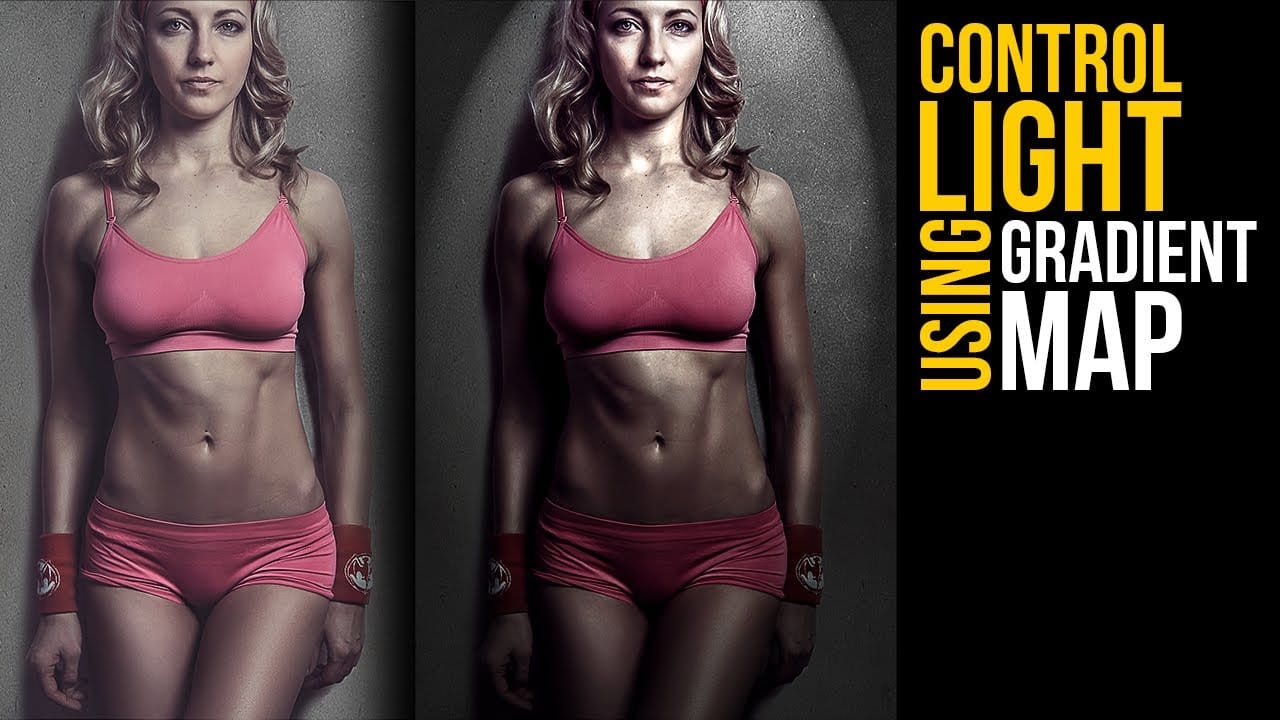
Create lighting effects using Gradient Maps in Photoshop
In this Photoshop tutorial by Unmesh Dinda from Piximperfect you will learn an interesting technique to completely mold and control light in Photoshop using Gradient Maps along with amazing light effects to add drama, depth, and dimension.
In this video, learn how to manipulate multiple levels of light. Whether you want to remove shiny flash hotspots or add more shine, make harsh light soft or soft light harsh, with Gradient Maps, you can control almost everything. Gradient Map allows you to co