Learn how to replace the sky in a landscape photo

Learn how to replace the sky in a landscape photo

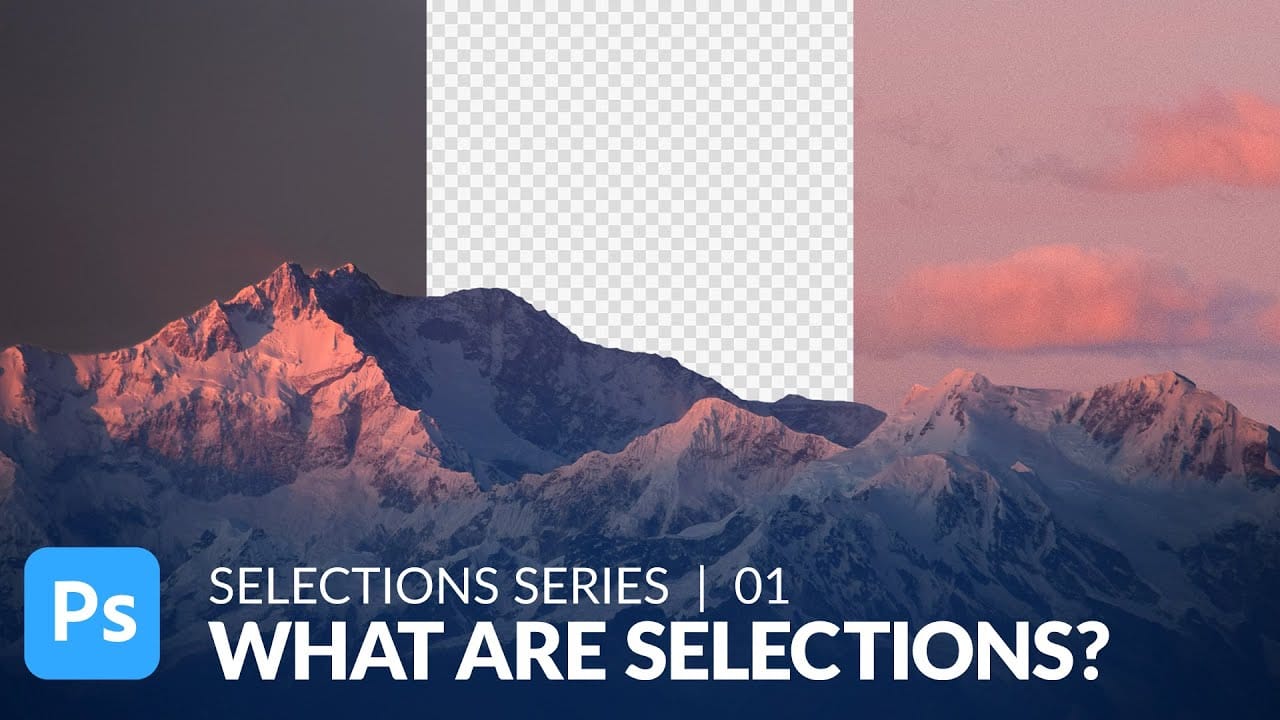
Photography often presents challenges with lighting conditions, especially when a bright sky overexposes and loses detail. Replacing a sky can dramatically transform the mood and visual impact of an image, turning a washed-out scene into a captivating landscape.

This video tutorial demonstrates a comprehensive method for replacing a sky in Photoshop, guiding viewers through the process of selecting, refining, and integrating a new, vibrant blue sky complete with custom-rendered clouds.

Watch the Video

Video by Blue Lightning. Any links or downloads mentioned by the creator are available only on YouTube

Enhancing Photo Mood with Sky Replacement

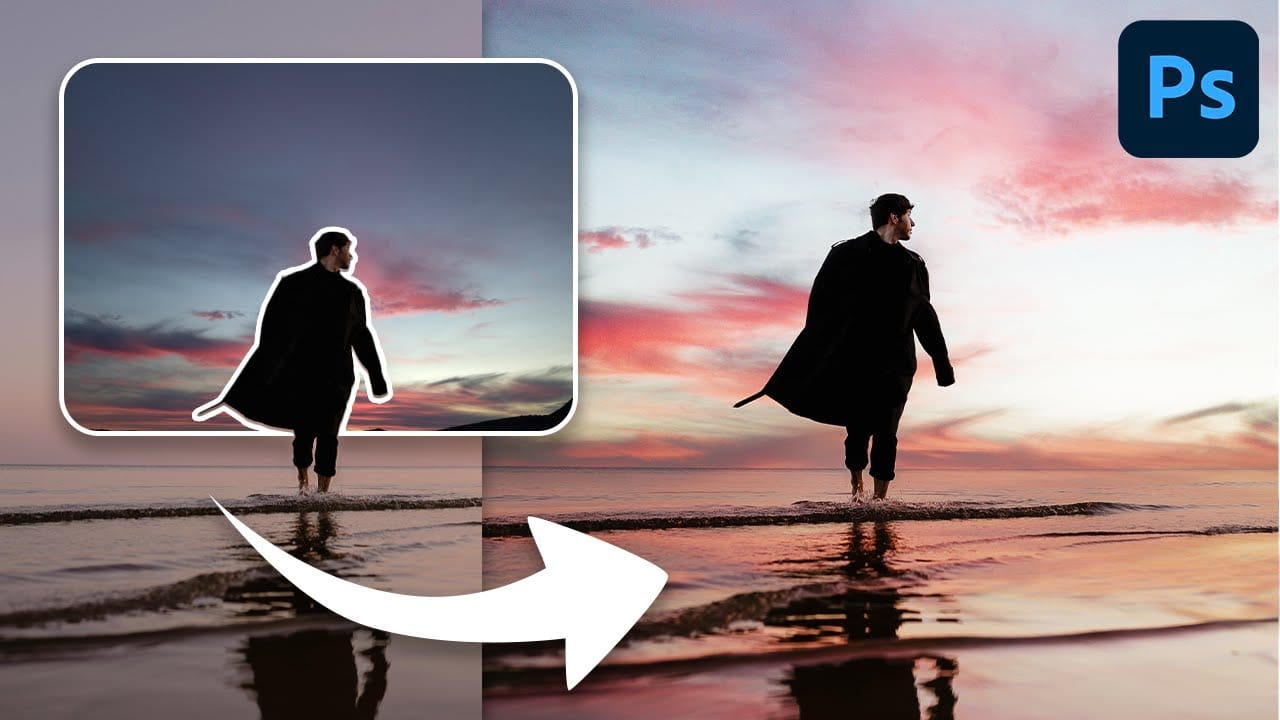
The sky plays a crucial role in establishing the mood, time of day, and overall atmosphere of a photograph. A blown-out or uninteresting sky can detract significantly from an otherwise well-composed scene, flattening the image and diminishing its emotional resonance. Replacing it allows photographers to regain control over the visual narrative, ensuring the sky complements the foreground and enhances the intended artistic vision.

This technique is particularly valuable for landscape and architectural photography, where the sky occupies a significant portion of the frame. By introducing a new sky—whether it's a dramatic sunset, a clear blue expanse, or a cloudy day—artists can:

  • Correct exposure issues
  • Introduce dynamic visual interest
  • Reinforce the narrative or theme of the photo

The seamless integration of a new sky requires careful selection, precise masking, and thoughtful blending to maintain realism and avoid an artificial appearance.

Practical Tips for Replacing a Sky

  • Utilize the Color Range selection tool to efficiently isolate the sky based on its color, then refine the selection with Refine Edge for precise masking around complex elements.
  • Invert the selection and output your sky replacement as a New Layer with Layer Mask to maintain flexibility and non-destructive editing.
  • Fill a new layer with a solid blue color (e.g., hexadecimal 88B8FF) as the base for your new sky.
  • Generate clouds using Filter > Render > Clouds on a separate layer, then set its blend mode to Overlay for a realistic effect.
  • Refine cloud appearance by splitting the "Blend If" slider in Layer Style to remove the darkest tones, making them appear less feathery.
  • Apply the Perspective transform to clouds to align them realistically with the horizon and the overall scene.
  • Use a Gradient set to Overlay and the Dodge Tool on the blue sky layer to create a natural gradient, making the sky lighter towards the horizon.

More Tutorials about Replacing Skies in Photoshop

Explore additional techniques and approaches to mastering sky replacement and other advanced Photoshop effects.

Use Simple Selection Tools to Replace a Sky in Photoshop
In this tutorial, Aaron Nace demonstrates how to effectively use basic selection tools in Photoshop to replace the sky in landscape photos. Selections are crucial for isolating specific areas in your image, and this tutorial breaks down their fundamental functions and applications. Aaron guides you through the process of making precise selections to isolate the sky from the rest of the image. He then shows you how to seamlessly replace it with a new sky, enhancing the overall mood and impact of
How To Easily Change The Sky In Photoshop
In this lesson, you’ll explore how to replace skies in Photoshop effortlessly. The tutorial begins by showing you how to access the Sky Replacement Panel. This tool gives you control over enhancing images with dynamic skies. You’ll also learn how to add a new sky to your photo, transforming the atmosphere and overall impact of the image. The video breaks this step down for you, making it easy to follow along. Additionally, the tutorial covers creating realistic sky reflections. This step is cr
Add clouds to a sky in Photoshop
In this Photoshop tutorial by Phlearn, you’ll learn how to replace the sky in an image, ensuring it complements the original photo in terms of color, contrast, and tone. Start by using the Move Tool to drag and drop the new sky onto your image, then turn off the layer. Select the old sky using a selection tool like the Magic Wand Tool. Once the selection is refined, turn the new sky layer back on and click the Layer Mask button to mask in just the sky. Unlink the layer from its mask to position
Starry Night Sky Effect in Photoshop
This tutorial by Marty Geller from Blue Lightning TV shows you how to transform an evening sky into a stunning night sky with northern lights using Photoshop. Marty guides you through techniques for creating realistic stars and vibrant northern lights, emphasizing the importance of blending modes, layer masks, and color adjustments. This tutorial is ideal for anyone looking to enhance their sky photos with dramatic and ethereal night effects. By the end, you’ll have the skills to turn any ordin

Get tutorials & freebies delivered to you.

Subscribe to the Photoshop Roadmap newsletter, a weekly roundup of new tutorials, insights and quality downloads, trusted by 6500+ readers.

You might also like

6 Essential Photoshop Effects You Really Need to Learn

Not every Photoshop effect is worth your time. Some are novelties, some are niche, and some will date your work faster than you expect. These six are different — they show up constantly across editorial, advertising, and digital design, and they're the ones most self-taught users have somehow never...

How to Use Photoshop's New Offline AI Remove Tool (No Credits Required)

Photoshop's latest update introduces an offline AI-powered Remove tool that works without internet connectivity or generative credits. This on-device feature processes a 4-5GB AI model locally, enabling fast object removal while maintaining complete privacy since your images never leave your computer. The tool requires high system specifications but...

How to Use the Harmonize Tool for Advanced Photo Compositing in Photoshop 2026

The Harmonize tool transforms compositing by automatically adjusting lighting, color, and shadows to blend objects seamlessly into new backgrounds. This AI-powered feature analyzes both your subject and background, then creates realistic color bleed, reflections, and contact shadows with a single click. While the tool delivers impressive results instantly, combining it...

How to Use Split Toning and Enhanced AI Masks in Camera Raw

Adobe's latest Camera Raw update brings two powerful enhancements that transform how photographers work with masks and color grading. Split toning is now available directly within individual masks, allowing precise color control over shadows, midtones, and highlights in specific image areas. Additionally, AI masks like landscape selection and...

How to Use Harmonize and Rotate Object Tools for Better Composites in Photoshop

Creating believable composites traditionally required hours of manual perspective adjustments and color matching. Two new AI-powered tools in Photoshop change this workflow dramatically. The Rotate Object tool lets you adjust positioning and perspective with interactive 3D controls, while the Harmonize tool automatically matches lighting, shadows, and color tones to blend...

Camera Raw Feathering and Color Grading Features (May 2026 Update)

Adobe Camera Raw's latest update introduces two powerful masking features that solve common editing problems. The new feather and edge controls help create cleaner selections around complex shapes like trees, while color grading within masks allows for precise adjustments without affecting the entire image. These tools work exclusively...

You’ve successfully subscribed to Photoshop Roadmap
Welcome back! You’ve successfully signed in.
Great! You’ve successfully signed up.
Success! Your email is updated.
Your link has expired
Success! Check your email for magic link to sign-in.