Learn how to create the Stranger Things tv show logo in Photoshop

Learn how to create the Stranger Things tv show logo in Photoshop

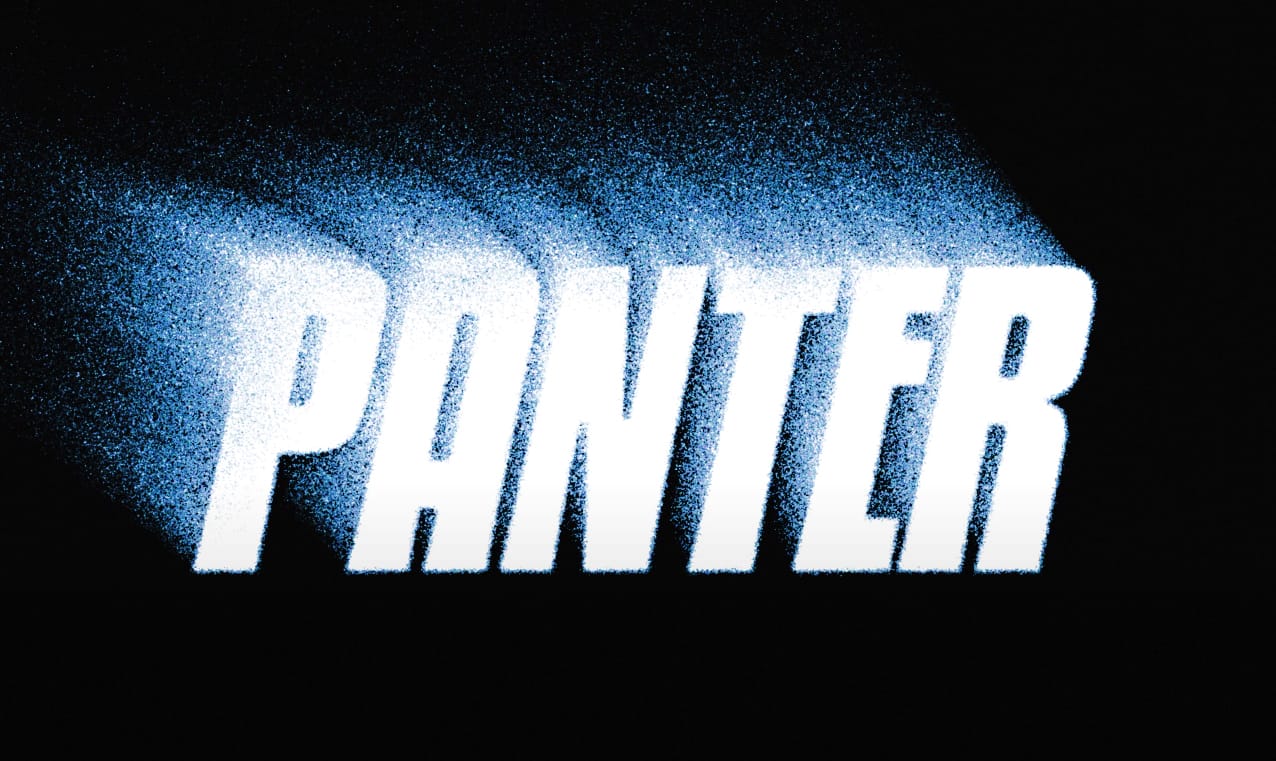
Learn to create the iconic, glowing Stranger Things text style. This tutorial demonstrates how simple Photoshop adjustments and layer styles can transform ordinary text into a captivating, retro design perfect for themed projects.

Step-by-Step Video Guide

Video by Envato Tuts+. Any links or downloads mentioned by the creator are available only on YouTube

Mastering Iconic Text Effects with Layer Styles

Recreating a recognizable text effect like the "Stranger Things" title involves more than just selecting a font. It requires a meticulous application of Photoshop's capabilities to capture depth, texture, and luminescence. The secret lies in understanding how various layer styles interact to build the visual complexity seen in professional designs.

From the subtle bevels that define letter edges to the layered glows that mimic an otherworldly light source, each element contributes to the overall atmospheric aesthetic. This approach demonstrates how simple tools can yield complex, high-impact results, emphasizing precision in design rather than elaborate techniques.

  • Effective use of Layer Styles to add depth and glow.
  • Precise Character Panel Adjustments for authentic typography.
  • Strategic application of Blending Modes for light and color interaction.
  • Creation of structural accents using basic Rectangular Shapes.
  • Combining effects within a Group Layer for unified adjustments.

Practical Tips for Crafting Text Effects

  • Adjust individual letter sizes and baseline shifts to achieve unique typographic variations, like the larger "S" and "R" for stylistic emphasis.
  • Set the text layer's Fill value to 0% to make only the applied layer styles visible, which is crucial for glow effects without solid letter fill.
  • Merge multiple simple shape layers, such as decorative bars, before applying common layer styles to ensure a consistent appearance across all elements.
  • Fine-tune the kerning between letters to optimize visual spacing, ensuring balance and readability within the text design.
  • Apply final gradient overlays and outer glows to the entire text effect group to create a unified color and light ambience.
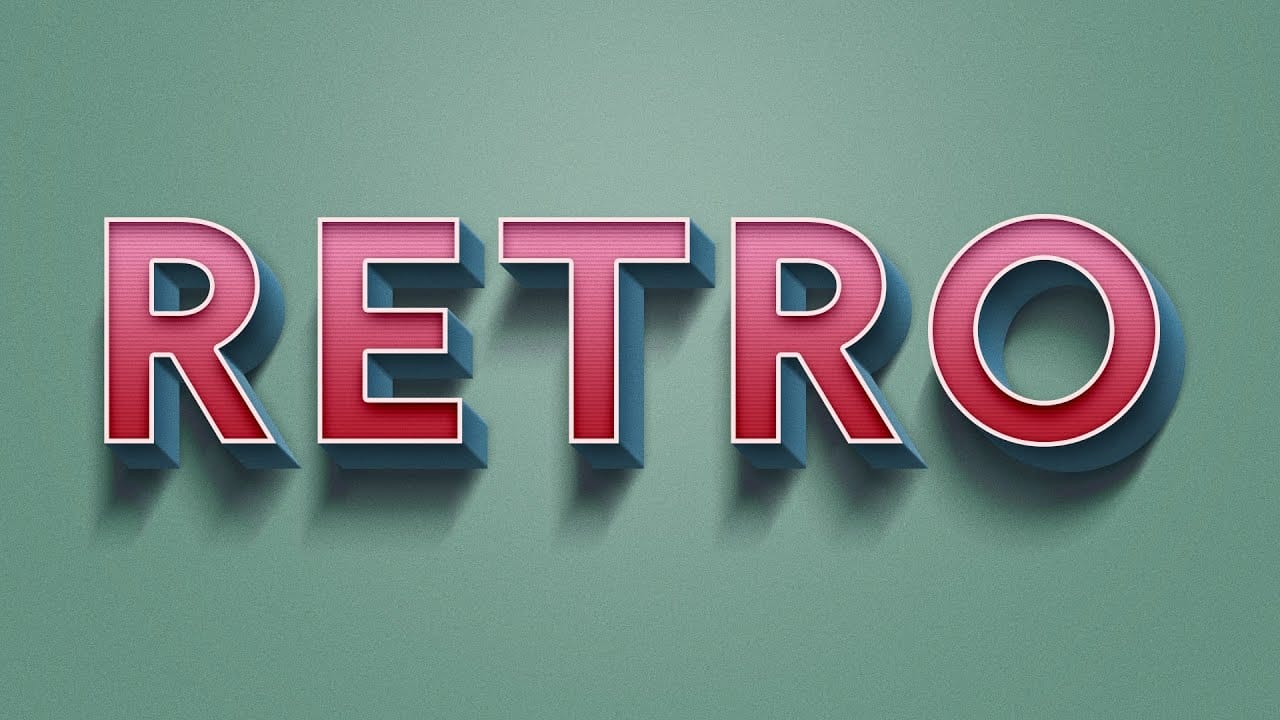
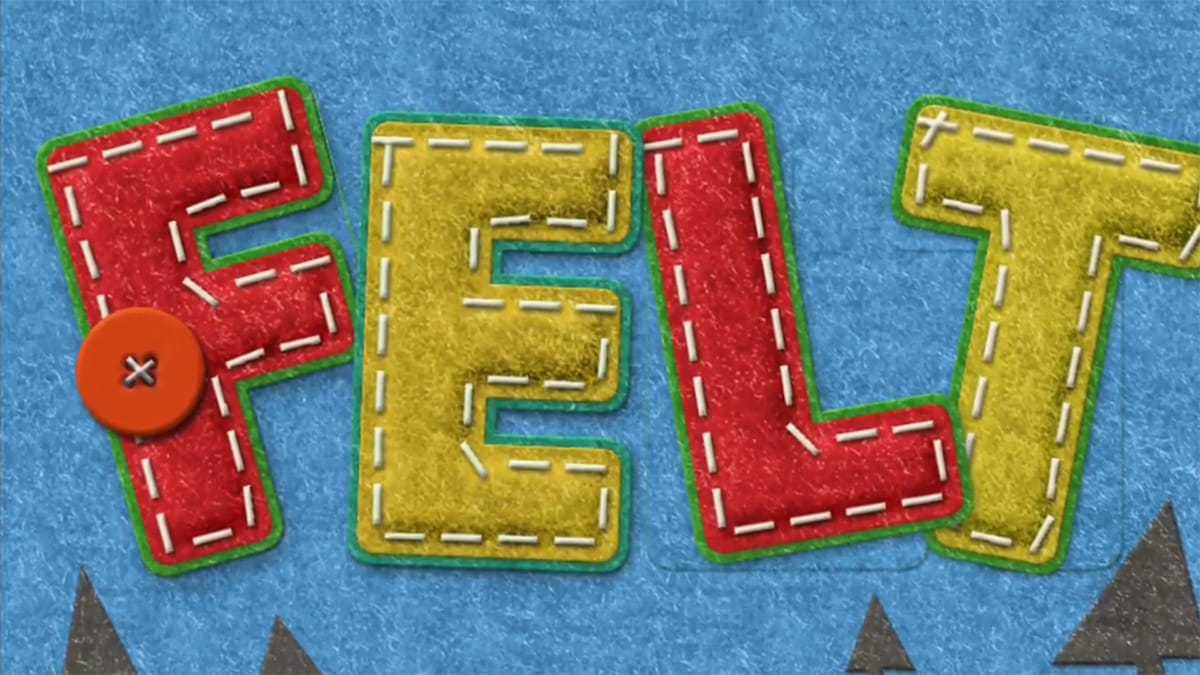
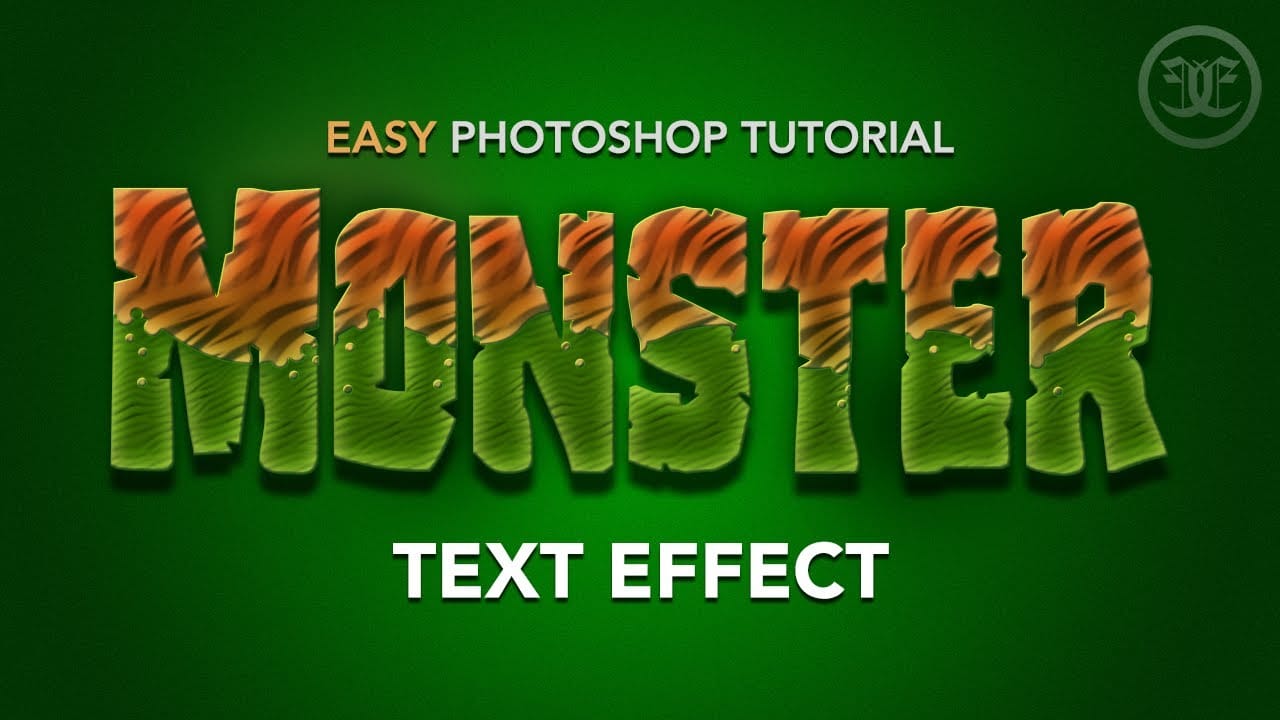
Expand your graphic design skills with more tutorials focused on creating stunning text effects in Photoshop.

How to Make Grungy Ghost Text Effects in Photoshop
Ghost text effects combine ethereal transparency with gritty texture to create typography that feels both haunting and visually striking. This design technique has become increasingly popular in horror-themed projects, album covers, and creative branding where designers want to convey mystery or edginess. This tutorial demonstrates how to build a convincing grungy ghost text effect using Photoshop's blur gallery, blend modes, and texture techniques. You'll learn to create translucent, distorted
How to Create a 3D Retro Text Effect in Adobe Photoshop
In this Adobe Photoshop tutorial by Spoon Graphics, you'll learn how to create a great-looking retro text effect. Using a mix of layer styles and clever Photoshop techniques, this tutorial guides you through the process step-by-step. The best part is that it utilizes Smart Objects, allowing you to non-destructively create the effect, meaning the original type element can still be updated to change the wording. This approach ensures flexibility and ease of editing while achieving a stylish retr
How to Create a Fun Felt Photoshop Text Effect
In this tutorial presented by Photoshop Palace, you'll learn how to create a charming and colorful stitched felt Photoshop text effect set against a rich blue felt background. This artistic endeavor includes the addition of meticulously crafted felt pine elements, enhancing the seasonal appeal, especially fitting for winter holiday-themed designs. The tutorial methodically guides you through the process with easy-to-follow steps, ensuring that even beginners can achieve a delightful and festiv
Monster themed text effect in Photoshop
In this tutorial, Evan Eckard demonstrates how to create a spooky, monster-themed text effect using Adobe Photoshop. Perfect for Halloween or other eerie art projects, this tutorial utilizes basic layer effects to achieve a fun and scary look. Throughout the video, Evan shares numerous tips and techniques that can be applied to various other styles, making it a versatile learning experience. From manipulating textures to applying layer styles, you'll gain insights into creating a unique and mo

Get tutorials & freebies delivered to you.

Subscribe to the Photoshop Roadmap newsletter, a weekly roundup of new tutorials, insights and quality downloads, trusted by 6500+ readers.

You might also like

Complete Photoshop Editing Workflow: 5 Steps from Raw to Polished

Photoshop offers endless possibilities for photo enhancement, but many photographers never move beyond basic adjustments because the software feels overwhelming. This comprehensive workflow breaks down photo editing into five manageable stages that work consistently across different photography styles. The systematic approach covers everything from initial raw processing to advanced lighting...

Photoshop Workspace Basics: Navigation, Zooming, and Essential Interface Elements

Photoshop's interface can feel overwhelming when you first open the program. Dozens of panels, tools, and menus compete for attention, making simple tasks feel complicated. This tutorial breaks down the essential workspace elements and teaches fundamental navigation skills that form the foundation of efficient Photoshop work. Watch the...

How to Restore Old Damaged Photos Using Nano Banana in Photoshop

Old family photos with scratches, tears, and missing sections can seem beyond repair. Google's Nano Banana AI model, now integrated into Photoshop, makes full restoration possible in minutes rather than hours. This powerful tool excels at maintaining facial characteristics while automatically filling in damaged areas and adding realistic...

How to Get Higher Quality Results from Photoshop's Generative Fill Tool

Photoshop's Generative Fill creates impressive AI extensions, but the results often look blurry and pixelated when viewed at full size. This quality limitation makes many AI-generated areas unusable for printing or large displays. This technique shows how to work around the 1024x1024 pixel quality limit to create much...

How to Use Photoshop's Liquify Tool for Non-Destructive Portrait Retouching

Clothing wrinkles, hair that lacks volume, and awkward fabric bunching can distract from an otherwise great portrait. Photoshop's Liquify tool offers a powerful solution for smoothing out these issues while preserving the natural look of your subject. This tutorial demonstrates how to use the Liquify tool non-destructively with...

You’ve successfully subscribed to Photoshop Roadmap
Welcome back! You’ve successfully signed in.
Great! You’ve successfully signed up.
Success! Your email is updated.
Your link has expired
Success! Check your email for magic link to sign-in.