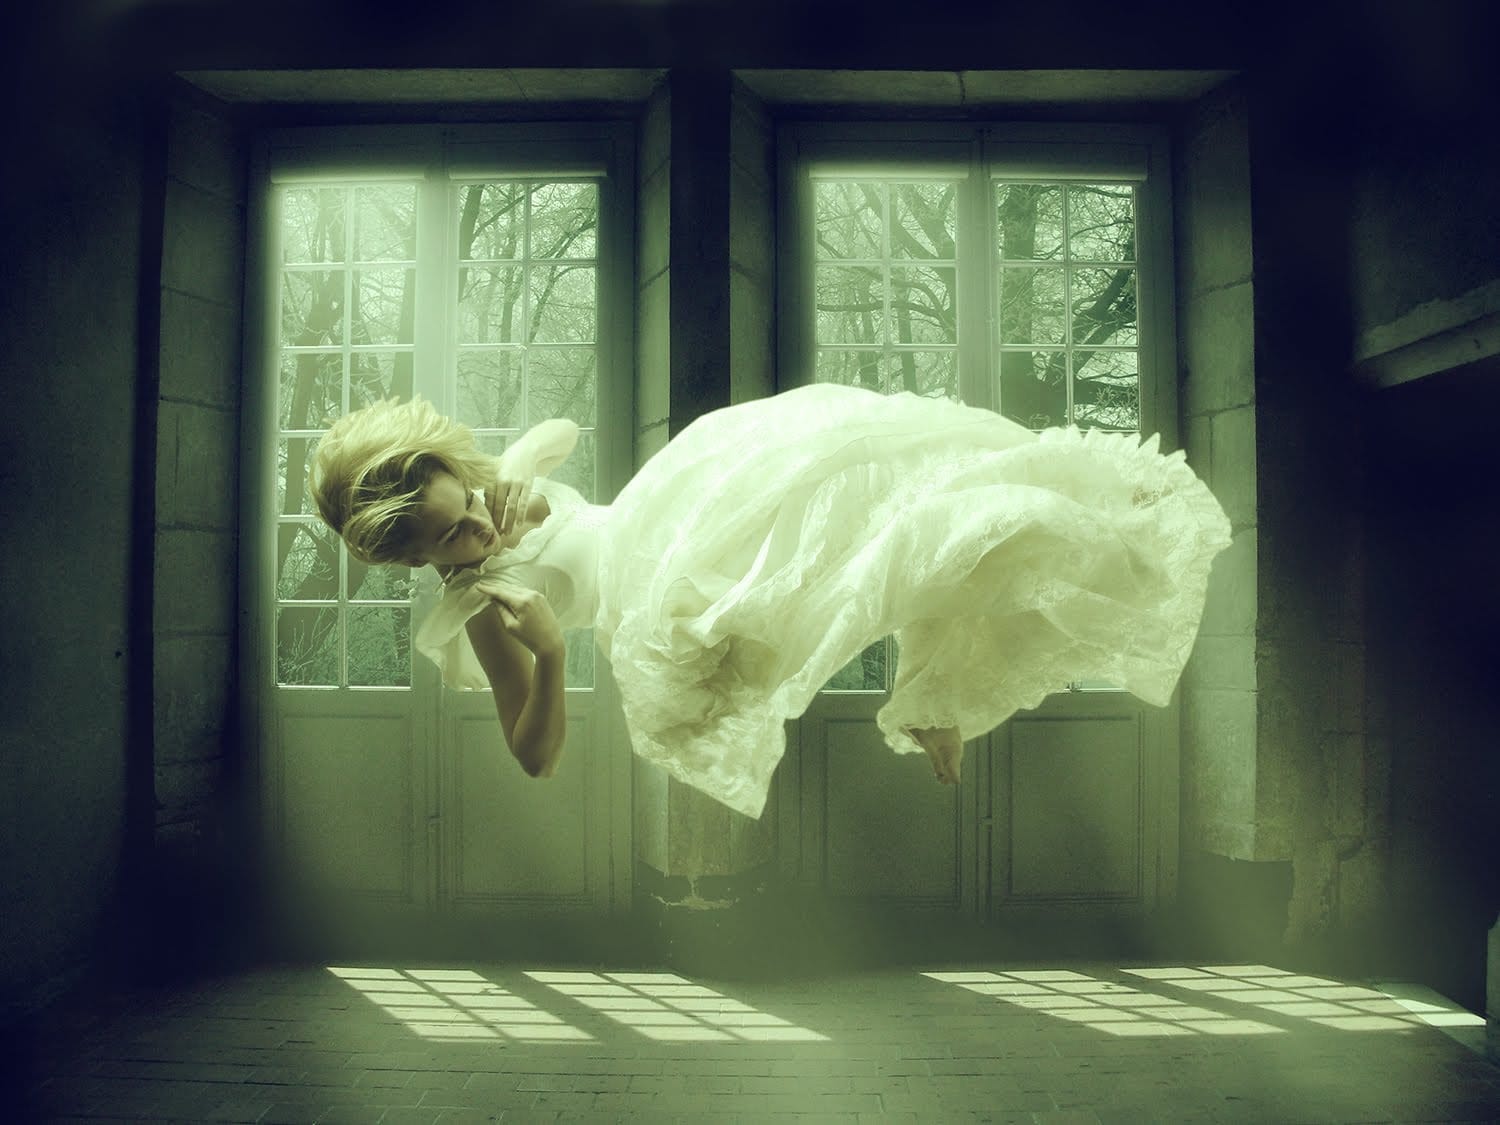
Objects suspended in mid-air create striking visual effects that make viewers stop and wonder how the photo was taken. This technique transforms ordinary subjects into compelling focal points through simple physics and digital editing.
The method combines practical photography setup with basic Photoshop skills to remove visible support systems, creating clean floating effects perfect for creative portraits, product photography, or artistic compositions.
Watch the Video
Practical Tips for Creating Floating Objects
Essential techniques for capturing and editing suspended objects:
- Use clear fishing line instead of string or wire to minimize visibility and reduce editing work
- Create anchor points with bathtub rods between walls or command hooks on surfaces when ceiling attachment isn't possible
- Test object weight and line strength before shooting to prevent drops during the session
- Remove fishing line gradually in Photoshop using the spot healing brush tool rather than attempting large selections
- Work in small sections when editing areas with different background contrasts to maintain realistic textures
More Tutorials about Levitation Photography
Explore advanced techniques for creating floating and levitation effects in your photography.
Create a Levitation Photo Effect in Photoshop
In this video tutorial, you'll learn how to create a flying effect in a photo. The author shows how to use a background image and a levitating model image, explaining each step in detail. He begins by cutting the model out from the original background using the quick selection tool and magnetic lasso tool. He also shows how to refine the selection and blend the image seamlessly into the new background.
By the end of the video, you'll see the model appear to be flying, with practical tips provid
Add Realistic Water Drops To A Photo
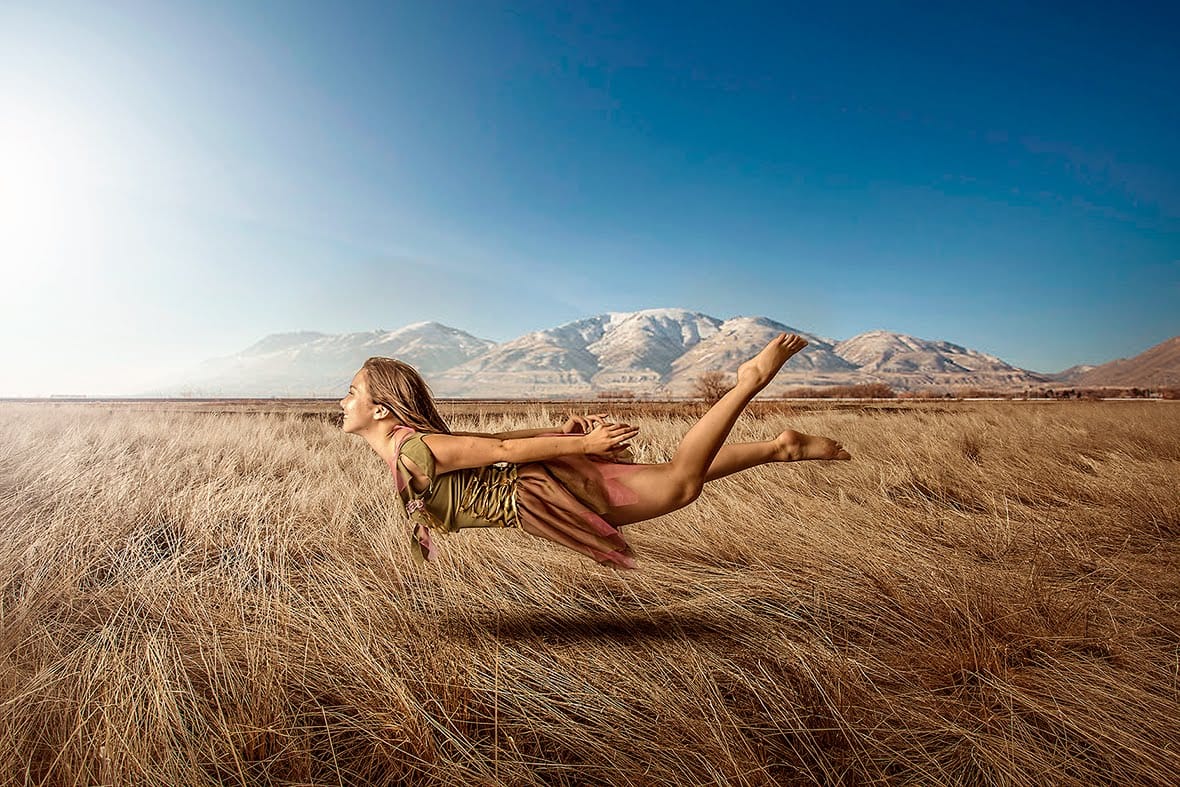
This Photoshop Effects tutorial guides you in adding realistic water drops to your photos, making it seem as though water has splashed across the image. You'll explore various filters and adjustments to create random shapes that resemble water droplets.
The tutorial emphasizes the importance of using simple layer styles to enhance these shapes, focusing on adding shadows and highlights. This technique helps in achieving that lifelike quality you desire in your images.
To wrap up the process, a
Paint Figures Using Splashing Water Effects in Photoshop
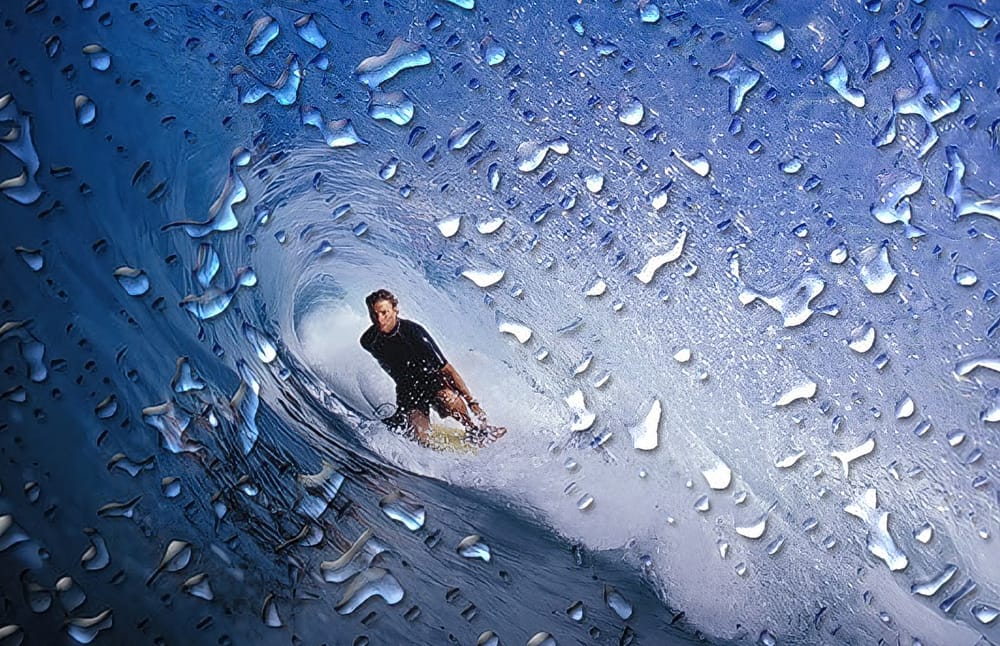
In this photo manipulation tutorial, Jennifer Cirpici introduces a method for creating a figure that appears to be made from water, using a stock photograph as the foundation. The process may seem complex, but Jennifer breaks it down into manageable steps, making it accessible to anyone interested.
Throughout the tutorial, you will learn various essential techniques, such as blending lighting and shadows effectively. She emphasizes the importance of establishing a focal point using gradients, w
Create a Levitation Effect in Photoshop
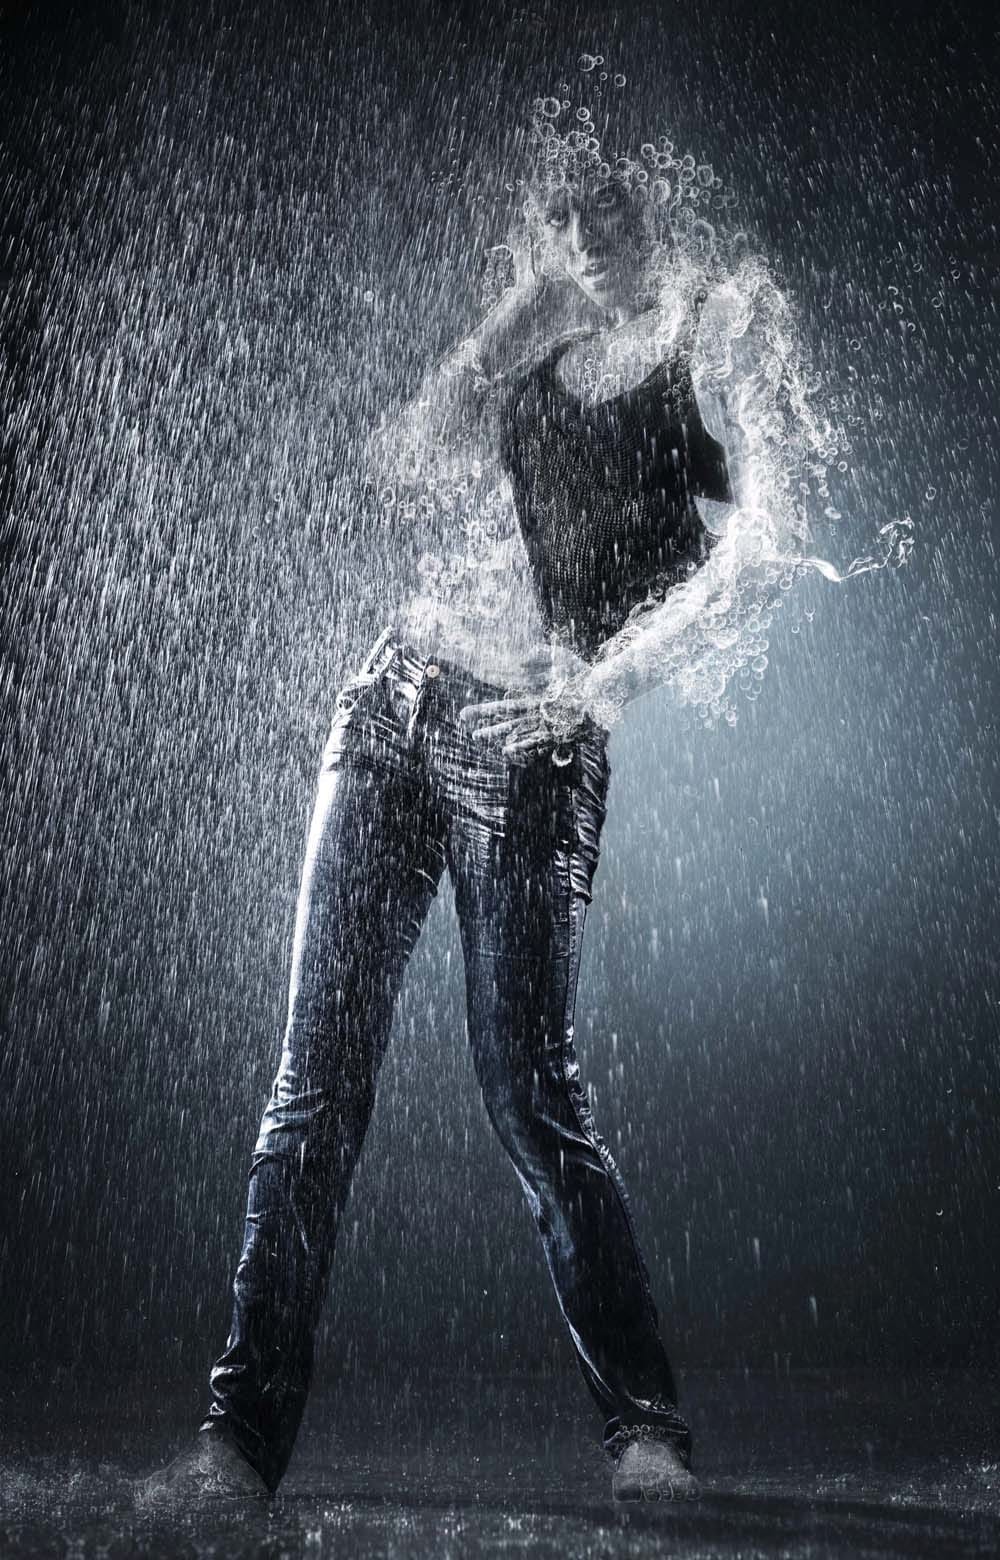
In this tutorial, you will learn how to create a stunning levitation effect in Adobe Photoshop. The focus is on a woman floating in a dream-like setting, surrounded by ethereal lighting that enhances the magical atmosphere.
You will start by working with basic photo manipulation techniques. The process includes cutting out the subject and placing her in a new background, creating the illusion of weightlessness.
As you progress, you'll explore how to add unique lighting effects to make the scen