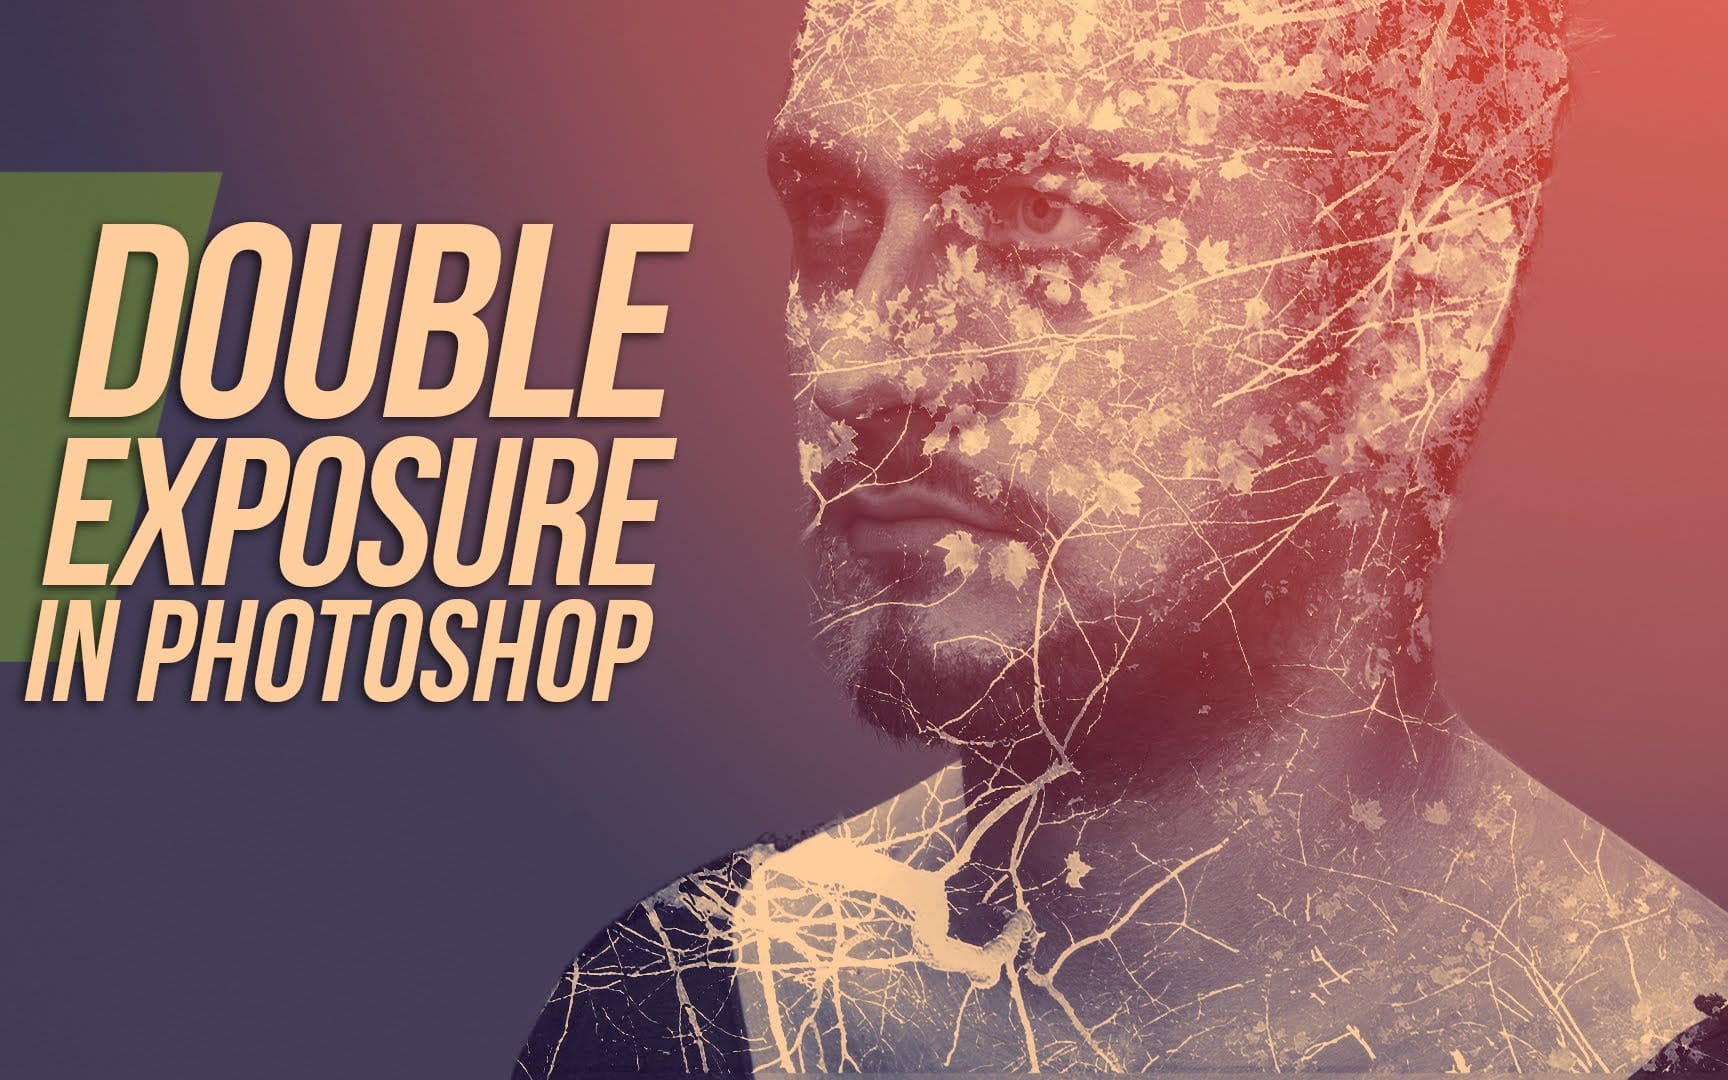
Double exposure creates striking visual art by blending two images into one seamless composition. This surreal effect transforms ordinary portraits into captivating pieces worthy of album covers and movie posters.
The technique combines portrait silhouettes with landscape scenes, producing dreamlike results that tell stories through visual layers.
Watch the Tutorial
Video by Spoon Graphics. Any links or downloads mentioned by the creator are available only on YouTube
Essential Tips for Double Exposure Effects
These key techniques will help you create professional-looking double exposure effects in Photoshop.
- Choose portraits with clean, solid backgrounds and distinct profiles for easier subject separation
- Use the Channels method to isolate subjects quickly by finding the channel with highest contrast
- Unlink layer masks from their layers to scale and position landscape images independently within the silhouette
- Create a ghostly overlay by duplicating the portrait, desaturating it, and setting blend mode to Multiply at 70% opacity
- Add subtle depth with a blurred landscape copy as a vignette around the edges
More Tutorials About Double Exposure Effects
Explore additional techniques and creative approaches for mastering this popular visual effect.
Create a double exposure effect in Photoshop
In this Photoshop tutorial, you'll learn how to create a double exposure effect. The process is quite straightforward and can be applied to various images. The best part is that you can be as creative as you want.
The tutorial will guide you through the necessary steps to achieve this unique visual effect. You'll discover how to blend two images seamlessly, allowing you to experiment with different combinations and explore your artistic vision. Whether you're a beginner or an experienced Photos
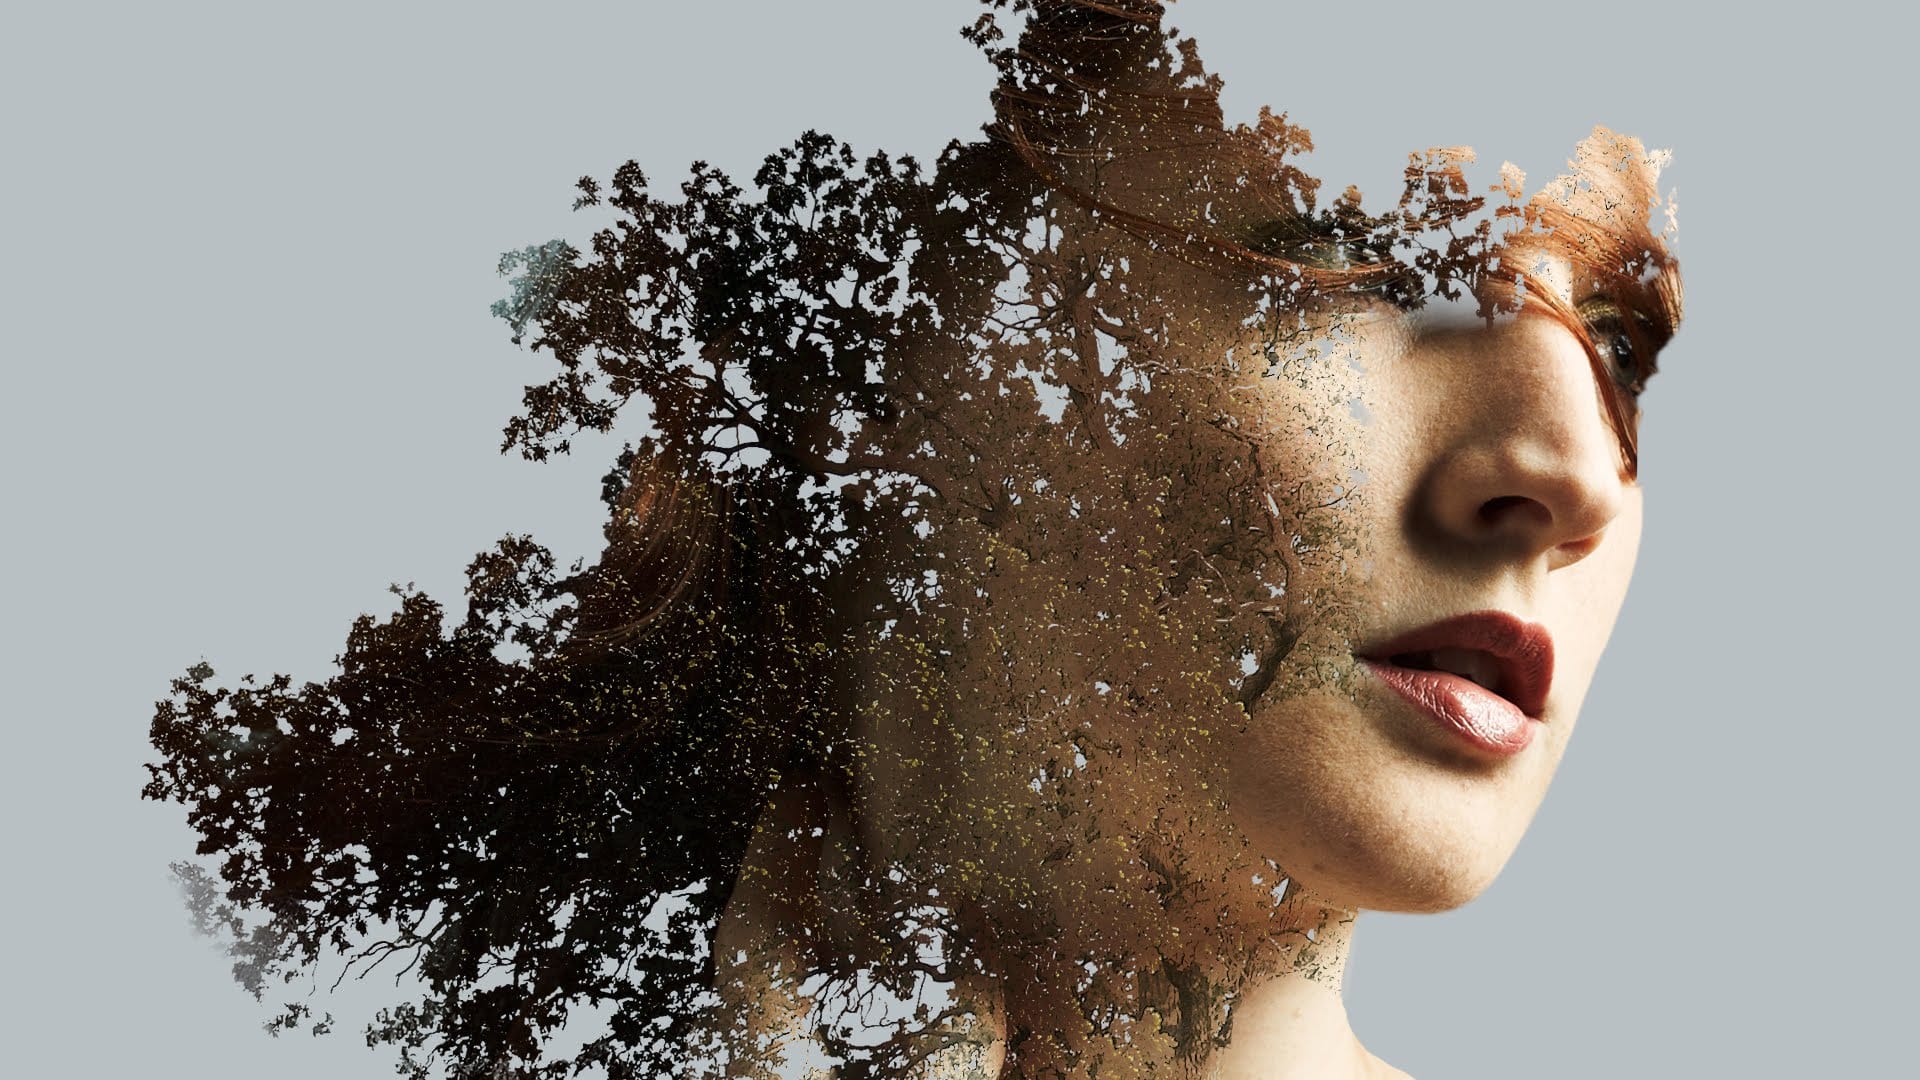
Beautiful double exposure effect in Photoshop
In this tutorial, Howard Pinsky demonstrates how to create a double exposure effect in Adobe Photoshop using images of a tree and a woman.
The process begins with isolating the tree and placing the woman's image on top, followed by creating a clipping mask. A black and white adjustment layer adds a high contrast red filter effect. Pinsky then uses a gradient tool and layer masks to blend and refine the images. He further enhances the effect with a curves adjustment layer and a vintage-style pho
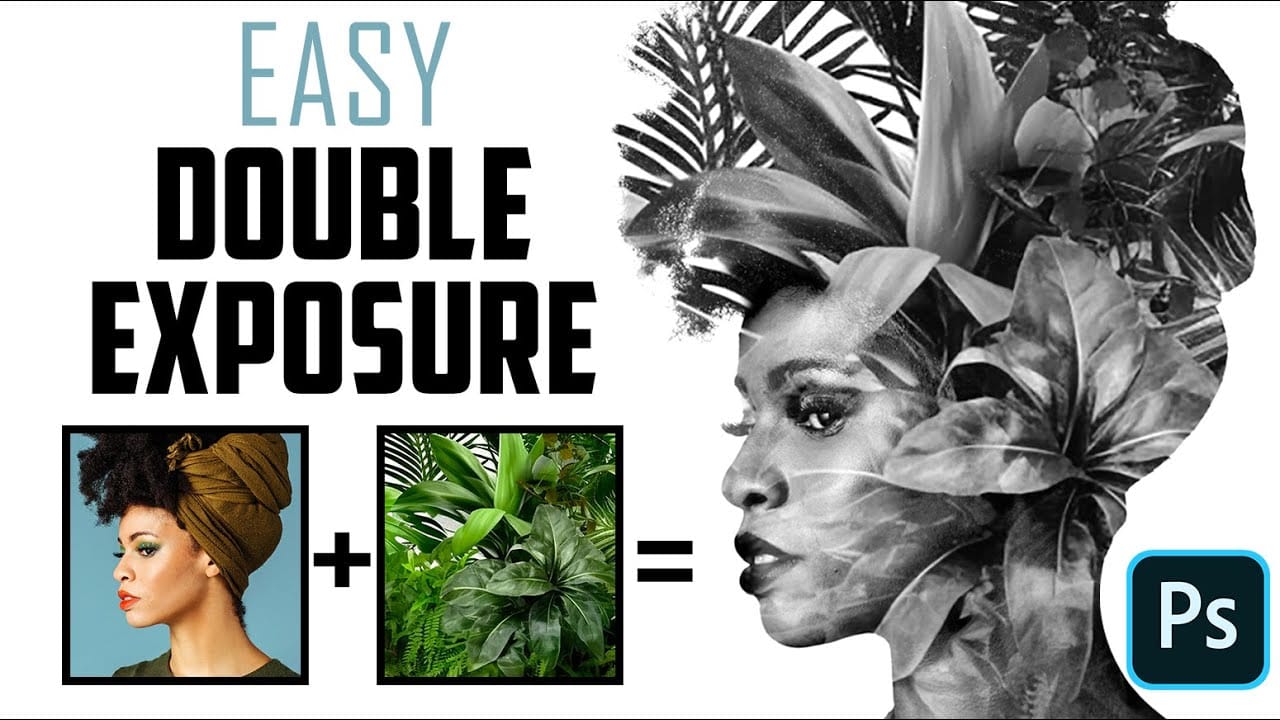
How to Quickly Create a Monochrome Double-Exposure Photo Portrait in Photoshop
The double exposure effect, a classic technique originating from film photography, allows for the striking fusion of two distinct images into a single, cohesive composition. This method is particularly effective for creating surreal and evocative portraits, blending a subject with landscapes, textures, or abstract elements to convey deeper meaning or artistic vision.
This video tutorial provides a practical guide to achieving a powerful monochrome double-exposure photo portrait using Adobe Phot
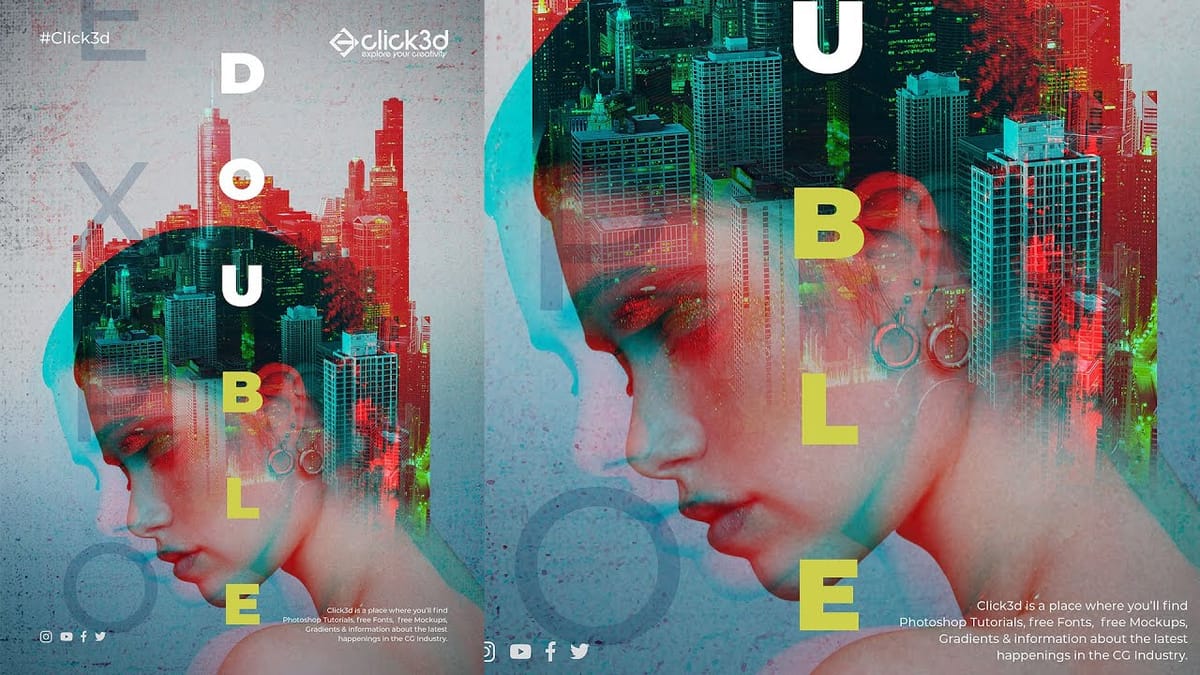
Double Exposure Glitch Poster Design in Photoshop
In this Photoshop tutorial you will learn how to create double exposure glitch poster design step by step. You can use this technique to create a double exposure effect for your own photos. Download tutorial images here… More
 Click3D