Evil undead eyes can transform any portrait into a haunting, supernatural image. This technique draws inspiration from the reflective pupils of replicants in Blade Runner, creating glossy, realistic demon eyes that maintain depth and believability.
The method uses adjustment layers and simple masks to invert both pupils and irises while preserving the wet, reflective quality that makes eyes look convincingly alive.
Watch the Tutorial
Essential Tips for Creating Undead Eyes
Master these key techniques to achieve realistic evil eye effects that maintain depth and believability:
- Create separate mask layers for eye whites, irises, and pupils using the pen tool for precise selections
- Apply Gaussian blur (2 pixels) to adjustment layers to soften harsh edges and create organic transitions
- Add white elliptical speculars on overlay blend mode to maintain the glossy, wet appearance of real eyes
- Use a soft brush on the layer group mask to paint subtle shadows under the upper eyelid for realistic depth
- Apply luminance noise reduction in Camera Raw to smooth pixel degradation in highly processed areas
More Tutorials About Horror Photo Effects
Explore additional techniques for creating supernatural and horror-themed transformations.
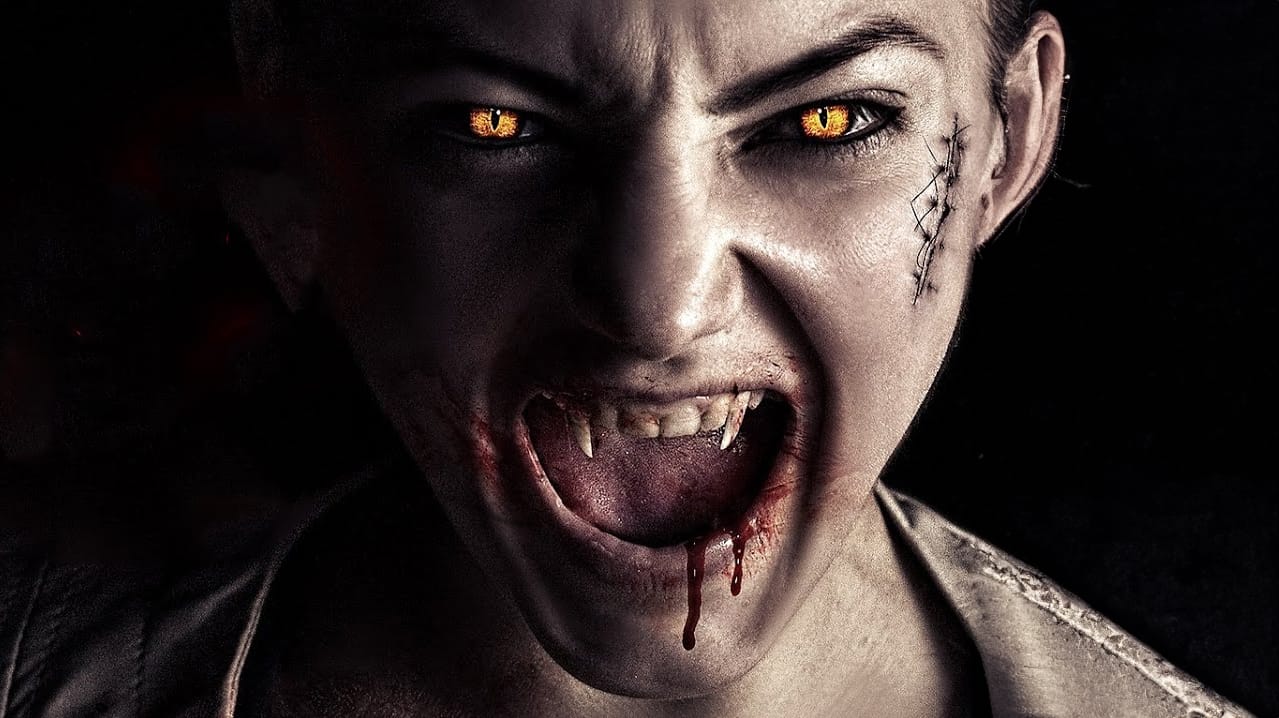
Turn a Portrait Into a Vampire in Photoshop
In this video tutorial by Andrei Oprinca, you'll learn how to create captivating vampire-themed effects in Photoshop. Learn how to craft realistic vampire teeth, transform ordinary eyes into sinister, evil gazes, and seamlessly integrate bloody stock images for a dramatic impact. Andrei's step-by-step guidance ensures that even complex edits are accessible, making it perfect for both beginners and advanced users.
Enhance your Photoshop skills and add a touch of the macabre to your projects. Dow
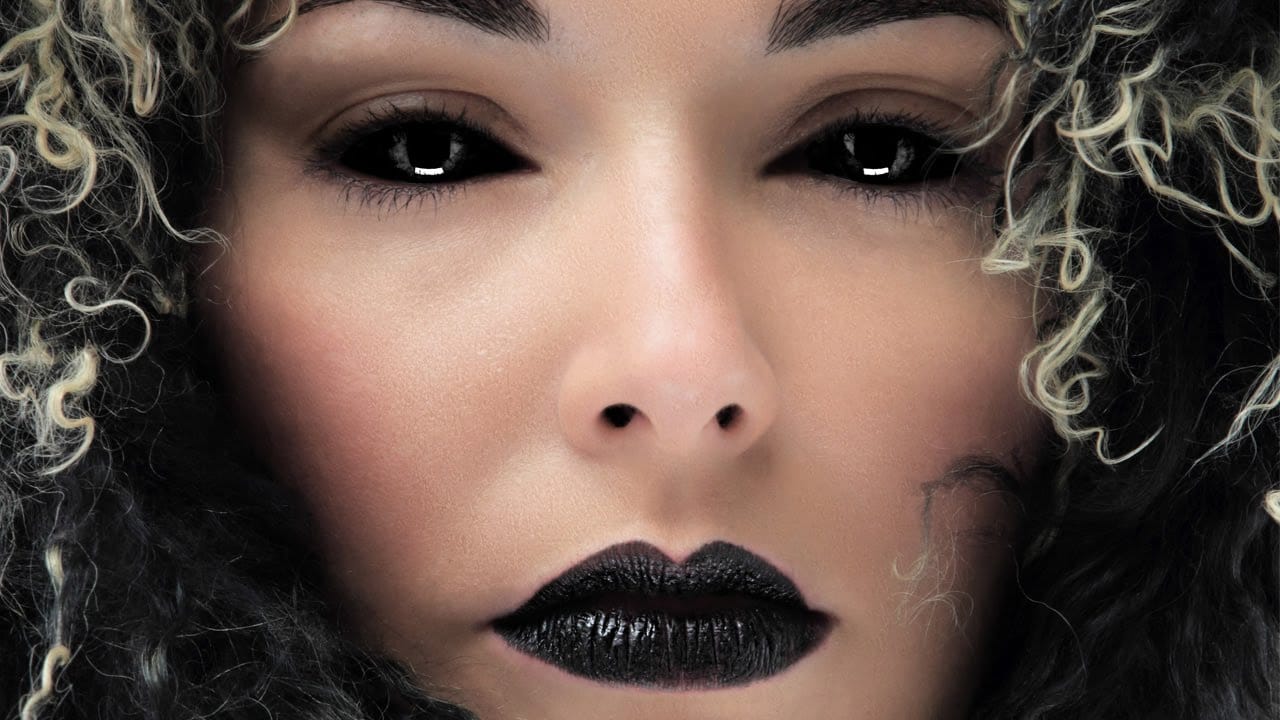
How to Black Out Eyes in Photoshop
Aaron Nace from Phlearn demonstrates how to create a spooky "black out" effect for eyes in Photoshop, perfect for Halloween or dramatic photo edits.
The tutorial focuses on retaining catch lights in the eyes for realism while painting the irises black using a brush tool. Key steps include using a Curves Adjustment Layer to darken the eyes and refining the transition with a soft-edged brush.
To enhance realism, Nace utilizes channel manipulation to restore depth and highlights to the eyes. By d
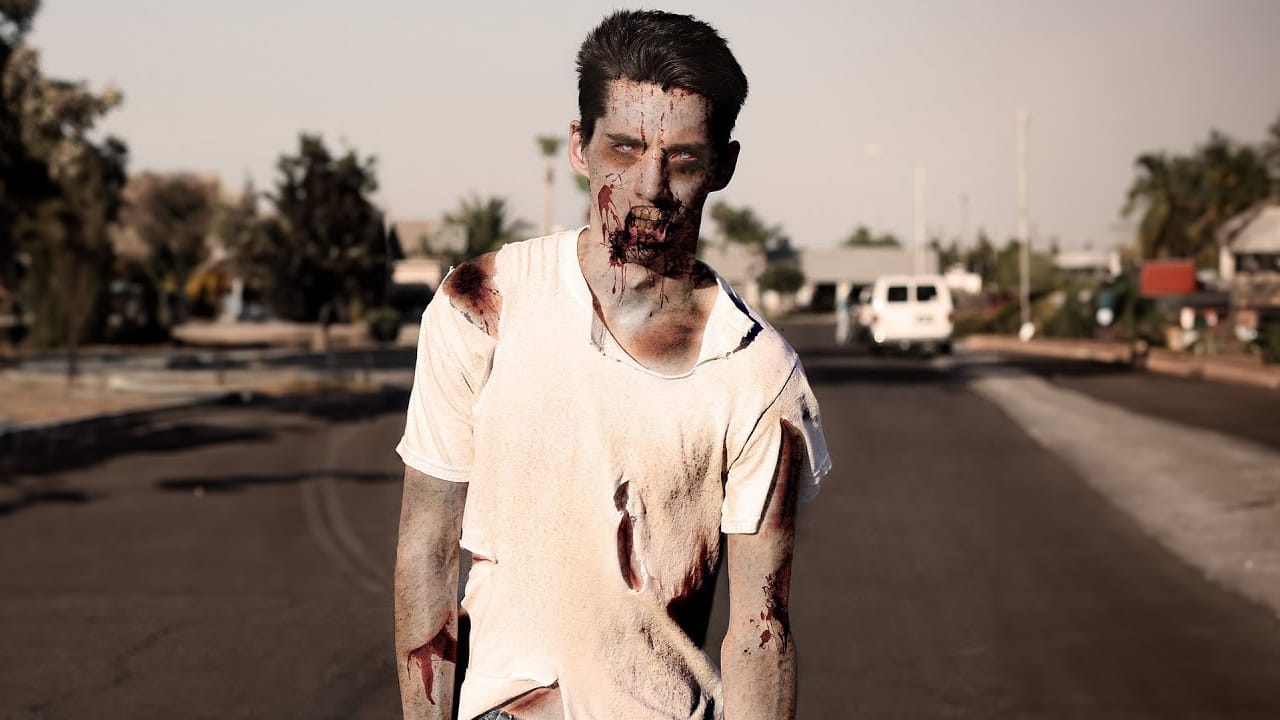
Learn How to Turn Anyone Into a Zombie
In this tutorial by Ch-ch-checkit, you'll discover how to transform anyone into a zombie using Photoshop.
With the current fascination with zombies and apocalyptic themes, this in-depth guide is timely and engaging. You'll need intermediate Photoshop knowledge, including blending modes, masks, and retouching tools, to follow along. You'll learn various techniques to create a convincingly undead look, perfect for adding a touch of horror to your photos.
Whether you're preparing for Halloween or
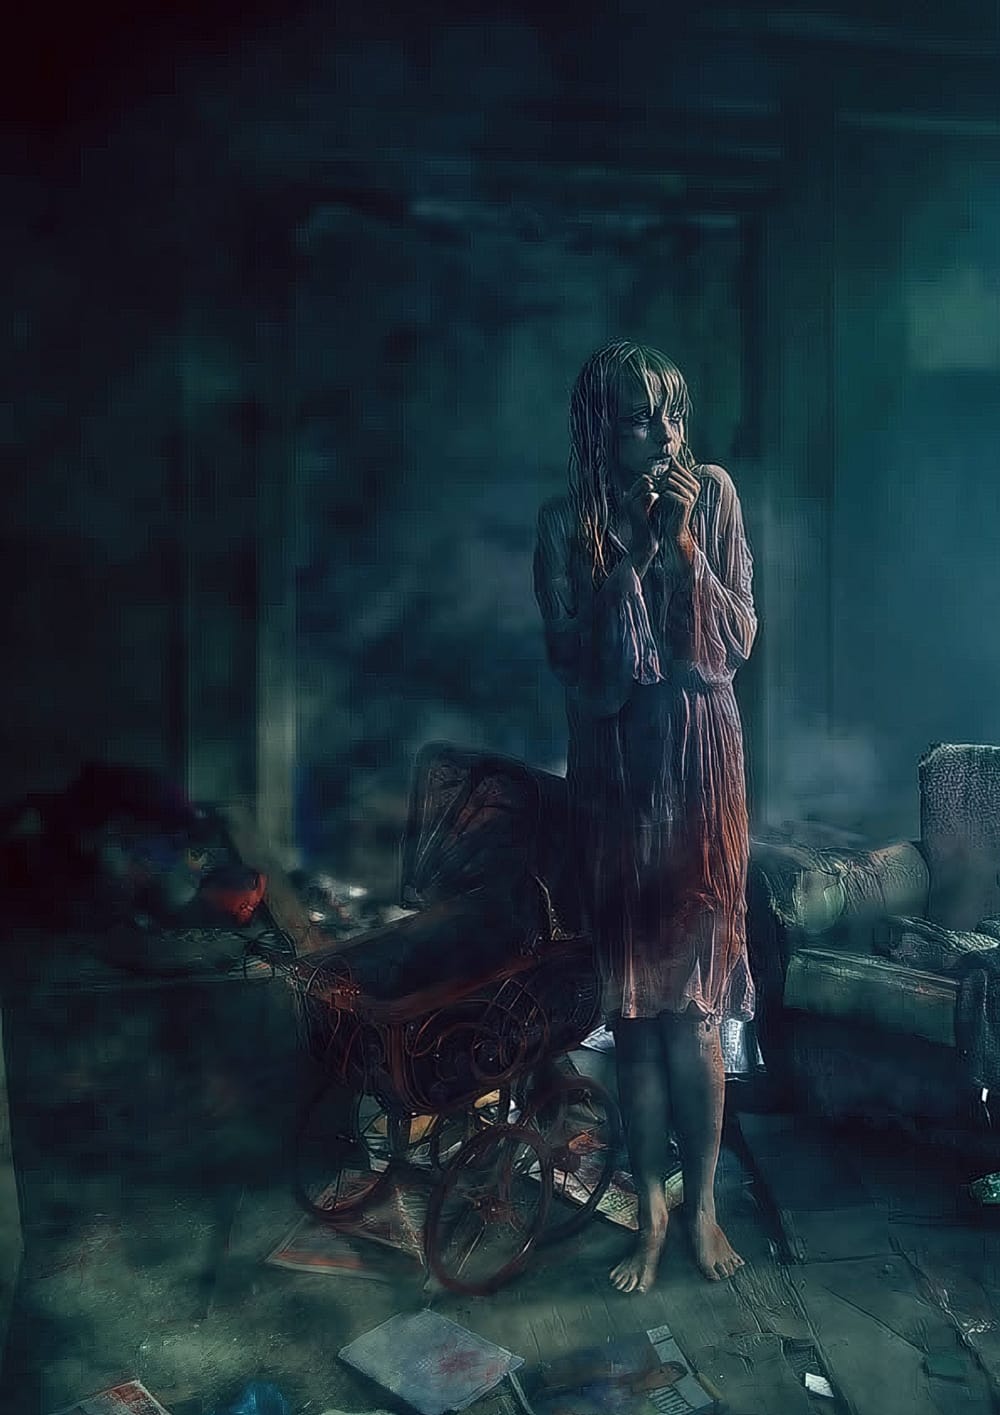
Create a Horror Scene Photo Composition in Photoshop
In this engaging tutorial, Mario Sanchez Nevado from Tuts+ guides you through the process of creating a horror movie-themed photo composition in Photoshop.
You'll learn how to choose the right photos and blend them together seamlessly to achieve a realistic and believable result. Key techniques covered include balancing light, using midtones, creating depth of field, and mastering blending methods. This tutorial is perfect for those looking to enhance their photo manipulation skills and create