Create Cool Painterly Illustrations With the Art History Brush in Photoshop

Create Cool Painterly Illustrations With the Art History Brush in Photoshop

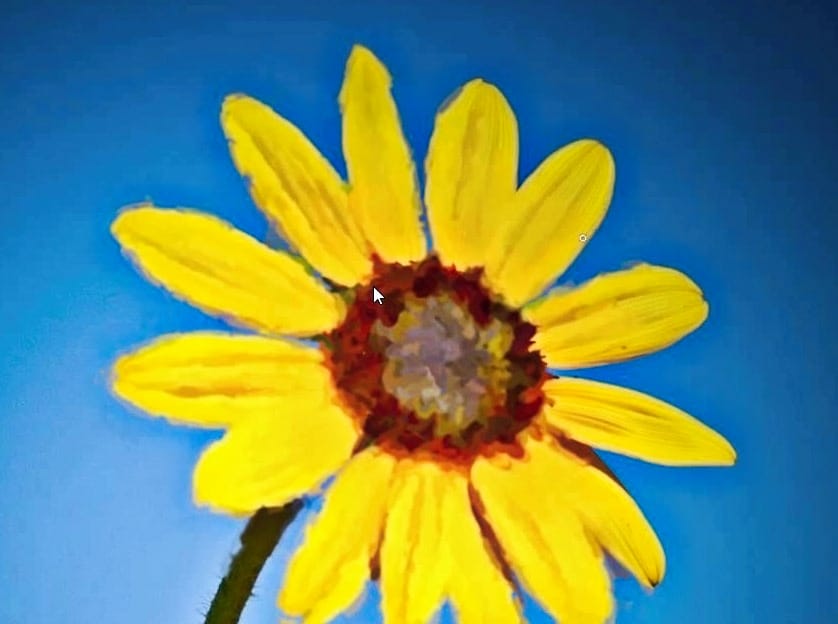
In this tutorial, Julianne Kost will delve into an often-overlooked yet highly versatile tool in Photoshop CS5—the Art History Brush. This tool, which utilizes history states and snapshots, allows users to transform their images into stunning painterly effects. Julianne emphasizes that while the default settings of the Art History Brush may not showcase its full potential, exploring beyond these defaults can unlock a world of creative possibilities.

Julianne begins by demonstrating the basic functionality of the Art History Brush using a simple image transformation. She explains how the tool can be adjusted to create more intricate and abstract effects, far beyond what the default settings offer. By showing before-and-after examples, she illustrates the speed and versatility of the Art History Brush, turning ordinary photos into unique pieces of art. Julianne also highlights the importance of understanding history states and snapshots to effectively use the brush, ensuring viewers can follow along and experiment with their own images.

Moving deeper into the tutorial, Julianne explores advanced techniques, such as merging painted images with their originals and using different brush presets to achieve varied artistic styles. She provides tips on setting up and customizing brushes to create desired effects, and explains how to navigate potential pitfalls, like changing bit-depths or color modes. By the end of the episode, viewers will have a comprehensive understanding of the Art History Brush and be inspired to use it in their own creative projects, leveraging its full potential to craft visually striking artwork.

Get tutorials & freebies delivered to you.

Subscribe to the Photoshop Roadmap newsletter, a weekly roundup of new tutorials, insights and quality downloads, trusted by 6500+ readers.

You might also like

How to Create Textured Portrait Collages in Photoshop

Portrait collages open up creative possibilities that go far beyond traditional photo editing. By combining artistic filters, color manipulation, and texture mapping, you can transform ordinary portraits into striking visual compositions that blend photography with graphic design elements. This technique breaks down complex imagery into simplified color zones, then maps...

Time-Blending Photography: Combine Photos from Different Times of Day

Empty streets and dark buildings can ruin an otherwise perfect sunset shot. Time-blending photography solves this problem by combining the best elements from different times of day — the vibrant sky from golden hour with the dynamic light trails from nighttime traffic. This technique transforms static daytime or sunset scenes into...

Understanding White Balance in Photoshop: Temperature vs Tint Explained

White balance confusion ends here. Temperature and tint work differently to fix color casts, and knowing when to use each tool transforms how you correct photos. Photoshop's new Color and Vibrance adjustment layer finally brings these essential controls natively into the workspace, eliminating the need to jump into...

How to Remove Reflections and Glare from Glasses in Photoshop Using AI

Eyeglass glare can ruin an otherwise perfect portrait, obscuring the subject's eyes with bright reflections. Photoshop's AI tools now offer powerful solutions for removing even the most stubborn reflections while preserving natural eye details. This tutorial demonstrates proven techniques using multiple AI models and strategic masking...

How to Use Photoshop Curves Auto Options for Color Grading

Professional color grading transforms ordinary images into visually striking compositions with rich depth and atmosphere. Hidden curves auto options in Photoshop let you assign custom colors to shadows, midtones, and highlights for dramatic enhancement. This technique goes beyond basic adjustments to create cinematic looks that bring images to life with...

How to Remove Dark Eye Circles Using Frequency Separation in Photoshop

Dark under-eye circles can make portrait subjects look tired or unhealthy, even when they're not. Traditional brightening methods often create unnatural results or destroy important skin texture. This tutorial demonstrates frequency separation, a professional retouching technique that removes dark circles while preserving natural skin texture and realistic lighting...

You’ve successfully subscribed to Photoshop Roadmap
Welcome back! You’ve successfully signed in.
Great! You’ve successfully signed up.
Success! Your email is updated.
Your link has expired
Success! Check your email for magic link to sign-in.