How to make a stylish pop art portrait from a photo in Photoshop

How to make a stylish pop art portrait from a photo in Photoshop

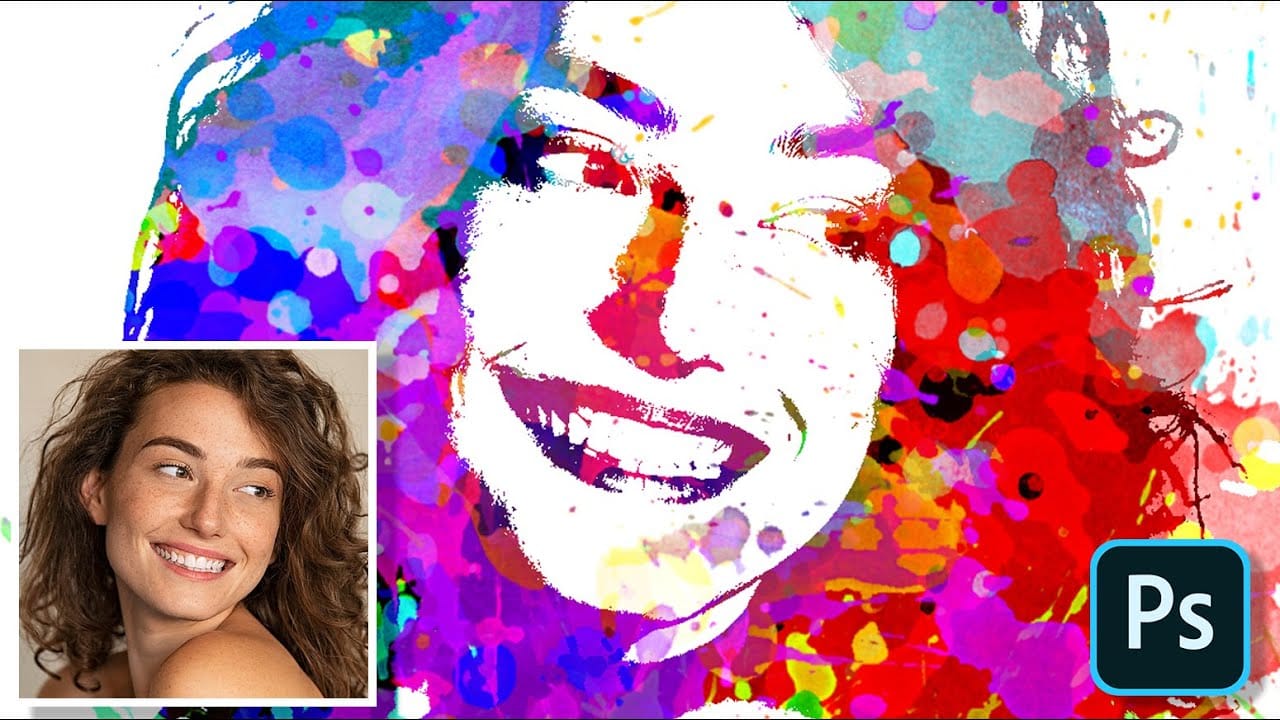
This video explores a creative approach to transforming ordinary photographs into vibrant pop art portraits using Adobe Photoshop. It offers a practical method for achieving a distinctive artistic effect that can be applied to various images.

Viewers will learn a streamlined process for applying artistic filters and adjustments, enabling them to achieve a bold pop art style. The tutorial also emphasizes efficient workflow, demonstrating how to replace the source photo without having to redo all the applied effects.

Watch the Video

Video by Blue Lightning. Any links or downloads mentioned by the creator are available only on YouTube

Understanding Pop Art Aesthetics in Digital Media

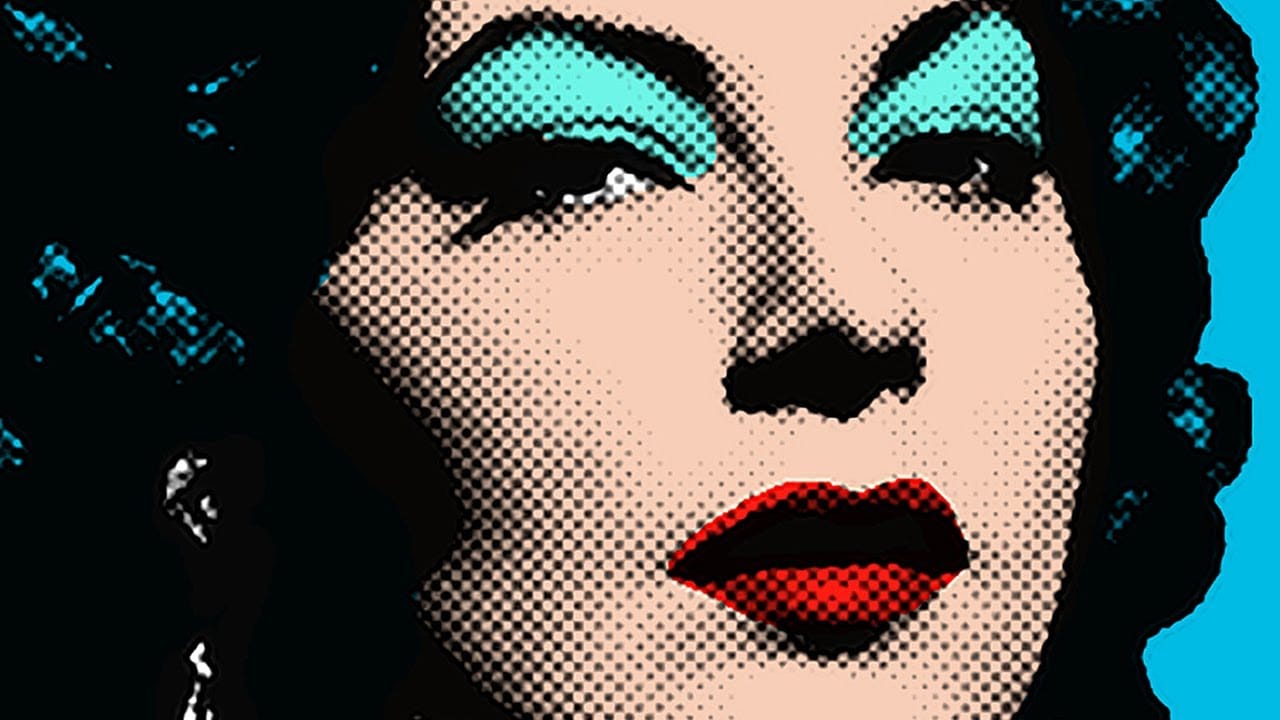
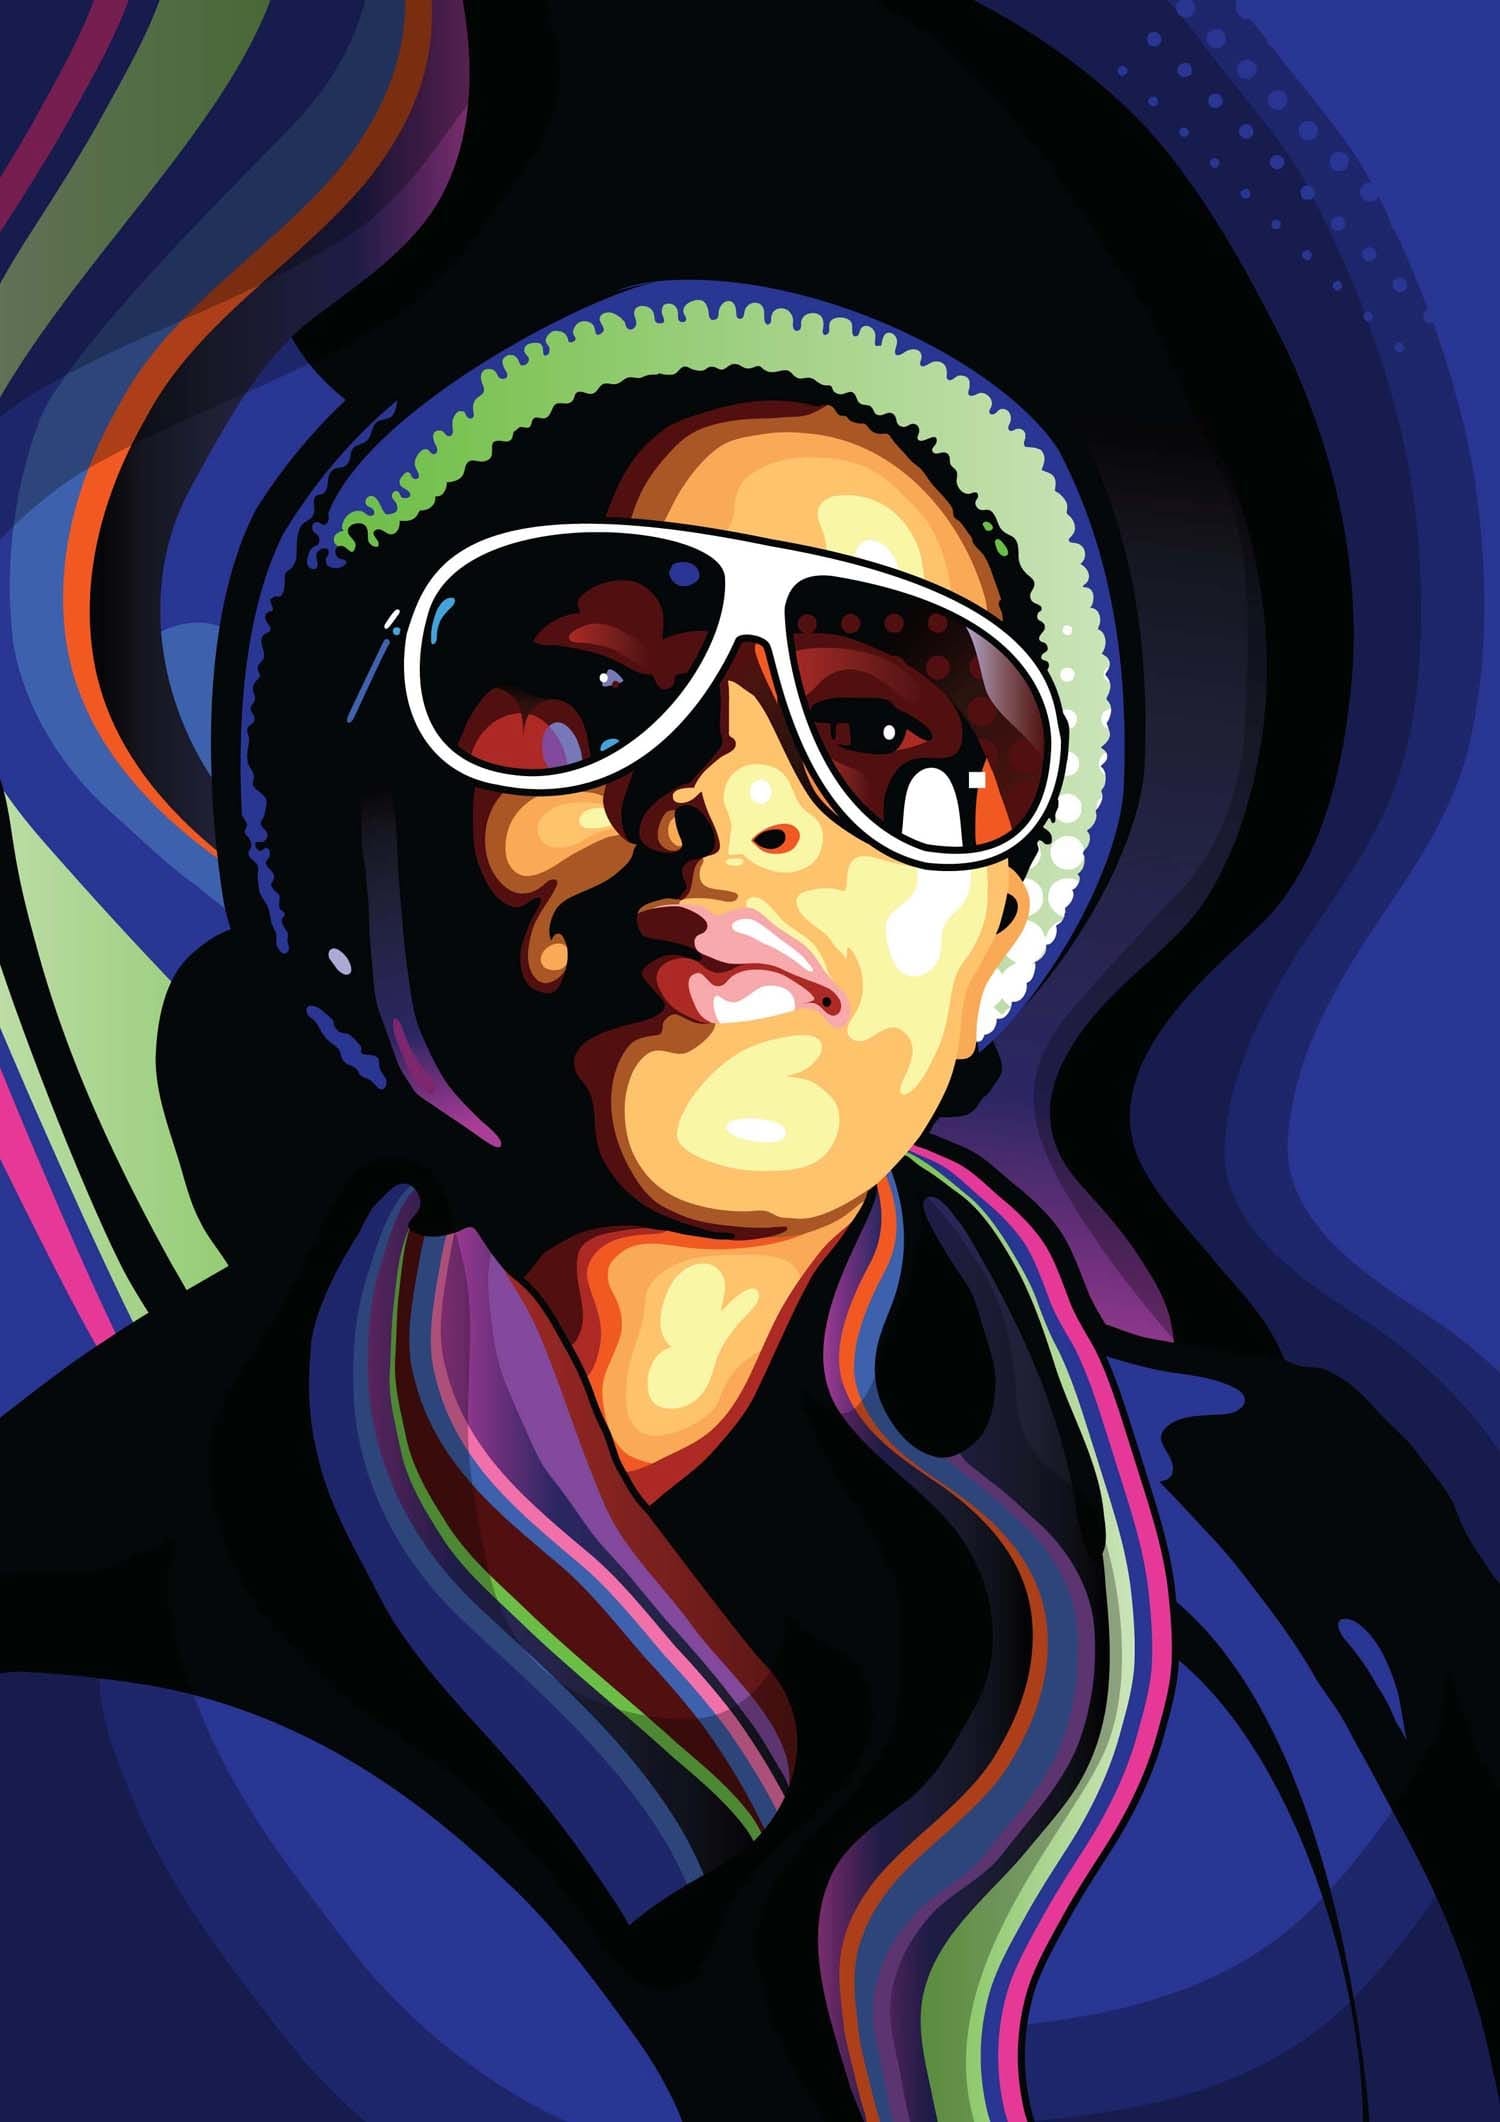
Pop Art, a movement that emerged in the mid-20th century, is characterized by its bold colors, strong outlines, and often, its appropriation of imagery from popular culture and advertising. When translating these aesthetics into digital art, software like Photoshop becomes an invaluable tool, allowing artists to replicate the graphic qualities and vibrant palettes synonymous with the style.

The digital medium provides unique advantages, such as non-destructive editing capabilities through features like Smart Objects. This allows for iterative adjustments and experimentation with filters without permanently altering the original pixels, mimicking the layered and often experimental nature of traditional pop art creation. Furthermore, the precision offered by digital selection and masking tools ensures clean separation of subjects, a critical element for the crisp, defined lines often seen in pop art portraits.

By understanding how various filters—such as those that simulate cutouts or glowing edges—interact with blend modes and adjustment layers, digital artists can effectively emulate the visual impact of iconic pop art pieces, transforming everyday photos into striking, stylized works.

Practical Tips for Pop Art Portrait Creation

  • Crop your image to specific dimensions and resolution early on to ensure consistent results across projects.
  • Utilize Smart Objects for non-destructive editing, allowing you to re-adjust filters or swap photos easily without losing previous work.
  • Experiment with the Levels adjustment layer to fine-tune brightness and contrast for individual layers, especially to control the intensity of outlines.
  • Leverage the Shadows/Highlights adjustment to bring out details in darker areas of your subject, enhancing the overall definition.
  • Master subject selection and masking for clean separation from the background, which is crucial for a polished pop art look.

Explore more tutorials that delve into transforming photos into various artistic styles and compelling visual effects.

Learn how to make a Pop Art portrait from a photo in Photoshop
This video tutorial by Marty from Blue Lightning TV focuses on creating a pop art portrait from a photo using Adobe Photoshop. It provides an easier and faster method to achieve this artistic effect. T he key takeaways include using the selection and paint bucket tools to separate the subject from the background, applying halftone and sharpen filters, and employing different blend modes and colors to create the pop art style. Overall, this technique allows users to produce creative pop art por
Create Paint Splatter Pop Art Portraits from Photos in Photoshop
This tutorial provides a straightforward guide to transforming ordinary photos into vibrant pop art portraits with a paint splatter effect. Marty Geller from Blue Lightning TV shares his techniques, making it easy for anyone to follow along. You will learn how to manipulate colors and textures, allowing your creative vision to come to life. The step-by-step instructions help break down the process, ensuring you can achieve impressive results even if you are new to Photoshop. By the end of the
Create a cool text portrait in Photoshop
Creating a text portrait in Photoshop is a sophisticated blend of photography and typography. In this tutorial by Marty from Blue Lightning TV, you'll learn how to transform a standard photo into a powerful typographic portrait. Starting with an optimal photo choice, Marty guides you through desaturating the image, refining the subject's edges, and setting up a new document. The tutorial then delves into the core process of integrating text, adjusting brightness and contrast for maximum impact,
Create a stylish vector portrait in Illustrator and Photoshop
As you embark on your journey to transform a photo into a vibrant vector illustration, Eelco van den Berg guides you through the process step by step. In this tutorial, you'll learn how to make quick and easy Photoshop adjustments that lay the groundwork for converting your image into a stylized vector artwork. Once you've prepared your artwork, you'll dive into Illustrator, where Eelco will show you how to use the essential tools to trace the basic shapes. By leveraging the power of layers, yo

Get tutorials & freebies delivered to you.

Subscribe to the Photoshop Roadmap newsletter, a weekly roundup of new tutorials, insights and quality downloads, trusted by 6500+ readers.

You might also like

Create Realistic Rim Light Effects on Portraits in Photoshop

Rim lighting transforms ordinary portraits into dramatic, professional-looking images by adding bright highlights around the edges of your subject. This technique simulates light hitting the outer contours of a person, making them stand out from their background with a natural, glowing effect. The key to convincing rim light lies in...

How to Use Photoshop's Layer Cleanup Tool to Organize Messy Projects

Complex editing projects with Generative Fill and Expand often result in dozens of unnamed layers cluttering your workspace. The new Layer Cleanup tool automates the tedious process of renaming layers and removing empty ones, transforming chaotic layer panels into organized, manageable structures. This workflow improvement saves significant time during post-production...

How to Use Curves for Composite Color Matching in Photoshop

Curves adjustments are essential for making composite elements look natural and cohesive. Understanding how curves manipulate light values and color channels gives you precise control over matching different elements to their new backgrounds. The key to successful color matching lies in analyzing the color temperature and brightness relationships between your...

How to Fix Color Fringing in Subject Cutouts Using Clipping Masks

Perfect layer masks can still produce disappointing results when color fringing appears around hair and fur edges. This common problem isn't caused by poor masking technique—it's the original background bleeding through at the edges. Clipping masks offer a powerful solution by allowing you to paint...

Create Beautiful Floral Oval Frames for Portraits in Photoshop

Transform ordinary portraits into elegant artwork with decorative floral oval frames that blend seamlessly with your subject. This technique combines traditional framing with digital floral elements, creating a painterly effect that's perfect for fine art prints and creative portraits. The process involves creating an oval cutout, adding custom...

You’ve successfully subscribed to Photoshop Roadmap
Welcome back! You’ve successfully signed in.
Great! You’ve successfully signed up.
Success! Your email is updated.
Your link has expired
Success! Check your email for magic link to sign-in.