How to Make a Photo look Vintage and Retro Using the Lomograph Effect

How to Make a Photo look Vintage and Retro Using the Lomograph Effect

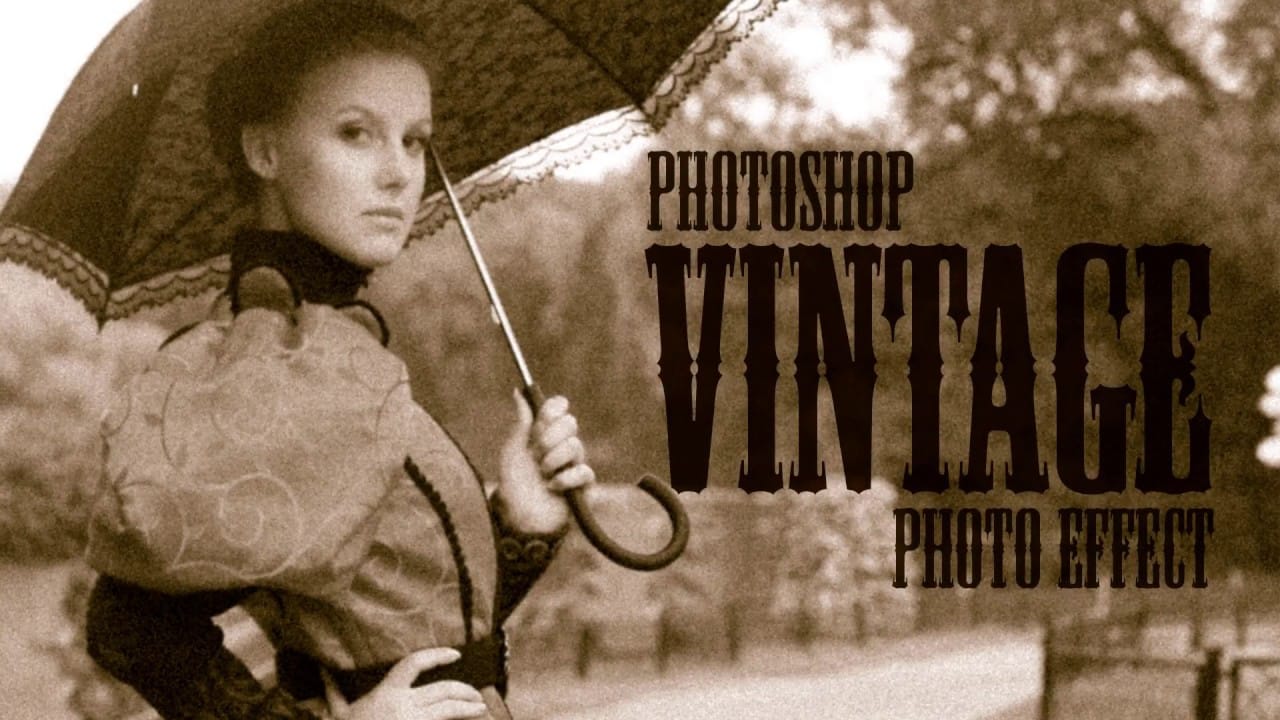
Digital photography offers incredible clarity and precision, but sometimes the charm of an older, analog look is exactly what a project needs. This tutorial explores how to transform a pristine digital image into a vintage-style photograph, complete with the imperfections and unique characteristics associated with old film and paper.

Viewers will learn a comprehensive workflow in Photoshop, covering techniques such as adjusting color channels for authentic shifts, adding light leaks, creating vignettes, applying subtle blurs, and incorporating paper textures to achieve a compelling retro aesthetic.

Watch the Full Tutorial

Video by Blue Lightning. Any links or downloads mentioned by the creator are available only on YouTube

Recreating Analog Photography's Unique Characteristics

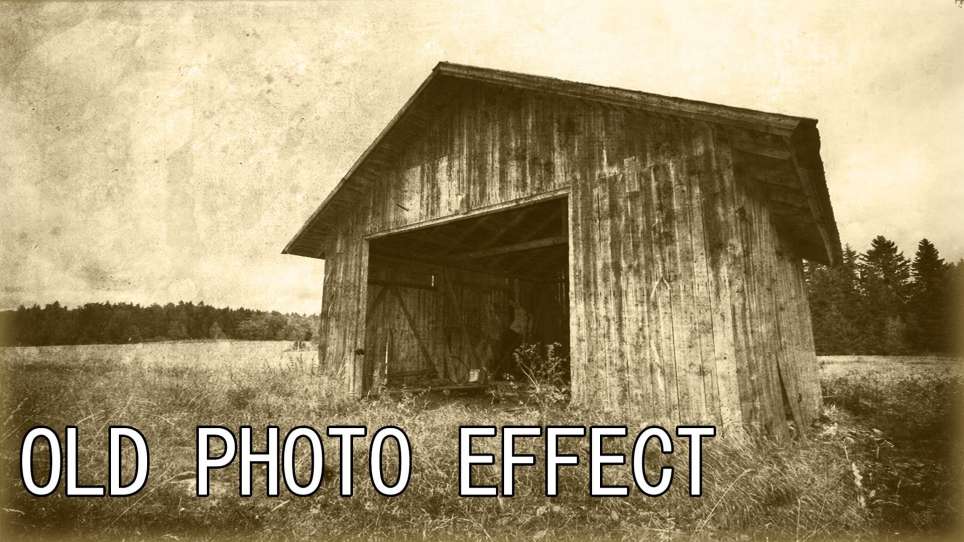
The distinctive appearance of vintage photographs often stems from the inherent limitations and chemical processes of older analog cameras and darkroom techniques. Over time, the chemical dyes in photographic paper and film degrade, leading to subtle yet noticeable color shifts, particularly in the red, green, and blue channels. This degradation contributes to the nostalgic, faded look that is often desired in vintage photo effects.

Beyond color, other elements contribute to the authentic analog feel. Light leaks, for instance, occur when stray light accidentally exposes the film or paper during development, creating distinctive flares or hazy areas. Vignetting, a darkening around the edges of a photo, was a common optical aberration in older lenses. Combining these elements with subtle blurs and textures from worn paper helps to convincingly replicate the feel of a photo taken decades ago.

Practical Tips for Vintage Photo Effects

  • Adjust color channels using Curves to simulate the color shifts found in old analog photos, enhancing reds in highlights and reducing greens in shadows.
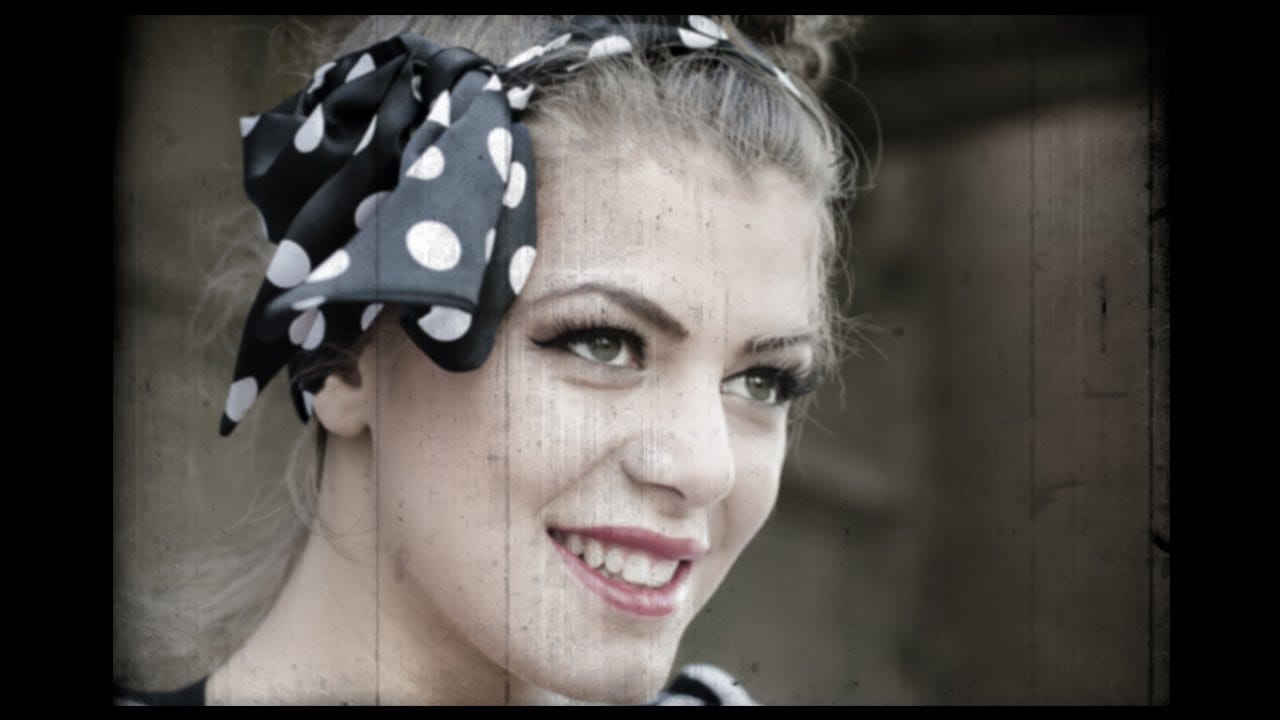
  • Apply a magenta tint using a new layer with a soft light blending mode to add an overall vintage color cast.
  • Use a Gaussian blur on a duplicated layer and then mask out the center to selectively blur only the edges of the image, mimicking older lens characteristics.
  • Create realistic light leaks by brushing bright red colors onto a new layer and setting its blending mode to Linear Dodge.
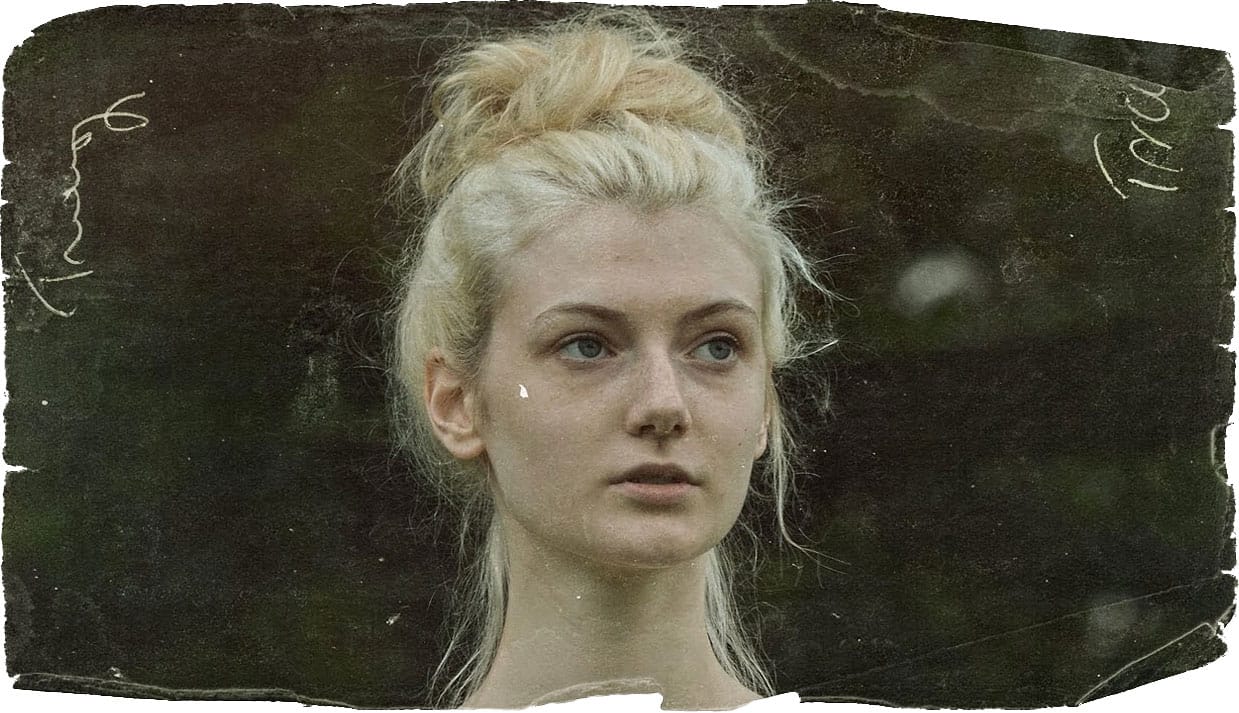
  • Generate a vignette effect by creating an elliptical selection, refining its edge with significant feathering, inverting the selection, and filling it with black on a new layer set to Soft Light.
  • Incorporate a paper texture by converting its tonal values into a selection and filling a new layer with white, then resizing it to fit the photo.

Explore more resources to deepen your understanding and expand your skills in creating classic and aged photo effects.

Create a realistic old vintage photo effect in Photoshop
Photographs are timeless. In fact, it’s often our old, weathered and faded photographs that we treasure the most. Snapshots from a bygone era fill our hearts with nostalgia and romantic notions of how much simpler life must have been. While today’s digital cameras continue to amaze us with their technology, there’s still something magical and irreplaceable about old, vintage photographs. And not only do we love to look at them, but we also love to recreate the look of them in programs like Phot
Create an Old Photo Effect in Photoshop
The author, Photoshop Pro Help, provides a tutorial on how to create an old photo effect in Photoshop. They explain that if you have ever admired the style of vintage photos and wanted to give your modern photos a similar look, this tutorial will show you how to apply an old photo style with a torn and damaged brown vintage effect. This can transform your photos to look as if they were taken straight from a history book. The tutorial guides the user through the process of achieving this retro a
Apply a vintage and gritty old paper effect to your photos in Photoshop
In this tutorial by Jobe from DR Design Resources, readers will learn a quick and easy technique to transform their photos into a vintage-inspired look with an old paper effect in Adobe Photoshop. The process involves using a texture of an old paper and applying it to the desired image. The author demonstrates how to apply this effect on two different images, one with a light background and one with a dark background. This straightforward method allows users to easily achieve a gritty, aged ae
Create a vintage movie effect from a photo
If you're looking to give your photos a vintage movie feel, this Photoshop tutorial from Blue Lightning TV has you covered. The step-by-step guide shows how to quickly and easily transform your modern, color photographs into the look of old, 8mm film stills. The process is straightforward and accessible, making it perfect for beginners and experienced Photoshop users alike. By applying a series of adjustments and effects, you can recreate the grainy, muted tones and distinct framing of classic

Get tutorials & freebies delivered to you.

Subscribe to the Photoshop Roadmap newsletter, a weekly roundup of new tutorials, insights and quality downloads, trusted by 6500+ readers.

You might also like

How to Remove Eye Bags Using Dodge and Burn in Photoshop

Eye bags can dramatically age a portrait, making subjects appear tired or unhealthy. Traditional removal methods often destroy skin texture or create unnatural results that look obviously retouched. This professional dodge and burn technique removes even severe eye bags while preserving every detail of natural skin texture. The method uses...

How to Fix Crossed Eyes and Lazy Eyes in Photoshop

Portrait photographers and retouchers often encounter images where subjects have crossed or lazy eyes, which can distract from an otherwise great shot. Whether caused by timing, lighting, or natural eye alignment issues, these problems can be corrected effectively without compromising image quality. This tutorial demonstrates two practical approaches: using AI-powered...

How to Edit Snow in Landscape Photos Using AI Masking Tools

Editing winter landscapes traditionally requires careful masking to enhance different elements like snow, sky, and vegetation separately. The new AI landscape tool automatically detects and creates precise masks for these elements, including snow, making complex edits surprisingly simple. This workflow works identically across multiple platforms, allowing you to enhance winter...

How to Contract a Selection to Eliminate White Edge Artifacts.

White edge artifacts can ruin otherwise perfect cutouts, appearing as unwanted halos around selected objects after background removal. These artifacts occur when selection edges capture tiny fragments of the original background, creating visible white outlines that become obvious against new backgrounds. The Contract modifier in Photoshop's Select menu...

How to Use New Camera Raw Adjustment Layers in Photoshop Beta

Three new adjustment layers in Photoshop beta bring Camera Raw's most powerful tools directly into your layers panel. Color and Vibrance, Clarity and Dehaze, and Grain adjustments now work as standard adjustment layers, eliminating the need for smart objects while maintaining all the precision masking and blending capabilities...

How to Wrap Designs Around Complex Objects Using Displacement Maps in Photoshop

Professional mockups require more than simply placing a design onto an object. Complex surfaces like crushed aluminum cans demand advanced techniques to achieve realistic wrapping that follows every contour and deformation. This process combines displacement mapping, smart objects, and blending modes to create reusable templates that automatically conform any design...

You’ve successfully subscribed to Photoshop Roadmap
Welcome back! You’ve successfully signed in.
Great! You’ve successfully signed up.
Success! Your email is updated.
Your link has expired
Success! Check your email for magic link to sign-in.