Creating realistic composites requires more than simply placing objects into photos—proper perspective matching is essential. The Vanishing Point filter automates this process, eliminating the guesswork of manual perspective adjustments.
This technique handles everything from artwork placement to architectural mockups, ensuring objects appear naturally integrated into their surroundings with accurate lighting and shadows.
Watch the Video
Practical Tips
Master perspective placement with these essential techniques for realistic composites:
- Match lighting direction before applying perspective by analyzing highlights and shadows in your background image
- Copy your object to the clipboard first, then create a new layer before entering the Vanishing Point filter
- Build your perspective grid by clicking on straight architectural lines to establish accurate vanishing points
- Use multiple drop shadows with varying distances and opacity levels to create realistic depth
- Apply clipping masks to adjustment layers for targeted lighting corrections that only affect your placed object
Related Articles and Tutorials
Explore more advanced perspective and compositing techniques to enhance your photo manipulation skills:
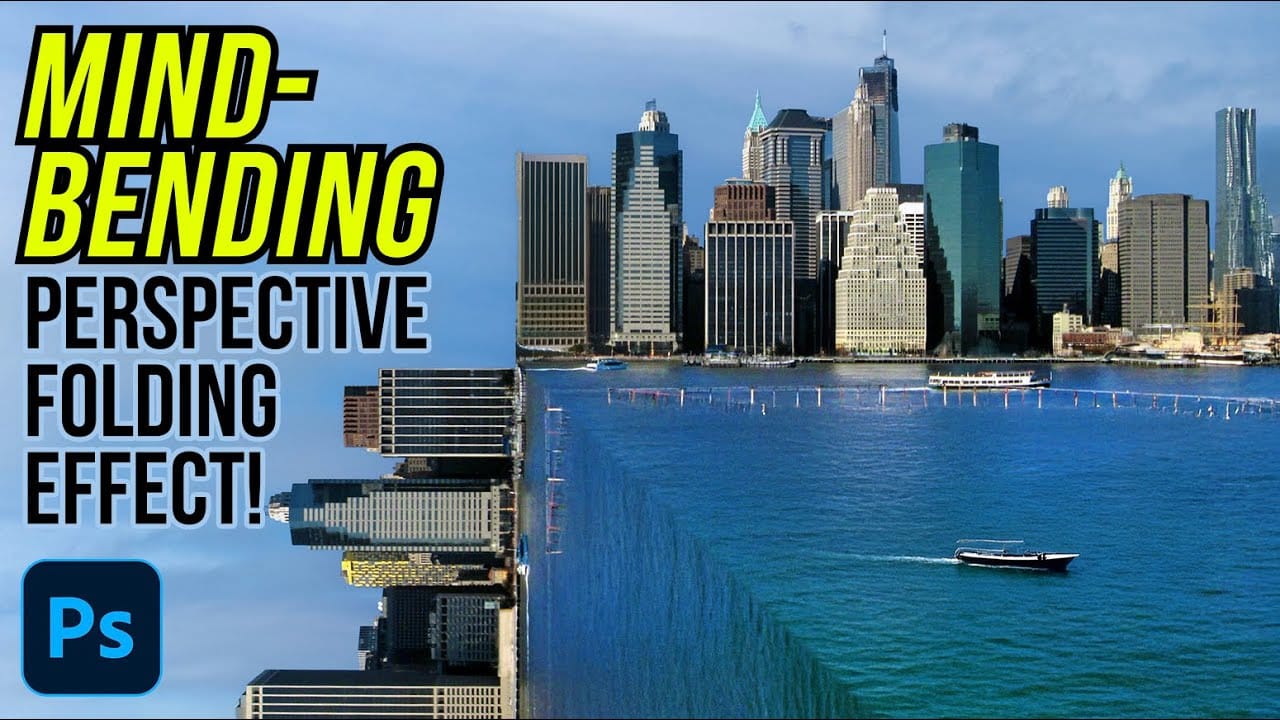
How to Create a Mind-Bending Perspective Effect in Photoshop
Transform an ordinary cityscape into a surreal architectural illusion that defies reality. This perspective-bending technique creates the visual impact of two worlds colliding at impossible angles.
Master the art of rotating, masking, and blending images to achieve cinematic effects that captivate viewers and challenge their perception of space.
Watch the Video
Essential Tips for Perspective Effects
* Enable Snap from the View menu before positioning rotated layers to ensure precise align
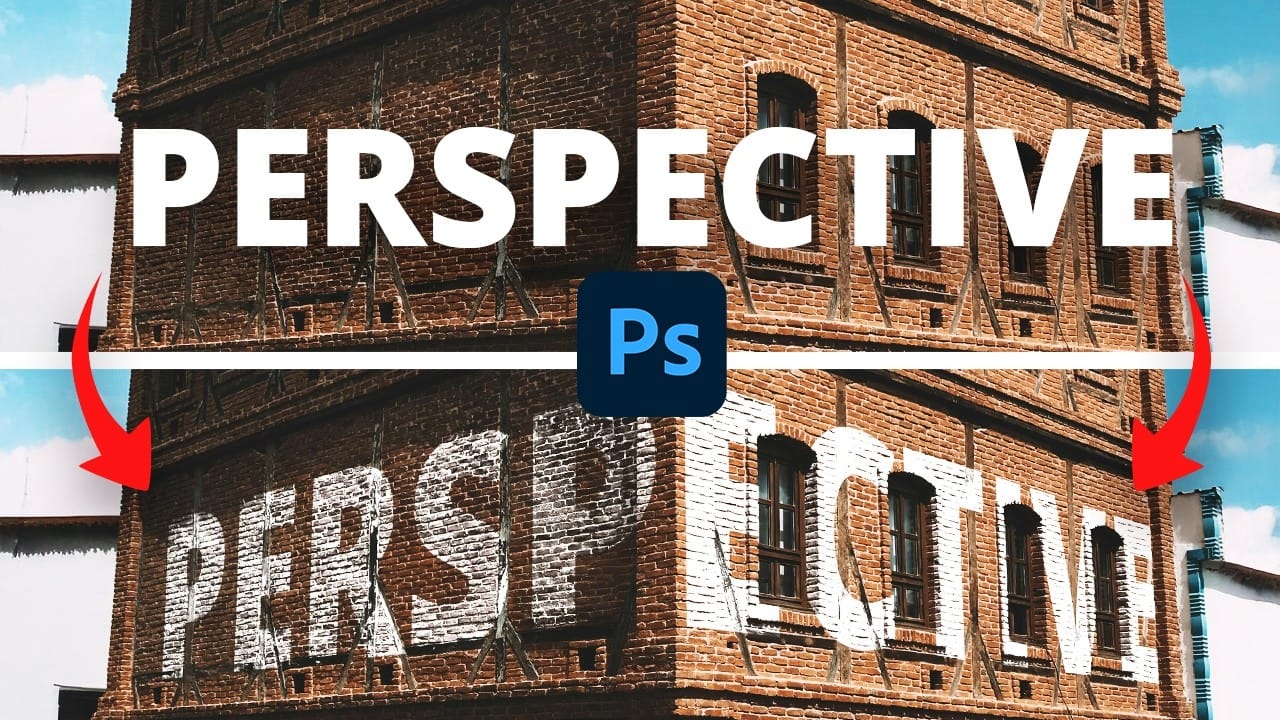
Quick and Easy Perspective Text in Photoshop
Integrating text seamlessly into photographic scenes can improve a design, making static words appear as if they are a natural part of the environment.
Learn how to use Photoshop's Vanishing Point filter to map text seamlessly onto different surfaces, maintaining the image's perspective for a realistic result.
Watch the Video
Practical Tips for Integrating Perspective Text
* Select a bold font for your text to ensure maximum legibility and visual impact once the perspective transformation
Create an Inception-like perspective bending effect in Photoshop
In this Photoshop tutorial by Jesus Ramirez from Photoshop Training Channel, you will learn how to create a perspective-bending effect. The resulting cube Earth will be a similar effect to the photo manipulations that you have seen in the movie Inception and Dr. Strange.
The Perspective photo manipulation effect in this video can be replicated with almost any landscape photo where the horizon is visible.
Watch tutorial

Quickly Center Anything In Photoshop Using These 2 Methods
If you want to center an image or a piece of text in Photoshop, it can be frustrating not knowing where to start. In Photoshop there are a few ways to center and align your layers whether you want to work with the entire canvas or just a section of your photo.
In this Photoshop tutorial, you'll learn how to center your images and text to the entire canvas, while also learning how to make custom selections for aligning layers to more specific areas. To add a cherry on top, I'll also show you how
How to Use Photoshop's Alignment Tools for Perfect Object Placement
Perfect alignment transforms amateur-looking designs into polished, professional layouts. When text floats awkwardly or elements appear randomly scattered, the entire composition suffers. Photoshop's alignment tools eliminate guesswork and create visual harmony with mathematical precision.
These tools work with individual layers, groups, and selections to position elements exactly where they belong. Master these techniques to build consistent, balanced designs that look intentional rather than
How to Create Convincing Scale Effects in Photoshop Composites
Creating believable scale effects requires more than simply resizing objects—it demands understanding how light, perspective, and atmospheric conditions change with distance. When tiny subjects appear massive or giant objects seem miniature, viewers should feel the illusion is completely natural.
This technique combines careful attention to lighting consistency, depth cues, and environmental details to sell dramatic size transformations that capture attention while maintaining photographic cred

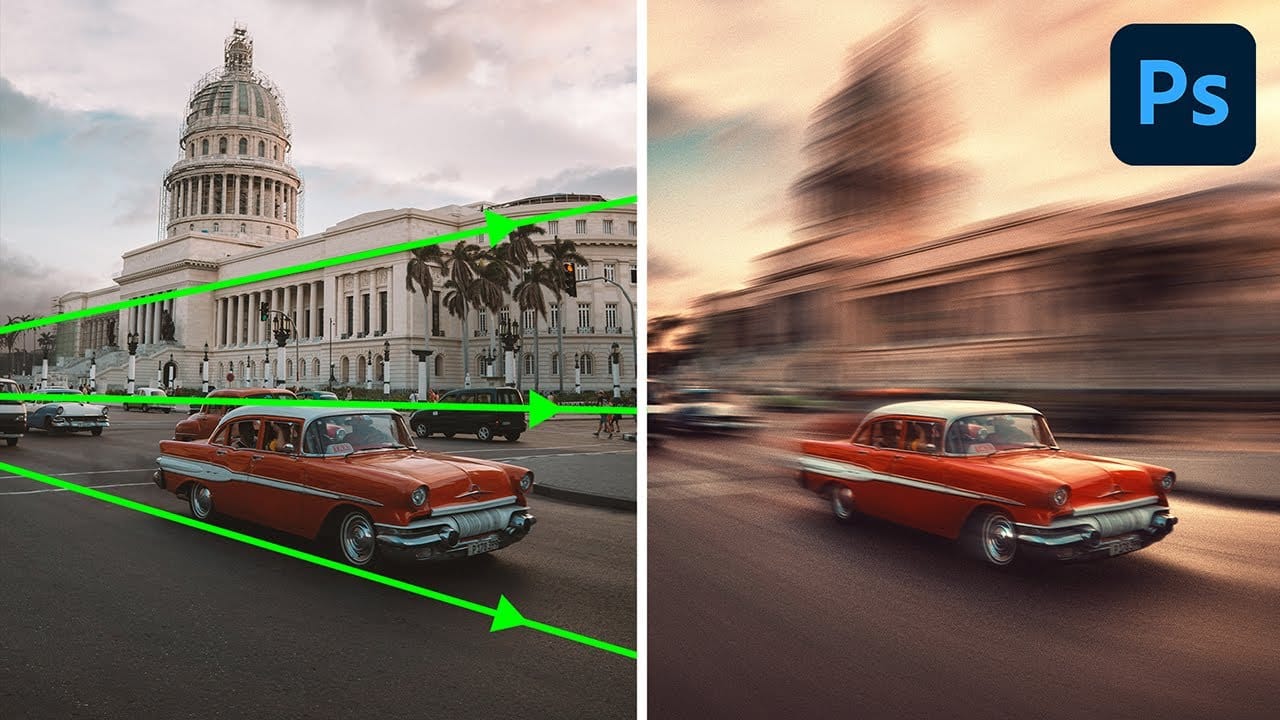
Generate a Perspective Motion effect with Photoshop
In this detailed tutorial, PiXimperfect demonstrates how to create a dynamic perspective motion effect in Photoshop. The lesson focuses on adding motion blur that aligns with the perspective of an object, making it appear as if it's moving rapidly through space. Using multiple paths to capture the perspective, you'll learn how to apply blur effects along these lines to simulate realistic motion.
The tutorial covers advanced techniques with Path Blur to not only create motion but also enhance th
How to Place Text Behind an Object in a Photo
Design magic happens when text blends seamlessly with images. Creating depth by placing text behind objects transforms ordinary graphics into compelling visual stories that capture attention and imagination.
Watch the Video
Practical Tips for Placing Text Behind Objects
Master the art of text placement with these essential techniques:
* Duplicate your original photo layer to create a sandwich effect for text positioning
* Use selection tools like the polygonal lasso or pen tool to create

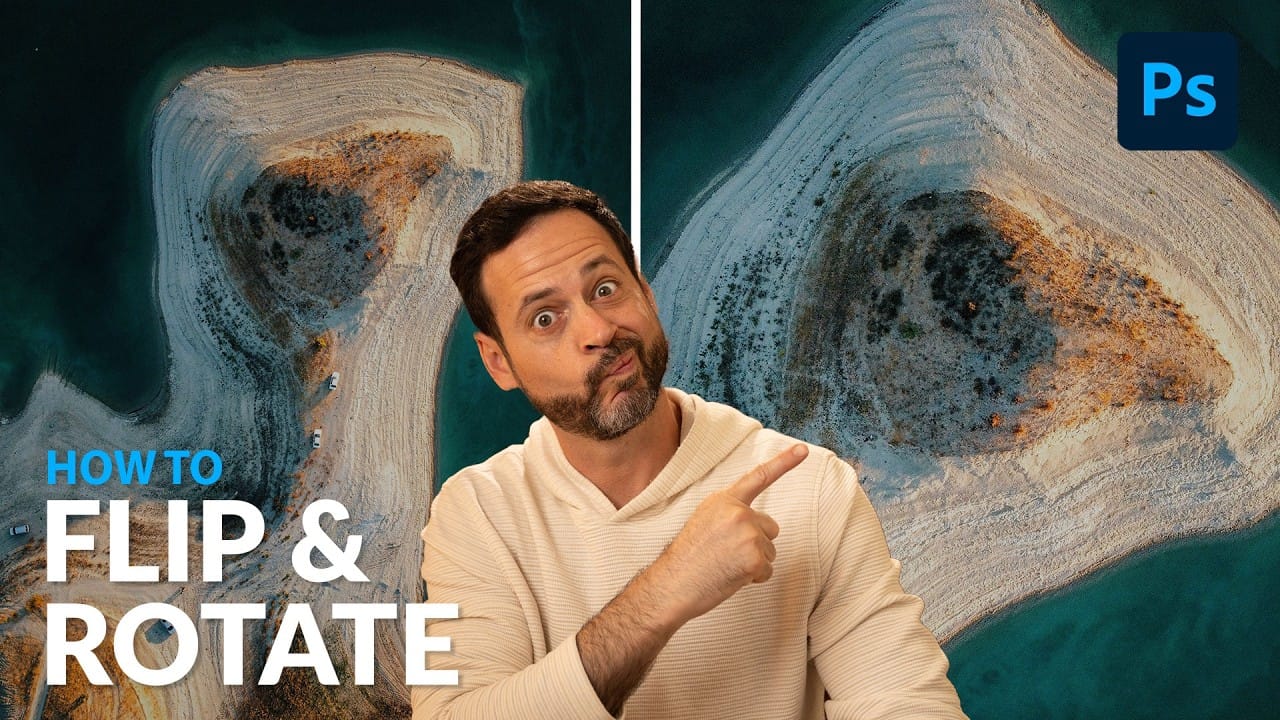
Rotate and Flip Images and Layers with Precision in Photoshop
Often in image editing, photographs or design elements are not oriented correctly or require a creative re-orientation for a new composition. This common challenge can be frustrating when simple rotation tools affect the entire canvas, disrupting other layers, or when precise control over individual elements is needed.
This tutorial demonstrates two distinct methods for rotating and flipping images in Photoshop: one for the entire canvas and another for individual layers.
Understanding these a