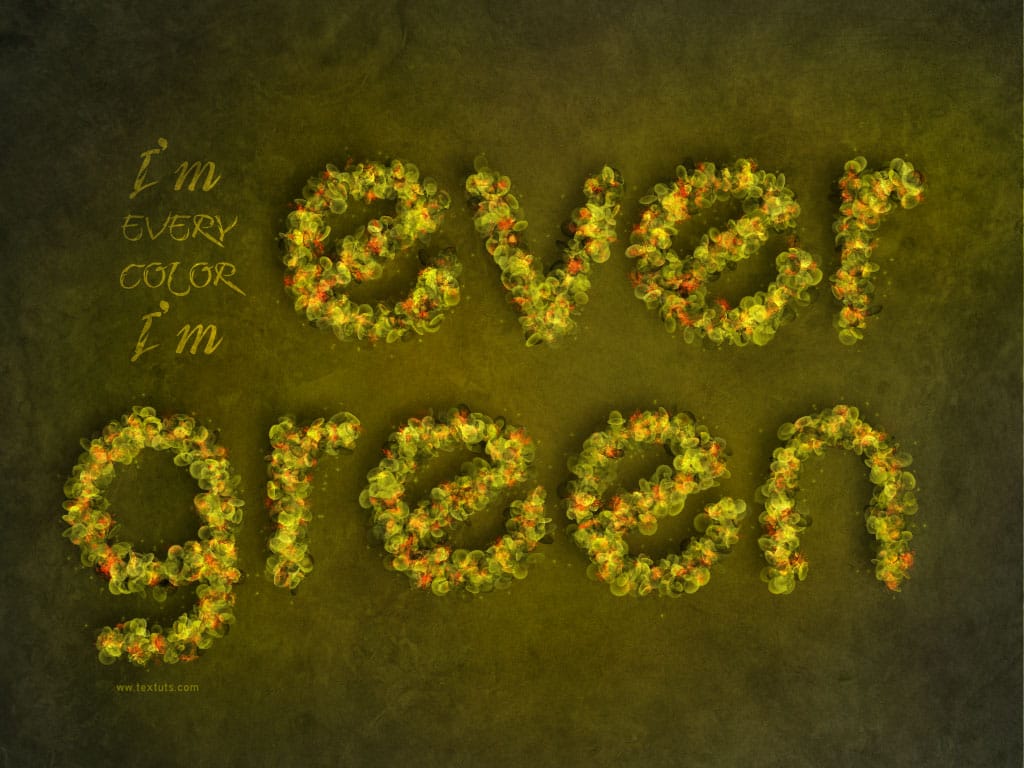
Create striking floral typography by blending text seamlessly with flower images. This tutorial shows you how to interweave words among petals and stems, adding depth and artistic flair to your designs.
Watch the Full Tutorial
Video by Spoon Graphics. Any links or downloads mentioned by the creator are available only on YouTube
Practical Tips for Floral Typography
Enhance your workflow and achieve stunning results with these key techniques:
- Speed up your workflow by using shortcuts like Command/Control + Tab to switch documents, Command/Control + A to select all, Command/Control + C to copy, Command/Control + W to close, and Command/Control + V to paste.
- Scale and position flower graphics using Command/Control + T, then right-click and choose Flip Horizontal to better fit shapes within your composition.
- Organize your design by selecting all flower layers and pressing Command/Control + G to group them, keeping your layer stack tidy.
- Create an editable flower layer for masking by selecting the group, then go to Layer > Merge Visible while holding the Alt/Option key to make a copy on a new layer.
- Refine drop shadows by right-clicking the effect and choosing Create Layer, allowing you to warp and bend the shadow using Command/Control + T for a more realistic, lifted effect around overlapping elements.
More Tutorials about Floral Text Effects
Explore additional resources to further develop your skills in combining text and nature-inspired elements.
Create a Floral Typography Text Effect in Photoshop
This Photoshop tutorial by Nathaniel Dodson is all about how to create a cool effect where type is intertwined through a floral bouquet. You’ll learn how to layer masks and shadows to build a complex effect that has depth and shape.
You will also create a type of parchment paper beneath the floral design to make sure the whole effect sits on a beautiful background.
Watch tutorial

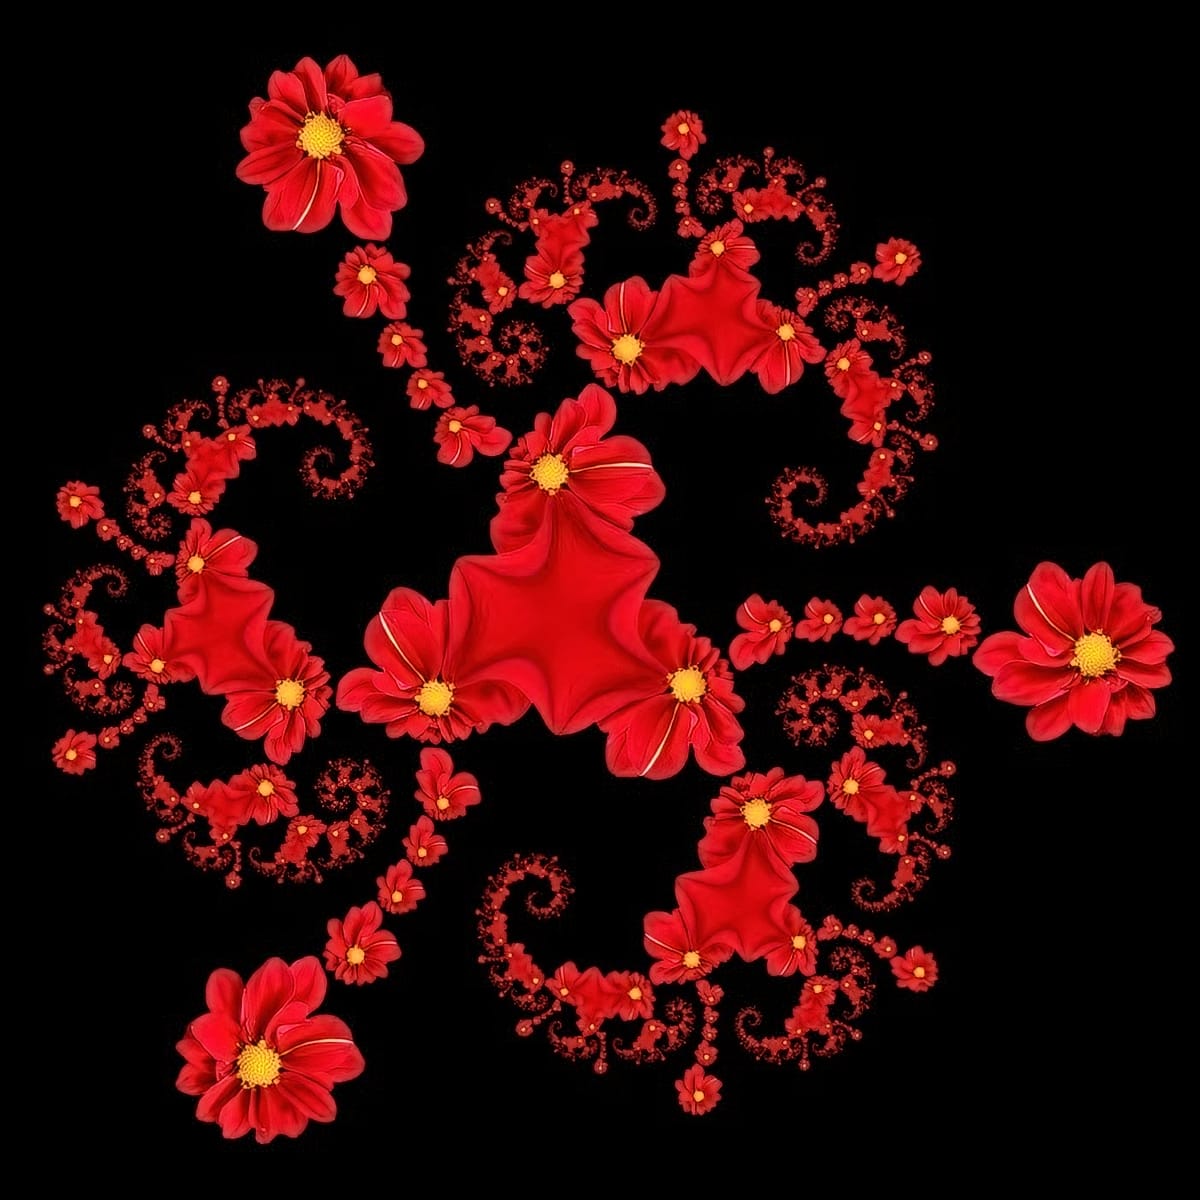
Create a Beautiful Floral Fractal Illustration in Photoshop
This tutorial will show you how to create a beautiful and simple fractal image based on a flower. This is actually impossible with Photoshop’s standard plugins, so we are going to use the stunning Fractal Explorer free filter that is run using the Pixel Bender plugin.
👁️This is an older tutorial, and some external links or data sources mentioned may no longer be accessible. However, the content covers a unique topic and remains valuable despite any broken connections. We’ve kept the post intac
Leafy Text Effect Photoshop Tutorial
In today’s Adobe Photoshop tutorial I’m going to show you how to make this Eco text effect, which is made up of loads of tiny leaves, along with vines and water droplets. It’s a great example of how patience is the key ingredient to creating cool artwork. It doesn’t make use of any complicated tools […] More
 Spoon Graphics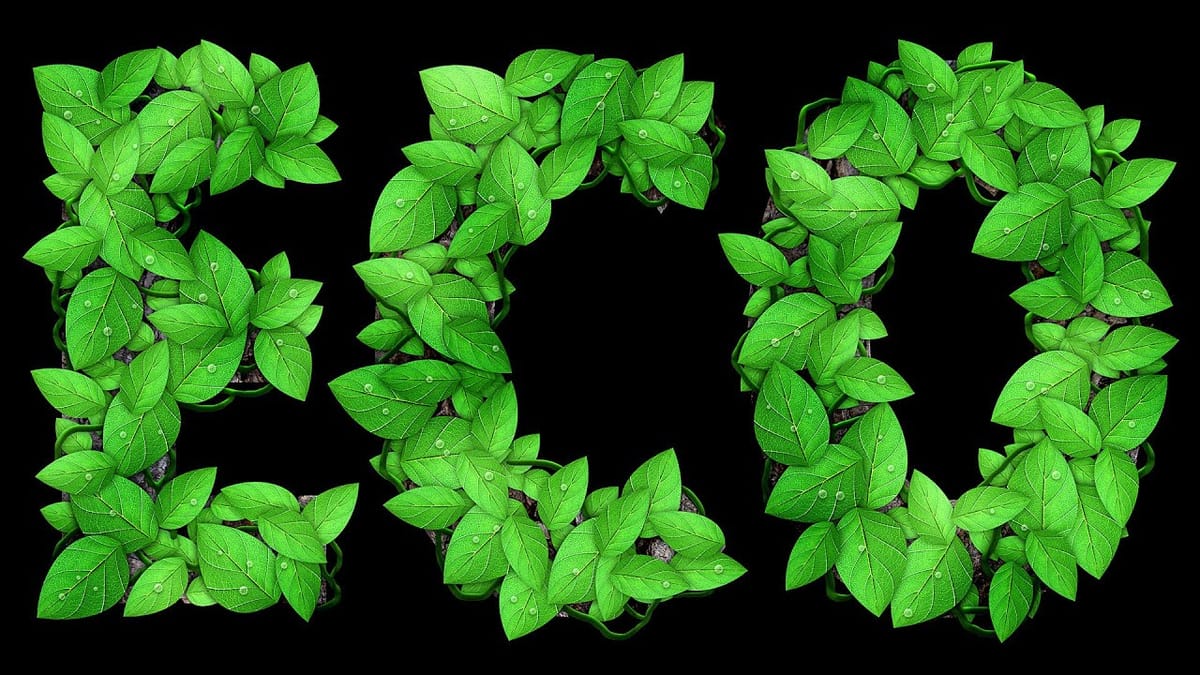
Create a Fantasy Spring Blossoms Text Effect in Photoshop
This tutorial will guide you through the process of creating a charming text effect inspired by the beauty of spring. You will start by designing a simple brush that captures the essence of leaves and flowers, adding a touch of nature to your work.
Next, you'll learn how to modify the brush settings to achieve a delicate and fresh look. These adjustments will help you create a text design that feels both vibrant and whimsical, perfect for any spring-themed project.
Whether you are a beginner o