Creating authentic-looking handwritten text can transform your digital designs into something that feels personal and organic. Rather than relying on standard computer fonts, you can make text appear as if it was actually written by hand on paper, complete with natural curves, subtle imperfections, and realistic lighting.
This technique is perfect for wedding invitations, greeting cards, diary entries, or any project where you want to add a human touch to your typography.
Watch the Video
Practical Tips
Master the art of realistic handwritten text with these essential techniques from the tutorial:
- Download handwritten fonts from sites like DaFont.com to get authentic letter styles instead of using standard system fonts
- Create text boxes by clicking and dragging with the Type tool to constrain text within specific boundaries, ensuring it fits your intended space
- Rasterize your text layers by merging them together before transformation - this allows for more advanced warping and distortion effects
- Use Transform and Warp tools to match the perspective and curvature of your background surface, making the text follow natural page contours
- Apply subtle Gaussian blur and random layer masking to create natural ink bleeding and variation in opacity, mimicking real pen strokes
Related Articles and Tutorials
Explore more creative text effects and typography techniques to enhance your design projects.
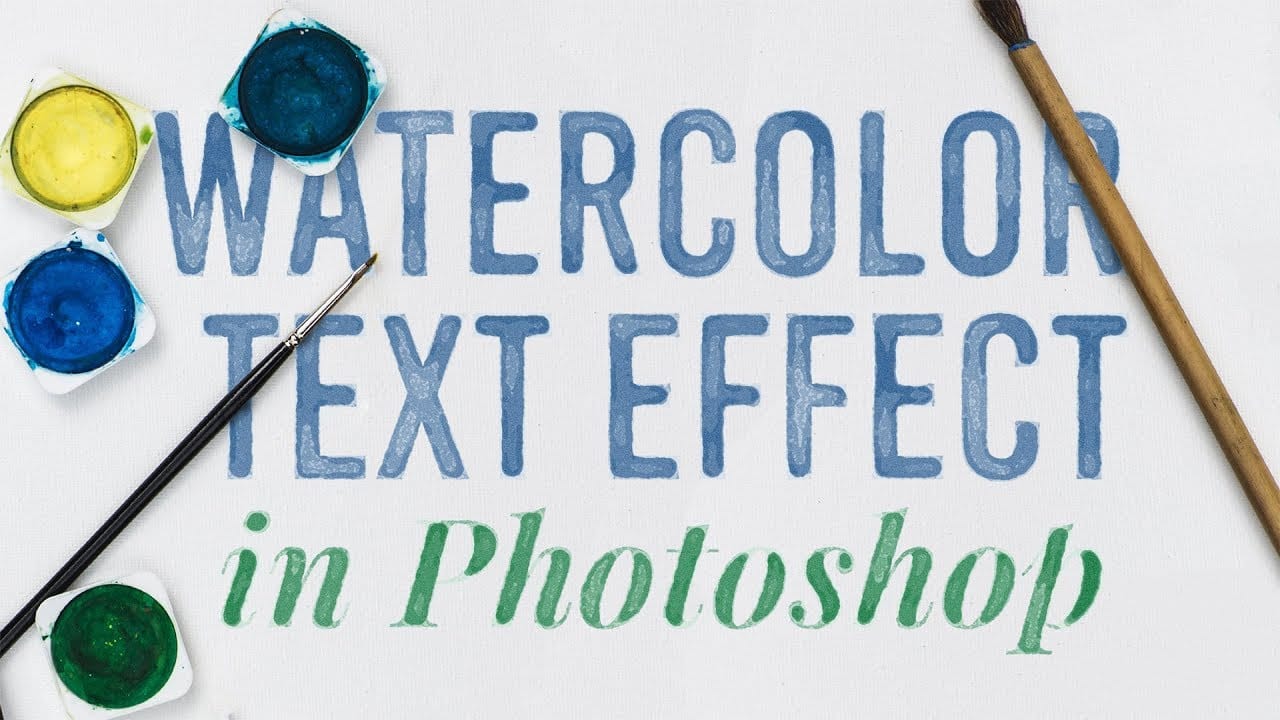
How to create a watercolor text effect in Adobe Photoshop
Achieve a beautiful, artistic watercolor look for your text in Photoshop. This tutorial guides you through applying a unique effect that transforms ordinary text into vibrant, hand-painted artwork, perfect for creative projects.
Watch the Video
Practical Tips for Watercolor Text Effects
Replicating the delicate nuances of watercolor requires careful use of Photoshop's features. Here are key techniques from the tutorial to master this unique effect:
* Convert your text layer to a Smart Obj
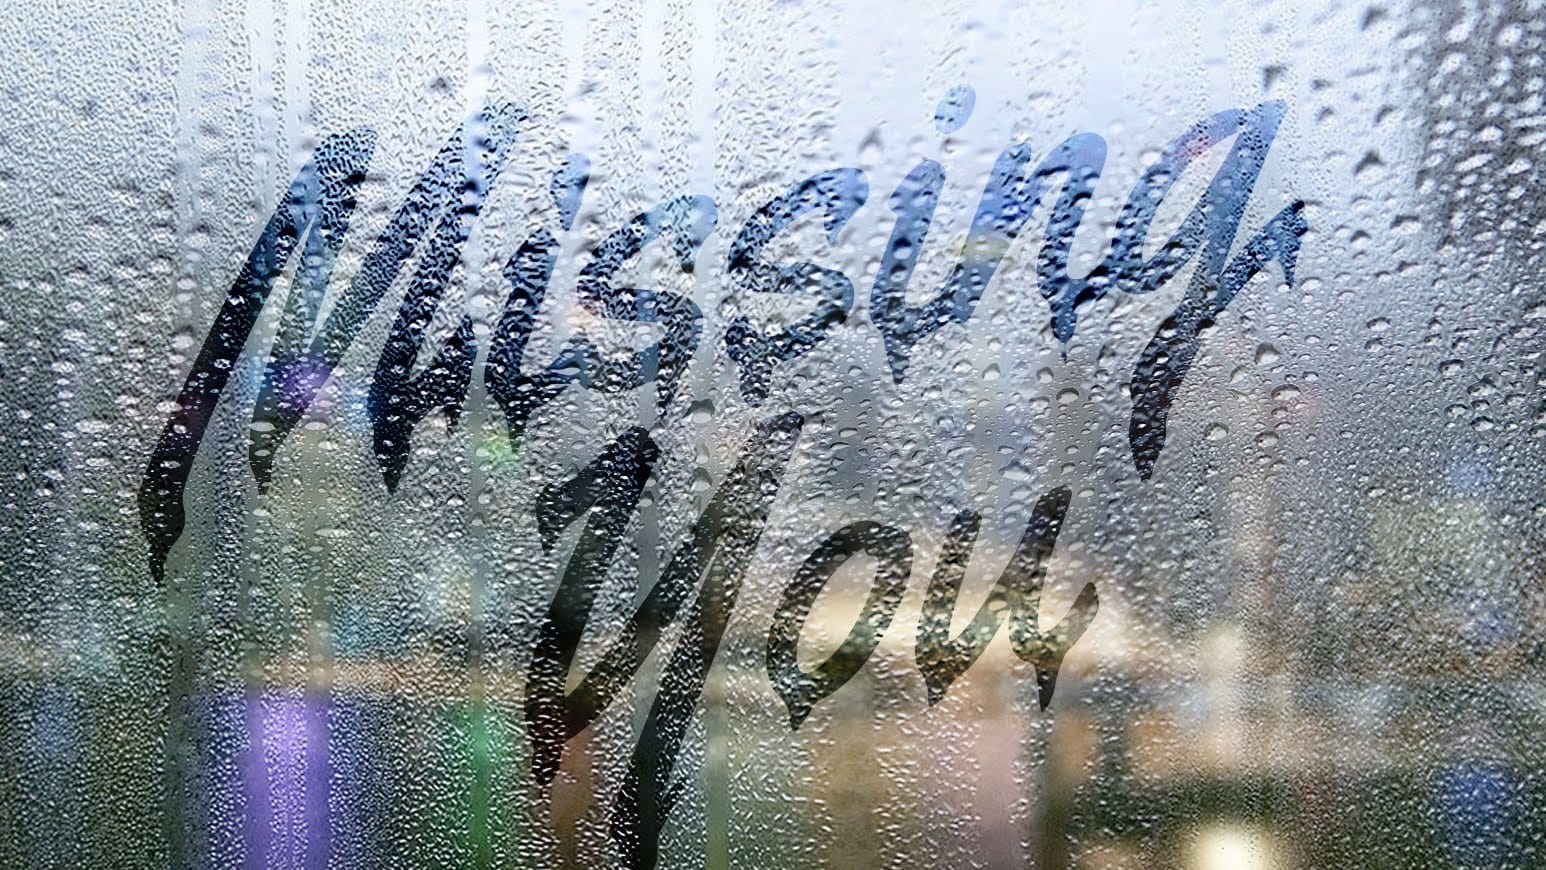
Create a text on a foggy rainy window in Photoshop
This tutorial teaches digital artists to realistically simulate handwritten text on a foggy, rainy windowpane, enhancing images with unique atmospheric depth. Learn to integrate background photos, apply non-destructive blurs, manipulate text for realistic drips, and enhance specific areas for visual impact.
Watch the Video
Practical Tips for Creating Rain Text in Photoshop
* Convert background images to Smart Objects before applying blur to allow for non-destructive edits and flexibility.
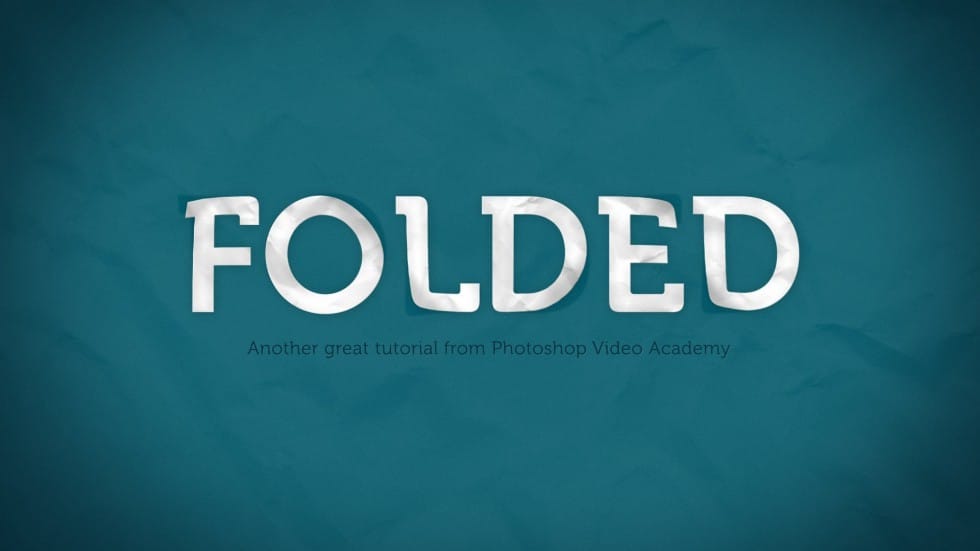
How to Create a Folded Paper Text Effect in Photoshop
Want to give your text a unique, handcrafted feel? This tutorial shows how to create a compelling folded paper text effect in Photoshop.
Learn to make letters appear as if they are peeling up from the page, adding depth and visual interest to your designs.
Watch the Video
Practical Tips for Creating Folded Paper Text Effects
Achieving a convincing folded paper effect involves careful manipulation of text, shadows, and textures. Here are some key tips from the tutorial to help you master th
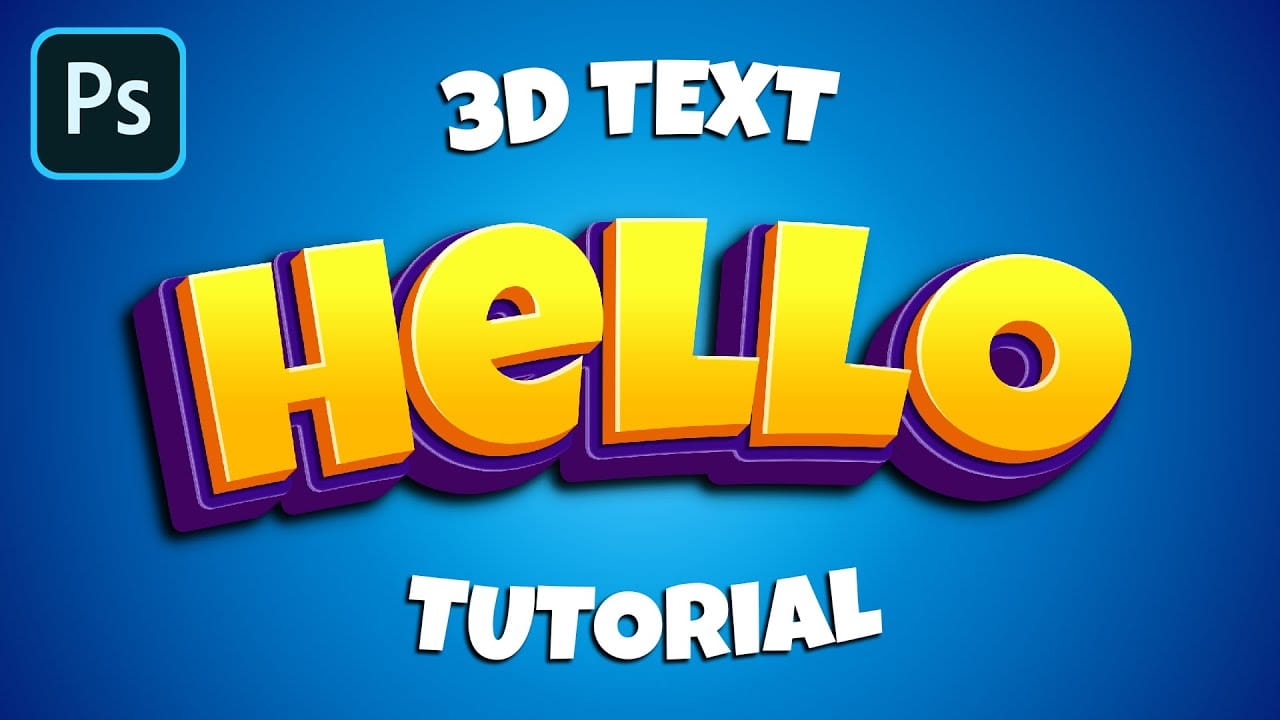
How to Make a Cartoon 3D Text in Photoshop
In this Photoshop tutorial by Learning Screen, you will learn how to create colorful, funny cartoon-style 3D text.
The tutorial guides you through the process of using various Photoshop tools and techniques to achieve a vibrant, playful text effect that stands out. The resulting text is bold and eye-catching, perfect for playful and energetic designs. This tutorial is ideal for projects like posters, children's book covers, or any other creative work that benefits from a fun and dynamic headlin
Create a Floral Typography Text Effect in Photoshop
Learn to create stunning floral typography in Photoshop. This tutorial teaches you to blend vibrant flowers with custom text, achieving a captivating visual that seamlessly integrates botanical elements with your design. Master techniques for realistic depth, perfect for unique posters, art, or personal projects.
Watch the Full Tutorial
Practical Tips for Crafting Floral Text Effects
* Convert masked images to Smart Objects early in the process to maintain editability of layer masks and tr

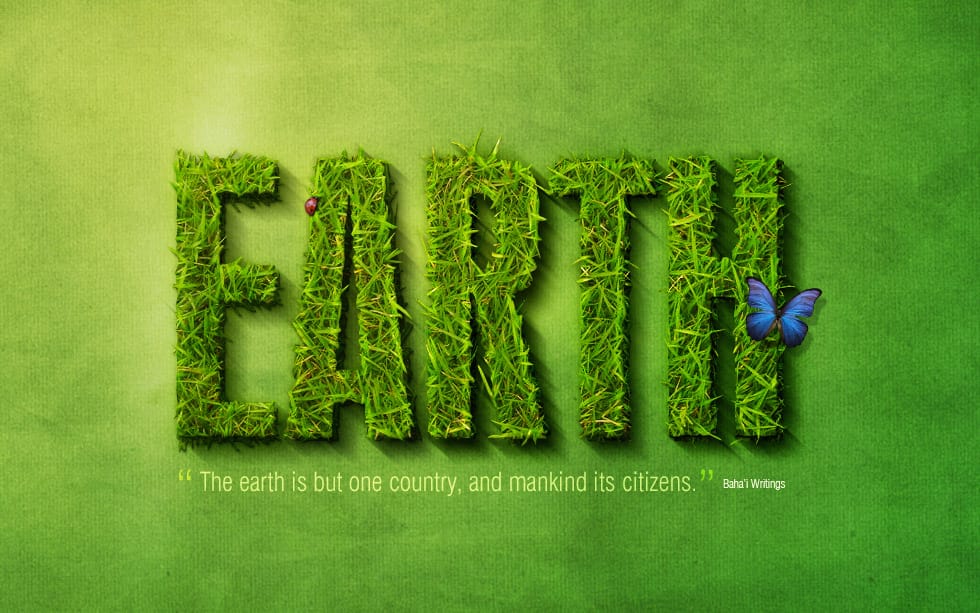
Create a spectacular grass text effect
Transform ordinary text into a vibrant, natural masterpiece with a realistic grass texture. This Photoshop tutorial guides you through creating stunning typography that blends seamlessly with organic elements, adding a fresh and captivating touch to your designs.
Watch the Tutorial
Practical Tips for Creating Grass Text
Achieve a natural and compelling grass text effect in Photoshop with these targeted tips:
* Create a natural background: Begin with a radial gradient for your document, us
Create a Typographic Portrait in Photoshop
This tutorial explores a creative method for transforming a standard photographic portrait into a unique work of art composed entirely of text. It demonstrates how to combine typography with image manipulation to create a visually compelling and personalized artistic statement.
Viewers will learn how to prepare an image, generate and integrate custom text, and apply advanced Photoshop techniques like displacement mapping to achieve a stunning, text-based artwork that subtly conforms to the cont

How to Create a 3D Retro Text Effect in Adobe Photoshop
Transform your designs with a classic retro text effect in Adobe Photoshop. This tutorial guides you through creating popular vintage styles, featuring 3D appearances and decorative elements like inset faces.
Learn how to achieve these striking visuals using a combination of powerful Photoshop techniques, ensuring your text remains fully editable and dynamic.
Watch the Video
Leveraging Smart Objects and Advanced Layer Styles for Retro Aesthetics
Achieving a complex retro text effect in Pho

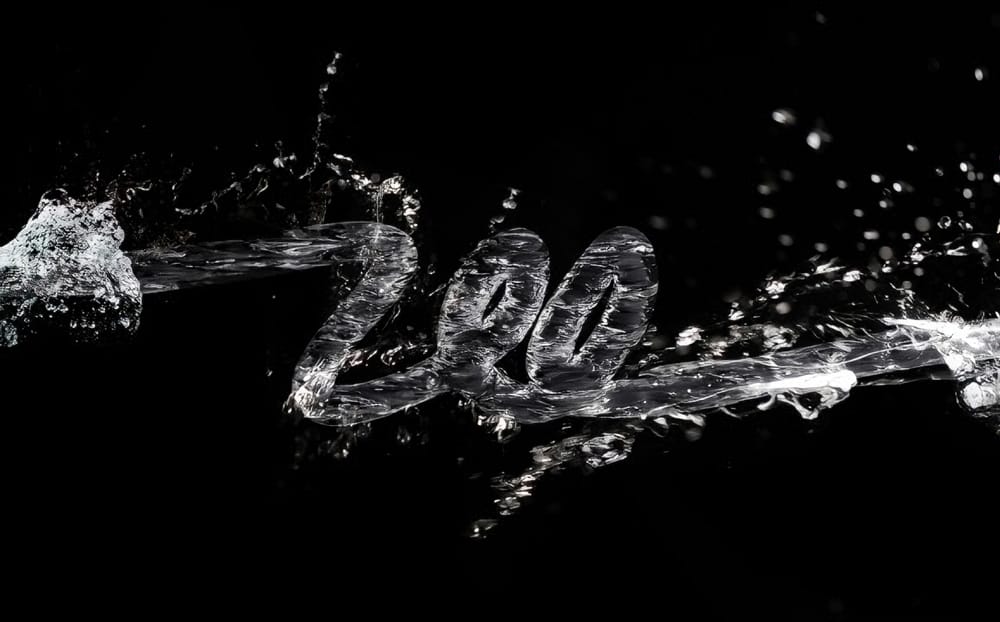
3D Water Text Effect in Photoshop
This Photoshop tutorial by Abduzeedo guides you through the process of creating a striking and dynamic 3D water text effect. The tutorial breaks down what may seem like a complex technique into manageable steps, making it accessible for users at any skill level.
You will start by using the new Repoussé feature in Photoshop, which allows for the creation of 3D text effects with ease. After establishing the text, you will incorporate stock photos to enhance the water appearance, adding depth and