Create awesome fireworks in Photoshop

Create awesome fireworks in Photoshop

Achieving the distinct, scattered spark effect of fireworks in Photoshop might seem like a complex task. This tutorial reveals a clever technique, starting with a simple white dot and the often-overlooked "Dissolve" blend mode. This initial step lays the groundwork for realistic bursts by generating a unique scattered pixel pattern, a foundation far more organic than traditional brush strokes.

From this surprising starting point, the process unfolds to incorporate dynamic transformations, vibrant color adjustments, and even reflections. You will learn how to sculpt fireworks using the Liquify filter, enhance their brilliance with Vibrance and color balance, and seamlessly integrate them into a nighttime cityscape, complete with reflections and objects appearing in front of the display.

Watch the Video

Video by Blue Lightning. Any links or downloads mentioned by the creator are available only on YouTube

Understanding the Dynamics of Digital Firework Design

Recreating the fleeting spectacle of fireworks within a static image presents a unique challenge for digital artists. Fireworks are inherently dynamic, characterized by rapid expansion, brilliant light, and evolving patterns. Simulating this transient beauty requires an understanding of light behavior, particle dispersion, and color theory within the confines of a photo editor.

Photoshop provides a robust toolkit for such simulations, allowing artists to manipulate pixels in ways that mimic natural phenomena. Techniques like Radial Blur can simulate explosive motion, while the Dissolve blend mode offers a precise method for generating scattered light particles. Mastering these tools enables artists to not only create the visual form but also to convey the sense of energy and light emitted by a real firework.

Furthermore, integrating these digital creations seamlessly into an existing scene involves careful consideration of perspective, lighting, and foreground elements. Strategic use of layer masks and transformation tools ensures the fireworks appear as if they are truly part of the environment, whether bursting over a city skyline or reflecting in a calm body of water. This layered approach allows for intricate control over each element, building up a complex visual from fundamental digital effects.

Practical Tips for Crafting Fireworks in Photoshop

  • Begin the firework's core spark by applying the Dissolve blend mode to a simple white dot, then merging the layer to lock in the scattered pixel effect under a Normal blend mode. This unconventional step creates the initial random dispersion essential for realistic sparks.
  • Shape the explosive burst of your firework dynamically using the Liquify filter's Forward Warp Tool, dragging from the center outwards to mimic expansion.
  • Sharpen your firework after extensive Liquify adjustments using the Unsharp Mask filter (e.g., Amount: 200%, Radius: 1 pixel, Threshold: 0 Levels) to restore crispness that might be lost during warping.
  • Adjust firework colors vibrantly and precisely by employing Adjustment Layers like Color Balance or Selective Color, clipped to the firework layer to control only its hues.
  • Integrate fireworks behind foreground elements by grouping all firework layers into a folder, applying an inverted layer mask to the folder, and then brushing with white to reveal only specific areas around obstructions.

More Tutorials about Special Effects in Photoshop

Explore additional guides and lessons to enhance your image manipulation skills and create captivating digital artistry.

How to Create Flames in Photoshop
In this tutorial, Julieanne Kost walks you through the process of creating realistic flames in Photoshop. The tutorial simplifies the process into four manageable steps, making it accessible even for beginners. Kost starts by guiding you through the basics of setting up your workspace and selecting the right tools. She then demonstrates how to use different paths and brush settings to shape and control the flame effect. By adjusting various parameters, you can achieve a dynamic and realistic fl
How to Create Realistic Fire in Photoshop
In this tutorial by Aaron Nace from Phlearn, you'll learn how to add realistic fire effects to your photos using Photoshop. The tutorial focuses on blending free stock images of fire into your own photographs to create a convincing fire effect. Aaron Nace demonstrates how to effectively use common tools like Blending Modes and Layer Masks to integrate the fire seamlessly into your images. You will explore techniques for adjusting the fire’s appearance, ensuring it matches the lighting and persp
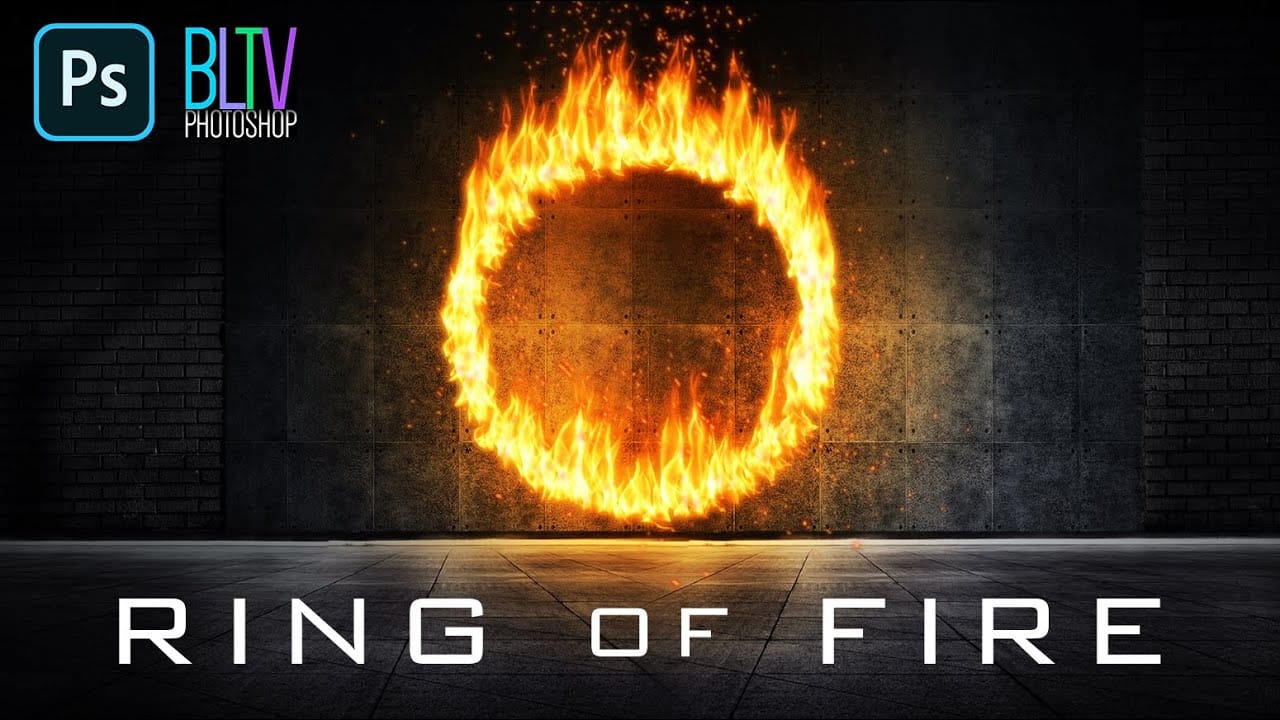
Create a Powerful Ring of Fire in Adobe Photoshop
In this tutorial, Marty Geller from Blue Lightning TV demonstrates how to create a striking ring of fire in Photoshop. The video includes links to a custom brush set for fire sparks and a dark background, though you can choose your own as long as it meets a resolution of 72 pixels per inch. The process begins with creating a circular path using the Ellipse Tool and adjusting its position and size. After rendering flames through the Filter menu, users are encouraged to experiment with settings t
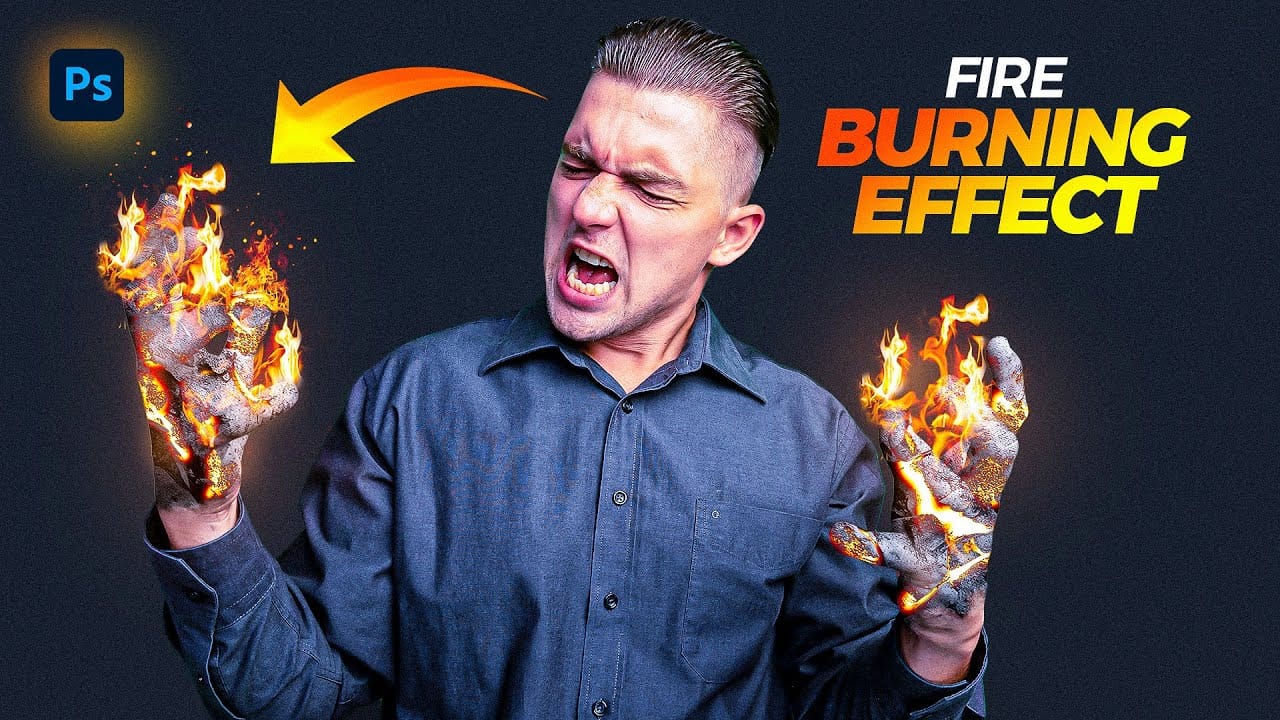
Create a Fire Burning Effect in Photoshop
Creating a fire-burning effect in Photoshop is a fascinating process that can enhance your images dramatically. Start by setting up a new file with dimensions of 1920 x 1080 pixels. Import the necessary images, which can be found in the provided link. Duplicate your main layer using Ctrl + J, then convert it to black and white through the Image Adjustments menu by selecting Hue/Saturation and removing all saturation. Next, apply an inverted mask to the black and white layer. Use the brush tool

Get tutorials & freebies delivered to you.

Subscribe to the Photoshop Roadmap newsletter, a weekly roundup of new tutorials, insights and quality downloads, trusted by 6500+ readers.

You might also like

Complete Photoshop Editing Workflow: 5 Steps from Raw to Polished

Photoshop offers endless possibilities for photo enhancement, but many photographers never move beyond basic adjustments because the software feels overwhelming. This comprehensive workflow breaks down photo editing into five manageable stages that work consistently across different photography styles. The systematic approach covers everything from initial raw processing to advanced lighting...

Photoshop Workspace Basics: Navigation, Zooming, and Essential Interface Elements

Photoshop's interface can feel overwhelming when you first open the program. Dozens of panels, tools, and menus compete for attention, making simple tasks feel complicated. This tutorial breaks down the essential workspace elements and teaches fundamental navigation skills that form the foundation of efficient Photoshop work. Watch the...

How to Restore Old Damaged Photos Using Nano Banana in Photoshop

Old family photos with scratches, tears, and missing sections can seem beyond repair. Google's Nano Banana AI model, now integrated into Photoshop, makes full restoration possible in minutes rather than hours. This powerful tool excels at maintaining facial characteristics while automatically filling in damaged areas and adding realistic...

How to Get Higher Quality Results from Photoshop's Generative Fill Tool

Photoshop's Generative Fill creates impressive AI extensions, but the results often look blurry and pixelated when viewed at full size. This quality limitation makes many AI-generated areas unusable for printing or large displays. This technique shows how to work around the 1024x1024 pixel quality limit to create much...

How to Use Photoshop's Liquify Tool for Non-Destructive Portrait Retouching

Clothing wrinkles, hair that lacks volume, and awkward fabric bunching can distract from an otherwise great portrait. Photoshop's Liquify tool offers a powerful solution for smoothing out these issues while preserving the natural look of your subject. This tutorial demonstrates how to use the Liquify tool non-destructively with...

You’ve successfully subscribed to Photoshop Roadmap
Welcome back! You’ve successfully signed in.
Great! You’ve successfully signed up.
Success! Your email is updated.
Your link has expired
Success! Check your email for magic link to sign-in.