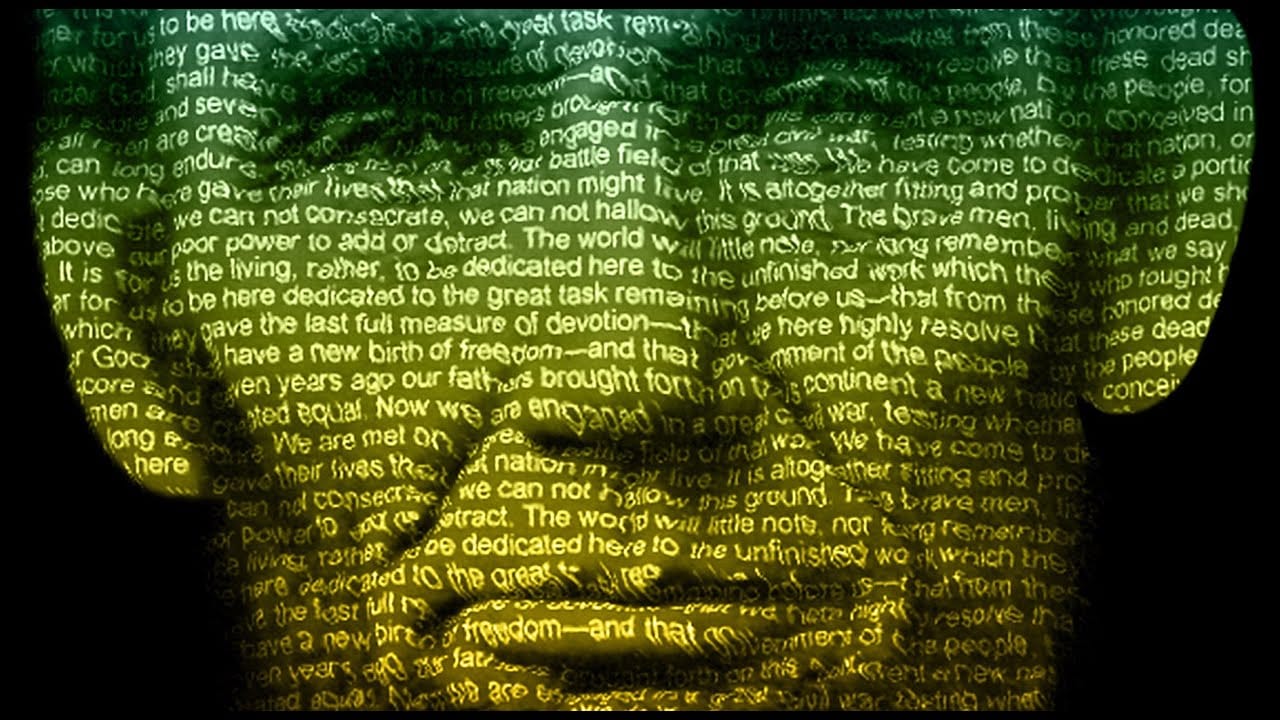
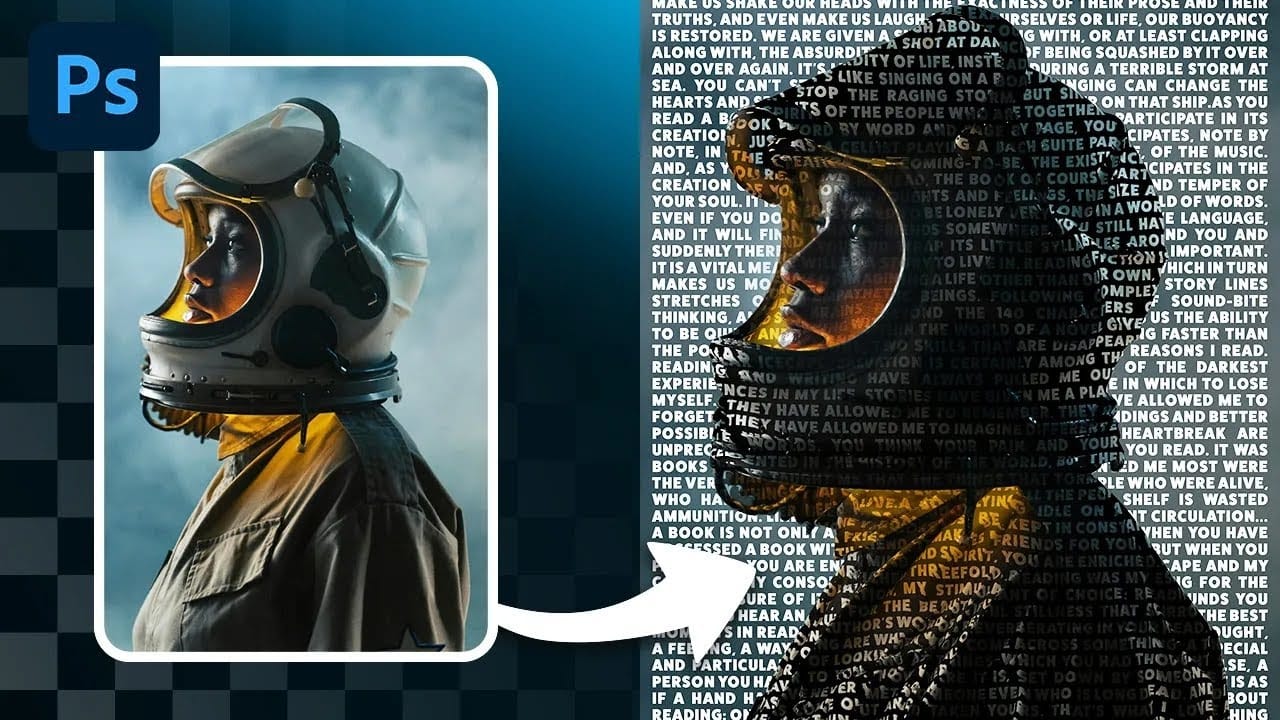
Learn how to create a striking typographic portrait poster in Adobe Photoshop, transforming a standard photo into an artwork where text defines the contours of the subject’s face. You’ll practice essential techniques: precise subject selection, background preparation, thoughtful text integration, and subtle refinements to enhance legibility and visual impact.
Watch the Video
Video by Blue Lightning. Any links or downloads mentioned by the creator are available only on YouTube
Practical Tips for Text Portrait Posters in Photoshop
- Desaturate your base image to black and white early in the process, as this simplifies the contrast adjustments and prepares the image for monochromatic text integration.
- Refine the edges of your subject, especially around intricate areas like hair, using the Refine Edge tool to ensure a clean separation from the background.
- Adjust image levels to enhance contrast, making shadows pure black and highlights bright, which creates clear areas for text application and improves overall definition.
- Blend hair edges into the background using a Layer Mask and a soft brush set to reveal the black background, ensuring a seamless transition and avoiding harsh cutouts.
- Use the Dodge Tool and a low-opacity brush to selectively brighten areas where text might be difficult to read, improving word legibility without overexposing the portrait details.
Related Articles and Tutorials about Typographic Portrait Posters
Explore more techniques and creative approaches to text-based designs and portrait effects.
How to make a text poster of a portrait in Photoshop
Discover the artistry of text-driven graphic posters with BlueLightningTV's latest Photoshop tutorial. This engaging guide teaches you how to craft a stunning visual tribute to your favorite celebrity, musician, poet, writer, or leader by seamlessly blending their iconic lyrics, prose, poetry, or speech with their portrait.
The tutorial walks you through each step, from selecting and preparing the perfect image to intricately wrapping text around the contours of their face.
Watch tutorial
Create a Striking Text Portrait Poster in Photoshop
Transforming an ordinary portrait into a captivating text-based artwork presents a unique creative challenge in Photoshop. Often, the frustration lies in making text appear to organically wrap around a subject’s contours rather than just sitting flat over the image. Achieving this seamless integration, especially when dealing with complex shapes, can feel like navigating an intricate technical puzzle.
This tutorial offers a clear pathway to mastering text portrait effects using advanced masking
Create a Creative Text Portrait Poster in Photoshop
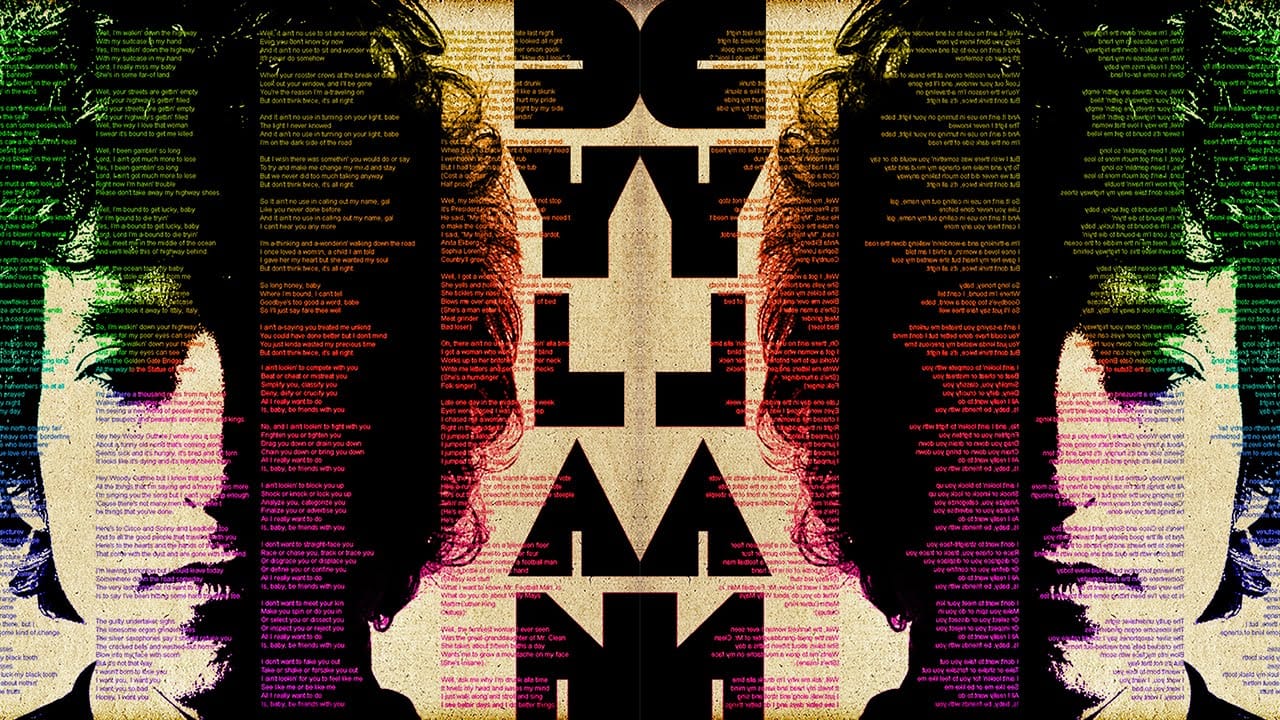
The author, Marty Geller from Blue Lightning TV, provides a tutorial on how to create a creative text portrait poster in Photoshop. This project allows you to design a powerful, custom text portrait poster of a musician, songwriter, poet, or author, featuring their lyrics, poems, or prose.
The process involves using Photoshop to arrange the text elements in a visually striking way, highlighting the subject's creative work. By following the step-by-step instructions, you can craft a unique and p
Crafting a Typographic Poster in Adobe Photoshop
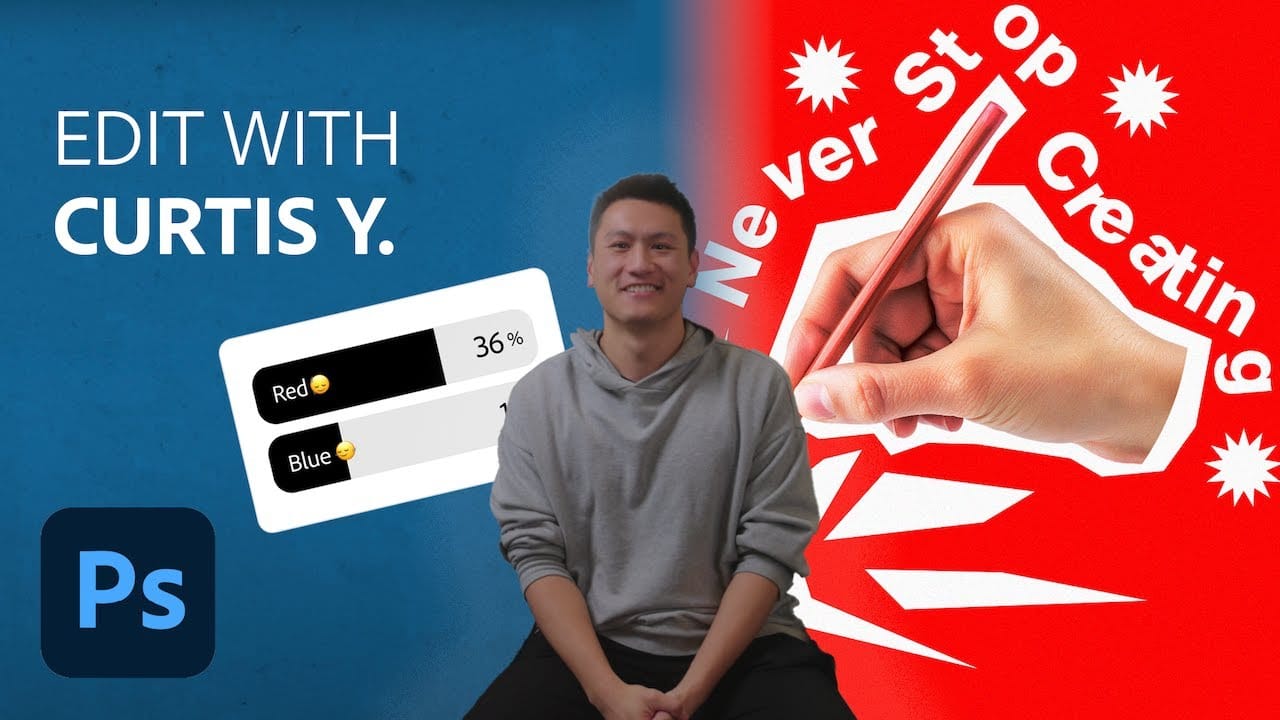
Join Adobe’s UX Growth Designer, Curtis Ying, as he transforms a Swiss Typographic poster through an engaging design process. With the input from the Instagram community, this presentation showcases how he carefully selects a bold red background that sets the tone for the entire piece.
Throughout the process, Curtis shares his techniques for integrating organic shapes and text that harmoniously flow within the design. Utilizing various Photoshop tools, he guides you step-by-step, making it easy