

Are you trying to turn your photograph into a dreamy watercolor painting, and feeling bitter about not being the talented artist who also happens to own a Wacom tablet? Well, we feel you, especially so as the Photoshop watercolor plugin produces results that are far from desirable (we’re being polite here).
But, don’t despair just yet. You can definitely apply beautiful watercolor effects to your images using the right combination of techniques and tools. After much arduous research, here are the best tutorials, plugins, and tricks that will allow you to create that stunning watercolor effect that you’ve been dreaming of.
1. Use a mix of standard plugins and brushstrokes
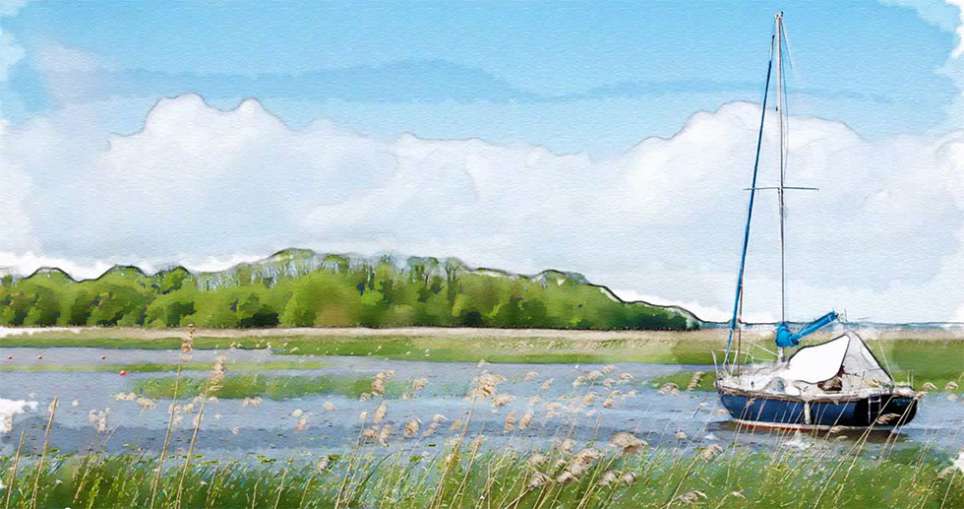
Seen the wet media brushes feature in Photoshop, but never knew what to do with it? Let Marty Geller from Blue Lightning TV teach you how to combine these nifty features with some of Photoshop’s default filters to create beautiful watercolor paintings.
Pros: It’s easy, and no additional software is needed. Plus, the outcome is beautiful and simply serene.
Cons: The results are beautiful, but could be a tad plain and nondescript for some tastes. Also, this technique may not work with all images.
2. Double exposure technique
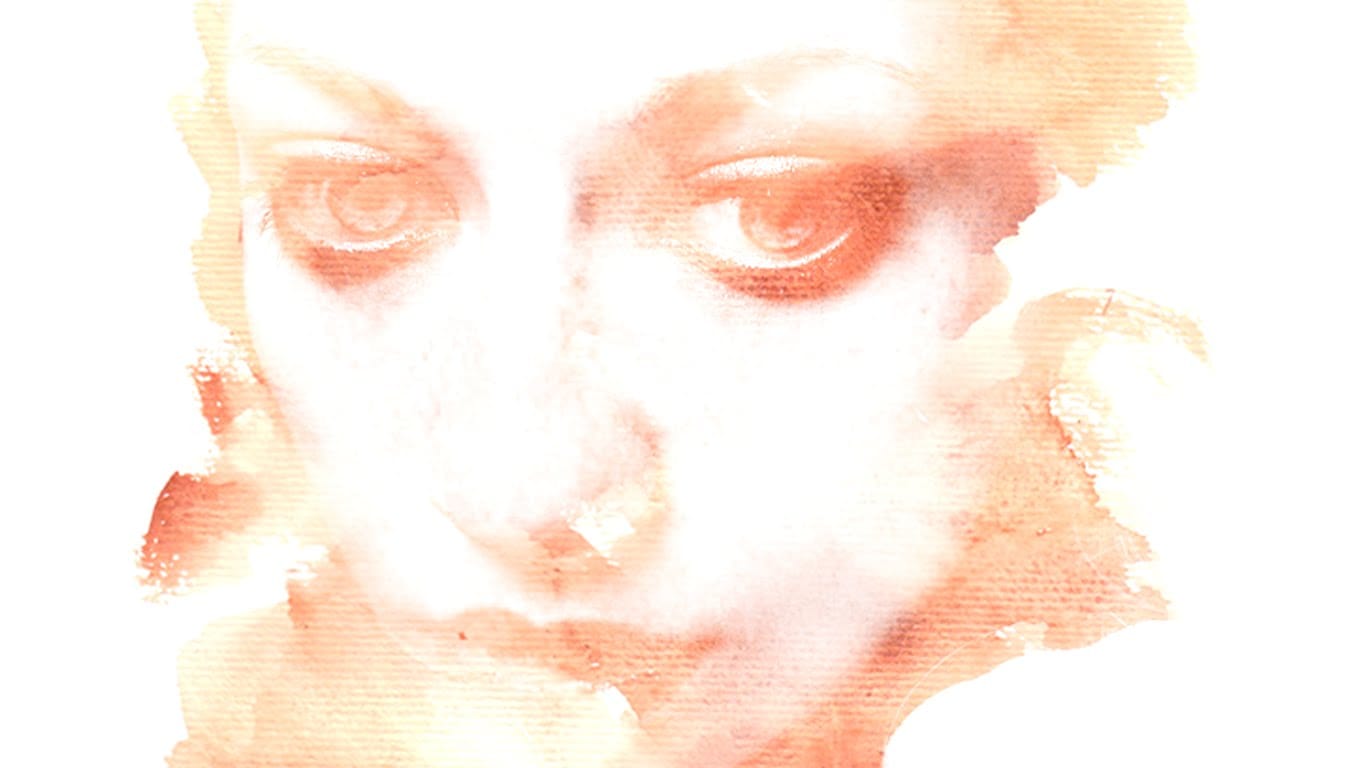
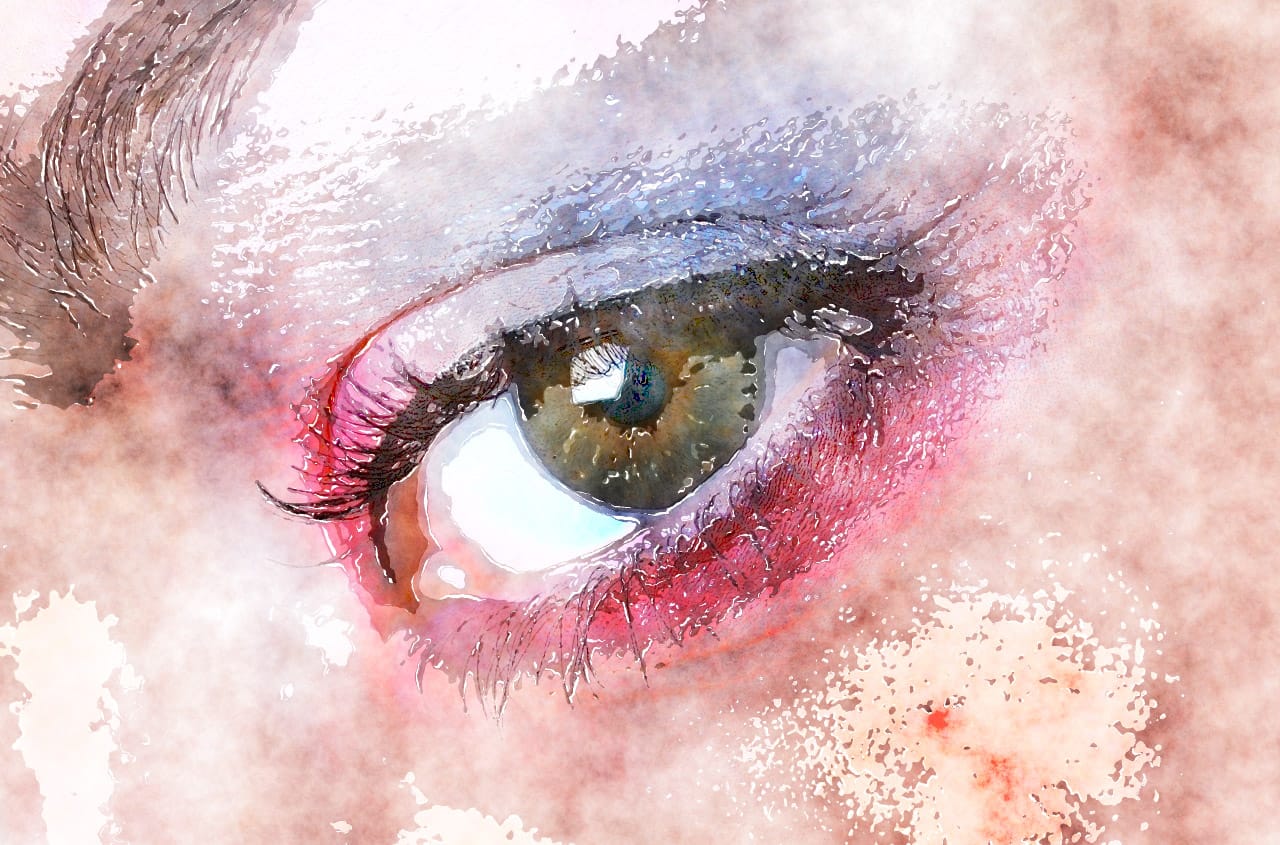
This technique is one of my favorites. Use the popular double exposure technique to apply a watercolor texture to the dark areas of an image, and… voila! To get outstanding results, make sure that both the image and the watercolor textures are of high quality.
Don’t believe it’s that easy? Watch the video and you’d be convinced in three minutes flat.
Pros: Fast and realistic results. This works wonders with images that are close-ups or that have lots of contrasts and little details.
Cons: You will have to search for quality watercolor textures, or paint your own ones. Here you can get some beautiful watercolor paper textures.
3. Premium Watercolor Action by SevenStyles
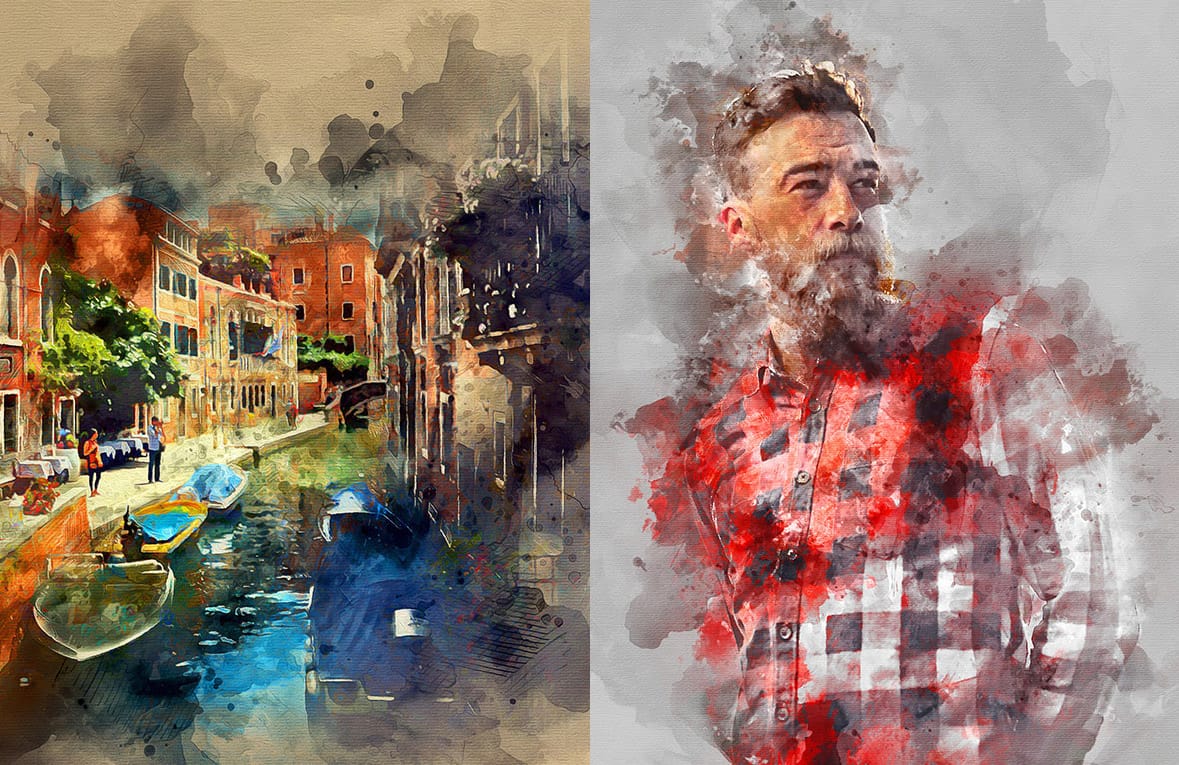
Now we are talking watercolor! The Premium Watercolor Action transpires creativity and art. You can create gorgeous and absolutely wild watercolor work with this. That said, this professional action is not a one-click job and does require a little effort on your part. But, it’s something that even beginners can handle without much struggle.
Pros: Inspires creativity and realistic results. It’s a paid (but inexpensive) feature that works with any image.
Cons: The results could be too dramatic for some.
4. Topaz Labs Impression Plugin
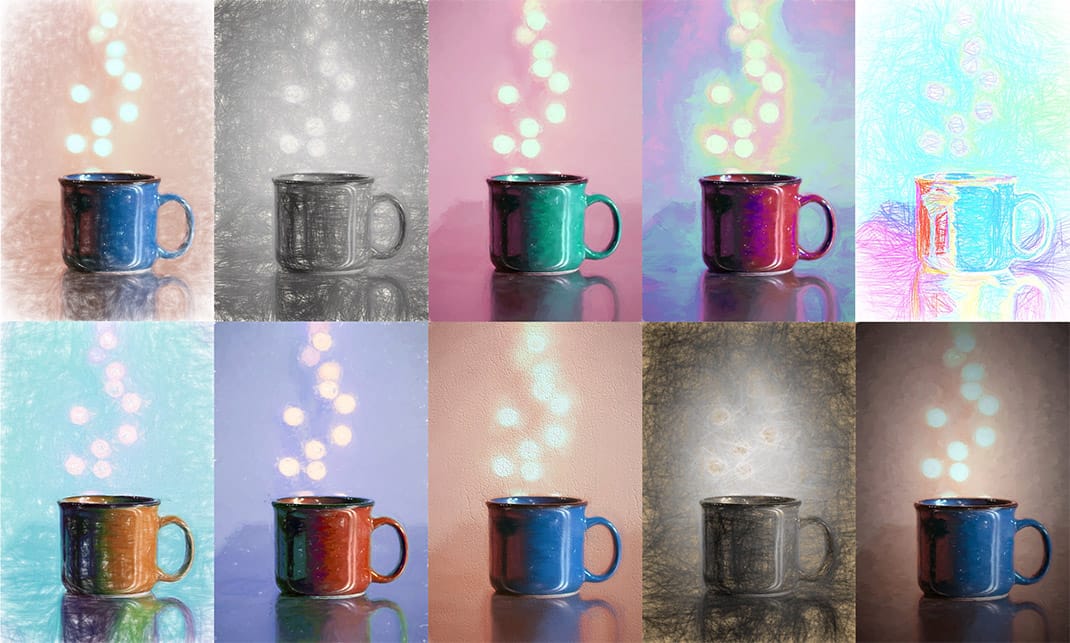
The Topaz impression is a digital painting plugin that’s a cut above the rest. What makes Topaz unique is that they use actual brush strokes scanned into the program’s algorithm. In non-geek speak, this means that Topaz allows you to produce work that is realistic, unique, and most of all, artistic. It also offers a lot of control over the image as well as the possibility of combining various artistic styles with your desired watercolor effect.
Pros: The results are impressive and the only limit is your creativity. You also get a host of 12 realistic painting effects.
Cons: It’s expensive if you use it only for watercolor effects.
5. FilterForge Watercolor Painting Filter
FilterForge is a filter creation plugin. You can create your own textures and effects with it, or choose from thousands of pre-set filters available in their library. One of these filters is the one-click Watercolor Painting Filter. It has some basic controls, but there isn’t much variation, and the end results are good but not exactly show-off worthy. The main reason why it’s on the list is the fact that you can edit the filter even without any programming knowledge, which is great for those who know what they want but can’t be too bothered about being technical. The inbuilt filter editor lets you make any changes you want with it, even adding controls.
Pros: Good watercolor effect. You can use and edit any of the 11000 (and growing) filters in their library.
Cons: It’s expensive if you use it only for the watercolor effects.
Wrapping it up
These options aren’t the only ones available. But I believe that they are some of the best ones. Which one should you use? Well it depends on what you want to do and how you want to do it. For a simple, yet artistic, watercolor painting I would definitely go with Marty Geller’s Watercolor tutorial especially if you own a Wacom tablet. If you want to get really creative or even go wild, then the Watercolor Premium action by SevenStyles and the Double exposure watercolor tutorial are both perfect. Now, if you don’t want to restrain yourself to watercolors, then Topaz Impression will give you a full range of artistic styles that you can combine at will. And last, but not least, if you want to leave a mark creating something special pushing your creative limits, then FilterForge will let you create new filters, or edit existing ones.


