

Learn to transform ordinary digital photos into stunning vintage tourism postcards using Adobe Photoshop. The video covers cropping, color adjustments, adding textures, and stylized text, ensuring your photos capture the essence of classic travel mementos.
Watch the Video
Video by Blue Lightning. Any links or downloads mentioned by the creator are available only on YouTube
Practical Tips for Vintage Postcard Effects
- Crop your photo to a 6x4 aspect ratio to match the standard vintage postcard size.
- Convert your photo to a Smart Object. This allows for non-destructive editing, enabling you to modify or replace the original image without losing the applied effects.
- Use the Filter Gallery to apply "Poster Edges," adjusting the edge thickness, intensity, and posterization levels to mimic the classic, stylized look of vintage prints.
- Experiment with Color Balance adjustment layers, adjusting shadows, midtones, and highlights to achieve the faded and slightly off-color tones typical of old postcards.
- Add a subtle Gaussian Blur and Texture to soften the image and simulate the paper's surface.
Related Articles and Tutorials about Vintage Photo Effects
Explore these resources for more techniques and inspiration to master the art of vintage photo effects.
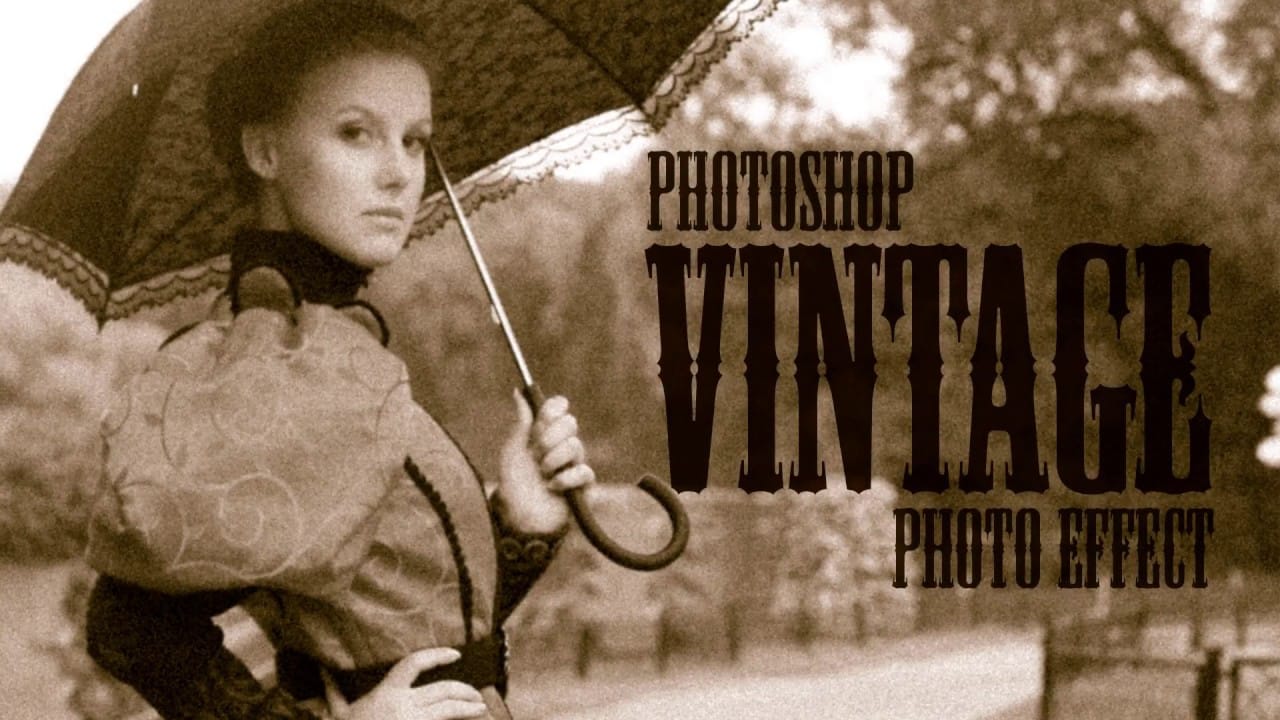
Create a realistic old vintage photo effect in Photoshop
Photographs are timeless. In fact, it’s often our old, weathered and faded photographs that we treasure the most. Snapshots from a bygone era fill our hearts with nostalgia and romantic notions of how much simpler life must have been.
While today’s digital cameras continue to amaze us with their technology, there’s still something magical and irreplaceable about old, vintage photographs. And not only do we love to look at them, but we also love to recreate the look of them in programs like Phot
How to Create Vintage Christmas Card in Photoshop
In this tutorial, readers will learn how to create a vintage-inspired New Year's card with Christmas decorations using simple shapes and gradients in Adobe Photoshop. The author, Design Stacks, walks readers through the step-by-step process, making it accessible even for those with limited Photoshop experience.
The tutorial begins by introducing the necessary tools and resources, ensuring that readers have everything they need to get started. The author then guides readers through the process o

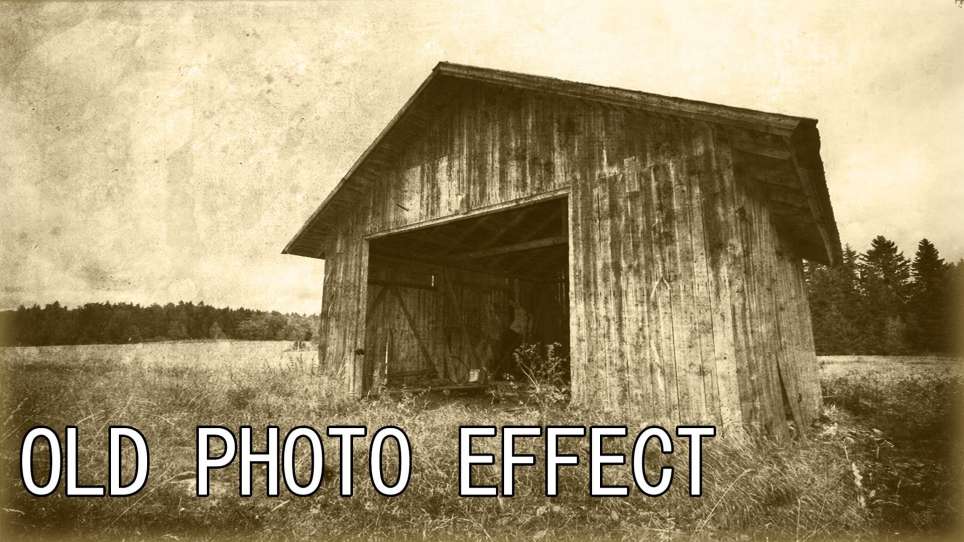
Apply a vintage and gritty old paper effect to your photos in Photoshop
In this tutorial by Jobe from DR Design Resources, readers will learn a quick and easy technique to transform their photos into a vintage-inspired look with an old paper effect in Adobe Photoshop.
The process involves using a texture of an old paper and applying it to the desired image. The author demonstrates how to apply this effect on two different images, one with a light background and one with a dark background.
This straightforward method allows users to easily achieve a gritty, aged ae
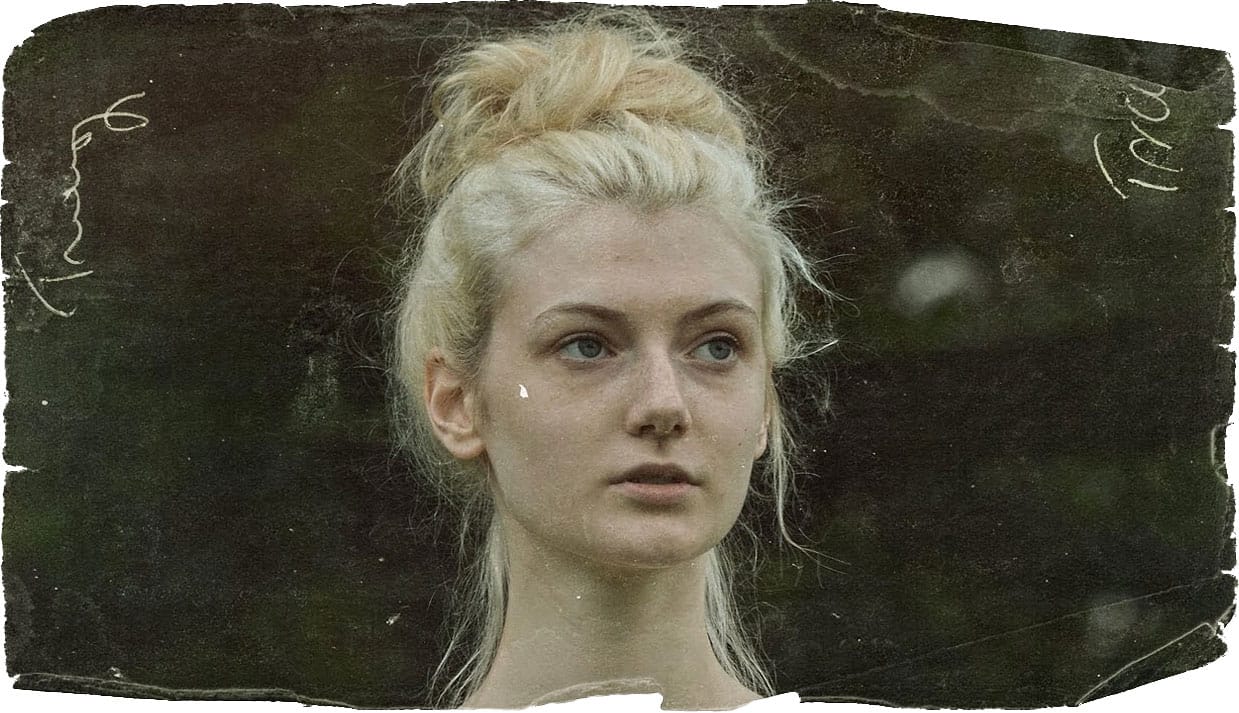
Create an Old Photo Effect in Photoshop
The author, Photoshop Pro Help, provides a tutorial on how to create an old photo effect in Photoshop. They explain that if you have ever admired the style of vintage photos and wanted to give your modern photos a similar look, this tutorial will show you how to apply an old photo style with a torn and damaged brown vintage effect. This can transform your photos to look as if they were taken straight from a history book.
The tutorial guides the user through the process of achieving this retro a
```


