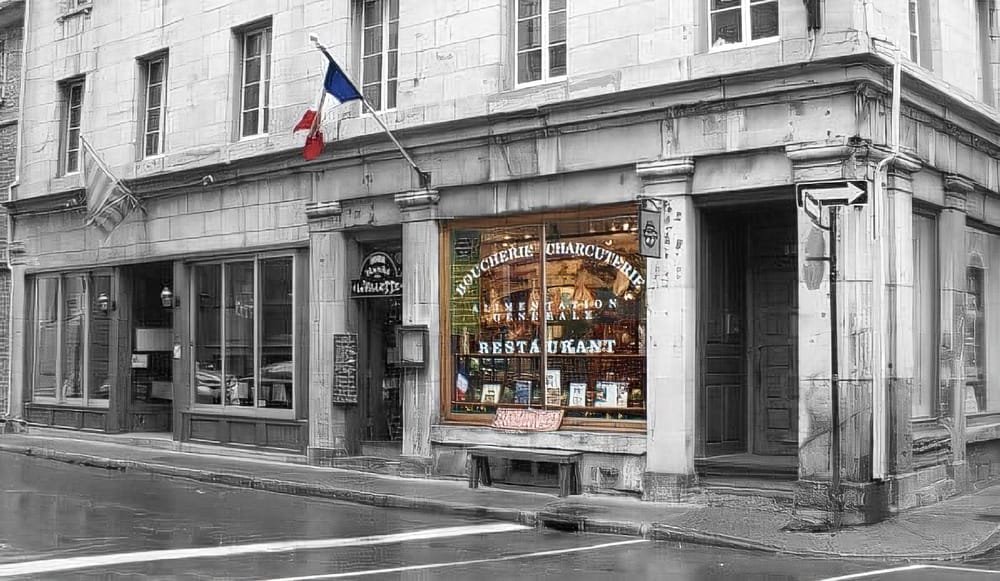
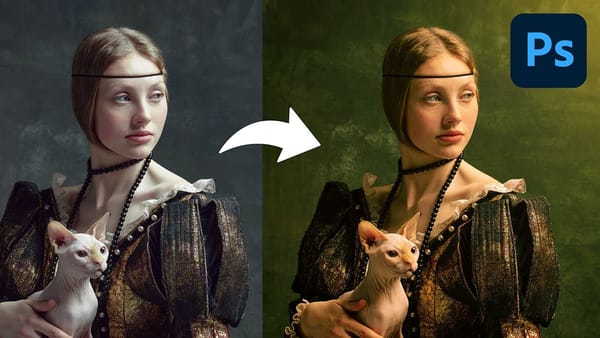
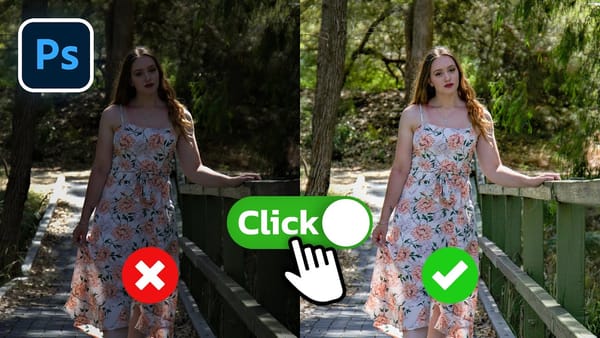
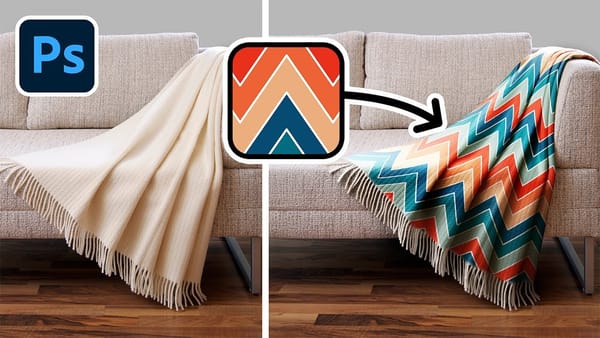
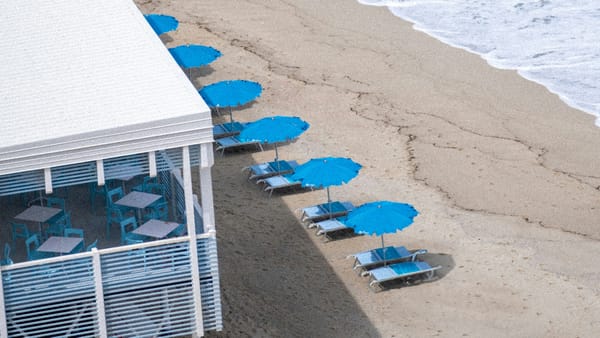
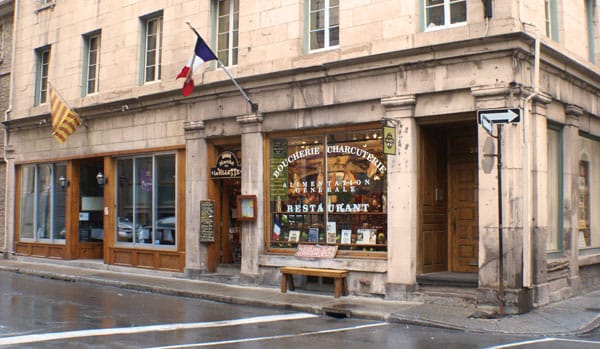
In this tutorial I’m going to show you what I do when a scene has too much unwanted color and how to emphasize a part of the scene with just a bit of a color to draw attention. Try to find a picture with bright colors or a subject you really want to stand out.
The first thing we need to do is convert your image to black and white. There are a couple of ways to do this. The easiest way is to simply desaturate your image using the Hue/Saturation adjustment layer. The best way to do it is using the Black & White layers adjustment because you will have much more control of your image contrast. Remember you will find your layers adjustments at the bottom of your Layers Palette.

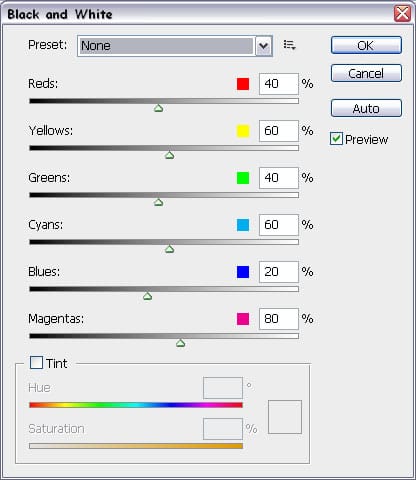
Once you have your Black & White window open, you will find you have a lot of control over how that black & white image will look. The most important thing to consider is the contrast. Using the preset at the top of the window you can predefine the settings according to the most common black & white filters. If you want to adjust a specific color, you can use the color sliders below. I usually use the Cyans slider to darken the sky a bit.
Every layers adjustment comes with it´s very own layer mask. We´re going to be using that mask to bring back some color in selected areas we wish to emphasize. When you click on your layers adjustment you´ll notice your Background/Foreground color will automatically be set to black and white. Because your mask is white, we´ll be painting with black.

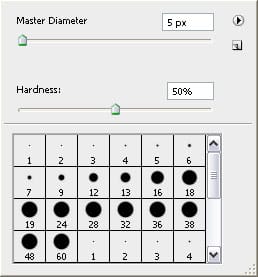
Select your brush tool and right click in the screen to bring up the brush properties. Use a small brush and set the hardness to 50% for a smooth brush stroke. You can set the opacity of the brush by using your numpad. 1 is 10%, 5 is 50%, etc.
If you accidently paint outside of the subject simply press x on your keyboard. This will switch background color with foreground color. Now that you have the white selected, use it to erase the excess.
Finally, if at any moment you want to check out how your layer mask is going in full view just click on it while holding down ALT. This way you can check if you missed a spot.
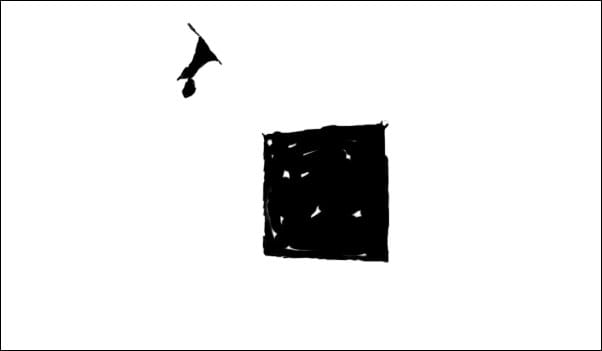
Using layer masks is a great way to work with specific areas of an image without affecting the rest. Hope you found this tutorial useful and discovered a few new keyboard shortcuts along the way!

Thanks for Reading — Want More Like This?
Subscribe to the Photoshop Roadmap newsletter for more expert tutorials and insights delivered directly to your inbox.

