Transform an ordinary portrait into a haunting vampire using dramatic lighting and supernatural features. This Halloween-inspired effect combines pale skin tones, piercing cat eyes, custom fangs, and realistic blood splatters.
The tutorial covers essential techniques like skin smoothing, color adjustments, and layer masking to achieve a convincing undead appearance.
Watch the Tutorial
Video by PSD Box Official. Any links or downloads mentioned by the creator are available only on YouTube
Key Techniques for Vampire Effects
These core methods will help you create convincing vampire transformations:
- Use the Mixer Brush Tool on a separate layer to smooth skin texture while preserving natural shadows and facial expressions
- Apply cat eye stock images with Color Dodge blend mode at 50-60% opacity to create an otherworldly glow without burning highlights
- Create custom fangs using the Pen Tool set to shape mode, then add realistic shadows with gradient overlays and noise filters
- Add blood effects using Multiply blend mode on stock blood images and adjust levels to remove white backgrounds completely
- Desaturate skin tones with Hue/Saturation adjustment layers while preserving color in lips and mouth areas using layer masks
Related Tutorials about Horror Effects
Explore more spine-chilling Photoshop techniques and supernatural transformations.
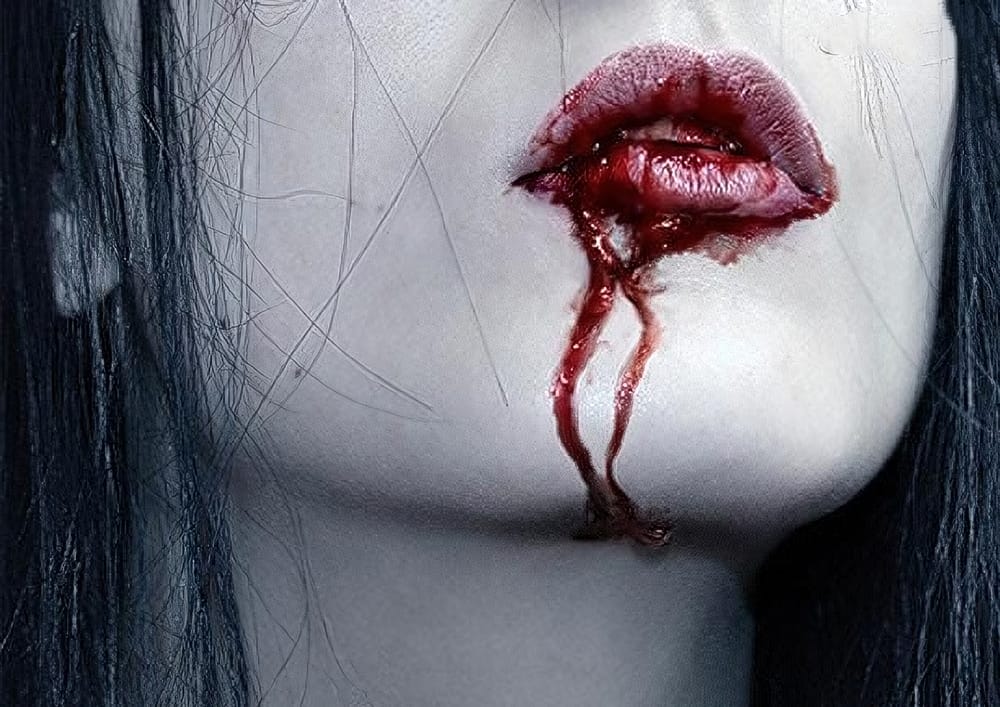
Horrible dripping blood in Photoshop
In this tutorial, learn how to create a chilling, horror-inspired effect by adding dripping blood from a mouth in just a few easy steps using Adobe Photoshop. Perfect for creating spooky, dramatic images, this technique walks you through the process of blending blood effects seamlessly onto a face, making the gruesome detail look realistic.
Whether you're working on Halloween-themed designs or want to add a dark twist to your photo manipulations, this tutorial covers all the essentials. Follow
Create Creepy Lighting and Mysterious Atmosphere Effects in Photoshop
Learn how to apply a creepy and mysterious lighting effect to a photo in Adobe Photoshop.
 Deviant Art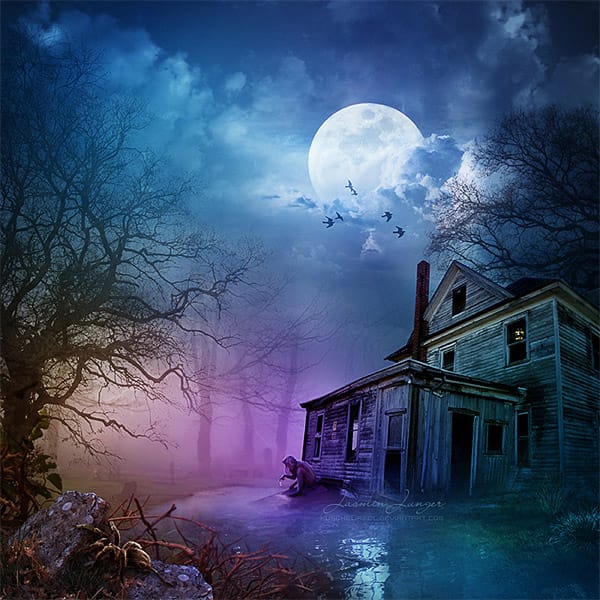
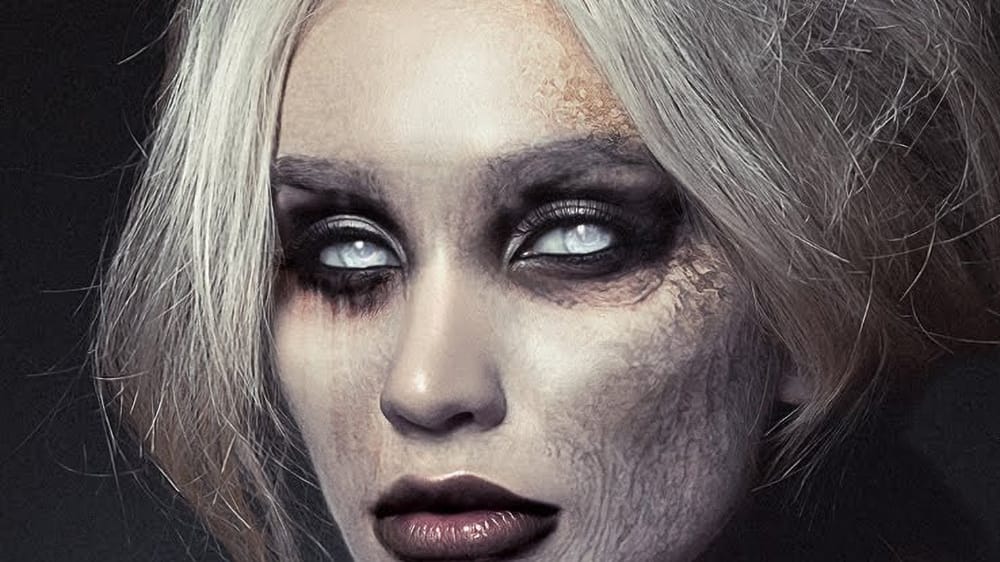
How to create evil undead eyes in Photoshop
In this detailed walkthrough, Dean Samet will show you how to create realistic evil undead eyes using Adobe Photoshop. By utilizing adjustment layers and other advanced techniques, you'll learn how to transform ordinary eyes into haunting, otherworldly visuals. This tutorial is perfect for those looking to enhance their photo manipulation skills and add a touch of the macabre to their projects.
Get ready to dive into the eerie world of undead eye creation and take your Photoshop abilities to th
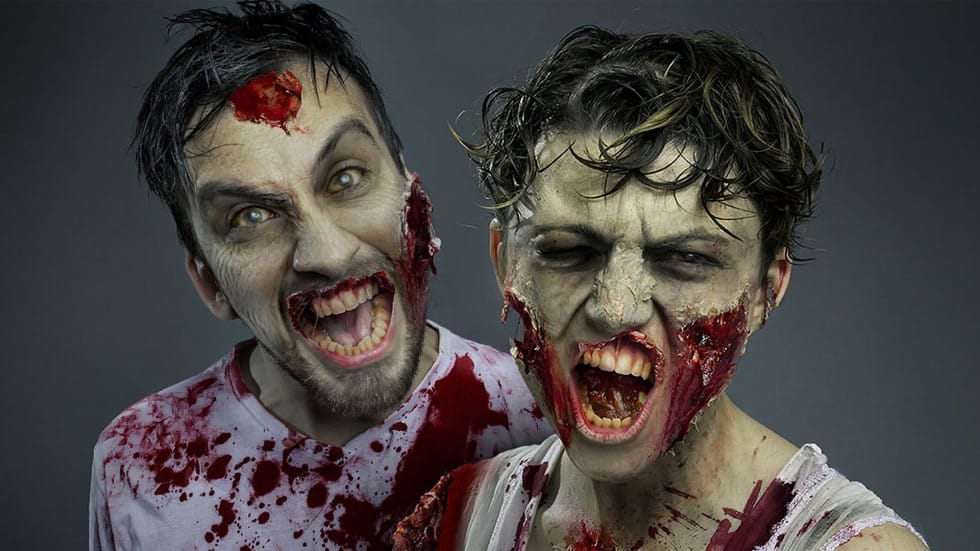
Gruesome Zombie Special FX Makeup in Photoshop
In this tutorial by FX-Ray, you will learn how to transform yourself into a zombie without the need for a bite.
The comprehensive guide includes steps for applying special zombie gore makeup, conducting a photoshoot, and using Photoshop to add more gore effects. By utilizing blood and skin textures along with adjustment layer techniques, you'll be able to create a convincingly terrifying zombie.
Perfect for those interested in both practical and digital effects, this tutorial combines special