How to Transform a Photo into an Antique, Oil Painting Photoshop

How to Transform a Photo into an Antique, Oil Painting Photoshop

This tutorial explores a fascinating method to transform digital photographs into timeless antique oil paintings. It focuses on techniques that emulate the classic appearance of aged art, adding character and depth to modern images.

Viewers will discover how to apply artistic effects within Photoshop, including specific color adjustments, textural overlays, and brushstroke simulations, to achieve a convincing vintage aesthetic reminiscent of historical artworks.

Watch the Video

Video by Blue Lightning. Any links or downloads mentioned by the creator are available only on YouTube

Crafting the Illusion of Age and Artistry

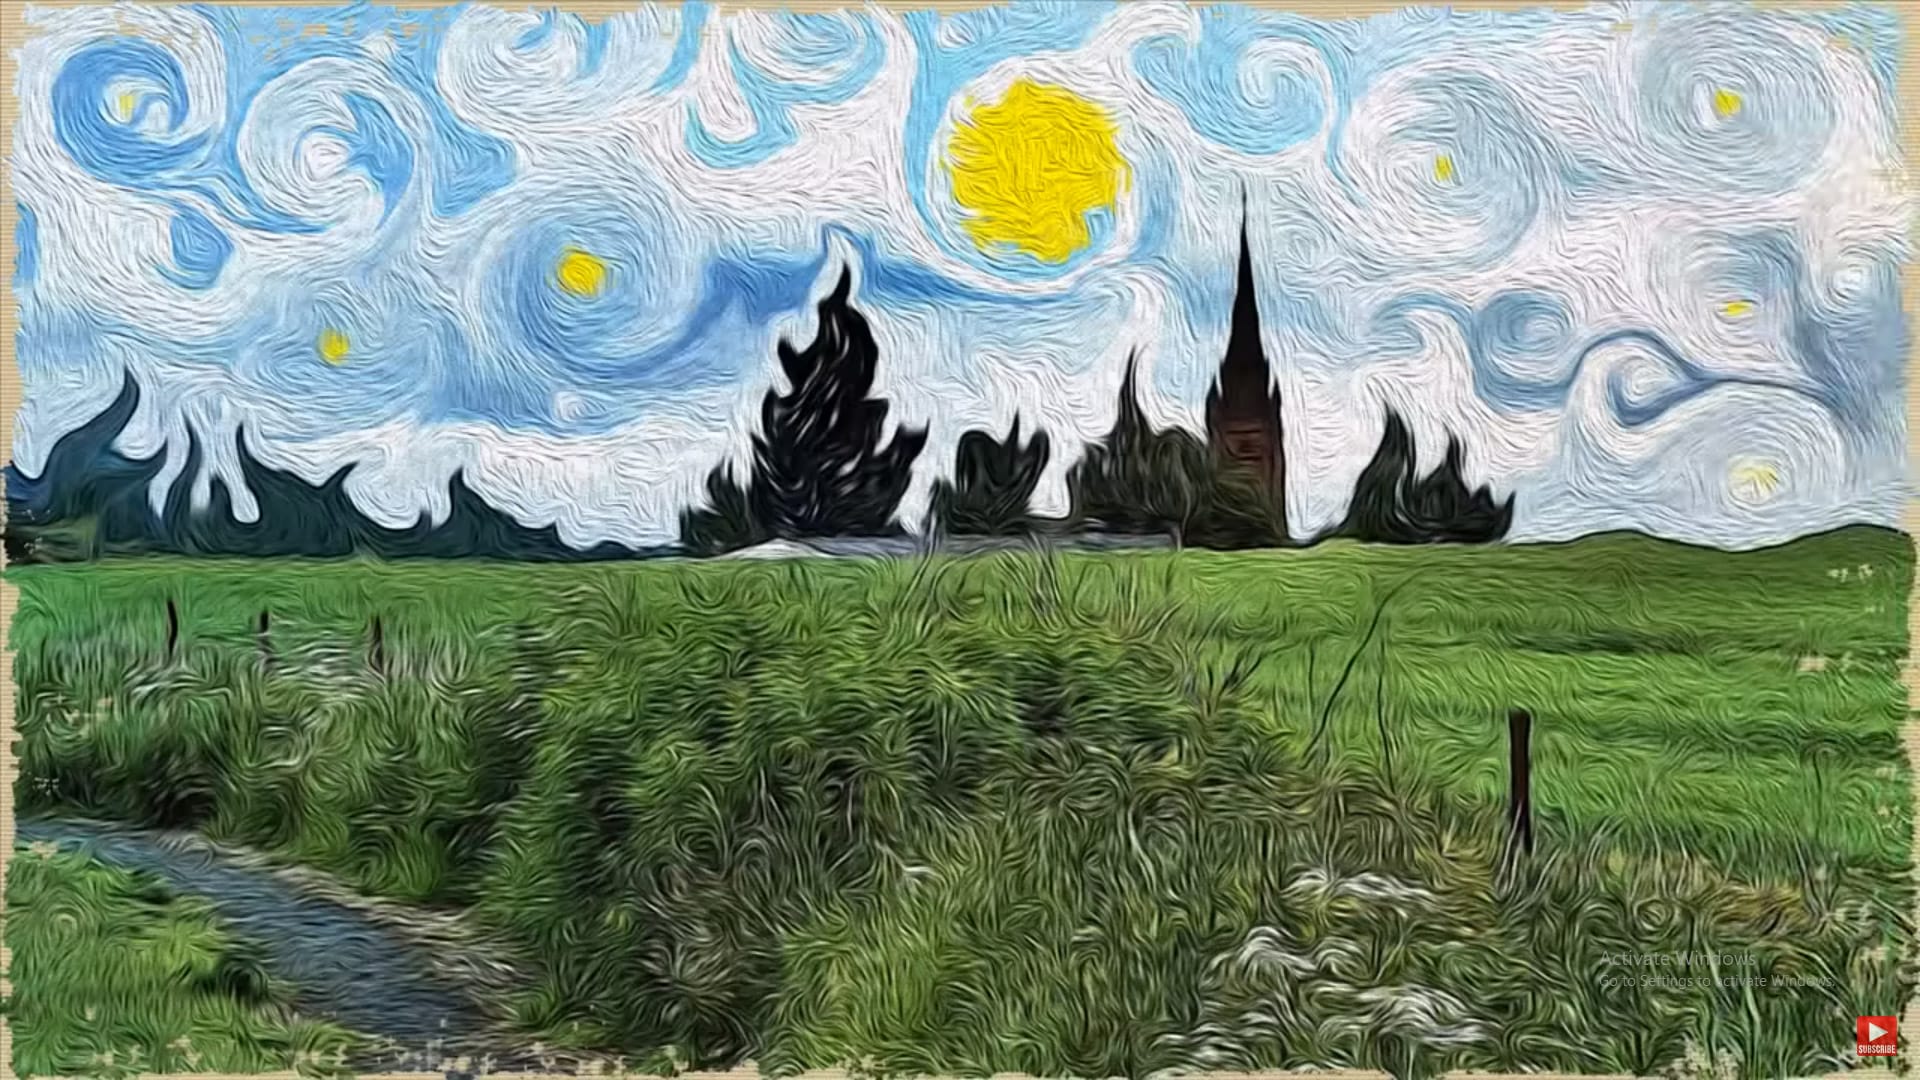
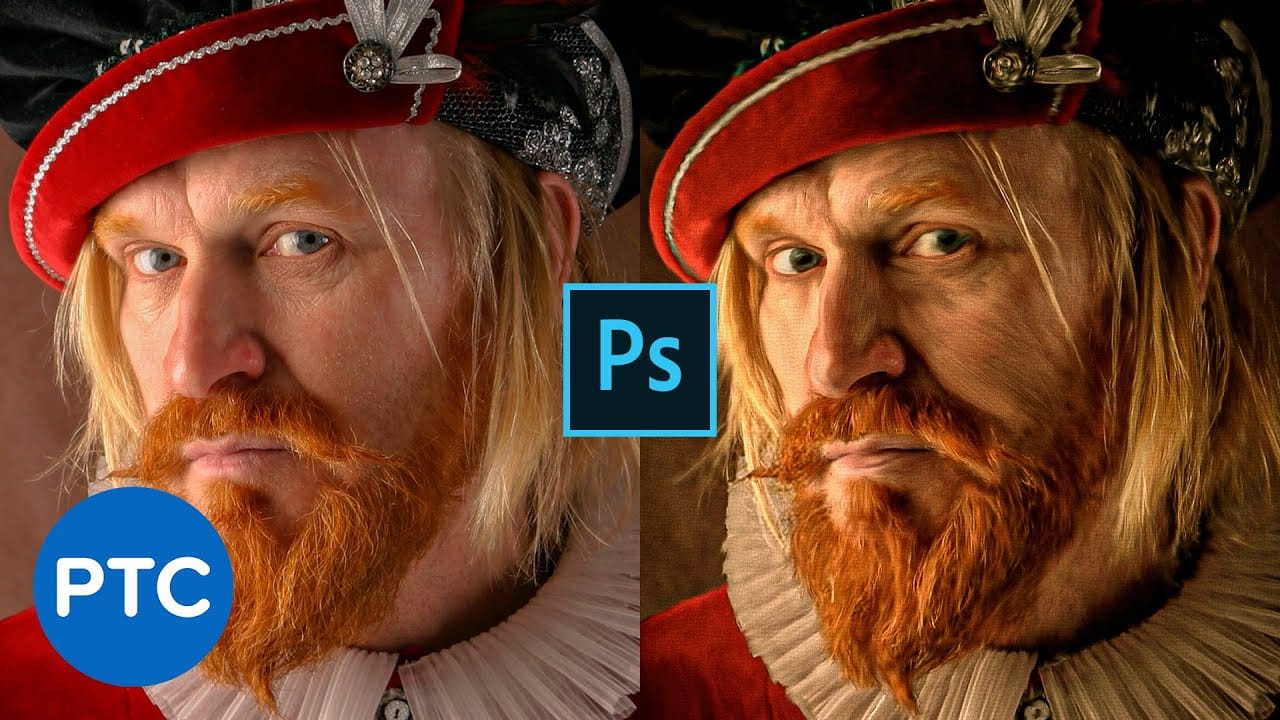
Recreating the look of an antique oil painting involves more than just applying a filter; it's about layering visual cues that suggest age and artistic handiwork. Key elements include the subtle cracking of aged paint, known as craquelure, and a softened, muted color palette that evokes a bygone era. These details work together to lend a sense of history and depth to a modern digital image.

The transformation also considers the characteristic brushwork of traditional oil paintings, which often involves visible strokes that add texture and movement. By simulating these artistic nuances, digital images can transcend their photographic origins and take on the qualities of a handcrafted piece. This process bridges the gap between digital precision and the organic beauty of traditional art forms.

Practical Tips for Creating Antique Oil Painting Effects

  • Convert your photo to a Smart Object early in the process to allow for non-destructive edits and flexible adjustments.
  • Apply the "Inner Glow" effect with a black color and "Multiply" blend mode to subtly darken the edges of your composition.
  • Use the "Color Lookup" adjustment layer with a "Candlelight.CUBE" LUT for a quick, warm, antique color tone, or utilize "Hue/Saturation" in older Photoshop versions.
  • Employ the "Dry Brush" filter within the Filter Gallery's Artistic folder to achieve a textured, painterly brushstroke effect.
  • Incorporate a "craquelure" texture layer with a "Multiply" blend mode to simulate the natural cracking of aged oil paint.

Explore more techniques to enhance your digital art with these related tutorials.

How to Apply an Impressionist Oil Painting Effect to a Photo
Marty Geller from Blue Lightning TV will demonstrate how to transform a regular photo into a painting reminiscent of Vincent van Gogh’s iconic “Starry Night” using Photoshop. This tutorial is tailored for Photoshop CS6 users with the oil paint filter, but CS5 users can follow along by downloading Adobe’s Pixel Bender plug-in. Marty provides a step-by-step guide, starting with a 1920 by 1080 pixels document, to recreate the swirling, dynamic brushstrokes characteristic of Van Gogh’s style. The t
Create an Action to Transform your Photos into Impressionist Paintings
Marty Geller from Blue Lightning TV shares a Photoshop tutorial that teaches you how to create an action to transform your photos into impressionist paintings. This action allows you to instantly apply the look of beautiful, impressionist paintings to your images. The tutorial guides you through the step-by-step process of creating the action. You'll learn how to use various Photoshop tools and techniques to achieve the desired impressionist effect. The author provides detailed instructions and
Create an antique golden frame in Photoshop
In this tutorial from Alfoart you will learn how to create a beautiful and classy antique golden frame, using patterns, in Photoshop Alexandra Fomichieva from Alfo Art shares a Photoshop tutorial on how to create an image of a monogram sewn with golden thread on a linen cloth. The tutorial guides the user through framing the monogram with a golden wooden frame and placing it on a wall covered with a damask ornate wallpaper. The author provides step-by-step instructions, making it easy for user
Beautiful Oil Painting Effect in Photoshop With Oil Paint Filter
Struggling to capture the artistic flair of oil paintings with your digital photos? Look no further! This short and sweet Photoshop tutorial, clocking in at just 90 seconds, will show you how to use the Mixer Brush to transform your photos into captivating works of art. The instructor, Jesus Ramirez from photoshoptrainingchannel.com, will guide you through the entire process. You’ll learn how to leverage the unique capabilities of the Mixer Brush, mimicking real-life oil painting techniques lik

Get tutorials & freebies delivered to you.

Subscribe to the Photoshop Roadmap newsletter, a weekly roundup of new tutorials, insights and quality downloads, trusted by 6500+ readers.

You might also like

Complete Photoshop Editing Workflow: 5 Steps from Raw to Polished

Photoshop offers endless possibilities for photo enhancement, but many photographers never move beyond basic adjustments because the software feels overwhelming. This comprehensive workflow breaks down photo editing into five manageable stages that work consistently across different photography styles. The systematic approach covers everything from initial raw processing to advanced lighting...

Photoshop Workspace Basics: Navigation, Zooming, and Essential Interface Elements

Photoshop's interface can feel overwhelming when you first open the program. Dozens of panels, tools, and menus compete for attention, making simple tasks feel complicated. This tutorial breaks down the essential workspace elements and teaches fundamental navigation skills that form the foundation of efficient Photoshop work. Watch the...

How to Restore Old Damaged Photos Using Nano Banana in Photoshop

Old family photos with scratches, tears, and missing sections can seem beyond repair. Google's Nano Banana AI model, now integrated into Photoshop, makes full restoration possible in minutes rather than hours. This powerful tool excels at maintaining facial characteristics while automatically filling in damaged areas and adding realistic...

How to Get Higher Quality Results from Photoshop's Generative Fill Tool

Photoshop's Generative Fill creates impressive AI extensions, but the results often look blurry and pixelated when viewed at full size. This quality limitation makes many AI-generated areas unusable for printing or large displays. This technique shows how to work around the 1024x1024 pixel quality limit to create much...

How to Use Photoshop's Liquify Tool for Non-Destructive Portrait Retouching

Clothing wrinkles, hair that lacks volume, and awkward fabric bunching can distract from an otherwise great portrait. Photoshop's Liquify tool offers a powerful solution for smoothing out these issues while preserving the natural look of your subject. This tutorial demonstrates how to use the Liquify tool non-destructively with...

You’ve successfully subscribed to Photoshop Roadmap
Welcome back! You’ve successfully signed in.
Great! You’ve successfully signed up.
Success! Your email is updated.
Your link has expired
Success! Check your email for magic link to sign-in.