The Science of All 27 Blend Modes in Photoshop

The Science of All 27 Blend Modes in Photoshop

Blend modes are a core feature in Photoshop, essential for manipulating how layers interact and visually combine. They unlock a vast range of creative possibilities, from subtle image enhancements to dramatic composite effects. Understanding each mode allows for precise control over your image adjustments and creative vision.

This comprehensive guide demystifies all 27 main blend modes, detailing their unique properties and practical applications. It serves as an invaluable reference, helping you quickly grasp how each mode functions and when to best deploy it in your workflow.

Watch the Complete Blend Mode Tutorial

Video by PiXimperfect. Any links or downloads mentioned by the creator are available only on YouTube

The Categorization and Impact of Photoshop Blend Modes

Photoshop organizes its numerous blend modes into distinct groups, each sharing common properties that simplify their understanding and application. These groupings—Normal, Darken, Lighten, Contrast, Inversion, Cancellation, and Component—provide a logical framework for predicting how a layer will interact with those beneath it. For example, modes within the Darken group consistently lead to darker results, while those in the Lighten group produce brighter outcomes.

The Darken, Lighten, and Contrast groups are particularly foundational, offering tools for fundamental image adjustments such as increasing contrast or performing targeted darkening and brightening. Modes like Multiply and Screen exemplify the inverse relationships within these categories, where one darkens by hiding white and the other brightens by hiding black, reflecting a clear mathematical opposite.

Beyond these core effects, other groups like Inversion and Cancellation serve more specialized, often utility-driven, functions. The Component group, comprising Hue, Saturation, Color, and Luminosity, offers precise control over specific aspects of color. Additionally, a select few, known as "special eight" blend modes, demonstrate unique behaviors when adjusting Opacity versus Fill, adding another layer of depth to their creative potential.

Practical Tips for Using Photoshop Blend Modes

  • Categorize blend modes by their core effect (e.g., Darken, Lighten, Contrast) to anticipate how they will modify your image.
  • Utilize Multiply for darkening and Screen for brightening; they are inverse operations that effectively handle shadows and highlights.
  • Apply Overlay or Soft Light with an adjustment layer to enhance image contrast non-destructively.
  • Explore Color Burn and Color Dodge for adding color and darkening/brightening, noting how they preserve 100% white or black areas.
  • Leverage the Luminosity blend mode to adjust brightness and contrast without affecting the colors of your image.
  • Use the Difference blend mode as a precise tool for aligning layers; align until the overlapping area becomes completely black.
  • Experiment with Hard Mix and its Fill slider to reveal more colors from a limited palette, creating unique artistic effects.

More Tutorials about Photoshop Blend Modes

Explore additional techniques and creative applications of blend modes in Photoshop with these related articles and tutorials.

Cut Out Glass in Photoshop with Blending Modes
In this informative tutorial, Jesus Ramirez demonstrates how to effectively cut out a glass bottle from a white background using Blending Modes in Photoshop. The focus is on selecting and masking transparent objects, such as glass, with precision and ease. Jesus starts by introducing the concept of Blending Modes and their role in enhancing the selection process for glass or other transparent items. He explains how to use these modes to create a clean and accurate cut-out while maintaining the
Photoshop Basics: Three Ways to Use Blend If
In this Photoshop tutorial, you will discover how to blend graphics and portrait images effectively. The process begins with the Super Zoom feature, which allows you to upscale graphics while maintaining their resolution. This ensures that your images look sharp and clear. Next, you will learn to apply Gradient Maps. This technique helps achieve better color matching between the graphics and the portrait, making the overall composition more cohesive. Additionally, the tutorial covers the Selec
Realistic Blend Effect in Photoshop
In this advanced Photoshop tutorial, WebFlippy guides you through creating a realistic blend effect for text, graphics, or logos on any surface. This tutorial is designed to help you seamlessly integrate elements into various backgrounds, making them look like a natural part of the scene. WebFlippy starts by demonstrating how to properly blend text or logos using Photoshop's powerful tools and techniques. You'll learn how to adjust and match the texture, lighting, and perspective of your surfac
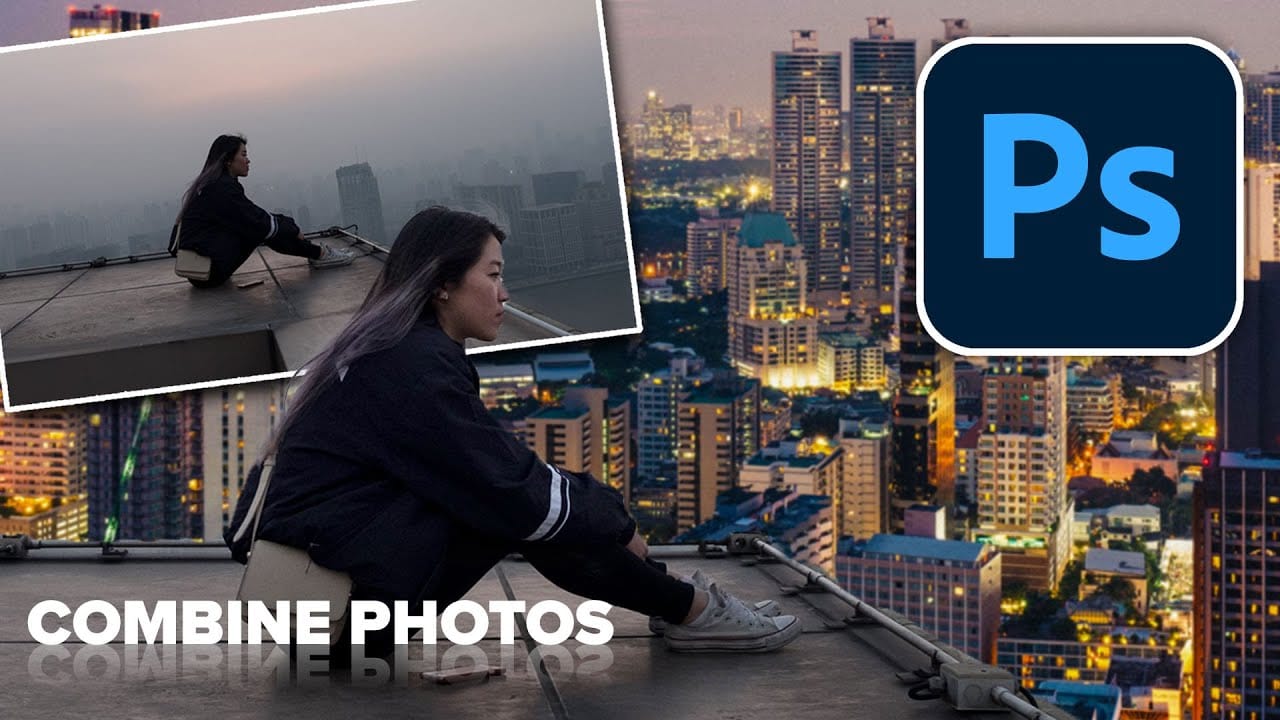
How to combine and blend photos in Photoshop
In this tutorial by Colin Smith from Photoshop Cafe, you'll explore various methods to seamlessly combine and blend photos in Photoshop. Colin covers the basics of getting photos into Photoshop and demonstrates different techniques for layering and blending images. The tutorial provides practical guidance on how to integrate multiple photos into a cohesive composition. Whether you’re working with selections or blending layers directly, you’ll learn how to achieve smooth transitions and create v

Get tutorials & freebies delivered to you.

Subscribe to the Photoshop Roadmap newsletter, a weekly roundup of new tutorials, insights and quality downloads, trusted by 6500+ readers.

You might also like

9 Photoshop Tools That Still Outperform AI for Precision and Control

AI generates images from descriptions, but it cannot hand you the brush. When a project demands exact colors, editable text, precise retouching, or seamless mockups, Photoshop's native tools remain the more reliable choice — not because AI is weak, but because these workflows require control that generative tools simply...

How to Create a Vintage Film Look in Photoshop Using Adjustment Layers

Aging a photo convincingly takes more than a preset — it requires control over highlights, color channels, and grain working together. This walkthrough covers a fully manual, non-destructive workflow for building a vintage film effect in Photoshop, using Color Range selections, Smart Filters, a Grain adjustment layer, and per-channel...

How to Use the Object Selection Tool in Photoshop for Faster Edits

The Object Selection tool lets you isolate parts of an image with a simple drag, and it becomes even more useful when paired with adjustment layers and layer masks. These techniques are practical for targeted color edits, texture work, and building selections that cover multiple elements like a flower, stem,...

How to Set Up Bleed and Crop Marks for Print in Photoshop

Sending a print file without proper bleed is one of the most common mistakes in print production. A bleed — typically 1/8 inch of extra canvas on all sides — prevents white slivers from appearing when a printer trims the finished piece. Photoshop's Canvas Size tool and AI-powered...

How to Use Camera Raw's Feathered Sky Mask to Create a Natural Glow Effect

Camera Raw now lets you feather and expand AI-generated masks directly in the masking panel — a feature that makes it possible to create a convincing light bloom effect without any manual brush work. This tutorial covers the full editing process for a dark, underexposed landscape shot, with the feathered...

How to Build a Photo Manipulation in Photoshop: A 4-Step Compositing Workflow

Building a convincing photo manipulation from scratch requires more than creativity — it demands a repeatable process. This breakdown covers the four core steps used to composite multiple images into a single cohesive scene, from rough layout through exposure matching, color balancing, and shadow painting. Watch the Video Practical Tips These...

You’ve successfully subscribed to Photoshop Roadmap
Welcome back! You’ve successfully signed in.
Great! You’ve successfully signed up.
Success! Your email is updated.
Your link has expired
Success! Check your email for magic link to sign-in.