Create a stunning superhero emblem in Photoshop

Create a stunning superhero emblem in Photoshop

This tutorial explores the foundational steps for designing a custom superhero emblem in Adobe Photoshop. It focuses on establishing the core visual elements that give an emblem its distinct character and impact.

Viewers will learn how to prepare their workspace, create a distinctive carbon fiber background, and construct the basic template for their unique emblem, setting the stage for further design in Part 2.

Watch the Tutorial: Building Your Emblem Base

Video by Blue Lightning. Any links or downloads mentioned by the creator are available only on YouTube

The Art of Emblem Design: Form and Function

Emblems serve as powerful visual shorthand, condensing complex ideas or identities into a single, memorable graphic. In the realm of superhero design, an emblem is more than just a logo; it's a symbol of character, power, and narrative. The initial phase of emblem creation, as demonstrated in this tutorial, prioritizes establishing a strong foundational shape and structure.

This early focus on form ensures that the emblem possesses inherent balance and visual strength, even before the application of colors, textures, or lighting effects. A well-constructed base provides the necessary framework for subsequent detailing, allowing designers to layer complexity without compromising the emblem's core legibility and impact.

Key considerations at this stage include: defining the overall silhouette, ensuring symmetrical precision, and establishing clean lines that will carry through the final design. These fundamental choices dictate how the emblem will resonate visually and functionally.

Practical Tips for Emblem Template Creation

  • Initialize your Photoshop document with specific dimensions and resolution for optimal clarity and detail in your emblem.
  • Utilize guidelines and the Snap feature to precisely align elements and maintain symmetry in your design's template.
  • Employ the Pen Tool with Shift to draw accurate 45-degree and horizontal paths, ensuring clean, geometric shapes for your emblem's foundation.
  • Merge duplicated shapes (Ctrl or Cmd + E) to create composite forms, streamlining your layer management for complex emblem designs.
  • Use layer masks with selection tools (Rectangular Marquee Tool, Pencil Tool) to precisely define and refine the boundaries of your emblem's text or core shape.

More Tutorials about Logo and Emblem Design

Explore additional resources to deepen your understanding of logo creation and graphic design techniques in Photoshop.
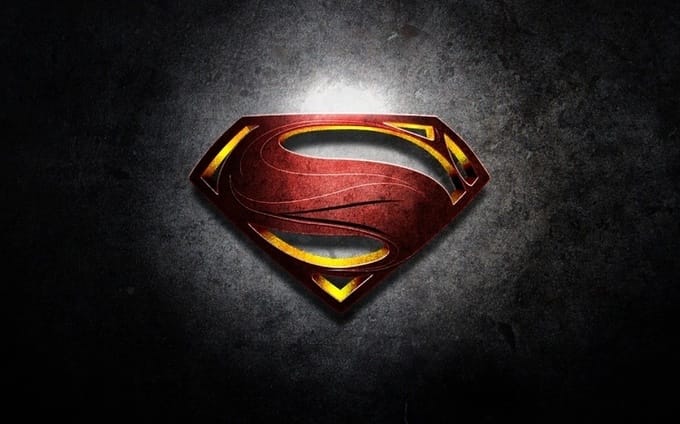
Create the Man of Steel Symbol in Illustrator and Photoshop
This tutorial by Abduzeedo guides you through the process of creating the iconic Superman, Man of Steel logo using Adobe Illustrator and Photoshop. You will learn to combine vector design techniques with photo manipulation, making the final result both striking and professional. Throughout the tutorial, you will use various stock photos for textures and reference the original movie poster to achieve an authentic look. The estimated time to complete this project ranges from 3 to 5 hours, dependi
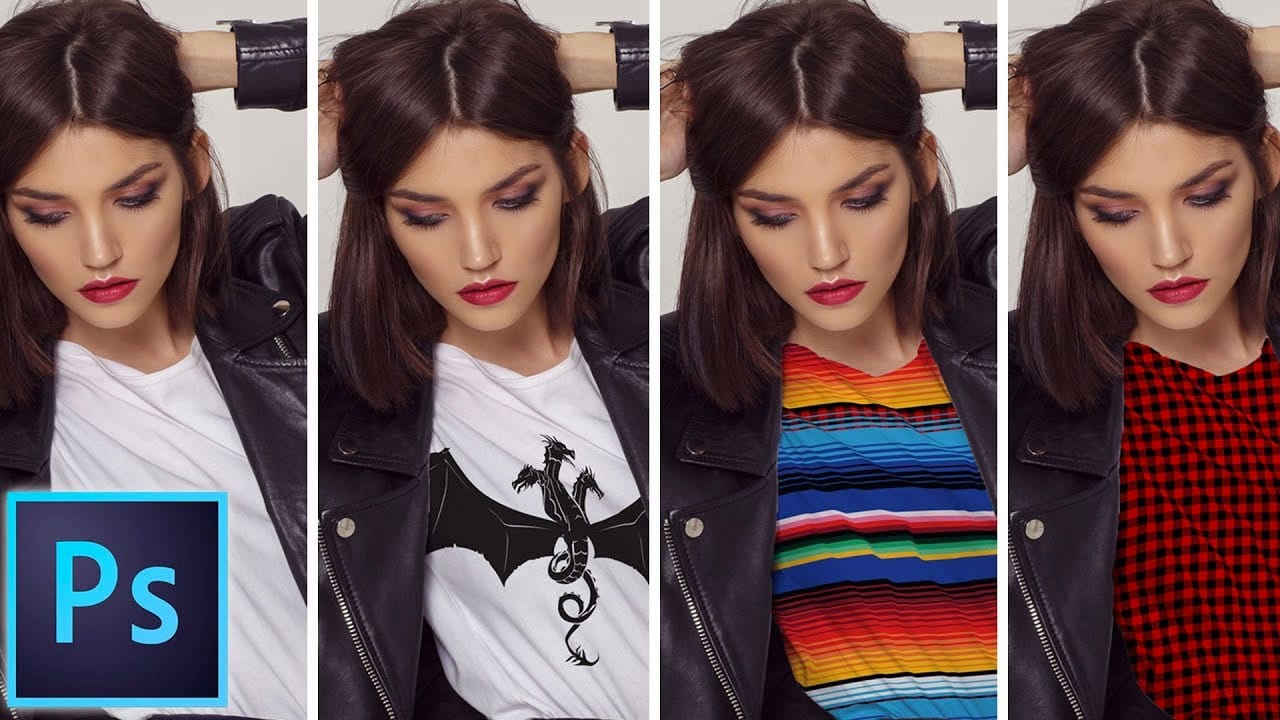
How to add a logo or pattern to a shirt in Photoshop
In his Photoshop tutorial, author Colin Smith guides viewers through the process of adding a logo, graphic, pattern, or texture onto clothing. This technique allows for quick and easy customization of apparel, enabling users to swap out designs in a matter of seconds. Smith's step-by-step instructions demonstrate how to seamlessly incorporate the desired visual element onto a shirt or other garment. By leveraging the power of Photoshop's layers and blending modes, users can achieve a profession
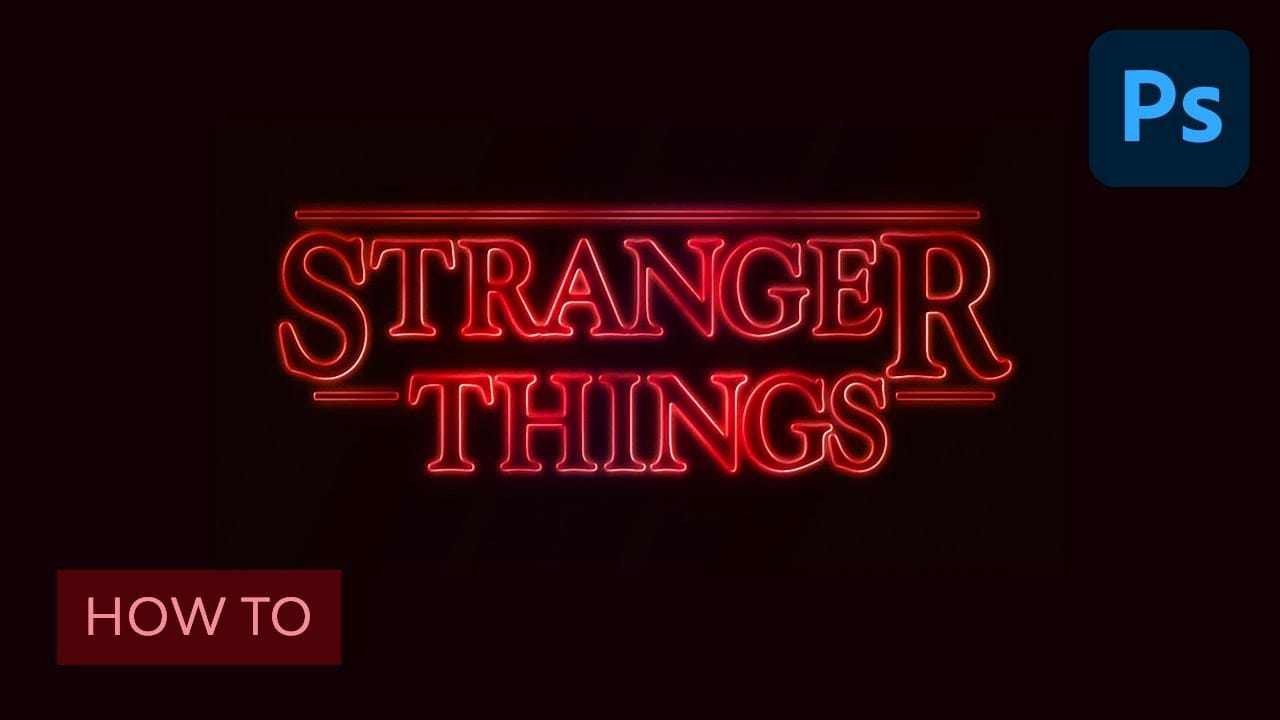
Learn how to create the Stranger Things tv show logo in Photoshop
Netflix’s Stranger Things is a hit. So is the 80’s culture revival. Horror movies from that time were scary and fun at the same time and that’s something this show was able to capture with success. But for those who aren’t designers, there was something that helped to set that ambiance: the awesome 80’s styled logo. If you think you saw it before, but don’t remember where, just go to your bookshelf and grab some of your old Stephen King books. And if you still have them, then check your Choose
Create a sleek chrome logo in Photoshop
In this Photoshop CC tutorial by Marty Geller from Blue Lightning TV, you'll learn how to design and create stunning logos, emblems, and monograms. The tutorial guides you through the process of creating a sleek, chrome logo from scratch, covering techniques for adding metallic textures, reflections, and depth. By following this step-by-step guide, you'll be able to produce professional-looking chrome designs that stand out with their polished and sophisticated appearance. Watch tutorial

Get tutorials & freebies delivered to you.

Subscribe to the Photoshop Roadmap newsletter, a weekly roundup of new tutorials, insights and quality downloads, trusted by 6500+ readers.

You might also like

Painting Digital Art Backgrounds: Techniques and Workflow

A well-crafted background can anchor an entire digital painting, providing atmosphere, depth, and visual context for the subject. This video demonstrates practical approaches to building backgrounds from scratch using digital tools, covering brush selection, color layering, and compositional thinking. Watch the Video Practical Tips Keep these core principles in...

How to Use the Light Adjustment Layer in Photoshop

Photoshop's new Light adjustment layer brings Camera Raw controls — exposure, contrast, highlights, shadows, whites, and blacks — directly into the layers panel as a fully non-destructive, maskable layer. This means you can stack multiple light adjustments, target specific subjects, and combine them with Blend If and other adjustment...

How to Use Object Selection, Remove Background, and the Selection Brush in Photoshop

Selections determine the quality and flexibility of almost every edit you make in Photoshop. Three modern tools — the Object Selection tool, Remove Background with Harmonize, and the Selection Brush — handle the most common selection tasks with far less manual effort, while keeping your original image intact through non-destructive layers....

How to Paint a Digital Background and Composite Wildlife Into It

Building a painted digital background from scratch gives you full control over color, mood, and composition before a single wildlife photo is placed. This walkthrough covers the complete process: blocking in shadows on a black canvas, layering foliage with textured brushes, positioning bird subjects on hand-painted stones, and using...

How to Sharpen Skin Texture Using Frequency Separation in Photoshop

Retouched skin can look great up close but lose all its natural texture the moment you zoom out. Rather than relying on standard sharpening filters, you can recover that texture by duplicating the high-frequency layer inside a frequency separation setup — a method that works whether or not you'...

You’ve successfully subscribed to Photoshop Roadmap
Welcome back! You’ve successfully signed in.
Great! You’ve successfully signed up.
Success! Your email is updated.
Your link has expired
Success! Check your email for magic link to sign-in.