Wrinkled clothing in photos can distract from an otherwise perfect shot. Traditional smoothing methods often destroy fabric texture, making garments look artificially plastic.
Frequency separation offers a professional solution by separating large wrinkles from fine fabric details, allowing you to smooth out unwanted creases while preserving natural textile patterns and maintaining realistic cloth appearance.
Watch the Video
Practical Tips
Master these essential techniques for professional clothing wrinkle removal:
- Create two duplicate layers and name them "Low Frequency" and "High Frequency" for organization
- Apply Gaussian blur to the low frequency layer just until fabric textures disappear, typically 5-8 pixels
- Use Apply Image with Subtract blend mode, scale 2, offset 128 to separate frequencies properly
- Paint with the Mixer Brush tool following the direction of natural fabric folds, never against them
- Maintain larger clothing folds while smoothing small wrinkles to preserve realistic garment shape
Related Articles and Tutorials
Explore more frequency separation techniques for retouching different surfaces and materials.
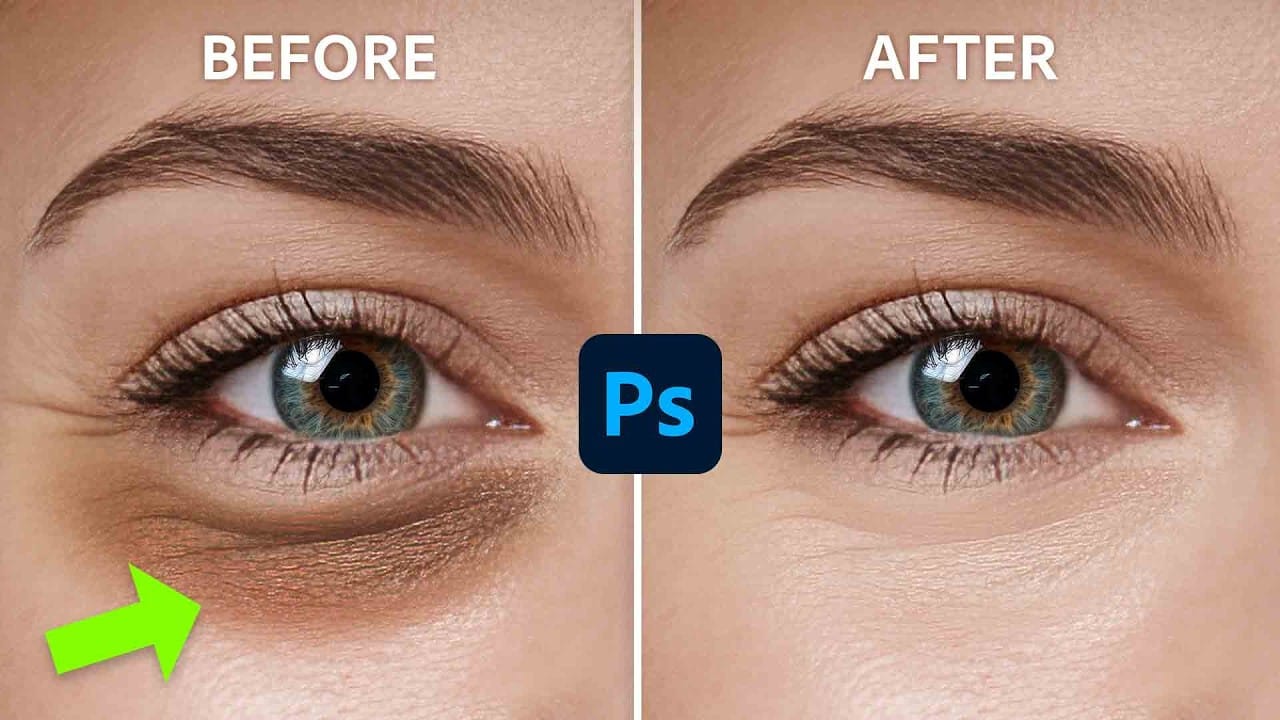
How to Remove Dark Eye Circles Using Frequency Separation in Photoshop
Dark under-eye circles can make portrait subjects look tired or unhealthy, even when they're not. Traditional brightening methods often create unnatural results or destroy important skin texture.
This tutorial demonstrates frequency separation, a professional retouching technique that removes dark circles while preserving natural skin texture and realistic lighting transitions.
Watch the Tutorial
Essential Tips for Dark Circle Removal
* Set up frequency separation properly: Create two lay
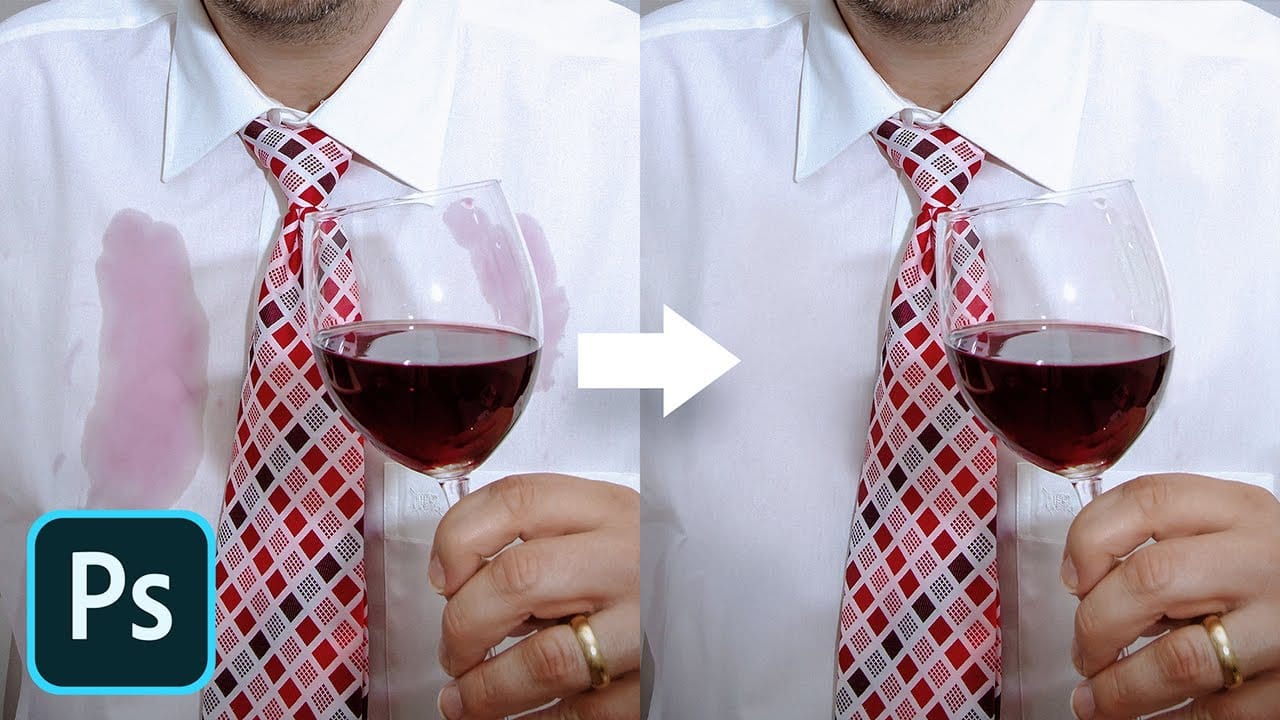
Remove any stain with frequency separation in Photoshop
In this captivating Photoshop tutorial, PiXimperfect guides viewers on how to effortlessly remove any stain using the Frequency Separation technique. Through clear step-by-step instructions, the author demonstrates the power of this versatile tool, allowing users to address discoloration without compromising the underlying texture or the natural folds of the surface.
PiXimperfect's expertise shines as they skillfully navigate the Photoshop interface, showcasing the precise methods needed to ach
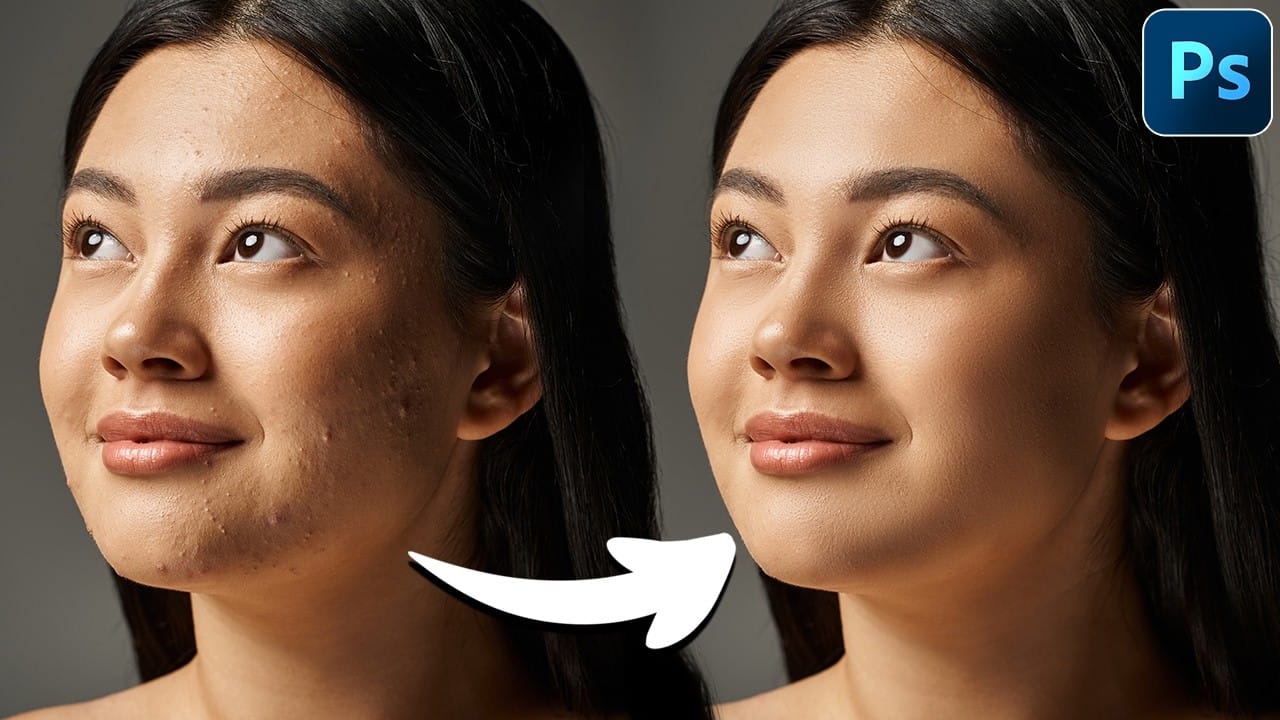
Mastering Skin Smoothing with Frequency Separation
In photography, achieving flawless subject skin can often be a challenge. Blemishes, uneven tones, and harsh shadows frequently detract from an otherwise great photo, leading to frustration for both photographers and subjects.
This guide explores frequency separation, a powerful technique that allows precise skin retouching without sacrificing natural texture. Learn how to apply this method, enhance it with advanced steps, and integrate tools that streamline your workflow for professional resul
Frequency Separation Beauty Retouch With The Mixer Brush
In this Photoshop tutorial, the author Kevin Roodhorst shares the professional way to soften skin for high-end retouching. The tutorial focuses on the technique of frequency separation, which is a widely used method in the world of photo editing.
The author explains that frequency separation involves separating the image into two layers: the high-frequency layer, which contains the details and textures, and the low-frequency layer, which contains the overall color and tone. By working on these

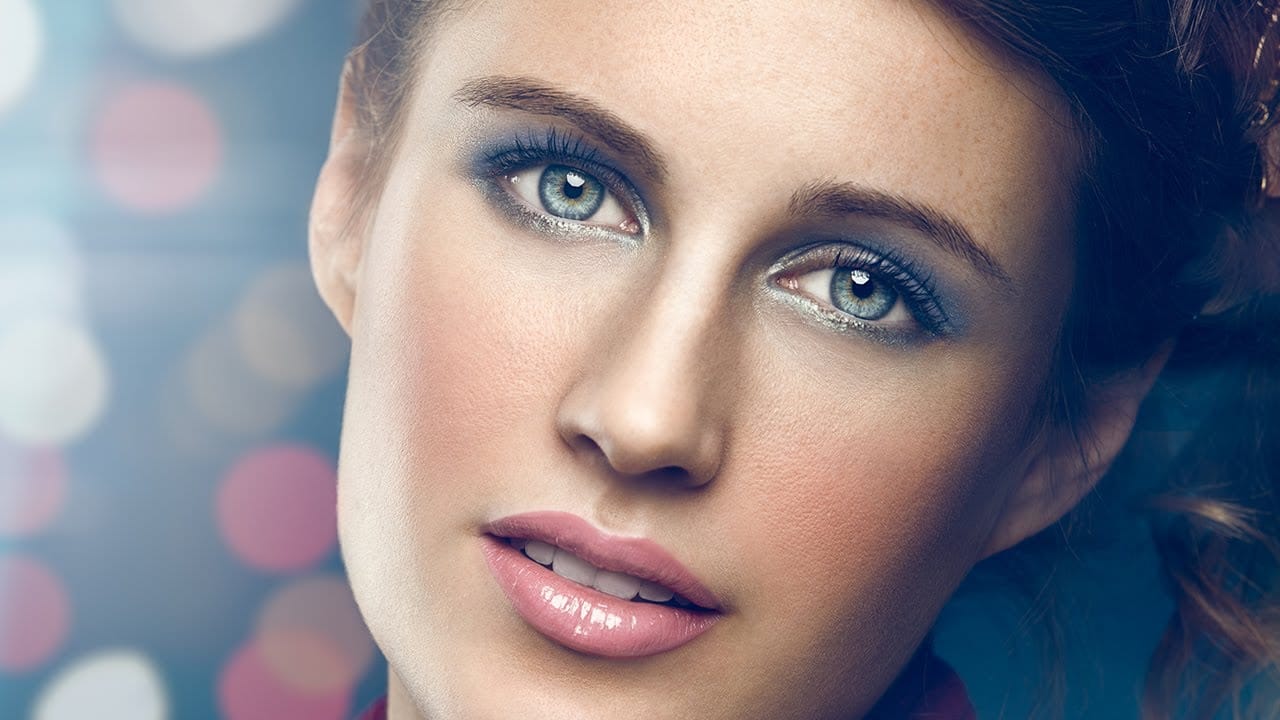
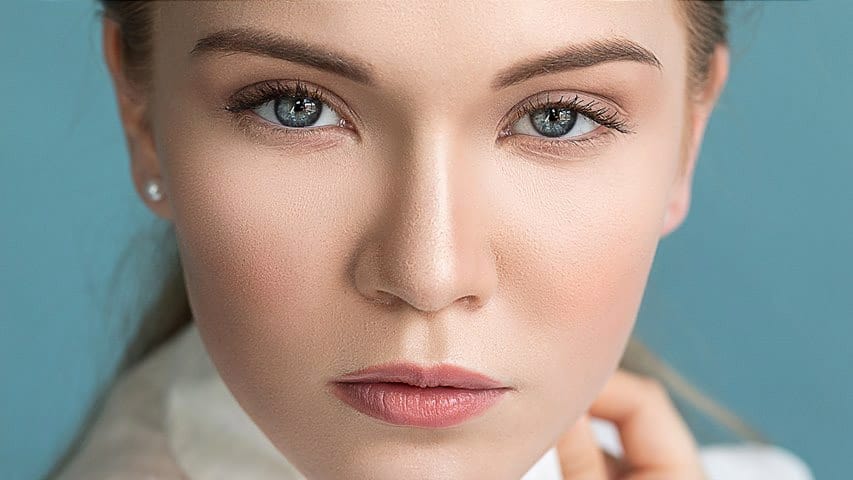
Removing Makeup with Frequency Separation in Photoshop
In this tutorial by Michael Woloszynowicz, learn how to remove makeup using Frequency Separation in Photoshop.
The video demonstrates how to scale back eye-shadow and replace it with natural skin tones. This technique is perfect for removing makeup like blush or eye-shadow, providing a clean, natural look.
Enhance your Photoshop skills and discover an effective method for makeup removal in portrait retouching.
Watch tutorial
High-End Skin Retouching in Photoshop
Combining the power of Frequency Separation along with manual Sampling and Painting, learn how to recreate and sculpt the skin, maintaining a beautiful skin texture, in this tutorial by PiXimperfect.
Using this technique, you will not only achieve a smooth skin but also will have the control to naturally remove wrinkles, lift up the cheekbones, and renovate the whole structure of the skin with the skin texture still intact. This is an All-in-One Method whether you want to soften the skin or jus
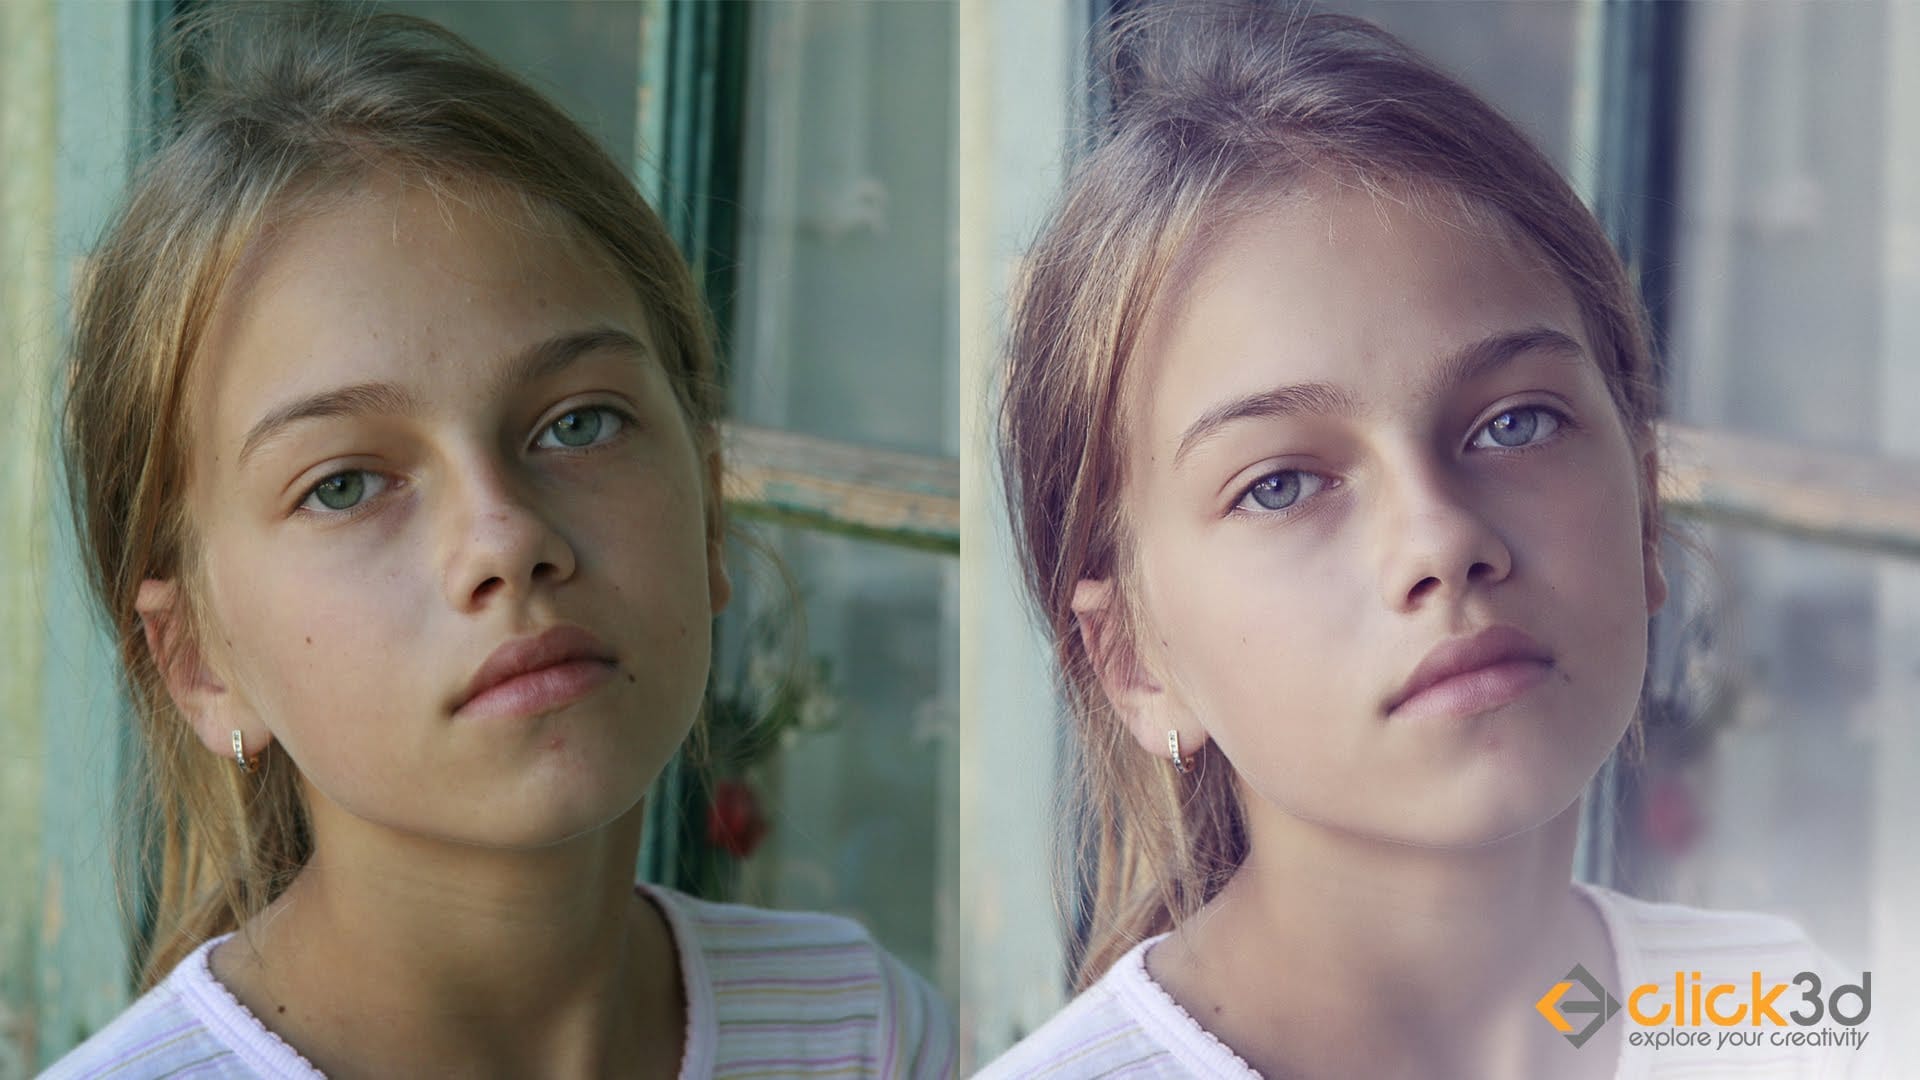
Skin Retouching and Soft Light Effect in Photoshop
In this tutorial, the author, Click 3D, guides viewers through the process of high-end skin retouching using the Frequency Separation technique and applying a soft light effect in Photoshop. The author explains the step-by-step instructions, making it accessible for both novice and experienced Photoshop users.
The tutorial covers how to use Frequency Separation to smoothen and refine skin texture, while maintaining the natural details. Additionally, the author demonstrates the application of th
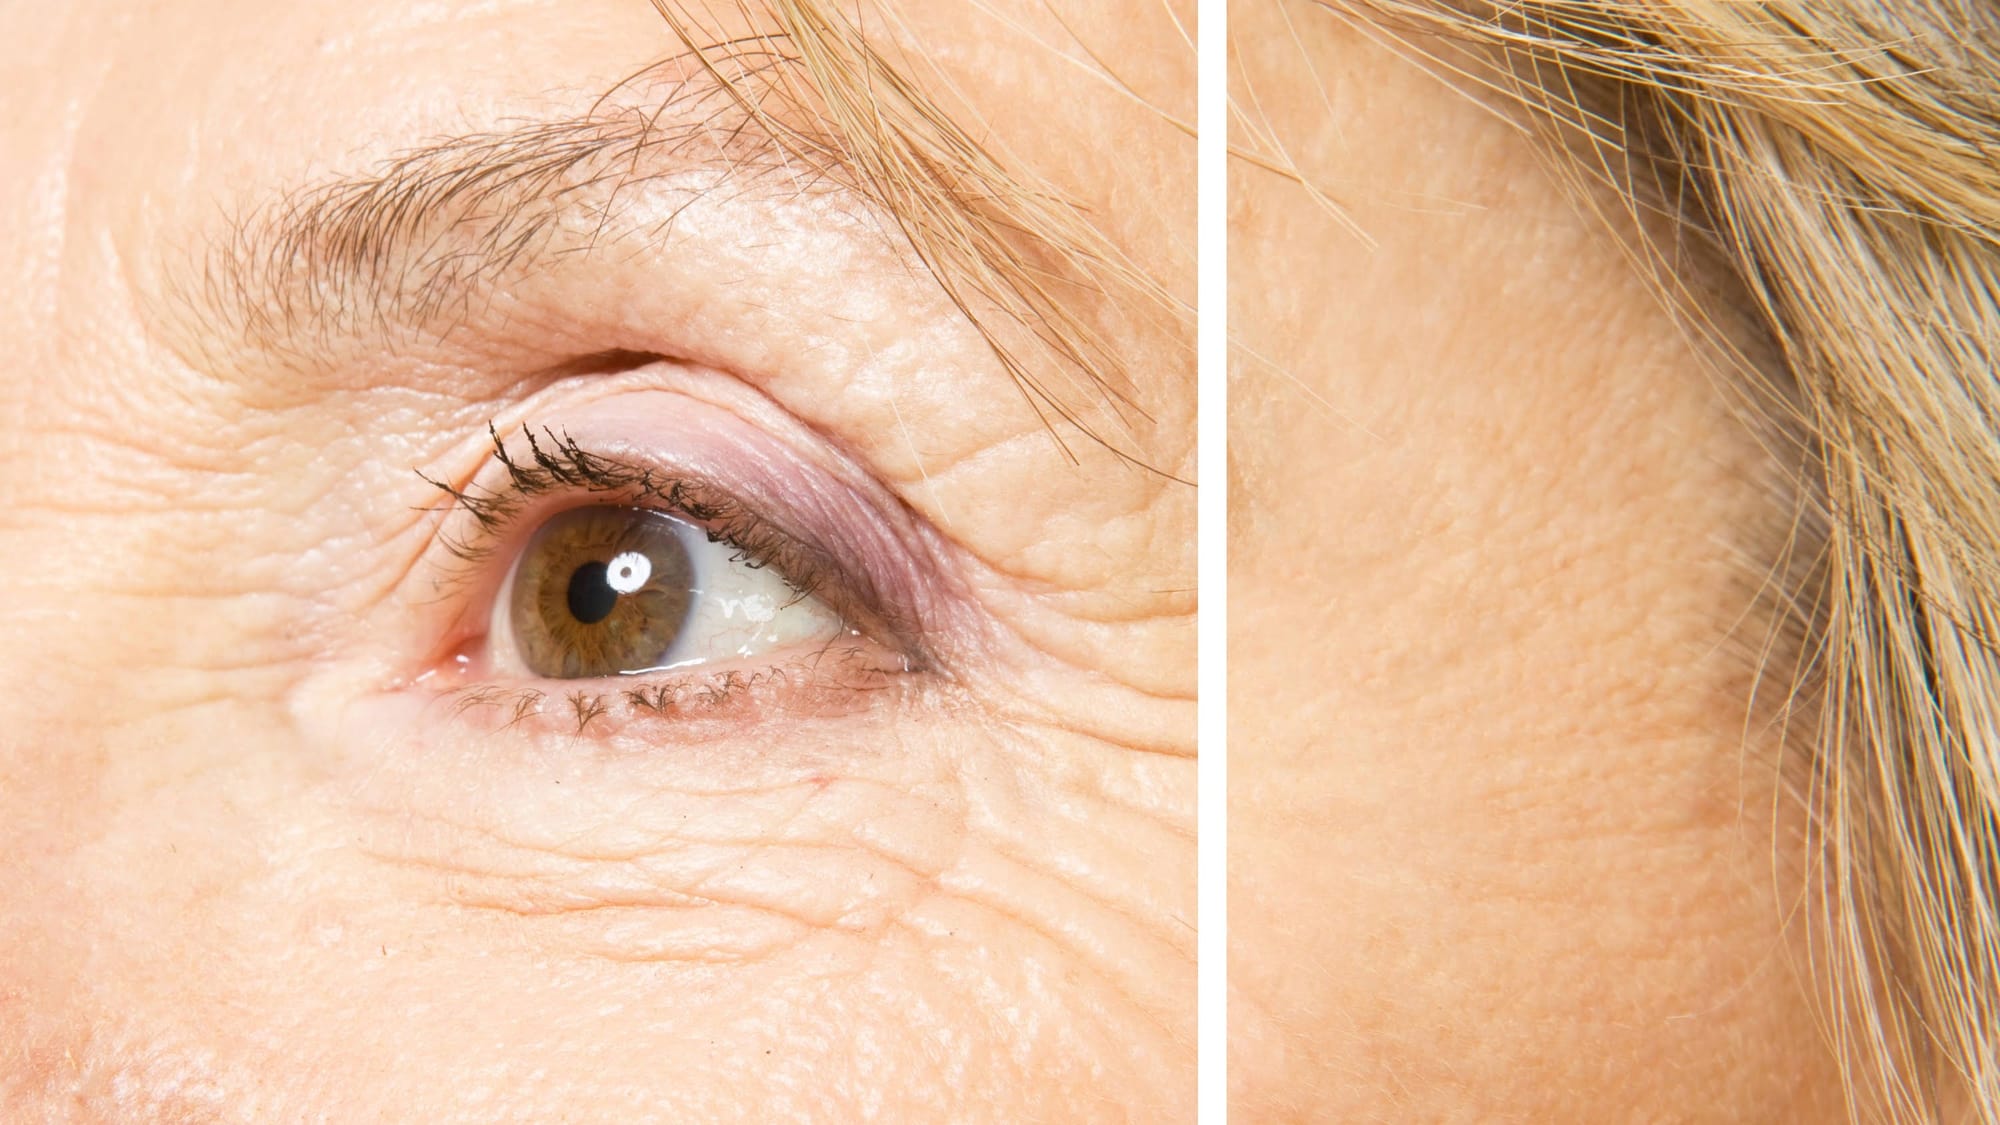
How to Remove Wrinkles in Photoshop
When retouching portraits, the key to natural-looking wrinkle removal lies in choosing the right approach for your image. Complete wrinkle elimination can make subjects appear artificially smooth, while subtle reduction maintains character and authenticity.
This tutorial demonstrates two distinct methods: one for complete wrinkle removal and another for natural-looking wrinkle reduction that preserves skin texture and maintains realistic aging.
Watch the Video
Practical Tips
Master these k
Remove Wrinkles in Photoshop with the Spot Healing Brush
In this tutorial by Howard Pinsky, you will learn how to quickly remove wrinkles in Photoshop using the Spot Healing Brush Tool. While there are various tools available for this purpose, the Spot Healing Brush is often sufficient for achieving smooth, wrinkle-free results.
The tutorial emphasizes the tool's efficiency and simplicity, making it an excellent choice for quick touch-ups.
Watch tutorial