Quick Tip: Create One-Click Photo Effects in Photoshop

Quick Tip: Create One-Click Photo Effects in Photoshop

Did you know that you can apply one-click color effects to your photos? It is very easy to do using the Color Lookup Adjustment Layer. In fact, it’s so easy that even an absolute beginner can apply beautiful color effects just by following this short tutorial.

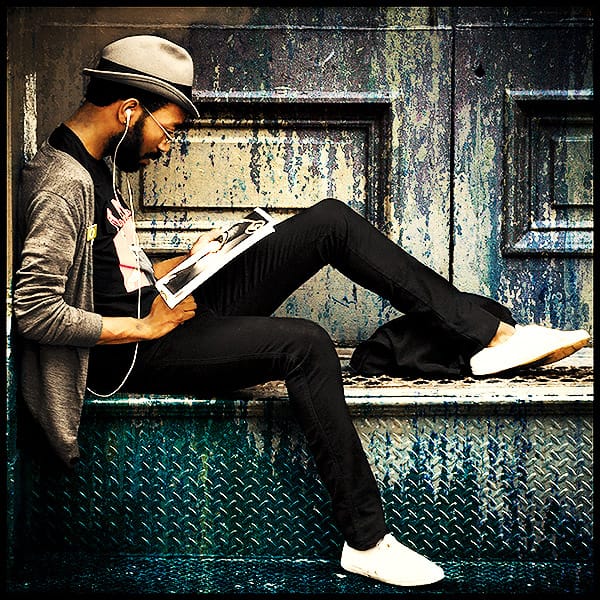
Final image
Without getting into too many technical details, a color look-up table (CLUT) is a mechanism used mainly in video or photography to transform a range of input colors into another range of colors. While difficult to create, the Color Lookup Tables are very easy to apply, and Adobe has provided a nice amount of pre-loaded tables for you to use on your photos.

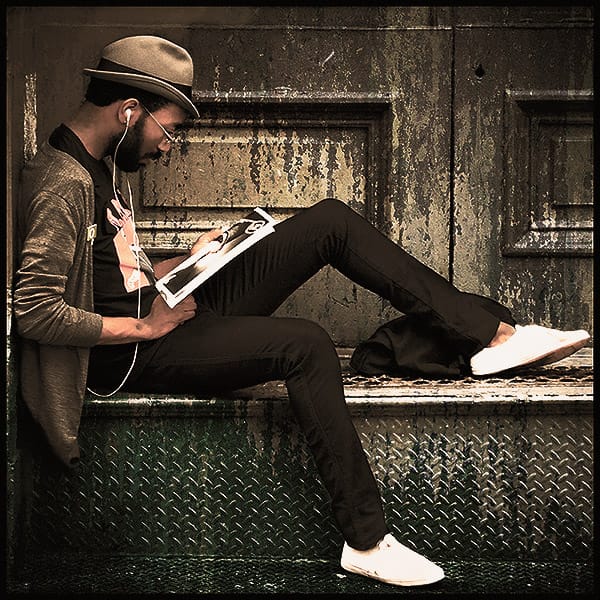
Let's open our base image. You can download this one here. If you plan to use this image in commercial work, just be sure to read the usage rights on the download page. Photo by Joel Bedford via Flickr.

Base image

%image_alt%

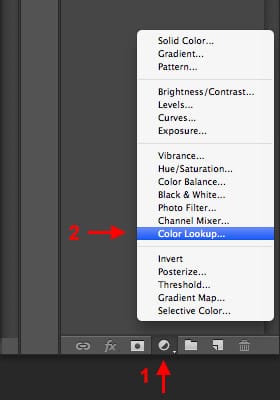
Click on the Adjustment Layers icon at the bottom right of the Layers palette and select Color Lookup from the menu.
%image_alt%

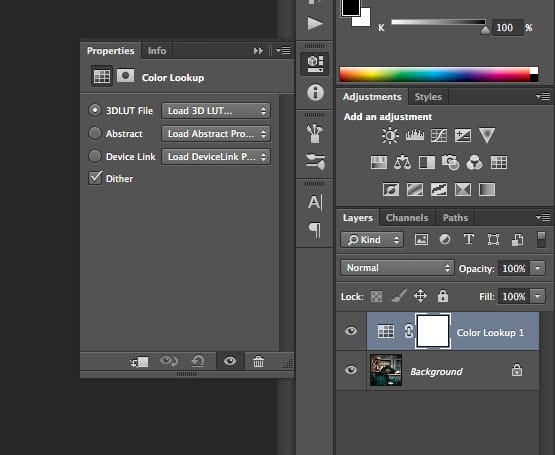
The Color Lookup Palette will open up and you will see several options. Don't worry about those options; we will only concentrate on the pre-built tables.
%image_alt%

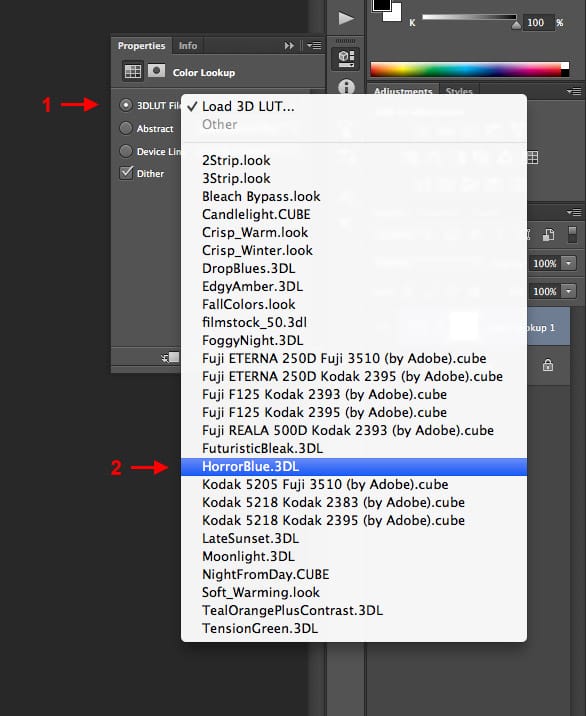
Just click on the pulldown menus and select the table you want. Always click on the pulldown menu and not on the radio buttons, or you will be prompted to load a table to your list. Since we will be using the default tables, this is not necessary.

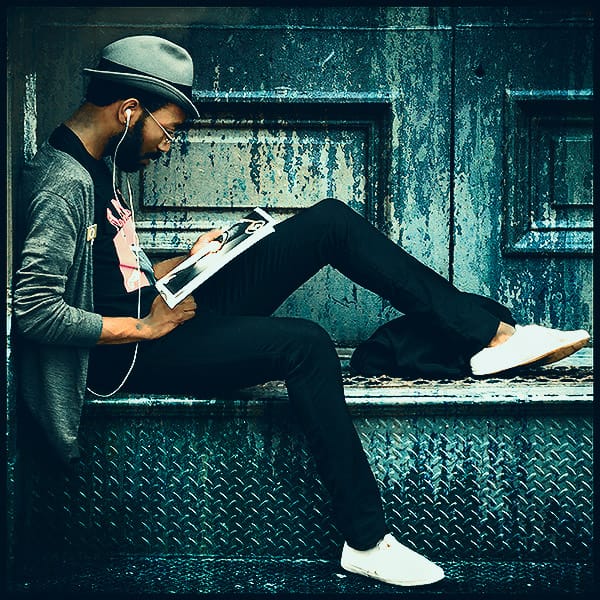
In this example, we will start with one of my favorites, the Horror Blue table.
%image_alt%

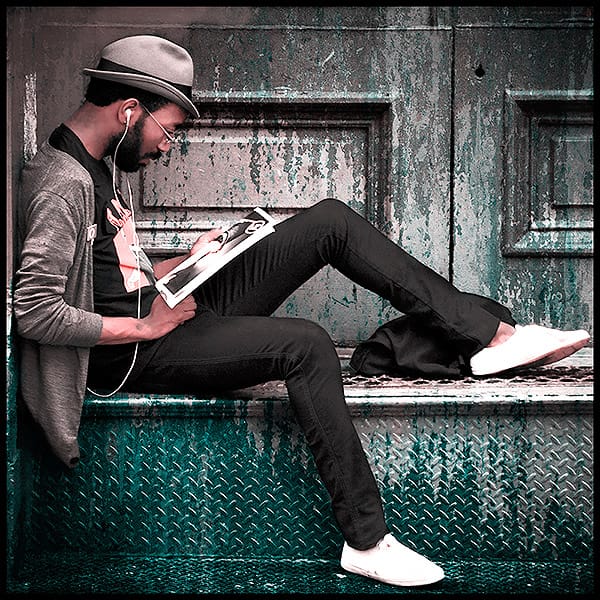
And that's it! With just a single click, we applied an awesome color effect without messing around with curves, levels, and other complex techniques.

%image_alt%

Let’s see some other examples:

2 Strip Color Table
%image_alt%

Candle Light Color Table

%image_alt%

Film Stock 50 Color Table

CreativeLive

Get tutorials & freebies delivered to you.

Subscribe to the Photoshop Roadmap newsletter, a weekly roundup of new tutorials, insights and quality downloads, trusted by 6500+ readers.

You might also like

How to Use AI Object Masking in Camera Raw for Targeted Exposure Adjustments

Selecting complex foreground elements — detailed trees, people, motion-blurred figures — used to mean hours of careful masking work. The AI-powered object selection inside Camera Raw changes that entirely, letting you make rough brush strokes and still walk away with a precise, editable mask. Combined with a non-destructive smart...

How to Remove Wrinkles and Replace Backdrops in Post-Production

Wrinkled fabric backdrops, uneven lighting, and backgrounds that don't quite fill the frame are common problems when shooting on a budget. Fixing them manually through dodge and burn, frequency separation, or content-aware fill can eat up significant editing time — especially across a full shoot's worth...

Pixel Stretch Effect in Photoshop Using the Single Column Marquee Tool

The pixel stretch effect takes a single column of pixels from a subject and extends it horizontally across the frame, creating a sharp, graphic streak that suggests speed or energy. It works on portraits, athletes, and objects alike, and the entire process relies on just a few basic Photoshop tools...

How to Assign a Custom Keyboard Shortcut to Select Subject in Photoshop

Navigating to Select > Subject every time you need to isolate a subject adds up to a surprising amount of wasted clicks. Photoshop lets you assign a custom keyboard shortcut to almost any menu command — including Select Subject — so you can trigger it instantly without touching the menus. Watch the...

You’ve successfully subscribed to Photoshop Roadmap
Welcome back! You’ve successfully signed in.
Great! You’ve successfully signed up.
Success! Your email is updated.
Your link has expired
Success! Check your email for magic link to sign-in.