Quick and Simple Worn Out Psychedelic Poster in Photoshop

Quick and Simple Worn Out Psychedelic Poster in Photoshop

Adobe Photoshop offers a lot of ways to apply color effects to your images. But maybe the Gradient Map adjustment layer is the most flexible and easy to use of them all. With this tool you can apply one of the many great sample gradients provided by Adobe in the standard Photoshop installation. you can create all kinds of color or artistic effects with just one click. And believe me, many, many of them are really outstanding.

In this tutorial we are going to create a psychedelic poster with just an image, a gradient map and a texture.

👁️
This is an older tutorial, and some external links or data sources mentioned may no longer be accessible. However, the content covers a unique topic and remains valuable despite any broken connections. We’ve kept the post intact for its educational and informative value.

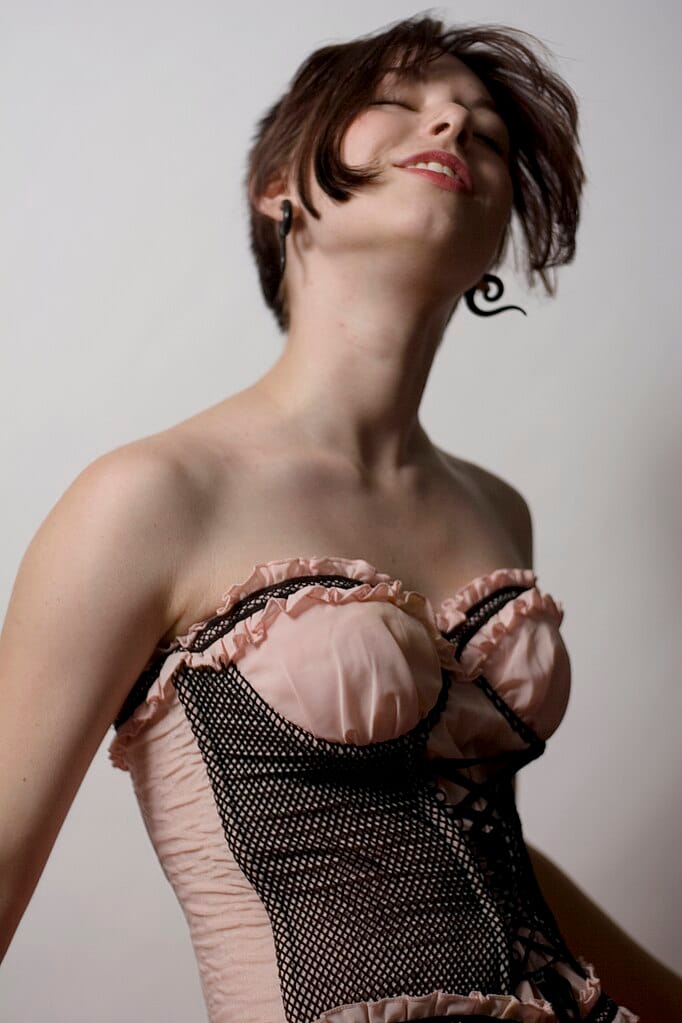
Download the base image. Author: Benjamin Portland. check the usage rights here.
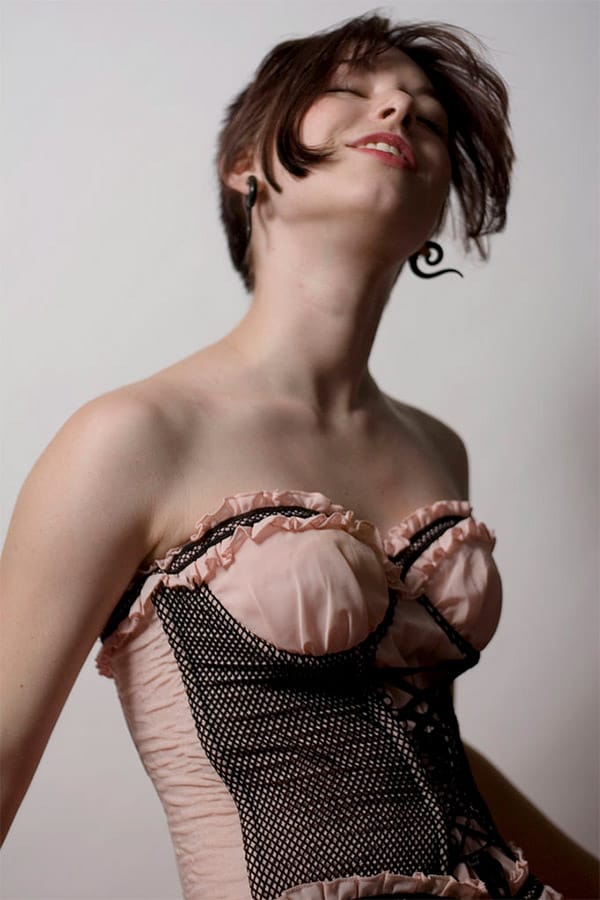
Final Image

Now, go to the layers palette and click on the ADJUSTMENT LAYERS icon. Select GRADIENT MAP from the list.
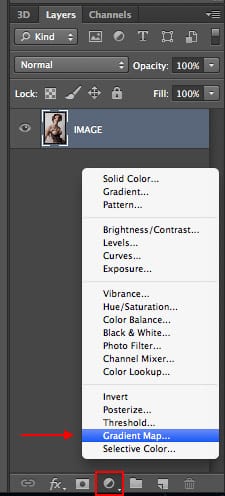
Final Image

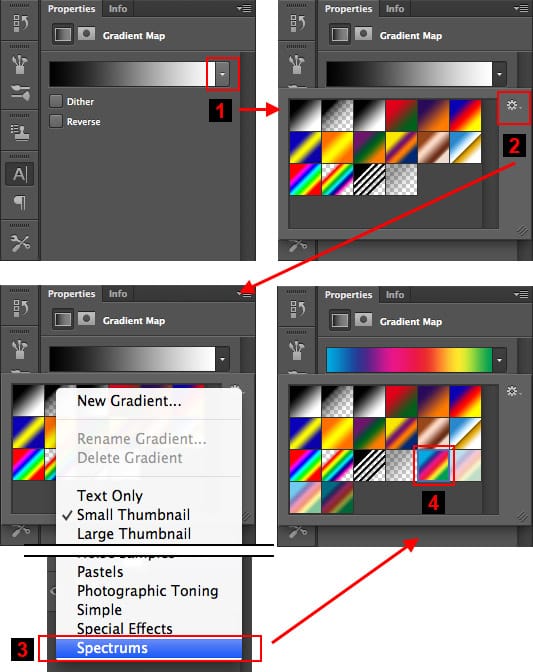
A new adjustment layer will be created using the default gradient map. Now, go to the Adjustment layers palette and 1) Click on the gradients pulldown menu 2) Click on the gradients palette options icon 3) Select Spectrums from the bottom of the pulldown menu. Click on Append when requested. 4) Select the color spectrum gradient marked in the image below.
Final Image

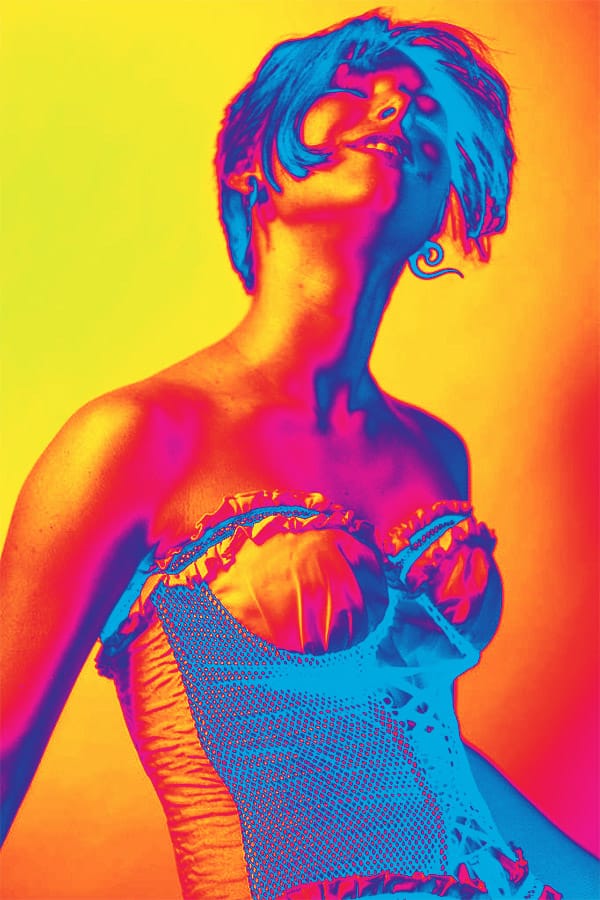
The gradient will be applied to the image giving it a psychedelic style
Final Image

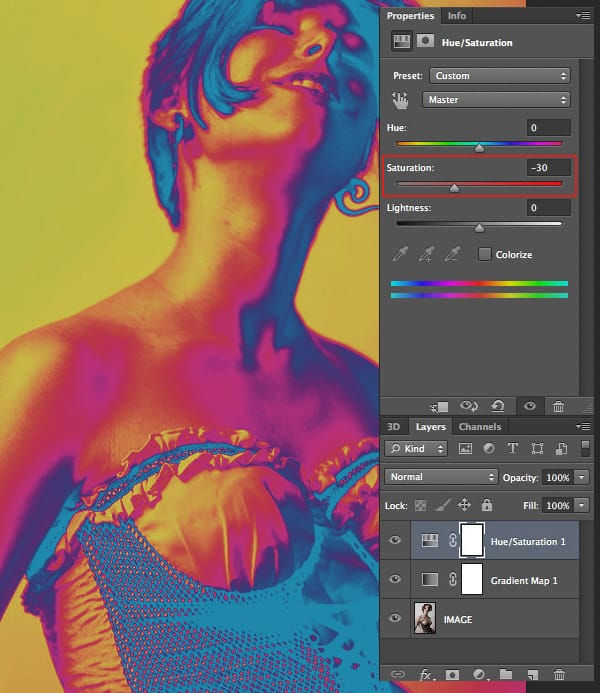
This is all you need to give a psychedelic look to your image. Let’s now wear it out a bit. Go to the Adjustment Layers icon and choose Hue/Saturation adjustment layer. Then, go to the Hue/Saturation palette and move the Saturation control a bit to the left. -30 is fine. Ugly, isn’t it? Don’t worry. Let’s move on.
Final Image

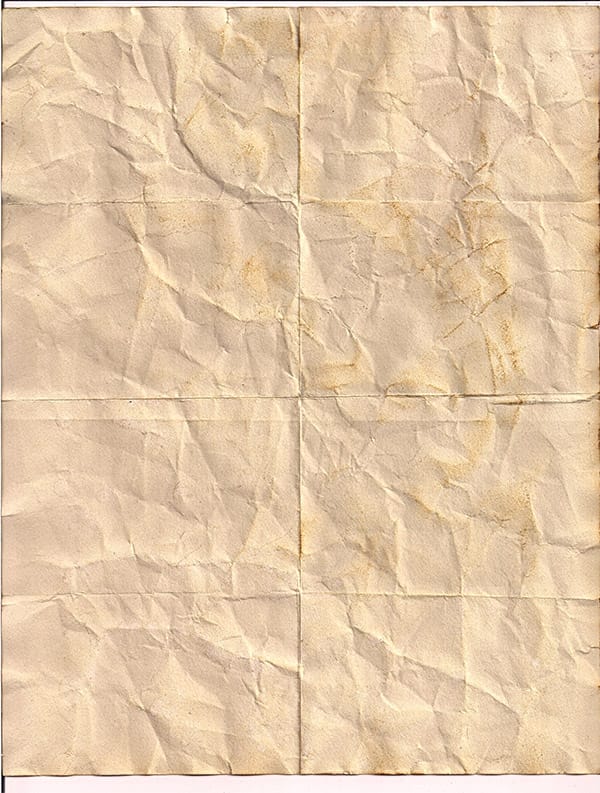
Now let’s add a creased grunge paper texture to the image. Download this paper texture by Spiketheswede from Deviant Art. Read the usage rights before using it in any project.
Final Image

Open the image you just downloaded. Do not paste it into the project file yet. Keep it in a separate file.

You will notice that it is a bit large (1700 x 2246px). So, let’s resize it to 1000 x 1321px using IMAGE > IMAGE SIZE… menu command.

Now that it has been resized, copy the image and paste it into our project. Move the texture until the creases are somewhat symmetrical.

Then set the layer blending mode to Overlay and the opacity to 50%.
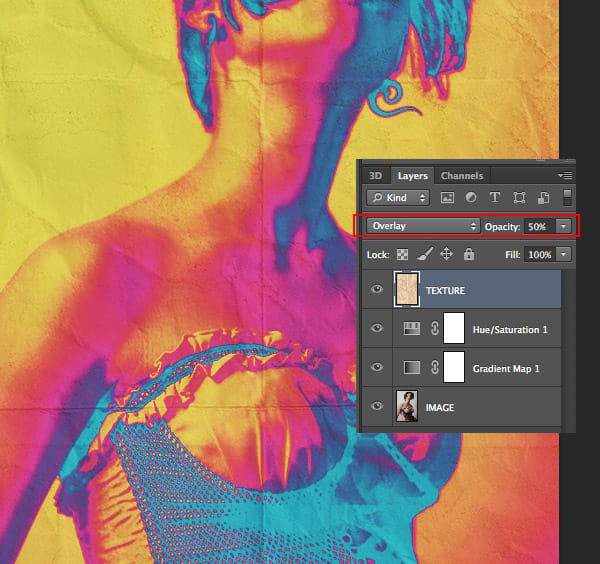
Final Image

Since the texture was a bit light, the colors lost visual impact. Let’s add the final touch creating a new LEVELS adjustment layer right above the texture. Set the black point to something like 25. This will give a better contrast to the image.
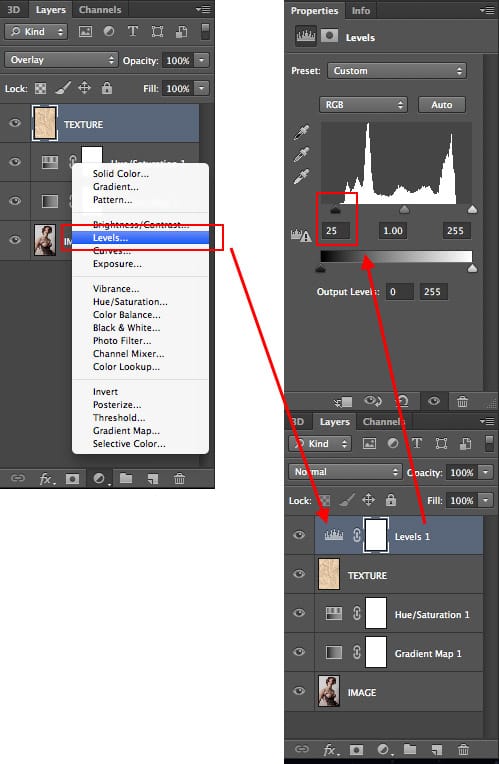
Final Image

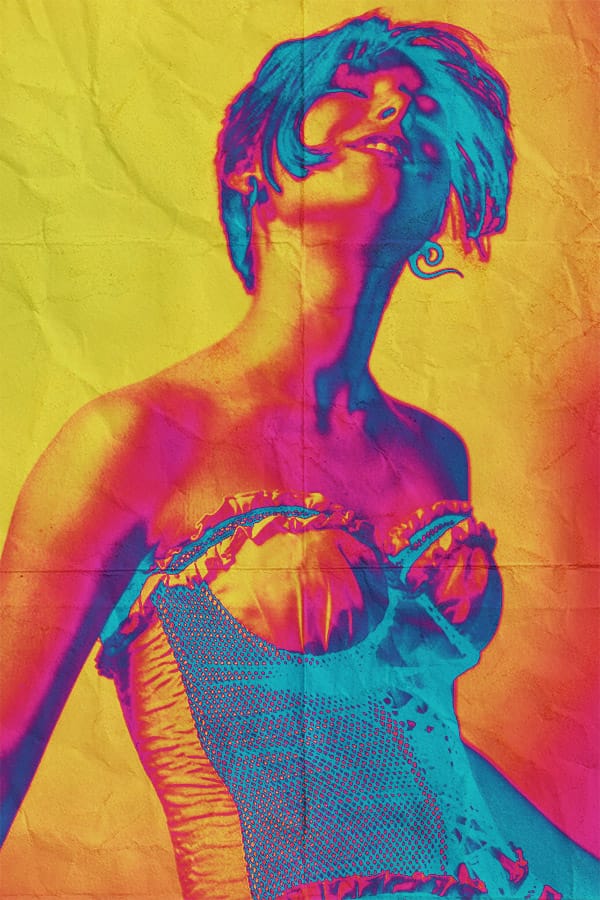
This is the final result:

Final Image

The main color effect was based only in the gradient map layer. The rest of the layers were used to fine tune the result. Since we used Adjustment Layers you can keep on tweaking the image to get different effects.

Get tutorials & freebies delivered to you.

Subscribe to the Photoshop Roadmap newsletter, a weekly roundup of new tutorials, insights and quality downloads, trusted by 6500+ readers.

You might also like

How Photoshop's Enhance Edge Feature Removes Hair Masking Halos

Hair masking has long been one of the most tedious tasks in photo compositing — especially when switching between dark and light backgrounds reveals unwanted halos along the edges. Photoshop's new Enhance Edge feature, available in beta 27.11, offers an AI-powered approach to this problem by generating...

How to Use Quick Compare and Dynamic Layers in Photoshop Beta

Photoshop Beta's latest update introduces two tools worth knowing: a Quick Compare toggle for instant before/after previews, and a Dynamic Layer feature that lets you control AI-generated effects with a simple slider. Together, they streamline how you review edits and apply prompt-based changes like adding...

Retouching Pet Portraits in Photoshop: Cleaning Fur, Eyes, and Fine Details

Pet photos rarely arrive perfectly clean — staining around the eyes, discolored fur near the mouth, and stray hairs are common problems that need fixing before any serious portrait work begins. This workflow covers how to remove those distractions manually using overpaint and fur brushes, then finish with eye enhancement techniques...

Before and After View Plus Dynamic Layers in Photoshop Beta

Photoshop Beta currently includes two features that work quite differently from each other. The first adds a straightforward before-and-after comparison tool directly into the editing workspace — something that sounds simple but solves a real problem when a file already has multiple layers. The second, Dynamic Layers, uses AI...

How to Blend Multiple Exposures for Car Light Trails in Photoshop

Stacking multiple exposures of a night scene lets you capture far more light trail detail than any single shot can deliver. This technique uses the Lighten blending mode to combine a bright base image with several car light trail frames, keeping only the brightest pixels from each layer for a...

You’ve successfully subscribed to Photoshop Roadmap
Welcome back! You’ve successfully signed in.
Great! You’ve successfully signed up.
Success! Your email is updated.
Your link has expired
Success! Check your email for magic link to sign-in.