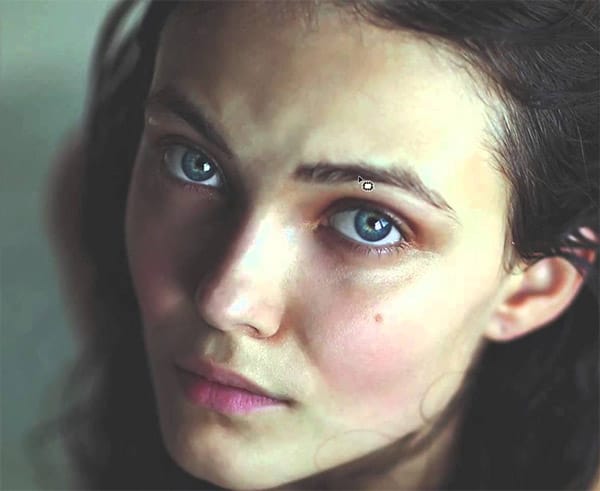
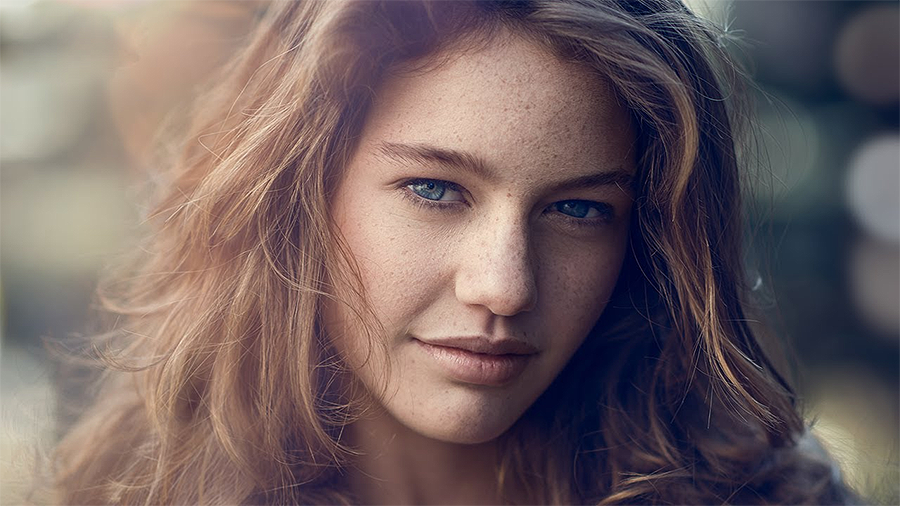
What happens when you strip away all of Photoshop's specialized retouching tools and rely on just the basic brush? This unique challenge demonstrates how to achieve professional portrait results using only painting techniques. By working with careful color sampling, low flow settings, and strategic blend modes, you can handle blemish removal, dodging and burning, and color correction without touching the healing brush, clone stamp, or any other specialized tools.
Watch the Video
Practical Tips
These key techniques will help you master brush-only retouching while maintaining realistic skin texture and natural results.
- Use Alt/Option to sample colors constantly while painting blemishes, creating natural color variation instead of flat patches
- Set your brush flow to 5-10% for dodging and burning with white and black on soft light blend mode layers
- Stay zoomed out during dodge and burn work to maintain perspective on how edits affect the overall image
- Paint complementary colors at low saturation on soft light layers to correct color casts without destroying skin tones
- Sample highlight colors from clean skin areas and paint random small dots to recreate realistic skin texture
Related Articles and Tutorials
Explore more portrait retouching techniques and creative approaches to enhance your editing skills.
Remove bags and blemishes from portraits using the patch tool in Photoshop
In this tutorial by Aaron Nace from Phlearn, you'll learn how to effectively remove bags and blemishes in Photoshop.
The Patch Tool is used for retouching large areas, such as skin blemishes, under-eye bags, wrinkles, dark spots, and scars. If the blending isn't perfect, the Fade Tool helps achieve a smooth and natural look.
This tutorial provides techniques for a flawless retouch, ensuring your portraits look their best.
Watch tutorial
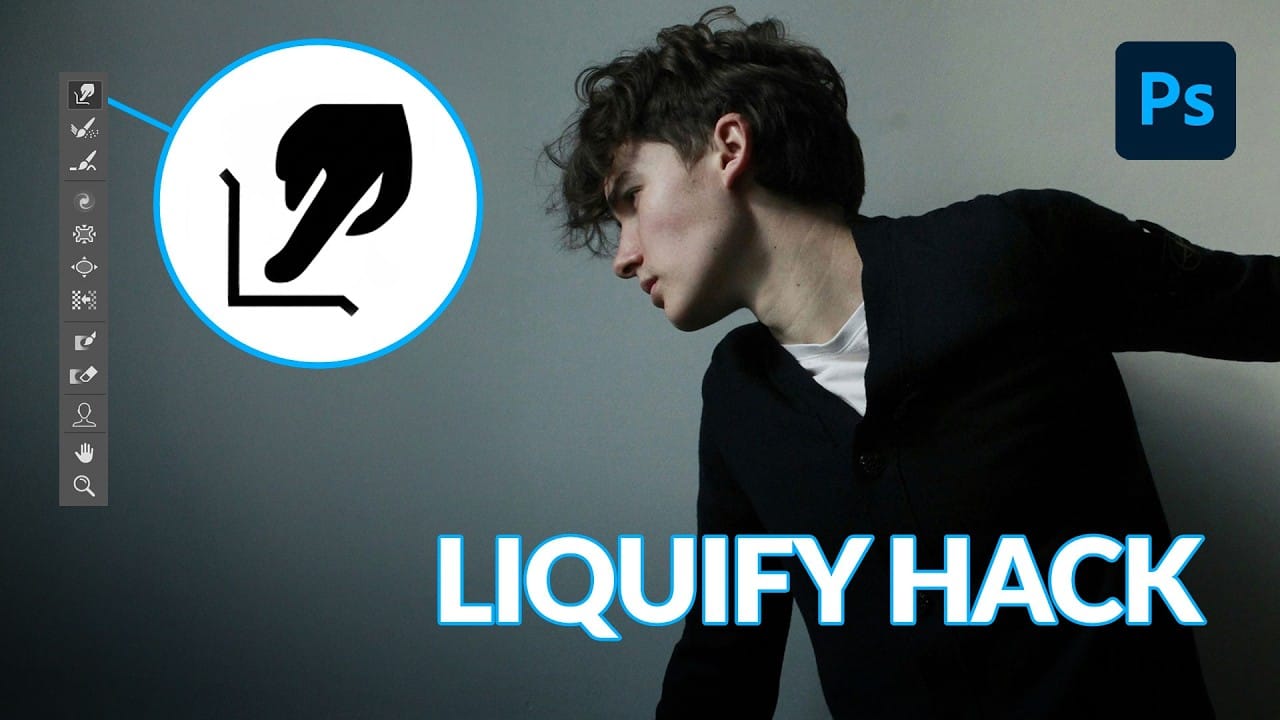
How to Use Photoshop's Liquify Tool for Non-Destructive Portrait Retouching
Clothing wrinkles, hair that lacks volume, and awkward fabric bunching can distract from an otherwise great portrait. Photoshop's Liquify tool offers a powerful solution for smoothing out these issues while preserving the natural look of your subject.
This tutorial demonstrates how to use the Liquify tool non-destructively with smart objects, focusing on clothing adjustments and hair enhancement while maintaining ethical retouching practices.
Watch the Tutorial
Essential Liquify Tool Tips
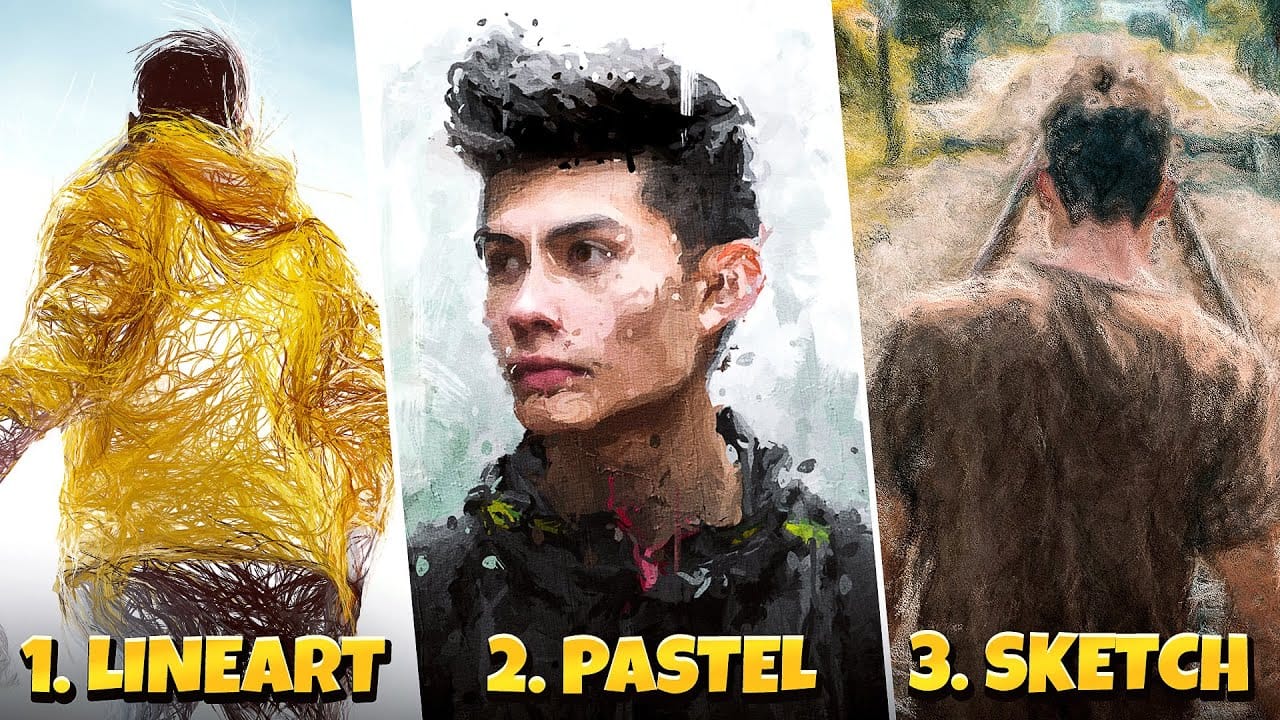
3 Digital Painting Effects With One Tool in Photoshop
In this tutorial by Pixivu, you'll learn how to create three distinct digital painting effects in Photoshop using just one tool. The tutorial starts with a sketch effect, where you'll use specific brushes to convert your photo into a detailed sketch. The process is straightforward and results in a highly realistic sketch effect.
Next, it guides you through creating a pastel oil paint effect with an easy and innovative technique involving four unique brushes. This technique adds rich texture and
Natural outdoor portrait retouching in Photoshop
This tutorial guides you through the complete process of achieving a natural outdoor portrait retouch in Adobe Photoshop. You will learn essential techniques to enhance your portraits while maintaining their authentic feel.
Starting with fixing hair, you'll discover how to tidy up those stray strands effectively. The tutorial then moves on to smoothing skin, teaching you to use frequency separation, which helps preserve texture while improving the overall look.
You'll also explore methods for
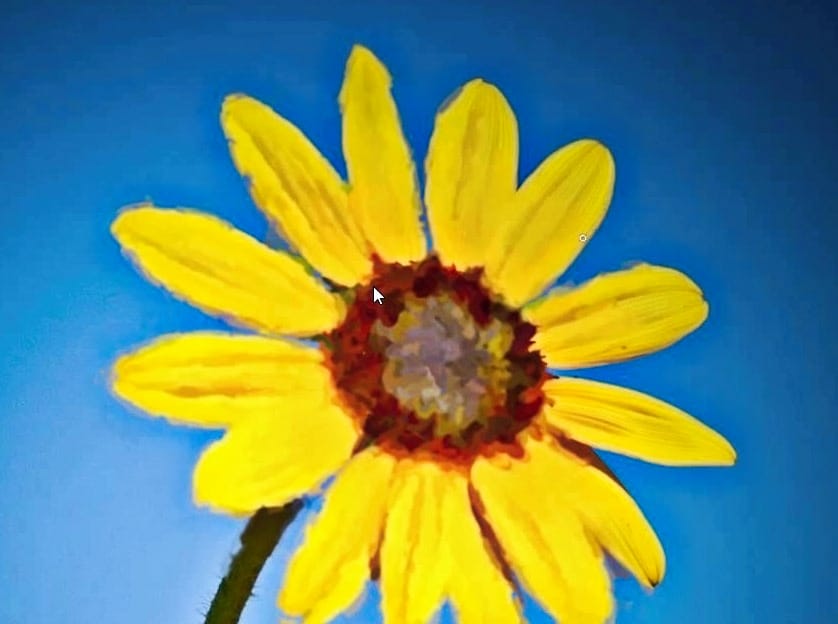
Anyone can create incredible paintings in Photoshop with a single tool
In this tutorial, we'll explore a fun and easy way to create digital oil paintings using Adobe Photoshop. Our focus will be on the art history brush tool, which allows you to produce unique and impressive results.
However, before you start using this tool, it's important to understand its basic principles and be aware of some common issues that may arise during setup. Once you get the hang of it, the art history brush can unlock all sorts of possibilities for your digital art projects.
So let'
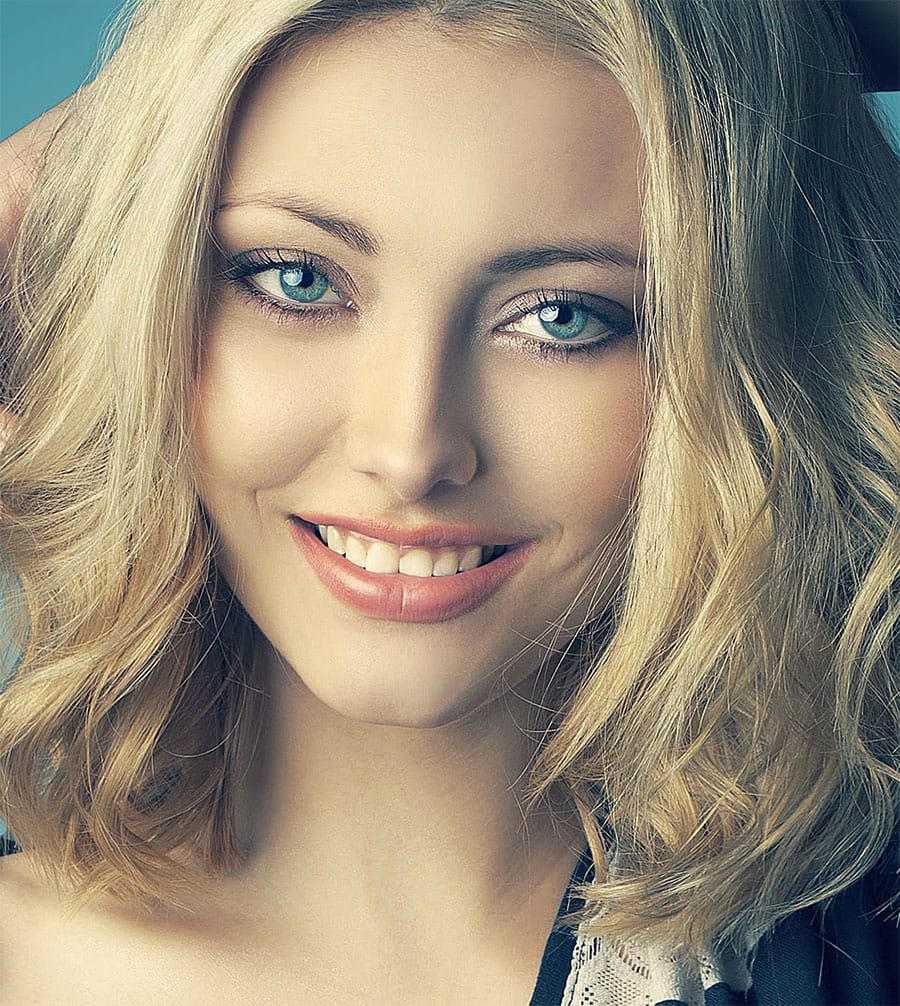
Easy Beauty Retouching in Photoshop
In this comprehensive Photoshop tutorial by PSD Box, you'll explore various fashion retouching techniques.
Learn how to paint realistic hair, retouch skin, and much more. This tutorial is ideal for photographers looking to enhance their studio or fashion portraits, as well as anyone interested in mastering retouching skills in Photoshop. Whether you're a professional or a hobbyist, these techniques will help you create stunning, polished images.
Enhance your retouching expertise and elevate th
Photoshop Roadmap Weekly #4
This week, we'll explore powerful tools and techniques to enhance your Photoshop skills and inspire new creative ideas. A quick and effective 1-Minute Skin Retouch Action tutorial shows how to polish portraits with ease. Nature's beauty will be reimagined as you learn to transform a wildlife photo into a fine art piece, capturing the essence of the natural world with a creative twist. And if you're looking to add cinematic flair, a tutorial on the Cinematic Bloom Glow Effect reveals how to achie

Flawless 1-Min Skin Retouch Action in Photoshop
In this tutorial, you will learn a fast and effective technique for retouching skin using Photoshop. This method focuses on creating smooth, beautiful skin in under a minute.
You'll discover how to generate a brand new skin texture from scratch and apply advanced blurring techniques. The goal is to achieve smooth and even skin without any blemishes, all while preserving the natural skin texture. By following these steps, you can quickly transform your photos without losing detail.
Additionally

Create Cool Painterly Illustrations With the Art History Brush in Photoshop
In this tutorial, Julianne Kost will delve into an often-overlooked yet highly versatile tool in Photoshop CS5—the Art History Brush. This tool, which utilizes history states and snapshots, allows users to transform their images into stunning painterly effects. Julianne emphasizes that while the default settings of the Art History Brush may not showcase its full potential, exploring beyond these defaults can unlock a world of creative possibilities.
Julianne begins by demonstrating the basic fu