Inserting Multiple Images Inside Text In Photoshop

Inserting Multiple Images Inside Text In Photoshop

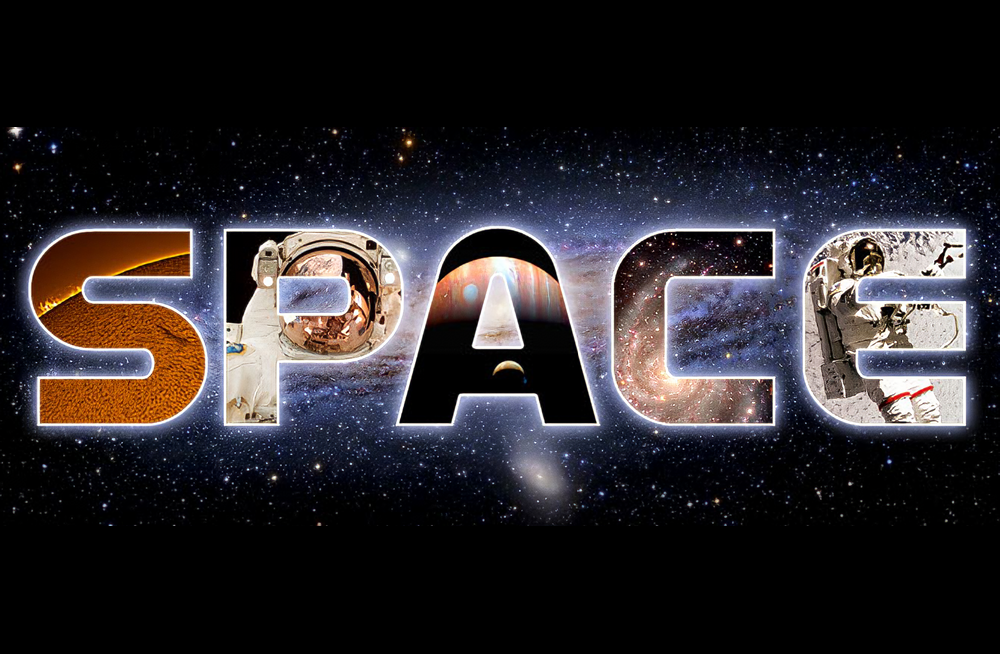
Placing multiple images inside text in Adobe Photoshop is a popular design technique that can add visual interest and depth to your designs. This technique involves inserting images into letters or words to create an eye-catching and unique design.

The Clipping Mask feature in Photoshop is used to achieve this effect. Clipping masks allow you to use one layer to define the shape of another layer, making it ideal for inserting images into text. With this technique, the possibilities are endless – you can create intricate designs with multiple images inside the text, or use a single image for a more simple look.

Whether you are a professional designer or just starting out, placing multiple images inside text in Photoshop is a great way to add visual interest to your designs and create unique, eye-catching graphics.

Get tutorials & freebies delivered to you.

Subscribe to the Photoshop Roadmap newsletter, a weekly roundup of new tutorials, insights and quality downloads, trusted by 6500+ readers.

You might also like

How to Change Object Colors in Photoshop Using Hue/Saturation

Changing the color of specific objects in your photos requires precision and the right technique. The key is creating an accurate selection and using a targeted adjustment layer that affects only your chosen subject while preserving the rest of the image. This method combines the Object Selection tool with Hue/...

Create a Distorted Wave Glitch Effect in Photoshop

Digital distortion effects transform ordinary portraits into striking visual art by warping reality through deliberate technical manipulation. This technique uses multiple wave filters layered together to create increasingly complex distortions, while selective masking preserves important facial features from becoming completely unrecognizable. Watch the Video Practical Tips Master the wave distortion...

How to Create Glow Motion Effects with Gradient Maps in Photoshop

Motion blur combined with colorful gradients creates striking visual effects that transform ordinary photos into dynamic, cinematic images. This technique uses gradient maps to automatically color light and dark values, producing flowing color transitions that follow the movement of your subject. The process involves subject isolation, strategic gradient placement, path...

How to Use Reference Images with Generative Fill in Photoshop

Reference images revolutionize how Generative Fill works, letting you guide AI with actual photos instead of text prompts. This feature enables precise clothing swaps, object replacements, and realistic additions by showing the AI exactly what you want rather than describing it. The technique works with everything from custom t-shirts and...

How to Remove Eye Bags Using Dodge and Burn in Photoshop

Eye bags can dramatically age a portrait, making subjects appear tired or unhealthy. Traditional removal methods often destroy skin texture or create unnatural results that look obviously retouched. This professional dodge and burn technique removes even severe eye bags while preserving every detail of natural skin texture. The method uses...

You’ve successfully subscribed to Photoshop Roadmap
Welcome back! You’ve successfully signed in.
Great! You’ve successfully signed up.
Success! Your email is updated.
Your link has expired
Success! Check your email for magic link to sign-in.