Create a Vintage, Russian Constructivist Poster in Photoshop

Create a Vintage, Russian Constructivist Poster in Photoshop

This tutorial explores the distinct aesthetic of Russian Constructivist poster design, a movement renowned for its geometric forms, bold typography, and limited color palettes. Originating in the early 20th century, this style transformed art into a tool for social and political messaging, leaving a lasting impact on graphic design.

Through this comprehensive guide, viewers will learn practical Photoshop techniques to replicate the iconic look of Constructivist posters. The lesson covers essential steps from setting up the canvas to applying textures and integrating custom typography, enabling you to craft your own unique vintage designs.

Watch the Full Tutorial

Video by Blue Lightning. Any links or downloads mentioned by the creator are available only on YouTube

Understanding Russian Constructivism in Graphic Design

Russian Constructivism emerged in the post-revolutionary Soviet Union, advocating for art that served practical, social purposes rather than purely aesthetic ones. Artists like Alexander Rodchenko, a key figure, sought to create designs that were functional, accessible, and capable of communicating powerful messages to a mass audience. This approach led to a distinctive visual language characterized by its stark simplicity and dynamic compositions.

The core principles of Constructivist poster design include the use of:

  • basic geometric shapes (circles, squares, triangles)
  • a restricted color palette, typically red, black, and white, sometimes with accents of blue or yellow
  • bold, sans-serif typography often arranged diagonally or vertically
  • photomontage elements to add realism and impact.

The emphasis was on clarity, efficiency, and industrial aesthetics, reflecting the era's focus on technology and social progress.

Constructivist posters were not merely decorative; they were integral to political campaigns, advertising, and public information, acting as powerful visual tools. Their influence extends far beyond their historical context, inspiring countless modern graphic designers and remaining a testament to the power of minimalist, purposeful design.

Practical Tips for Constructivist Poster Design

  • Utilize the Halftone Pattern filter in the Filter Gallery to create the characteristic dotted or lined textures.
  • Employ the Color Range selection tool to isolate shadows or specific color areas for precise adjustments.
  • Apply Layer Styles, such as Stroke and Inner Glow, to shapes and text for defining outlines and adding depth.
  • Clip adjustment layers (e.g., Color Lookup or Photo Filter) to ensure they affect only the immediate layer below.
  • Use the Transform Tool with Perspective to distort elements, aligning them with the dynamic angles common in Constructivist art.

More Tutorials about Vintage Poster Design

Explore additional tutorials that delve into creating various styles of vintage posters and graphic designs in Photoshop.
Create a retro ’50s Sci-Fi poster in Photoshop
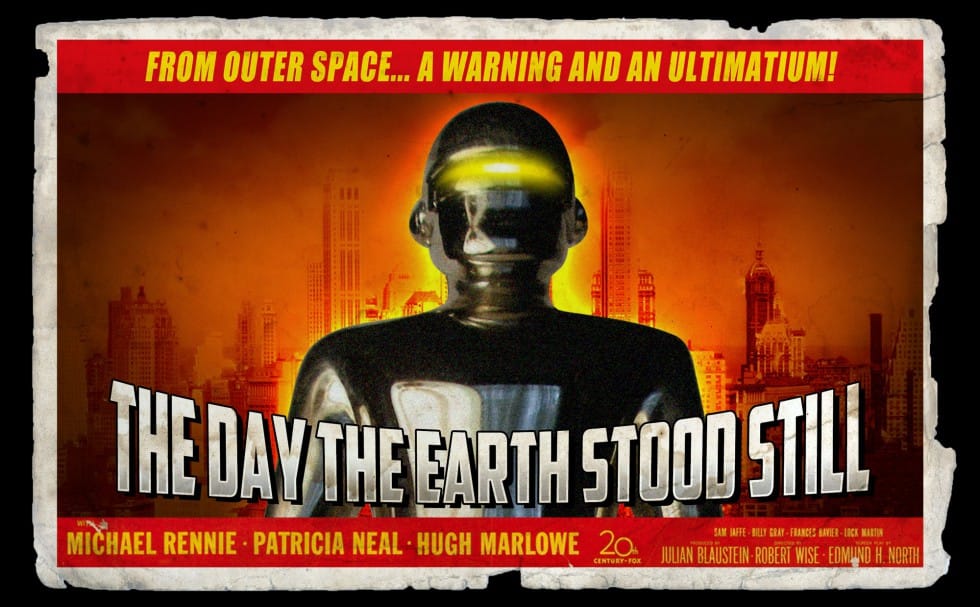
In this engaging tutorial by Marty Geller from Blue Lightning TV, you will learn to create a nostalgic 1950s sci-fi poster using Photoshop. The tutorial focuses on transforming a classic movie poster into your own retro design. Throughout the lesson, you will explore techniques that capture the essence of mid-century science fiction art. The example presented is a redesign of the iconic 1951 poster for "The Day The Earth Stood Still." By the end of the tutorial, you'll have a better understand
How to Create a Retro Boxing Poster in Photoshop
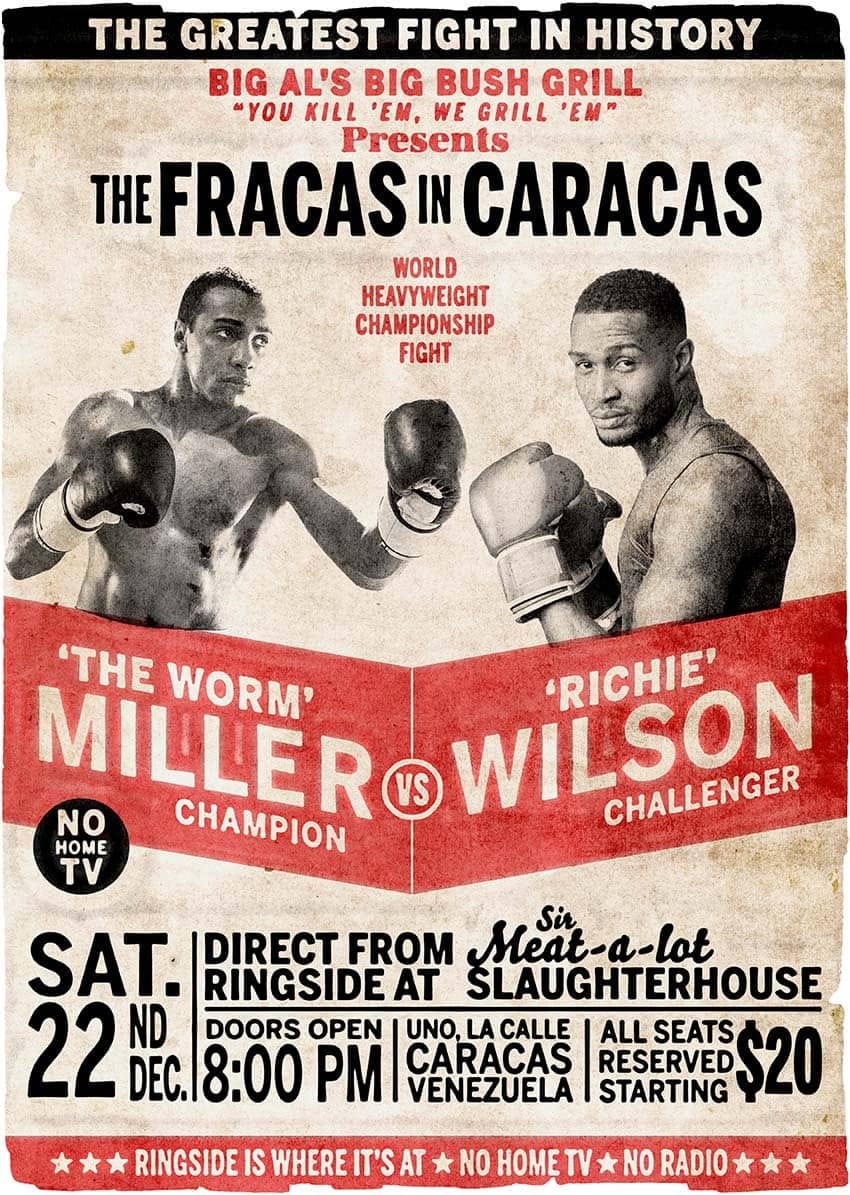
Calling all boxing enthusiasts and design aficionados! Dust off your love for vintage aesthetics and step into the ring with this dynamic Photoshop tutorial. We’ll be throwing punches (figuratively, of course) to create a captivating retro-boxing poster, brimming with the bold energy of the golden age of the sport. This tutorial is perfect for both seasoned Photoshop users and aspiring designers. Regardless of your experience level, the instructor will meticulously guide you through the creatio
Crafting a Typographic Poster in Adobe Photoshop
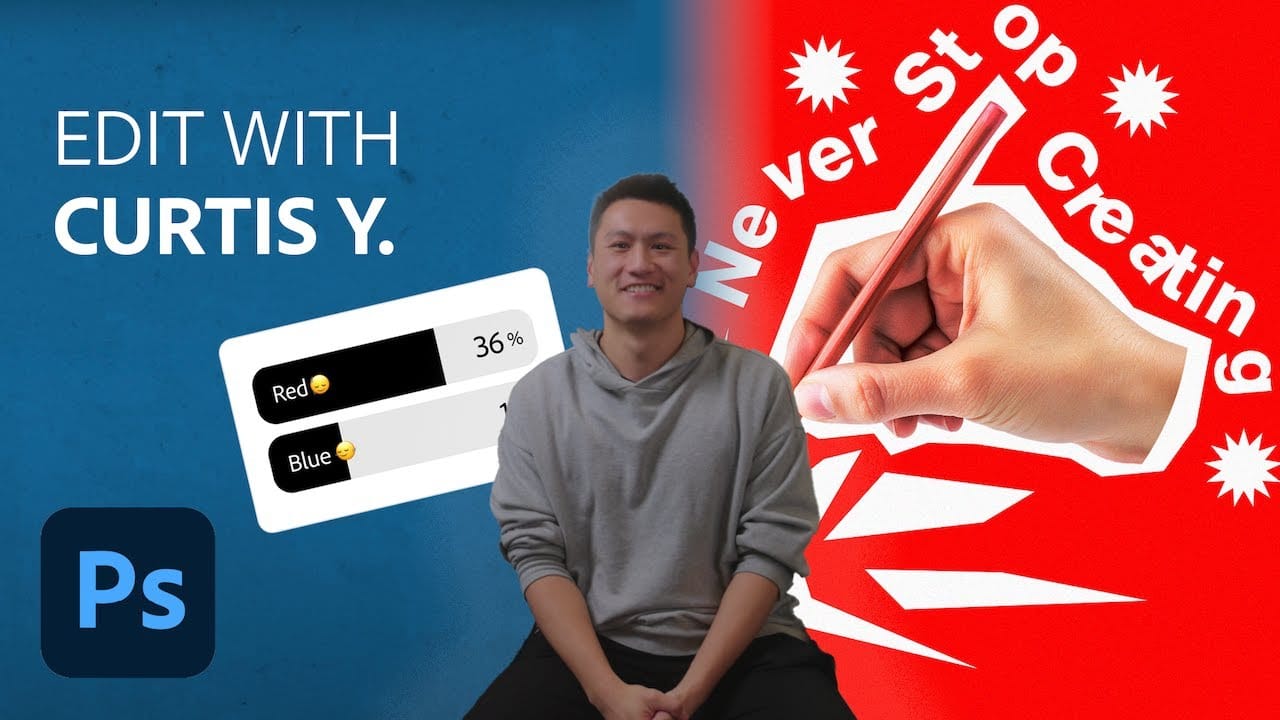
Join Adobe’s UX Growth Designer, Curtis Ying, as he transforms a Swiss Typographic poster through an engaging design process. With the input from the Instagram community, this presentation showcases how he carefully selects a bold red background that sets the tone for the entire piece. Throughout the process, Curtis shares his techniques for integrating organic shapes and text that harmoniously flow within the design. Utilizing various Photoshop tools, he guides you step-by-step, making it easy
Create a Vintage Circus Poster in Photoshop
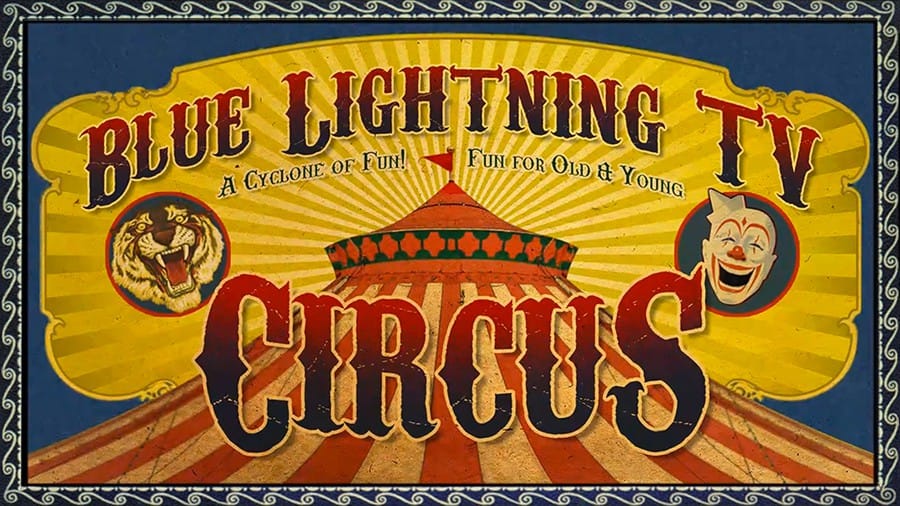
In this tutorial you will how to make a custom, vintage, circus poster. Part 1 shows how to make the finished poster base and Part 2 shows how to add the text. Download Circus Poster PSD template, Download the Paper texture, Download the Magical Dreams font, Download Carnivalee Freakshow Regular font. Part 1 Part 1

Get tutorials & freebies delivered to you.

Subscribe to the Photoshop Roadmap newsletter, a weekly roundup of new tutorials, insights and quality downloads, trusted by 6500+ readers.

You might also like

How to Remove Skin Blemishes and Fix Skin Tones in Camera Raw

Two recent additions to Camera Raw make skin retouching significantly faster: an automatic blemish removal tool with separate controls for moles and freckles, and a vectorscope-based skin tone indicator for correcting off-color skin. Both features work non-destructively inside a smart object workflow, so no pixel data is...

Portrait Retouching in Photoshop: Smooth Skin While Keeping Natural Texture

Smooth skin and natural texture are not opposites — achieving both at once is the mark of a professional retouch. This workflow covers blemish removal, flyaway hair cleanup, dark under-eye correction, and eye brightening, all while keeping the skin looking like skin. Watch the Video Practical Tips These key points...

How to Use Camera Raw's Blemish Removal Tool in Photoshop

Camera Raw 18.5 introduced an automatic blemish removal tool that does something previous solutions rarely managed: it removes skin imperfections while preserving the underlying skin texture. It also distinguishes between temporary marks and permanent ones like moles, giving you separate controls for each. Watch the Video Practical Tips These...

Portrait Slice Effect in Photoshop Using Step and Repeat

The portrait slice effect splits a single image into offset vertical bars, creating the illusion of a displaced or fragmented face. The entire technique relies on layer masks and a lesser-known Photoshop shortcut called step and repeat — no filters, no AI, no destructive edits required. Watch the Video Practical...

How to Remove Blemishes in Photoshop: Camera Raw vs. Generative AI

Photoshop now offers two distinct approaches to removing skin blemishes automatically. The Camera Raw Filter includes a dedicated Blemishes option that analyzes and cleans skin with a single checkbox, while Generative AI fills a face selection with clean, texture-consistent results using a simple text prompt. Each method has clear...

Common Photoshop Compositing Mistakes and How to Fix Them

Most compositing errors come down to a handful of repeatable problems: mismatched lighting direction, inconsistent white points, misaligned perspective, and atmosphere applied in the wrong layer order. Catching these issues early — ideally before you shoot — saves significant time in post. Watch the Video Practical Tips These corrections apply to nearly...

You’ve successfully subscribed to Photoshop Roadmap
Welcome back! You’ve successfully signed in.
Great! You’ve successfully signed up.
Success! Your email is updated.
Your link has expired
Success! Check your email for magic link to sign-in.