This tutorial teaches you how to create vintage film noir movie titles in Adobe Photoshop. You'll use Photoshop's 3D features to extrude text, apply textures, and set up lighting, replicating the stark, dramatic aesthetic of 1940s-1950s crime dramas to craft distinctive custom opening titles.
Watch the Tutorial
Video by Blue Lightning. Any links or downloads mentioned by the creator are available only on YouTube
Practical Tips for Vintage Title Design
- Choose a classic typeface like Montgomery for an authentic vintage feel and ensure correct installation for best results.
- Desaturate background textures using
Ctrl+Shift+U(PC) orCommand+Shift+U(Mac) to remove all color, aligning with the black and white aesthetic. - Utilize Photoshop's 3D features to extrude text and merge 3D layers, creating depth and a cohesive scene.
- Experiment with 3D modes—rotate, roll, drag, slide, and scale—to position your text and lighting effectively, particularly with spotlights.
- Apply a grain filter from the Filter Gallery to simulate the classic graininess of old film, enhancing the vintage appearance.
Related Articles and Tutorials about Film Noir Design
Explore additional resources to deepen your understanding and expand your skills in creating compelling vintage and film noir-inspired designs.
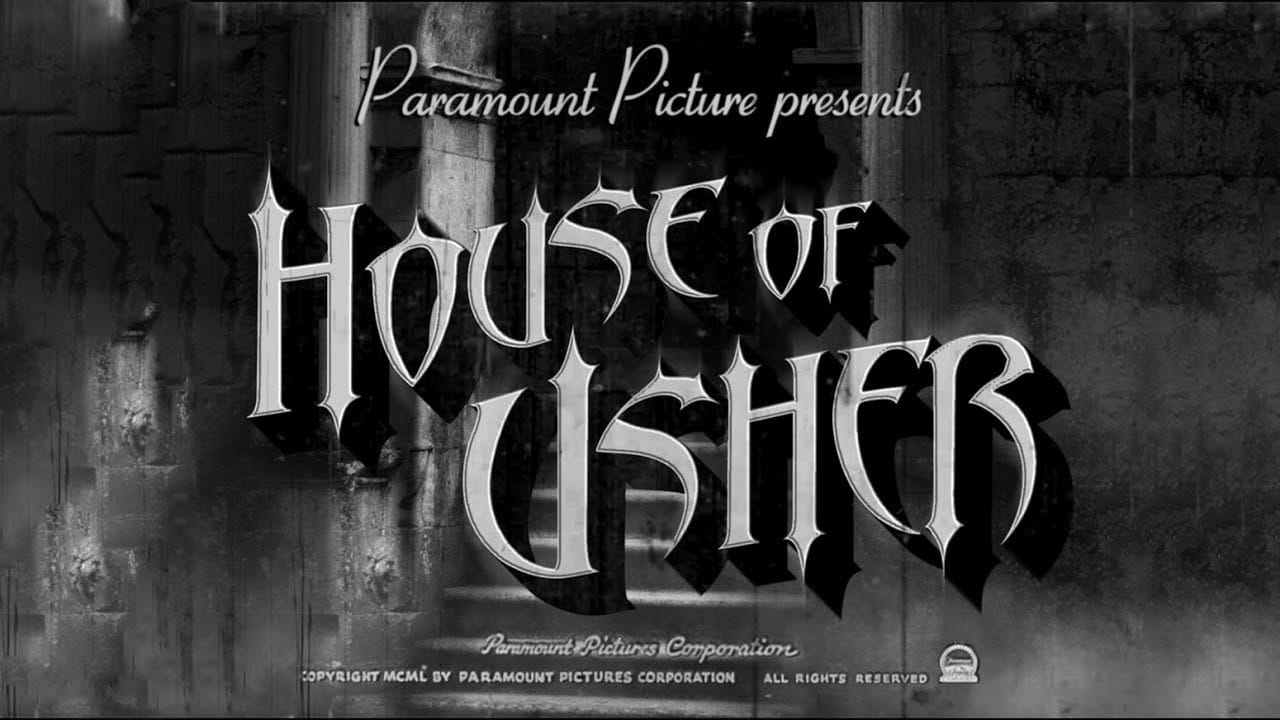
Create a Classic 1940s Horror Movie Title Design in Photoshop
This tutorial focuses on creating a classic 1940s black and white Hollywood horror movie title design. It takes you through the steps needed to achieve a vintage look, perfect for fans of that eerie cinematic style.
You will learn how to manipulate various Photoshop tools to form the text and effects reminiscent of those classic films. The combination of shadows, lighting, and textures plays a crucial role in achieving an authentic appearance. The background features a creepy dungeon setting, a
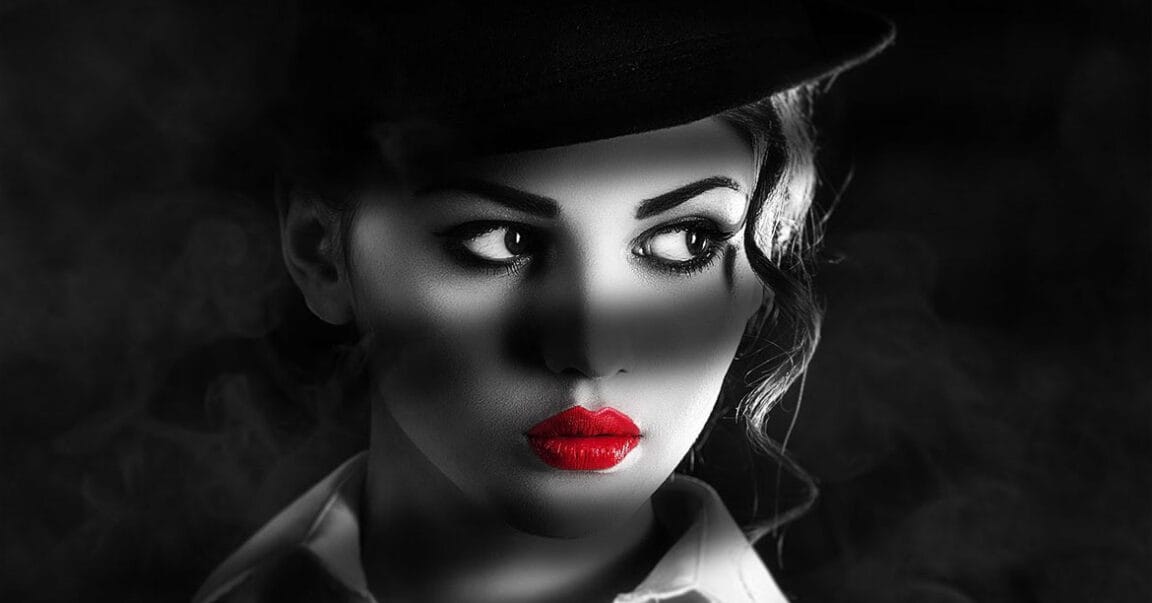
Create a stunning Film Noir photo effect in Photoshop
The Sin City movies are modern masterpieces that reimagine the film noir genre from the 40s and 50s. They use black and white imagery with low key lighting to creating striking pictures with high contrast between light and shadow.
In this tutorial, talented Photoshop artist Chris Spooner, from Spoon Graphics, will show you some techniques to transform your static photographs into a Sin City inspired scene with a dark atmosphere and harsh tones.
Watch tutorial
Create a vintage creased pulp fiction magazine cover in Photoshop
Explore how to create a vintage creased pulp fiction magazine cover in Photoshop with this engaging tutorial by Marty Geller from BlueLightningTV. This guide will provide a step-by-step process to help you transform your digital creations into retro masterpieces reminiscent of the classic 1940s and 1950s pulp fiction magazines.
You'll learn how to achieve an authentic vintage look by incorporating layers, textures, and color adjustments. The tutorial covers techniques to mimic the worn, creased
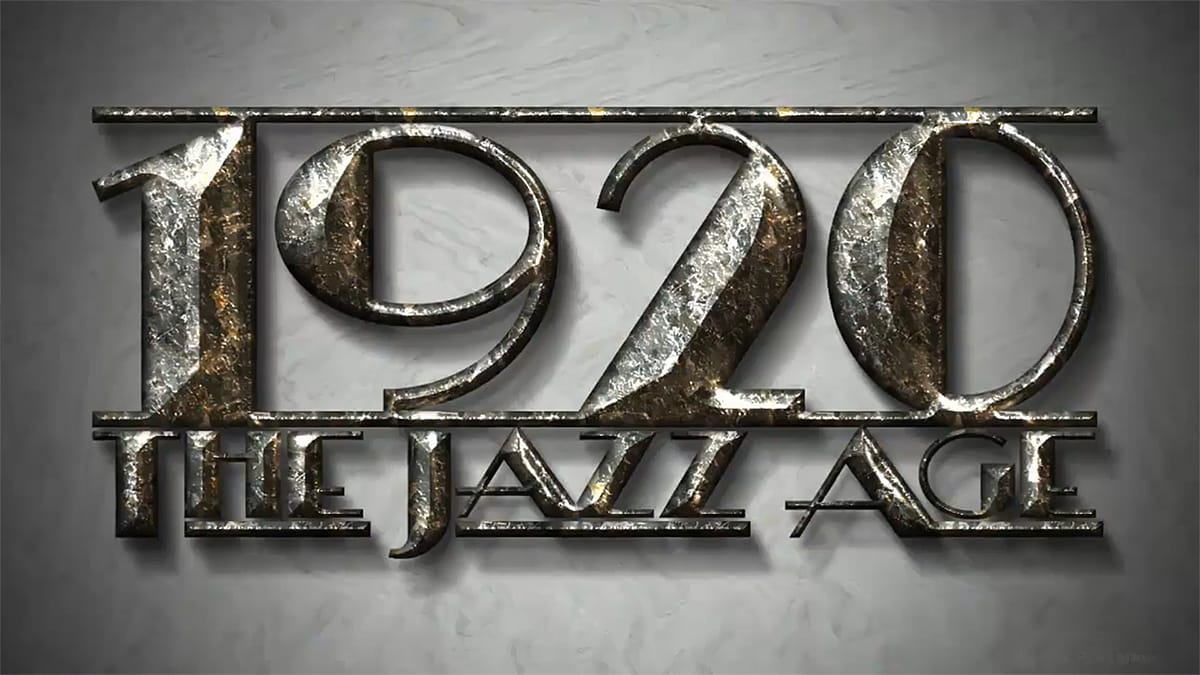
How to Make a 1920s, Jazz Age, Title Design from Scratch
In this Photoshop tutorial, Marty Geller from Blue Lightning TV walks you through the process of designing and creating a bold, 1920s-style Jazz Age title design.
The tutorial covers everything from selecting the right fonts and colors to crafting a striking swirling marble background. By following along, you’ll learn how to capture the essence of the Jazz Age with vintage typography and elegant design elements, resulting in a visually captivating title design that evokes the glamour and sophis