Create a Powerful Dispersion, Splatter Effect from a Photo in Photoshop

Create a Powerful Dispersion, Splatter Effect from a Photo in Photoshop

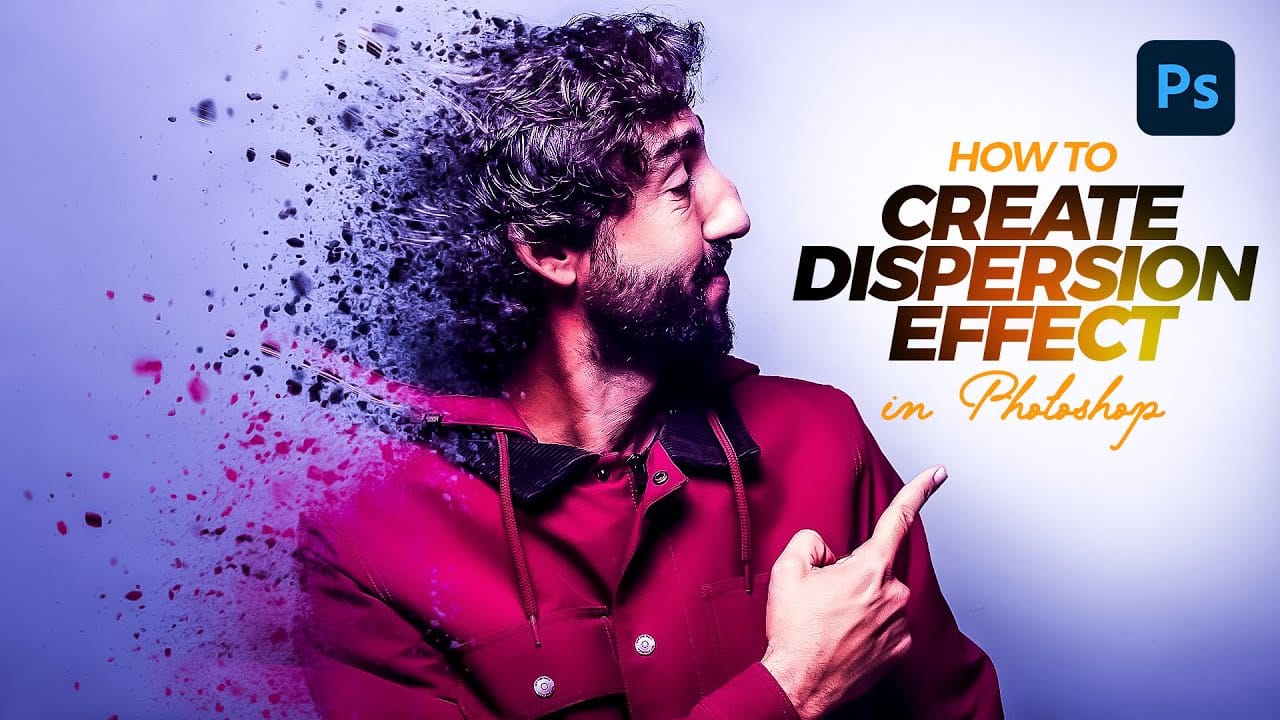
This tutorial explores how to create a striking dispersion and splatter effect in Adobe Photoshop, transforming ordinary photos into dynamic works of art. This technique gives the illusion that parts of your subject are breaking apart and scattering into particles, adding movement and drama to static images.

Viewers will learn the essential steps to achieve this popular effect, from preparing your subject and background to utilizing smart objects, layer masks, and custom splatter brushes. The video emphasizes practical methods for non-destructive editing and achieving a visually stunning outcome.

Watch the Video Tutorial

Video by Blue Lightning. Any links or downloads mentioned by the creator are available only on YouTube

The Artistic Impact of Dispersion Effects

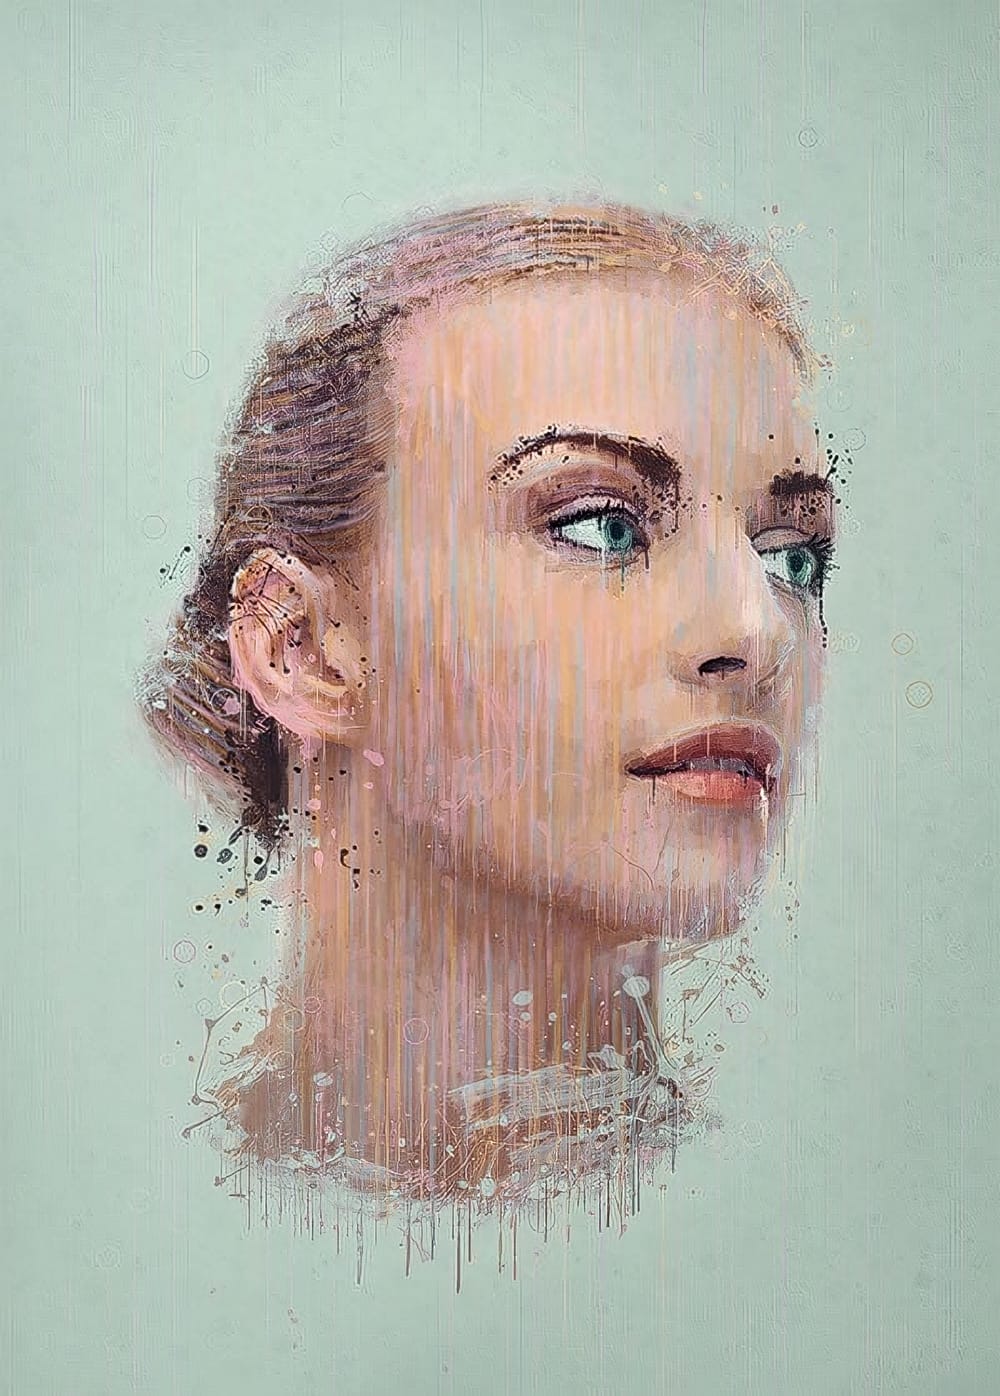
Dispersion effects have become a prominent visual trend, particularly in digital art and photo manipulation. This technique transcends simple editing, allowing artists to convey concepts like transformation, dissolution, or explosive energy within a single frame. It effectively merges realism with abstract elements, creating compelling narratives without explicit storytelling.

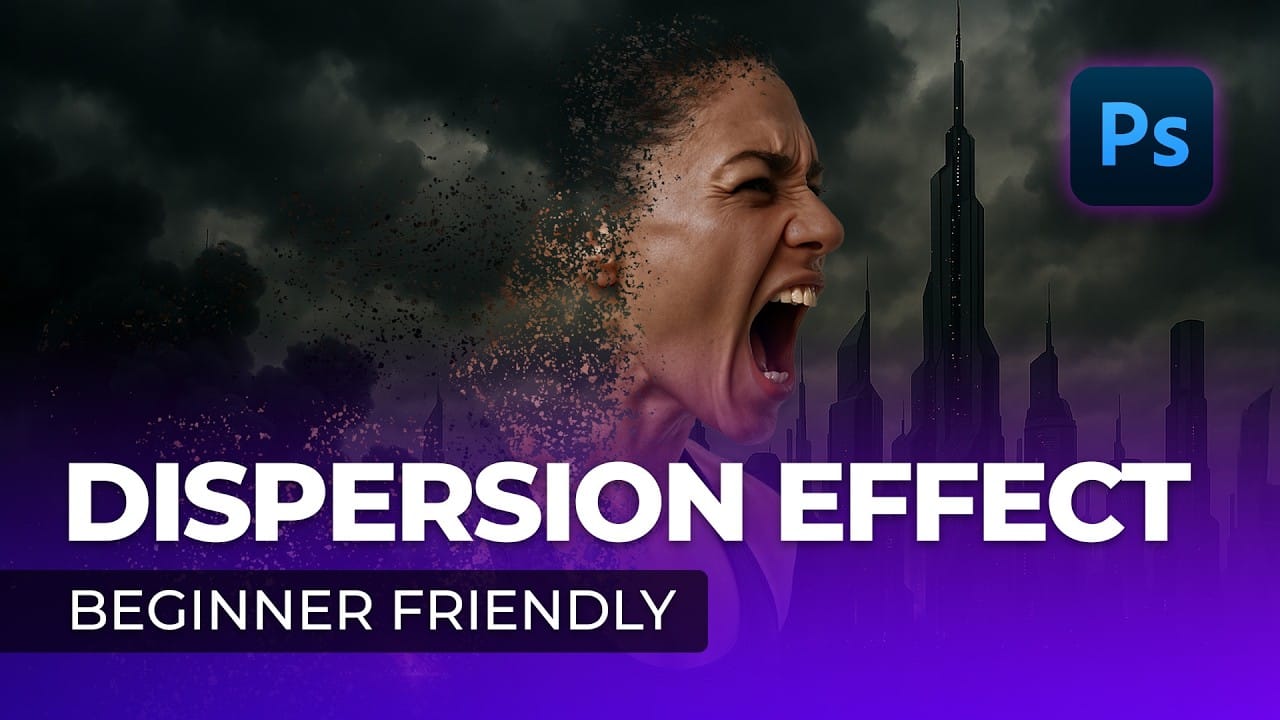
The visual appeal of dispersion lies in its dynamic nature, suggesting motion and change. Artists often employ this effect to draw attention to a subject's vulnerability, its transition between states, or its powerful emergence. By carefully controlling the direction and density of the scattered particles, one can guide the viewer's eye and emphasize specific aspects of the composition, making it a versatile tool for creative expression.

Beyond personal projects, dispersion effects find applications in various commercial contexts, from album covers and movie posters to advertisements and social media campaigns. Their ability to capture attention and evoke emotion makes them ideal for imagery that needs to stand out in a crowded visual landscape, offering a memorable and impactful aesthetic.

Practical Tips for Dispersion Effects

  • Convert your background and subject layers into Smart Objects to enable non-destructive modifications and easy replacement without redoing effects.
  • Utilize the Magic Wand tool for quick selections on high-contrast backgrounds, adjusting the tolerance to fine-tune your selection accuracy.
  • Employ Refine Edge (or Select and Mask) to precisely clean up selections around complex areas like hair, ensuring a natural blend.
  • Leverage Layer Masks with black splatter brushes to strategically hide parts of the original subject, revealing the underlying liquefied layer for the dispersion effect.
  • Use Clipping Masks to restrict adjustment layers, such as Vibrance, to affect only the specific layer directly below them, maintaining control over your adjustments.

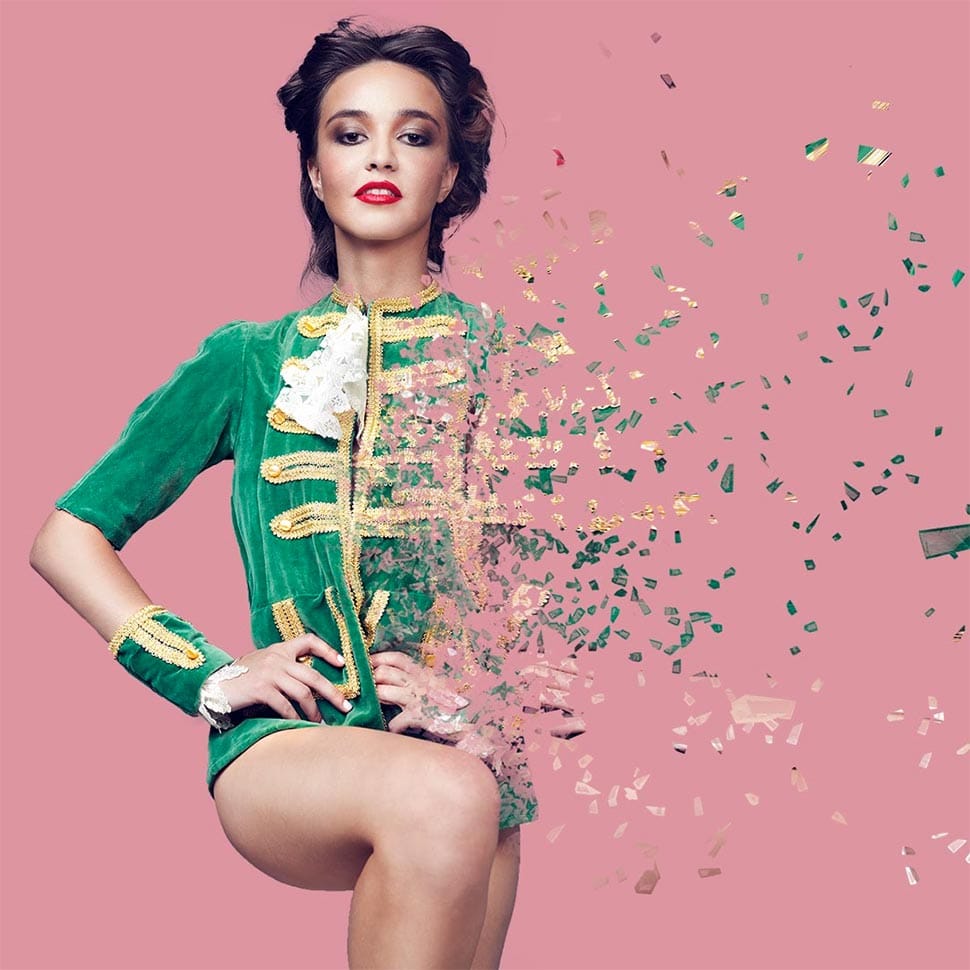
More Tutorials about Dispersion Effects

Explore additional resources and tutorials to deepen your understanding of creating and refining dispersion effects in Photoshop.

Create a Dispersion Effect in Photoshop
In this tutorial, you will learn how to create an eye-catching Dispersion Effect in Adobe Photoshop. This effect transforms your subject into numerous small pieces, giving the appearance that it is dissolving or breaking apart. It’s a visually stunning technique that adds a dynamic element to your images. You will start by selecting the subject you want to manipulate before applying the necessary layers and masks. Step-by-step instructions guide you through adjusting the pieces' distribution an
Apply a painterly splatter effect to a photo in Photoshop
In this tutorial, you will learn how to create a unique and visually striking portrait photo with a splatter paint and drip effect in Photoshop. The techniques covered include overlay painting, blending, and coloring methods. You'll start by working with your portrait image, experimenting with different overlay modes and blending options to achieve the desired paint-like effect. Then, you'll explore adding drips and splatters to the image, using various brushes and techniques to ensure a natura
Creating a Dispersion Effect in Photoshop
The dispersion effect transforms ordinary portraits into dynamic artwork by creating the illusion that parts of the subject are breaking apart and scattering into particles. This popular technique adds movement and drama to static images, making them perfect for creative projects, album covers, or eye-catching social media content. This tutorial demonstrates a streamlined approach to creating professional dispersion effects using Photoshop's built-in tools. The process combines automated backgr
Create a amazing dispersion effect in Photoshop
This tutorial will show you how to make a photo of a model dissolving into flying particles. It's a simple process that only requires a few steps. First, the user will learn techniques to improve the colors of the image. They'll adjust the levels and curves to enhance the vibrancy and contrast of the photograph. This will help the dispersion effect stand out more prominently. Then, the user will apply the dispersion effect, making the model appear to break apart into small pieces that drift aw

Get tutorials & freebies delivered to you.

Subscribe to the Photoshop Roadmap newsletter, a weekly roundup of new tutorials, insights and quality downloads, trusted by 6500+ readers.

You might also like

Create Realistic Rim Light Effects on Portraits in Photoshop

Rim lighting transforms ordinary portraits into dramatic, professional-looking images by adding bright highlights around the edges of your subject. This technique simulates light hitting the outer contours of a person, making them stand out from their background with a natural, glowing effect. The key to convincing rim light lies in...

How to Use Photoshop's Layer Cleanup Tool to Organize Messy Projects

Complex editing projects with Generative Fill and Expand often result in dozens of unnamed layers cluttering your workspace. The new Layer Cleanup tool automates the tedious process of renaming layers and removing empty ones, transforming chaotic layer panels into organized, manageable structures. This workflow improvement saves significant time during post-production...

How to Use Curves for Composite Color Matching in Photoshop

Curves adjustments are essential for making composite elements look natural and cohesive. Understanding how curves manipulate light values and color channels gives you precise control over matching different elements to their new backgrounds. The key to successful color matching lies in analyzing the color temperature and brightness relationships between your...

How to Fix Color Fringing in Subject Cutouts Using Clipping Masks

Perfect layer masks can still produce disappointing results when color fringing appears around hair and fur edges. This common problem isn't caused by poor masking technique—it's the original background bleeding through at the edges. Clipping masks offer a powerful solution by allowing you to paint...

Create Beautiful Floral Oval Frames for Portraits in Photoshop

Transform ordinary portraits into elegant artwork with decorative floral oval frames that blend seamlessly with your subject. This technique combines traditional framing with digital floral elements, creating a painterly effect that's perfect for fine art prints and creative portraits. The process involves creating an oval cutout, adding custom...

You’ve successfully subscribed to Photoshop Roadmap
Welcome back! You’ve successfully signed in.
Great! You’ve successfully signed up.
Success! Your email is updated.
Your link has expired
Success! Check your email for magic link to sign-in.