How to Create a Porcelain Doll Effect in Photoshop

How to Create a Porcelain Doll Effect in Photoshop

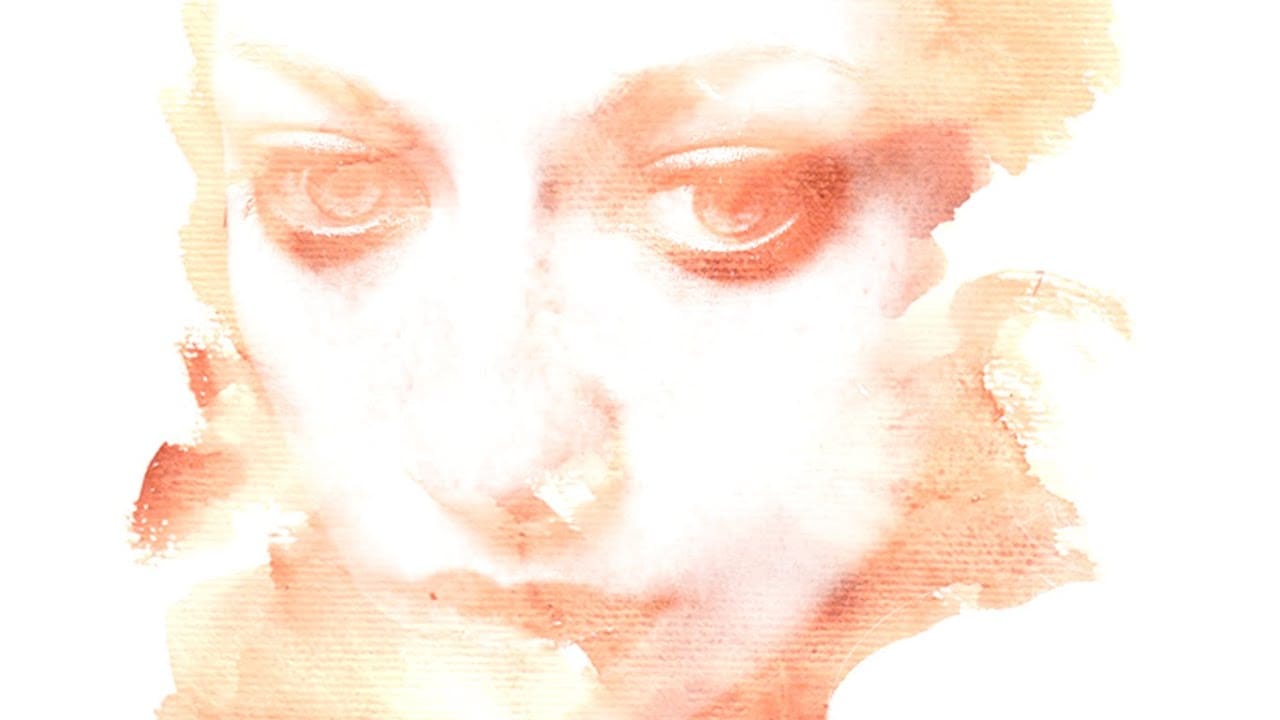
This video demonstrates how to transform a subject's face into a distinctive porcelain doll appearance using Adobe Photoshop. The process involves a series of steps that refine and stylize facial features to achieve an ethereal, doll-like quality.

Viewers will learn practical techniques for isolating subjects, adjusting skin texture, enhancing eyes and lips, and subtly exaggerating proportions. This tutorial emphasizes the creative potential of Photoshop to achieve a unique artistic style, transforming ordinary portraits into striking works.

Watch the Full Tutorial

Video by Blue Lightning. Any links or downloads mentioned by the creator are available only on YouTube

Artistic Considerations for Porcelain Doll Effects

The porcelain doll aesthetic in digital art aims to emulate the delicate, often idealized features characteristic of traditional dolls. This includes achieving a smooth, flawless skin texture that appears almost ceramic, distinct from natural human skin. Key elements often involve enhancing the eyes to appear larger and more expressive, refining the lips for a subtle yet defined pout, and sculpting other facial contours to create a more symmetrical and stylized look.

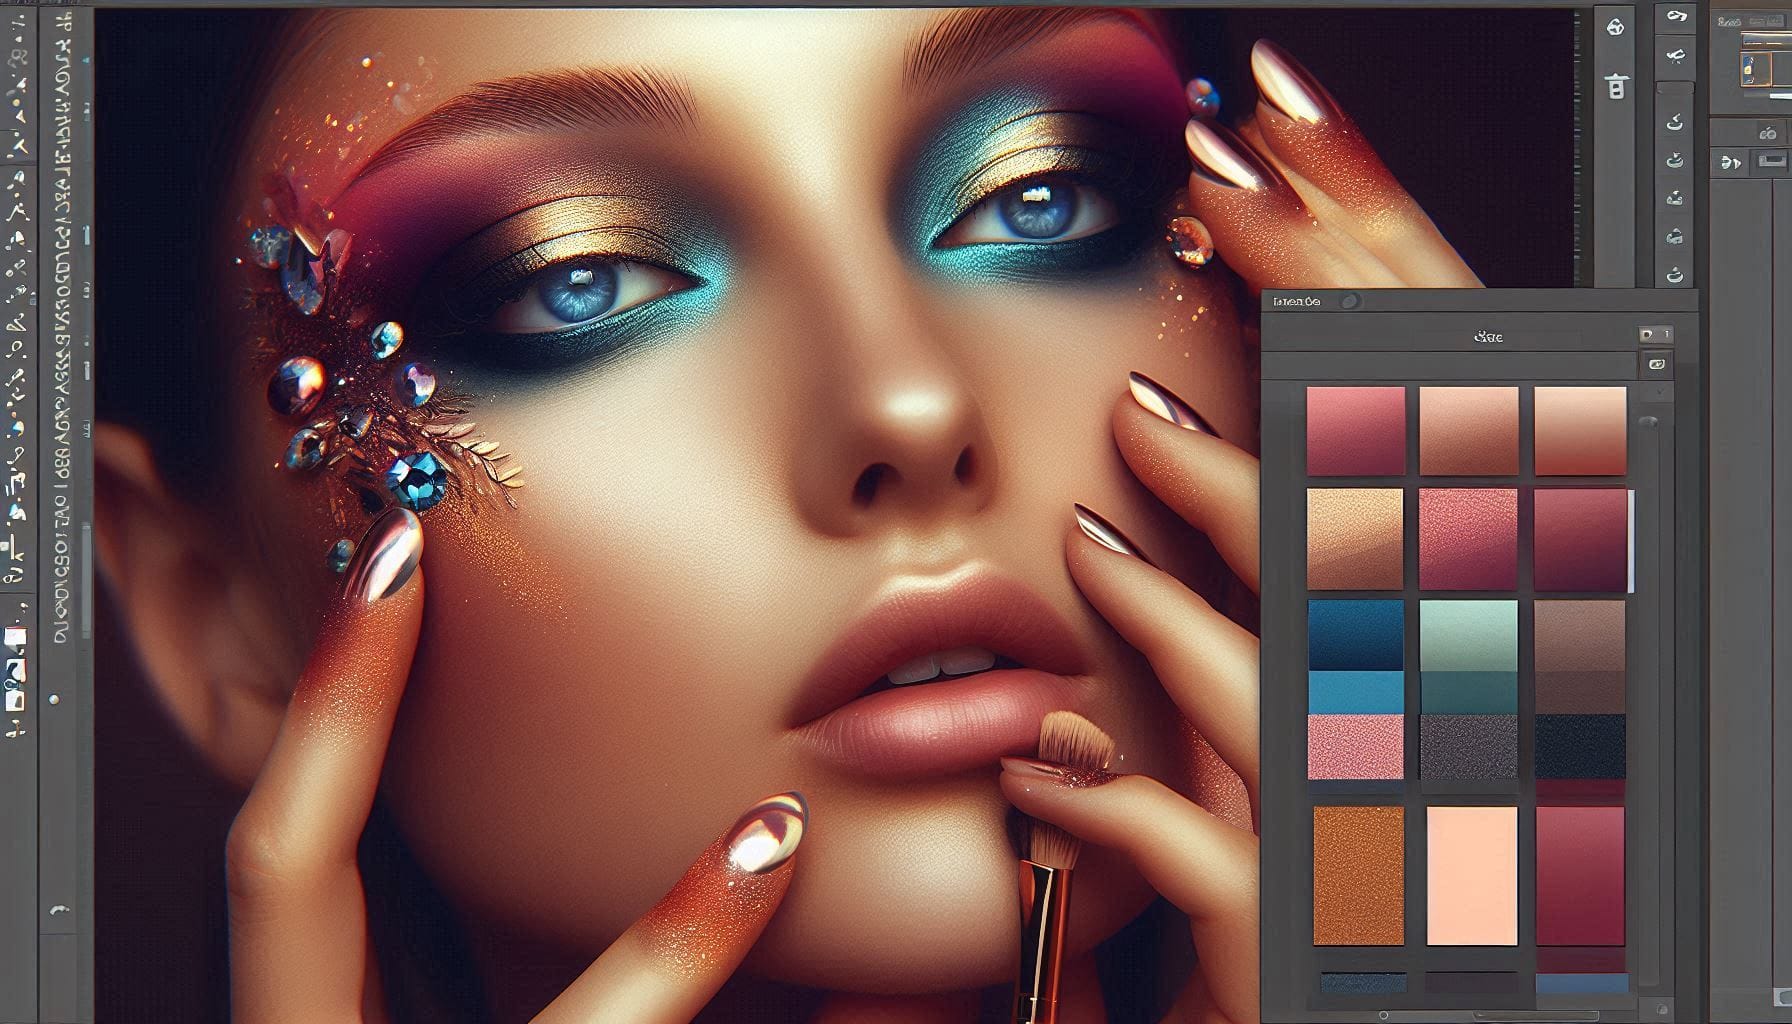
Achieving this effect in Photoshop involves a blend of precise selection, texture manipulation, and subtle distortion. Tools like surface blurring help create the characteristic smooth skin, while color adjustments can achieve the pale, even complexion. Exaggerating features, such as enlarging eyes with the Bloat Tool or subtly refining the nose and chin with the Pucker Tool, contributes significantly to the doll-like illusion, transforming a realistic portrait into an ethereal representation.

Practical Tips for Creating a Porcelain Doll Effect

  • Isolate your subject using the Quick Selection Tool and refine the edges with Refine Edge for a clean cutout.
  • Thin and straighten eyebrows by cutting them to a new layer, then using the Patch Tool on the original layer to remove them before reapplying the thinned version.
  • Apply Surface Blur and Diffuse Glow filters to the subject layer to achieve a smooth, porcelain-like skin texture.
  • Adjust Hue/Saturation to reduce overall color, then use a brush with an inverted mask to restore saturation to specific areas like the lips and hair.
  • Exaggerate facial features using the Liquify filter's Bloat Tool for eyes and Pucker Tool for the nose, mouth, and chin to enhance the doll-like appearance.

Explore more tutorials to enhance your digital artistry and master various Photoshop effects.

Learn How to Create a Watercolor Photo Effect in Photoshop
In this tutorial by Blue Lightning TV, Marty demonstrates how to transform an ordinary photograph into a stunning hand-painted watercolor painting using Photoshop. This method surpasses the built-in watercolor filter in Photoshop by allowing users to hand paint the image, offering greater nuance and control. The process begins with setting up the document at 1280 by 720 pixels with a resolution of 72 pixels per inch, then renaming the initial layer to “base” and creating a copy named “smart blur
Photoshop Watercolor Photo Effect Tutorial
In this comprehensive tutorial by Arunz Creations, you'll discover how to transform a portrait into a beautiful watercolor painting using Photoshop. The process begins by organizing your layers into a group and temporarily hiding it. Next, you'll select specific colors from the portrait using the Color Range tool to create a precise selection. After applying the selection as a mask on the group and inverting it, you'll create a new empty layer beneath the group and fill it with white to serve a
Beautiful Illustration Effects and Techniques Photoshop Tutorials
This collection of Photoshop tutorials focuses on various illustration effects and techniques, perfect for those interested in enhancing their artistic skills. You will discover how to create striking images through a variety of methods, including pencil sketches, mixed media, and watercolor styles. By following these tutorials, you can learn to produce unique artistic pieces that stand out. Each lesson offers clear step-by-step instructions, making it easy to grasp new concepts and apply them
Learn How to Create Beauty Makeup and Face Painting Effects in Photoshop
This guide is designed to help you learn how to create beauty makeup and face painting effects using Photoshop. With clear instructions, you'll discover how to apply makeup digitally, utilizing techniques that professional makeup artists rely on in their work. The focus is not limited to beauty makeup alone. You will also explore various effects, including horror themes, bruises, and scars. The content is suitable for anyone interested in enhancing their portrait skills, whether for personal pr

Get tutorials & freebies delivered to you.

Subscribe to the Photoshop Roadmap newsletter, a weekly roundup of new tutorials, insights and quality downloads, trusted by 6500+ readers.

You might also like

Complete Photoshop Editing Workflow: 5 Steps from Raw to Polished

Photoshop offers endless possibilities for photo enhancement, but many photographers never move beyond basic adjustments because the software feels overwhelming. This comprehensive workflow breaks down photo editing into five manageable stages that work consistently across different photography styles. The systematic approach covers everything from initial raw processing to advanced lighting...

Photoshop Workspace Basics: Navigation, Zooming, and Essential Interface Elements

Photoshop's interface can feel overwhelming when you first open the program. Dozens of panels, tools, and menus compete for attention, making simple tasks feel complicated. This tutorial breaks down the essential workspace elements and teaches fundamental navigation skills that form the foundation of efficient Photoshop work. Watch the...

How to Restore Old Damaged Photos Using Nano Banana in Photoshop

Old family photos with scratches, tears, and missing sections can seem beyond repair. Google's Nano Banana AI model, now integrated into Photoshop, makes full restoration possible in minutes rather than hours. This powerful tool excels at maintaining facial characteristics while automatically filling in damaged areas and adding realistic...

How to Get Higher Quality Results from Photoshop's Generative Fill Tool

Photoshop's Generative Fill creates impressive AI extensions, but the results often look blurry and pixelated when viewed at full size. This quality limitation makes many AI-generated areas unusable for printing or large displays. This technique shows how to work around the 1024x1024 pixel quality limit to create much...

How to Use Photoshop's Liquify Tool for Non-Destructive Portrait Retouching

Clothing wrinkles, hair that lacks volume, and awkward fabric bunching can distract from an otherwise great portrait. Photoshop's Liquify tool offers a powerful solution for smoothing out these issues while preserving the natural look of your subject. This tutorial demonstrates how to use the Liquify tool non-destructively with...

You’ve successfully subscribed to Photoshop Roadmap
Welcome back! You’ve successfully signed in.
Great! You’ve successfully signed up.
Success! Your email is updated.
Your link has expired
Success! Check your email for magic link to sign-in.