Create an Action to Transform your Photos into Impressionist Paintings

Create an Action to Transform your Photos into Impressionist Paintings

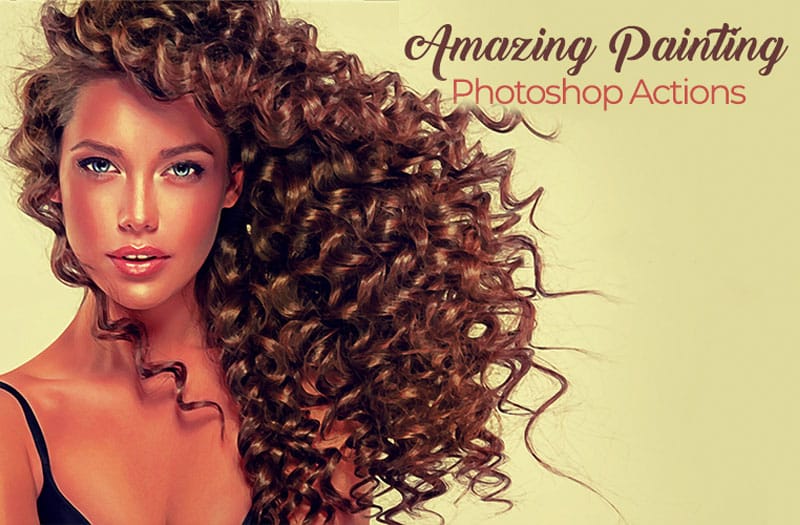
Digital art techniques allow for creative transformation of ordinary images into unique visual pieces. This video explores a method to convert photographs into pointillist-style paintings within Photoshop.

Viewers will learn how to set up a reusable Photoshop Action, automating the process of applying artistic filters and color adjustments. This enables quick application of a distinct impressionist aesthetic to various images, enhancing their artistic appeal.

Watch the Tutorial: Automate Pointillist Effects

Video by Blue Lightning. Any links or downloads mentioned by the creator are available only on YouTube

The Art of Pointillism in Digital Photography

Pointillism is an art technique using small, distinct dots of pure color applied in patterns to form an image. This method, popularized by artists like Georges Seurat and Paul Signac, relies on the viewer's eye to optically blend the colors, creating a vibrant and luminous effect.

Translating this classic style into digital art involves simulating these distinct dots through pixel manipulation. Photoshop's filters can approximate the visual characteristics of pointillist brushwork, while the use of color matching can help unify the new artwork with a desired artistic palette, such as that found in impressionist masterpieces.

Automating this complex process with Photoshop Actions streamlines the artistic workflow. Actions allow designers and photographers to consistently apply a specific sequence of steps, ensuring a uniform artistic signature across multiple images without manual repetition.

Practical Tips for Creating Pointillist Actions

  • Crop your photo to the suggested dimensions (e.g., 750px height, 150 resolution) before recording the action to ensure consistent filter results.
  • Open your color source image (like the provided Monet painting) in Photoshop before using the Match Color adjustment to ensure it appears in the source list.
  • Adjust the Levels layer after the action has run on a new photo to fine-tune brightness and contrast, as these characteristics vary per image.
  • Name your layers (e.g., "Pointilize," "Dry Brush") within the action to maintain organization and clarity in your document structure.
  • Test your recorded action on multiple photos to verify its consistency and identify any steps that might require manual adjustment post-action.

More Tutorials about Photo Painting Effects

Explore additional resources to further enhance your skills in transforming photographs into various artistic styles.

8 Photoshop Actions to transform your photos into works of art
So, You’re on the Lookout for Some Oil Paint Photoshop Actions, then you would do well to take a look at the PhotoWhoa Oil Paint Photoshop Actions that does just that. This is like nothing you’ve ever seen before. This is the way to take your photos from ordinary to a piece of art that is worthy of any museum. Digital paintings are beautiful on their own, blending the beauty of handmade art with the wonders and convenience of modern technology. It is a blend of talent and science that combines
1-Click Photo to Digital Painting Effect in Photoshop
In this digital painting effect Photoshop Tutorial, you’ll learn how to make a quick digital art effect out of any image in a few seconds! You’ll learn how to use a simple combination of filters and patterns to make a realistic digital painting effect in photoshop. You will also learn how to use smart objects and reuse them to reapply this painting effect in photoshop with a SINGLE CLICK. Watch tutorial
How to Create and Play Back Actions in Photoshop
This Photoshop tutorial from Aaron Nace at Phlearn offers a clear process for blending graphics with portraits. You will learn how to use the Super Zoom feature, which allows you to upscale graphics while maintaining their original resolution. This is crucial for ensuring that your images remain sharp and professional. The tutorial also covers the use of Gradient Maps to achieve effective color matching between your elements. This technique can enhance the visual coherence of your project. Addi
How To Make a Watercolor Photo Manipulation In Photoshop
In this tutorial you will learn how to make a creative mix of watercolor brushstrokes and photos in Photoshop. Download brushes and images. More

Get tutorials & freebies delivered to you.

Subscribe to the Photoshop Roadmap newsletter, a weekly roundup of new tutorials, insights and quality downloads, trusted by 6500+ readers.

You might also like

How to Create Custom Keyboard Shortcuts in Photoshop

Many essential Photoshop functions surprisingly lack default keyboard shortcuts, forcing you to navigate through menus repeatedly for common tasks like creating smart objects or layer masks. Learning to create custom shortcuts transforms your workflow by giving you instant access to the tools you use most. This comprehensive guide walks you...

How to Convert a Portrait Photo into a Black and White Logo Design

Portrait photos can be transformed into bold, graphic logos with the right combination of filters and adjustments. This technique uses Gaussian blur and threshold adjustments to convert photographs into high-contrast black and white designs suitable for branding, badges, or stamps. The process involves subject isolation, smart filtering, and precise path...

How to Create Sharp Halftone Effects in Photoshop

Traditional halftone effects in print media created depth through visible dot patterns that gave images character and texture. While Photoshop's built-in Filter Gallery offers a quick halftone option, it produces blurry results that lack the crisp definition of professional halftone work. This technique uses the Color Halftone filter...

Create a Sci-Fi Hologram Effect in Photoshop

Transform ordinary portraits into futuristic holographic projections with this sci-fi effect technique. The process combines motion blur, gradient mapping, and scan line patterns to create the distinctive translucent appearance of holographic displays. This method keeps your subject vibrant and colorful while converting the background to black and white, emphasizing the...

How to Use Reference Images with Generative Fill in Photoshop

Generative Fill transforms when you replace text prompts with actual images. Instead of describing what you want, you show the AI exactly what to create using reference photos. This feature works for adding objects like toys and electronics, or swapping clothing items with precise visual control. The AI automatically matches...

Photoshop's Generative Fill Gets Major Upgrade: New Model Comparison and Quality Test

Adobe's latest Generative Fill update brings the new Firefly Fill and Expand model with double the resolution and dramatically improved quality for generating people, hands, and complex objects. The upgrade moves from 1024x1024 to 2048x2048 pixel output, allowing for larger selections without quality loss. This comprehensive comparison tests...

You’ve successfully subscribed to Photoshop Roadmap
Welcome back! You’ve successfully signed in.
Great! You’ve successfully signed up.
Success! Your email is updated.
Your link has expired
Success! Check your email for magic link to sign-in.