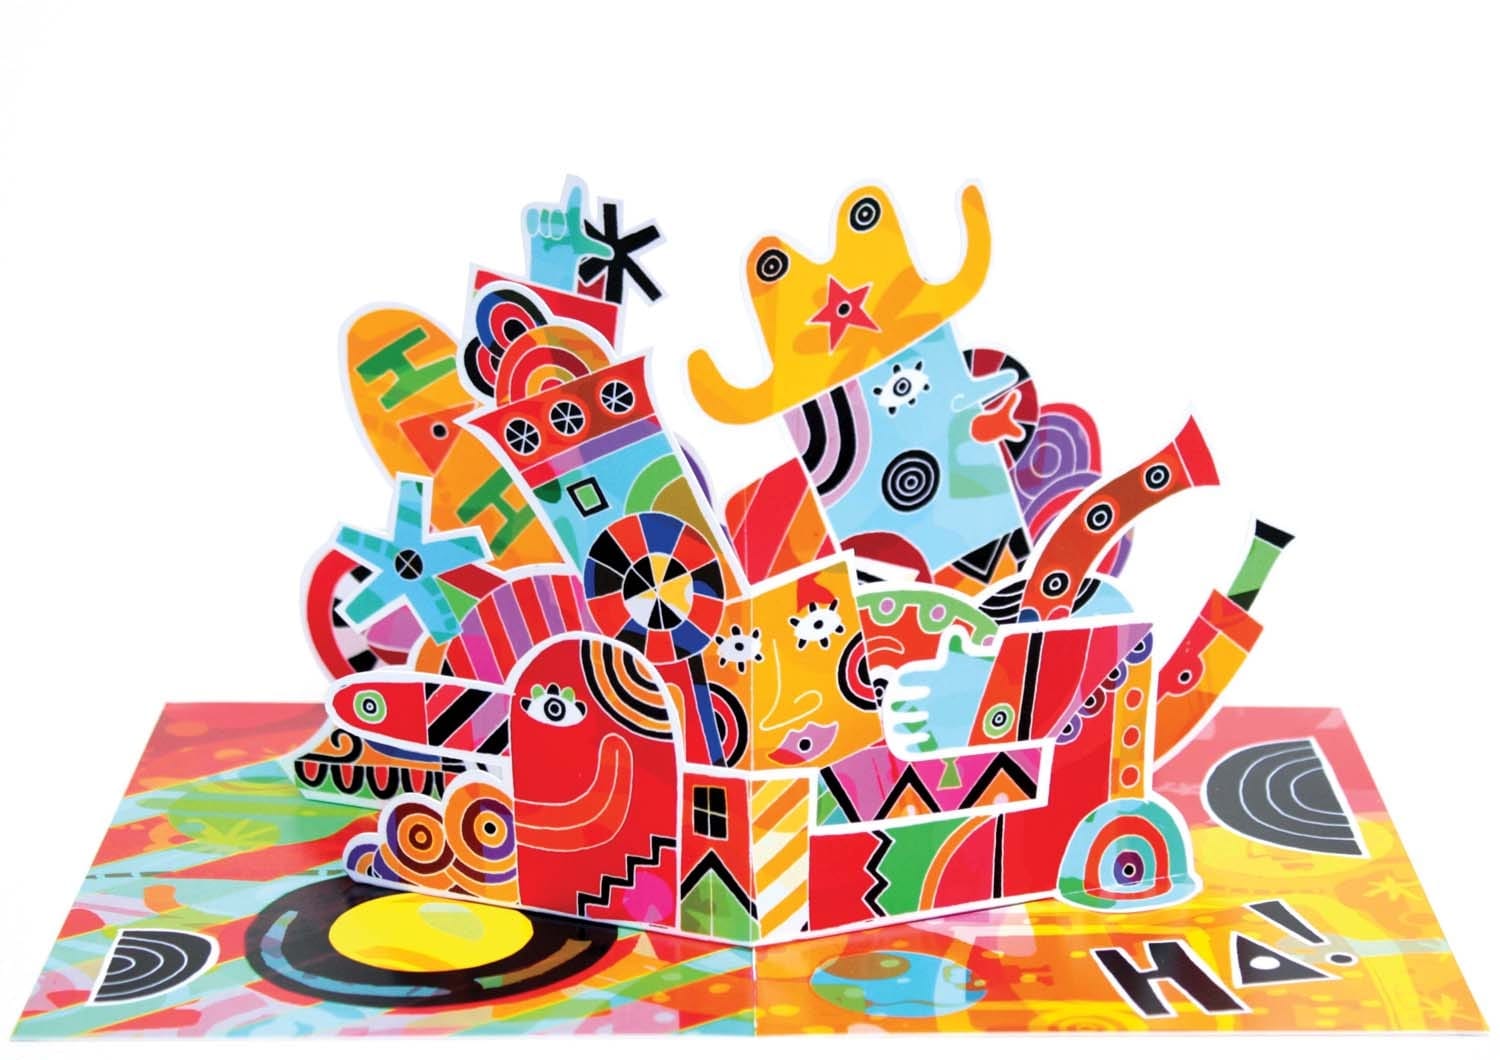
Create a 3D Pop-Out Photo Effect

Create a 3D Pop-Out Photo Effect

This tutorial explores a classic Photoshop technique that brings a dynamic, three-dimensional quality to ordinary photographs. It offers a creative approach to making images more engaging by introducing an illusion of depth.

Viewers will learn how to make any object or person appear to pop out of its background, giving images a unique visual depth and engaging appeal. The video guides you through the process, from initial image preparation and subject isolation to the final application of the pop-out effect.

Watch the Video Tutorial

Video by Blue Lightning. Any links or downloads mentioned by the creator are available only on YouTube

Crafting Visual Depth: The Pop-Out Effect

The pop-out effect in digital imaging manipulates visual perception to create an illusion of depth and dimension from a flat, two-dimensional image. It relies on the brain's interpretation of foreground and background elements, making a subject appear to break free from its frame. This technique is particularly effective because it introduces an unexpected element of reality into a static photograph, drawing the viewer's eye.

Achieving this involves careful separation of the main subject from its environment, followed by strategic layering and perspective adjustments. By making certain parts of the subject extend beyond a defined boundary, such as a photo frame, the mind perceives these elements as closer to the viewer, thus creating the "pop-out" sensation. It's a clever trick of visual hierarchy and spatial arrangement.

Practical Tips for the Pop-Out Effect

  • Convert your image to a Smart Object early to enable non-destructive modifications throughout the process.
  • Ensure adequate space below your subject when cropping, as this area will be used for the pop-out frame.
  • Use the Refine Edge tool to precisely select your subject, especially the top third that will pop out, ensuring clean edges.
  • When transforming the frame, use Ctrl/Cmd + Alt/Option + Shift to maintain perspective while adjusting corners.
  • Apply a subtle Drop Shadow to the "popped-out" subject to enhance the illusion of depth and separation from the background.

More Tutorials about 3D Photo Effects

Explore additional resources to deepen your understanding of creating dynamic visual effects in Photoshop.
How to Create a 3D Pop-Out Effect in Photoshop
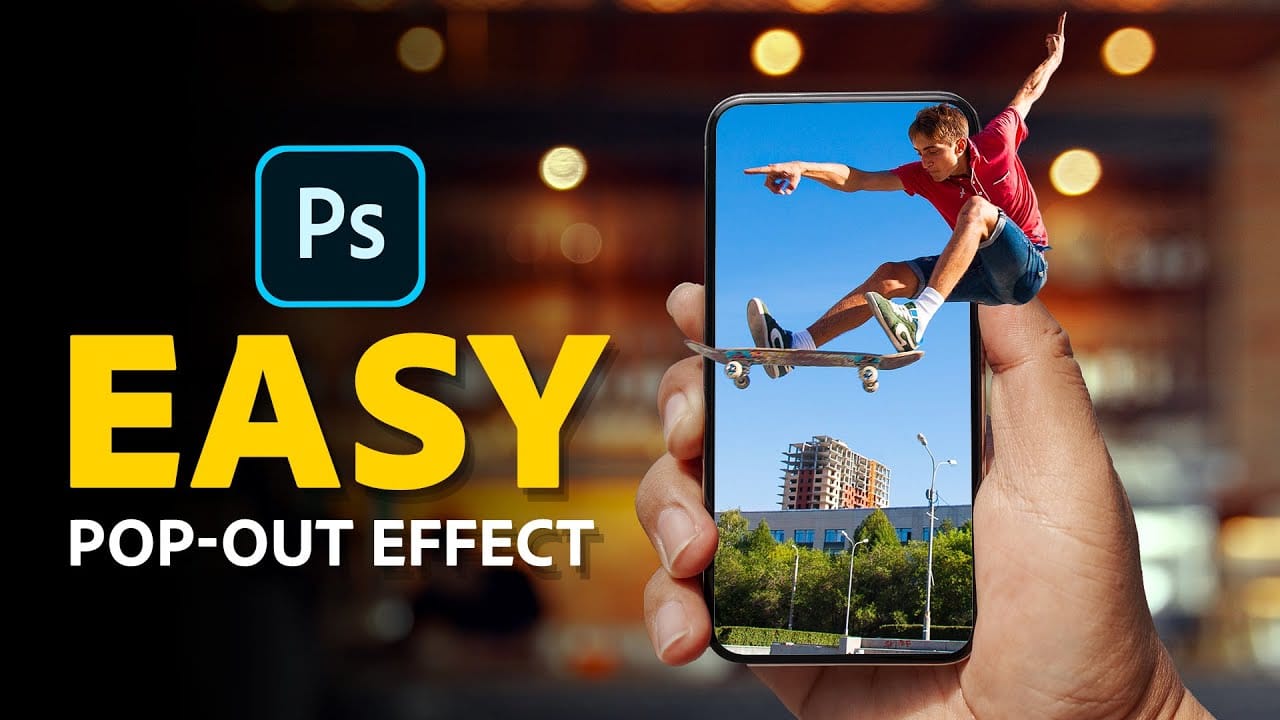
In this tutorial by Jesus Ramirez from PTC Photoshop Training Channel, you'll learn to create an eye-catching 3D pop-out effect using just two simple Layer Masks. Ideal for Photoshop 2021 (22.5) and newer, this guide walks you through combining Layers and Layer Masks to give the illusion that an element, such as a skateboarder, is jumping out of a phone screen. The tutorial provides clear instructions on how to apply this technique to make your images stand out with a dynamic, three-dimensional
Create a fun pop out frame effect in Photoshop
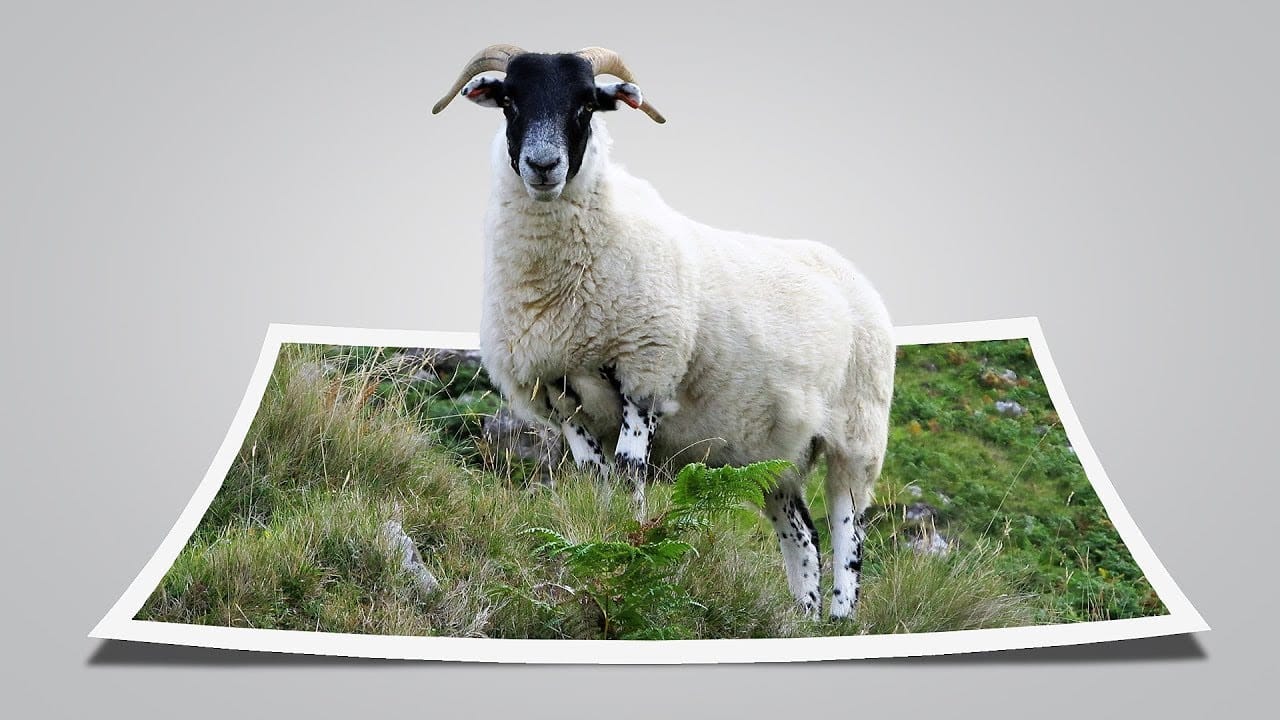
This tutorial by Click3D explores the creative process of making a whimsical 3D pop-out photo effect in Photoshop. This effect brings images to life and introduces a surreal quality that transforms the viewing experience. Imagine a scene where a subject appears to leap out of a polaroid frame, adding an element of fun and surprise. The author takes the reader through the steps to create this delightful and impactful visual effect. By using simple techniques, the tutorial demonstrates how to ach
Create a pop-up illustration in Photoshop
In the world of visual communication, pop-up illustrations have long been a domain reserved for children's books. However, this tactile and physical approach to design has now found a place across the creative industry. Illustrators and designers alike are embracing pop-up and 3D techniques to add a touch of flair and excitement to their visual concepts. Pop-ups can infuse your work with a sense of playfulness, offering an element of surprise and interaction. Imagine the delight of opening a sp
Add a third dimension to your photos: 3D Plugins for Photoshop
Rumor has it that Photoshop CS3 will offer some 3D capabilities. There is no official list of features, but it seems that you will be able to open most popular 3D objects formats (objects, not scenes though…) and presumably, have access to thier color and texture properties. But as of this writing the only official word is that these 3D capabilities are not active in Photoshop CS3 beta preview. So, until Photoshop CS3 is released, you will have to use the available plugins to create 3D images i

Get tutorials & freebies delivered to you.

Subscribe to the Photoshop Roadmap newsletter, a weekly roundup of new tutorials, insights and quality downloads, trusted by 6500+ readers.

You might also like

Painting Digital Art Backgrounds: Techniques and Workflow

A well-crafted background can anchor an entire digital painting, providing atmosphere, depth, and visual context for the subject. This video demonstrates practical approaches to building backgrounds from scratch using digital tools, covering brush selection, color layering, and compositional thinking. Watch the Video Practical Tips Keep these core principles in...

How to Use the Light Adjustment Layer in Photoshop

Photoshop's new Light adjustment layer brings Camera Raw controls — exposure, contrast, highlights, shadows, whites, and blacks — directly into the layers panel as a fully non-destructive, maskable layer. This means you can stack multiple light adjustments, target specific subjects, and combine them with Blend If and other adjustment...

How to Use Object Selection, Remove Background, and the Selection Brush in Photoshop

Selections determine the quality and flexibility of almost every edit you make in Photoshop. Three modern tools — the Object Selection tool, Remove Background with Harmonize, and the Selection Brush — handle the most common selection tasks with far less manual effort, while keeping your original image intact through non-destructive layers....

How to Paint a Digital Background and Composite Wildlife Into It

Building a painted digital background from scratch gives you full control over color, mood, and composition before a single wildlife photo is placed. This walkthrough covers the complete process: blocking in shadows on a black canvas, layering foliage with textured brushes, positioning bird subjects on hand-painted stones, and using...

How to Sharpen Skin Texture Using Frequency Separation in Photoshop

Retouched skin can look great up close but lose all its natural texture the moment you zoom out. Rather than relying on standard sharpening filters, you can recover that texture by duplicating the high-frequency layer inside a frequency separation setup — a method that works whether or not you'...

You’ve successfully subscribed to Photoshop Roadmap
Welcome back! You’ve successfully signed in.
Great! You’ve successfully signed up.
Success! Your email is updated.
Your link has expired
Success! Check your email for magic link to sign-in.