Best Way to Colorize Black and White Photos in Photoshop

Best Way to Colorize Black and White Photos in Photoshop

This video demonstrates a precise method for colorizing black and white photographs using Adobe Photoshop. It focuses on a non-destructive workflow that preserves image quality while adding realistic color.

Viewers will discover how to transform monochrome images into vibrant, full-color renditions, enhancing details and bringing new life to vintage or historical photographs with careful selection and color application techniques.

Watch the Full Tutorial

Video by Blue Lightning. Any links or downloads mentioned by the creator are available only on YouTube

The Art and Precision of Digital Colorization

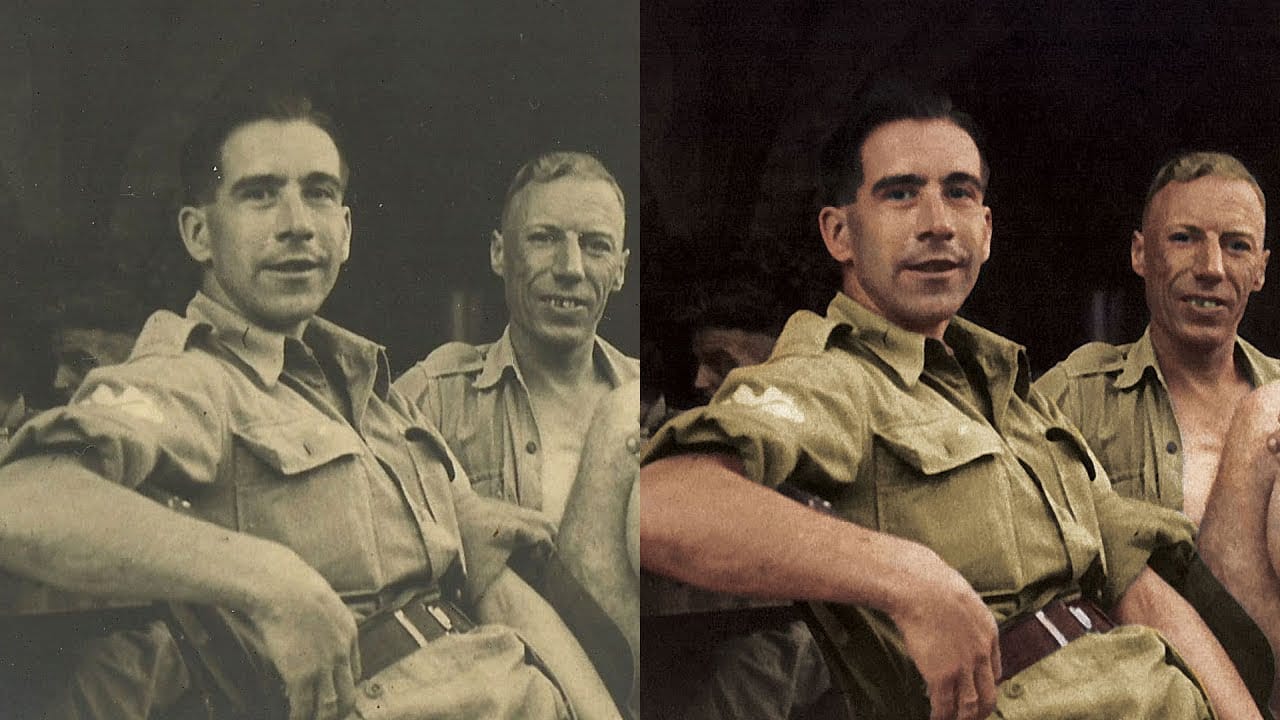
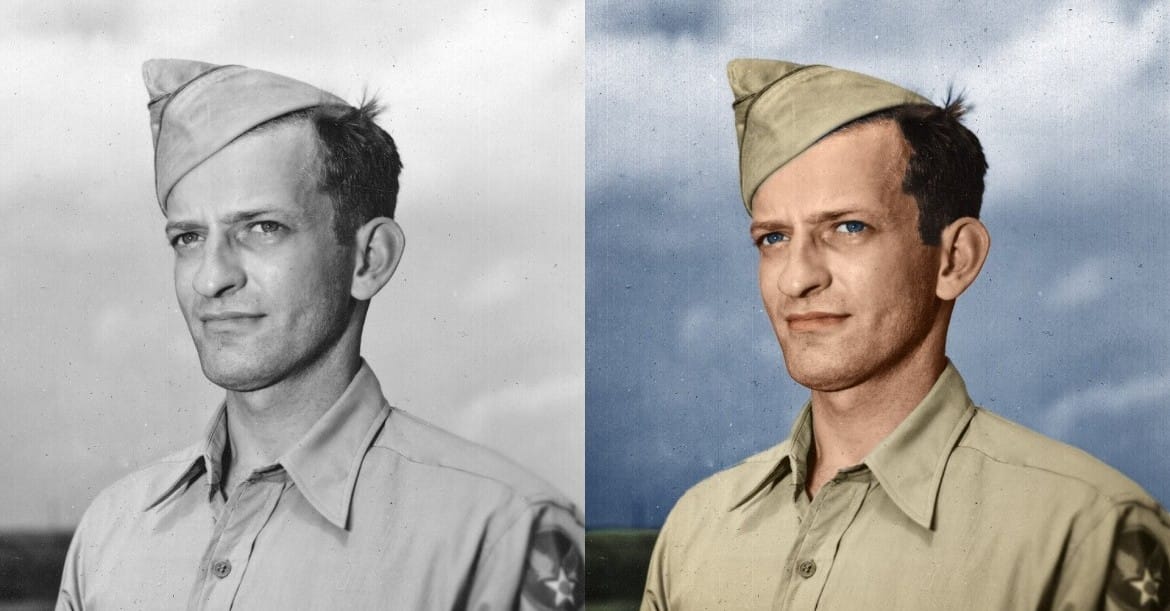
Digital colorization transcends mere color application; it is an interpretive art form that breathes new life into historical moments. Black and white photography, while powerful, often omits the visual context that color provides, influencing our perception of an era or a scene. Adding color helps viewers connect more intimately with the subjects and environments, making the past feel more immediate and tangible.

The process demands a keen eye for detail and an understanding of how colors naturally appear in various lighting conditions and on different materials. It involves not just picking a hue, but also considering its saturation and luminosity to ensure it integrates seamlessly with the original grayscale tones. This careful approach ensures the final image appears authentic rather than artificially tinted.

Modern Photoshop techniques, particularly the use of adjustment layers and masks, enable a non-destructive workflow. This means that original image data remains untouched, allowing for endless adjustments and refinements without degrading the photograph. It provides the flexibility to experiment with different color palettes and correct mistakes, making the colorization process both artistic and highly precise.

Practical Tips for Colorizing Photos

  • Brighten Dark Tones: Use Image > Adjustments > Shadows/Highlights to reveal hidden details in the darkest areas of your photo, providing a better foundation for color.
  • Isolate Areas with Selection Tools: Employ tools like the Quick Selection Tool to accurately define specific regions of your subject, ensuring precise color application.
  • Refine Selections for Precision: Utilize the Refine Edge feature to smooth out selection edges and capture intricate details like hair, resulting in a more natural blend.
  • Apply Colors Non-Destructively: Create Solid Color Adjustment Layers for each distinct area you wish to colorize; this approach uses layer masks and allows for easy color changes and opacity adjustments.
  • Experiment with Blend Modes and Opacity: Set the blend mode of your color layers to Multiply (for white backgrounds), Color, or Overlay, then fine-tune the opacity to achieve the most realistic and integrated look.
  • Enhance with Airbrushing: After initial colorization, create a composite snapshot (Ctrl/Cmd + Shift + Alt/Option + E) and use a soft brush with the Color blend mode to subtly add or refine hues for a polished finish.

More Tutorials about Photo Colorization

Explore additional resources to deepen your understanding of photo colorization techniques and expand your Photoshop skills.

How To Colorize a Black and White Photo in Photoshop
In this tutorial, Chris Spooner from Spoon Graphics shares his process for colorizing a black and white photograph. The author worked on a photo of his Grandad during World War II, which had the characteristic sepia tone of a snapshot from the 1940s. After scanning and processing the image in Photoshop, the author was able to bring the photograph to life in full color and with improved contrast. This transformation allows the viewer to better imagine the scene as it would have appeared in realit
How to Colorize a Old Black and White Photo in Photoshop
Bringing vintage photos into life in Photoshop is fun, especially if it involves old family pictures and portraits. Your first attempts probably were a mess. Don’t worry, it’s not that simple without the proper knowledge, but it isn’t a complex task either. In fact, after watching this video tutorial chances are that you’ll become a serial colorizer. John Shaver from Photoshop Video Academy, explains in this detailed tutorial how to colorize photos using a 100% non-desctrucive technique, wich w
How to colorize photos in Photoshop
In this episode, Adobe Evangelist Paul Trani breaks down how to instantly colorize photos in Photoshop using new Neural Filters, from landscapes to your old family photos. More
Transform Black to Any Color in Photoshop, Including White: Best Method
Changing the color of a black object in Photoshop can be a surprisingly frustrating task. Standard color adjustment tools often fail because pure black contains no hue or saturation data to manipulate, leaving designers and retouchers searching for a more effective solution. This tutorial demonstrates a powerful and flexible method for recoloring black objects, allowing you to turn them into any color you choose—even solid white. By learning this non-destructive technique, you can gain precise

Get tutorials & freebies delivered to you.

Subscribe to the Photoshop Roadmap newsletter, a weekly roundup of new tutorials, insights and quality downloads, trusted by 6500+ readers.

You might also like

Complete Photoshop Editing Workflow: 5 Steps from Raw to Polished

Photoshop offers endless possibilities for photo enhancement, but many photographers never move beyond basic adjustments because the software feels overwhelming. This comprehensive workflow breaks down photo editing into five manageable stages that work consistently across different photography styles. The systematic approach covers everything from initial raw processing to advanced lighting...

Photoshop Workspace Basics: Navigation, Zooming, and Essential Interface Elements

Photoshop's interface can feel overwhelming when you first open the program. Dozens of panels, tools, and menus compete for attention, making simple tasks feel complicated. This tutorial breaks down the essential workspace elements and teaches fundamental navigation skills that form the foundation of efficient Photoshop work. Watch the...

How to Restore Old Damaged Photos Using Nano Banana in Photoshop

Old family photos with scratches, tears, and missing sections can seem beyond repair. Google's Nano Banana AI model, now integrated into Photoshop, makes full restoration possible in minutes rather than hours. This powerful tool excels at maintaining facial characteristics while automatically filling in damaged areas and adding realistic...

How to Get Higher Quality Results from Photoshop's Generative Fill Tool

Photoshop's Generative Fill creates impressive AI extensions, but the results often look blurry and pixelated when viewed at full size. This quality limitation makes many AI-generated areas unusable for printing or large displays. This technique shows how to work around the 1024x1024 pixel quality limit to create much...

How to Use Photoshop's Liquify Tool for Non-Destructive Portrait Retouching

Clothing wrinkles, hair that lacks volume, and awkward fabric bunching can distract from an otherwise great portrait. Photoshop's Liquify tool offers a powerful solution for smoothing out these issues while preserving the natural look of your subject. This tutorial demonstrates how to use the Liquify tool non-destructively with...

You’ve successfully subscribed to Photoshop Roadmap
Welcome back! You’ve successfully signed in.
Great! You’ve successfully signed up.
Success! Your email is updated.
Your link has expired
Success! Check your email for magic link to sign-in.