Transform yourself into a convincing zombie using advanced Photoshop techniques that go far beyond basic filters. This comprehensive tutorial covers everything from creating pale, bruised skin and bloodshot eyes to adding realistic wounds and grungy textures.
The process requires intermediate Photoshop skills including masking, blend modes, and adjustment layers to achieve professional horror makeup effects digitally.
Watch the Tutorial
Essential Tips for Zombie Effects
These techniques will help you create more convincing zombie transformations:
- Take photos during golden hour with torn clothing and messy hair for the most authentic base image
- Use the Sponge tool set to desaturate at 20-40% flow to create pale, lifeless skin tone
- Apply Color Burn blend mode at low opacity (10-25%) with reddish colors to create realistic bruises and bloodshot eyes
- Create displacement maps from your image to make blood textures conform naturally to skin contours
- Layer multiple blood effects using splatter brushes with varying blend modes for depth and realism
More Horror Effect Tutorials
Explore these related tutorials for creating scary digital makeup effects.
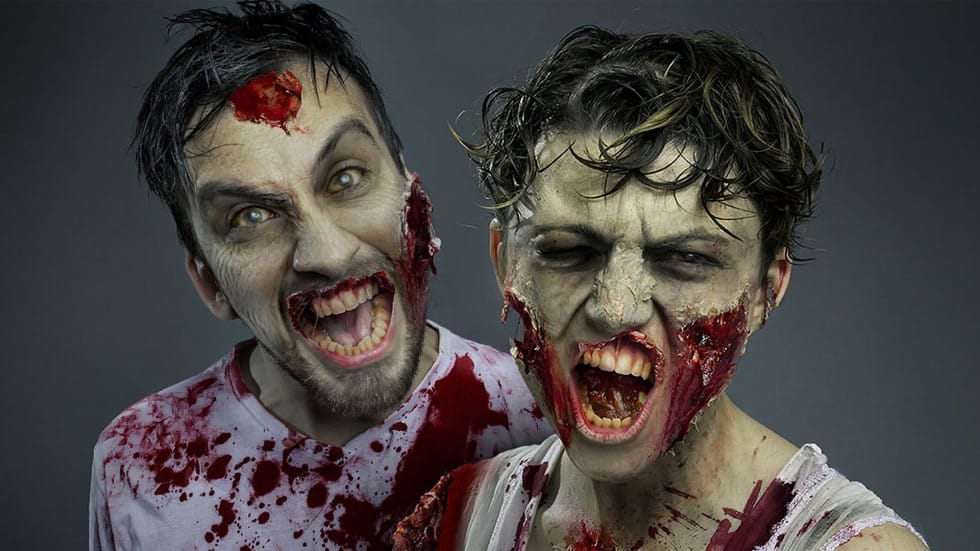
Gruesome Zombie Special FX Makeup in Photoshop
In this tutorial by FX-Ray, you will learn how to transform yourself into a zombie without the need for a bite.
The comprehensive guide includes steps for applying special zombie gore makeup, conducting a photoshoot, and using Photoshop to add more gore effects. By utilizing blood and skin textures along with adjustment layer techniques, you'll be able to create a convincingly terrifying zombie.
Perfect for those interested in both practical and digital effects, this tutorial combines special
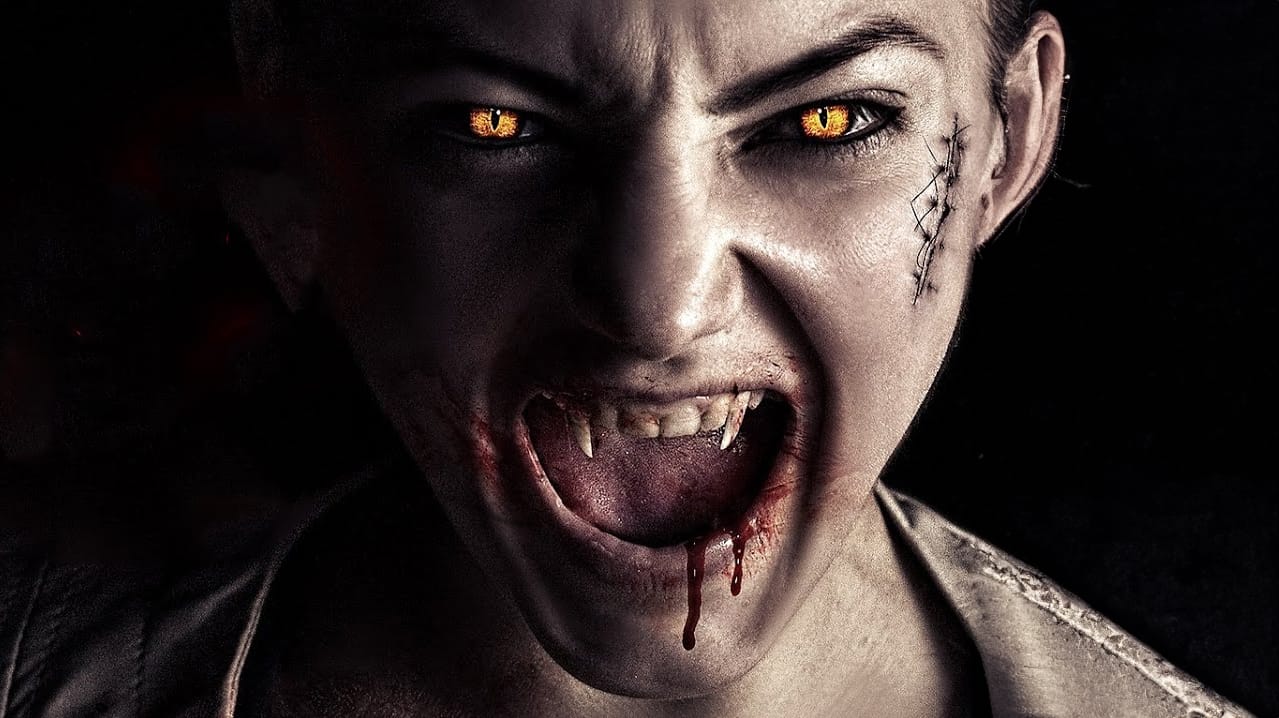
Turn a Portrait Into a Vampire in Photoshop
In this video tutorial by Andrei Oprinca, you'll learn how to create captivating vampire-themed effects in Photoshop. Learn how to craft realistic vampire teeth, transform ordinary eyes into sinister, evil gazes, and seamlessly integrate bloody stock images for a dramatic impact. Andrei's step-by-step guidance ensures that even complex edits are accessible, making it perfect for both beginners and advanced users.
Enhance your Photoshop skills and add a touch of the macabre to your projects. Dow
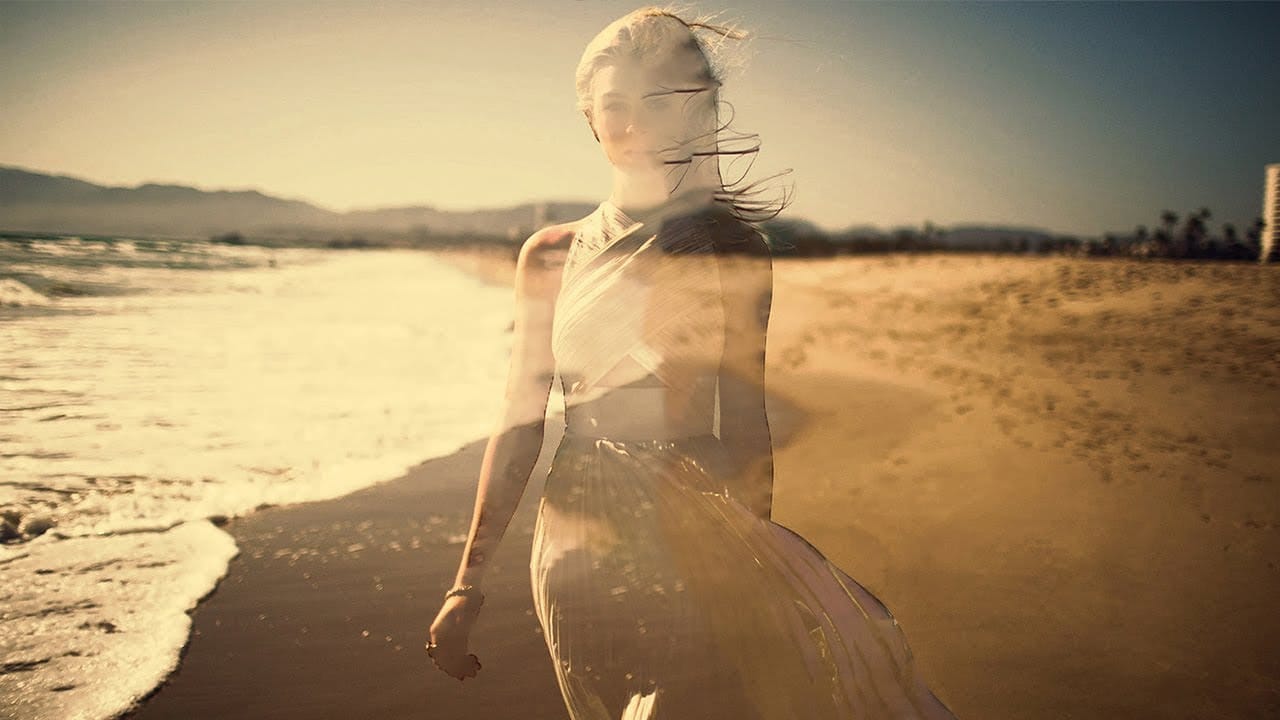
Create a Ghostly Image Effect in Photoshop
In this engaging Photoshop tutorial, you will discover how to create a ghostly effect that transforms a person into a transparent figure, resembling a ghost. This technique is perfect for adding an eerie vibe to your images.
You'll begin by selecting the person in your photo and adjusting the layers to achieve the desired transparency. The step-by-step instructions will guide you through the process of refining the edges and enhancing the overall look to ensure a realistic ghost appearance.
By
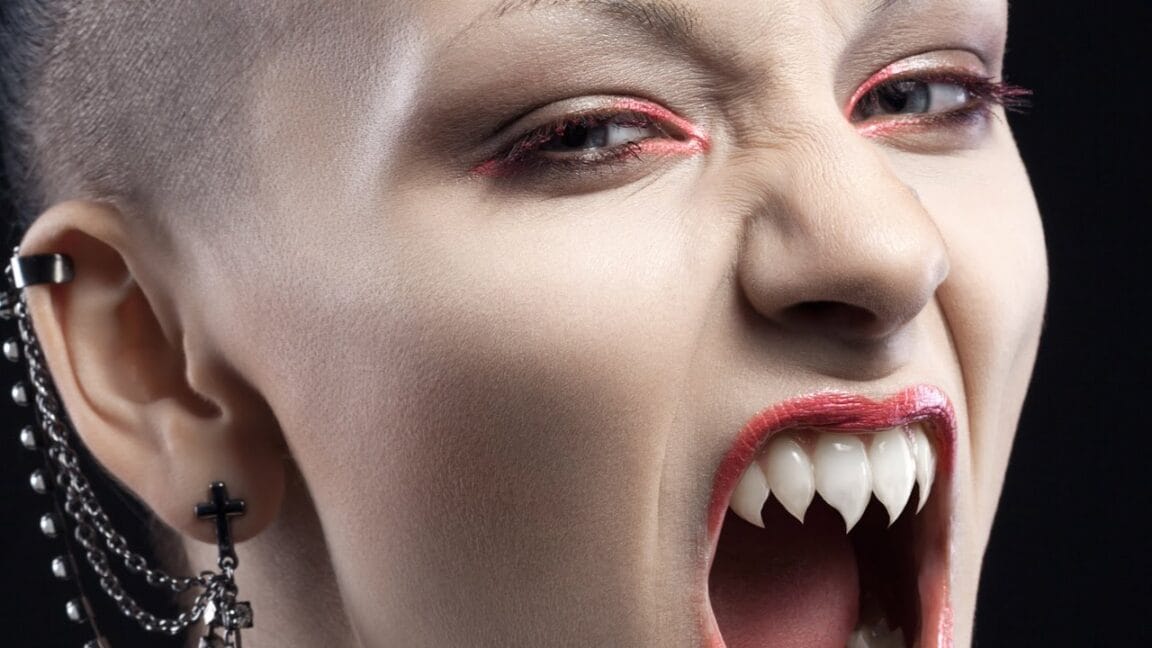
Turn Teeth into Sharp Fangs in Photoshop
In this scary Halloween tutorial by Phlearn, learn how to create sharp, realistic fangs in Photoshop.
Start by sketching the desired tooth shape with the Brush Tool, then trace the outline using the Pen Tool. Sample colors and use the Brush and Clone Stamp tools for highlights. Key tips include using the Lighten Blend Mode when clone stamping highlights and applying Gaussian Blur to blend the new teeth realistically. Remember to add imperfections for a natural look. For a quicker method, use th