Caricature cartoons exaggerate facial features to create memorable, humorous portraits that capture personality in an instantly recognizable way. This technique transforms ordinary photos into stylized artwork with oversized heads, emphasized expressions, and smooth cartoon-like textures.
This comprehensive tutorial covers the complete process from initial photo preparation to final cartoon styling using smart objects for easy reapplication.
Watch the Tutorial
Essential Tips for Photo Caricature Effects
Master these key techniques to create professional-looking caricature effects from any portrait photo.
- Use Face-Aware Liquify (available in Photoshop CC 2015+) for precise facial feature adjustments instead of manual warping
- Convert your work to smart objects before applying filters to maintain editability and easy reapplication on new photos
- Apply the Oil Paint filter twice during the process - once for initial smoothing and again for enhanced cartoon texture
- Control effect intensity by adjusting document size: larger dimensions create more detailed results, smaller sizes produce simplified cartoon looks
- Blend multiple detail layers using Overlay and Pin Light modes at low opacity (below 50%) to add cartoon outlines without overpowering the effect
More Tutorials About Photo Caricature Effects
Explore additional techniques for transforming photos into stylized cartoon artwork.
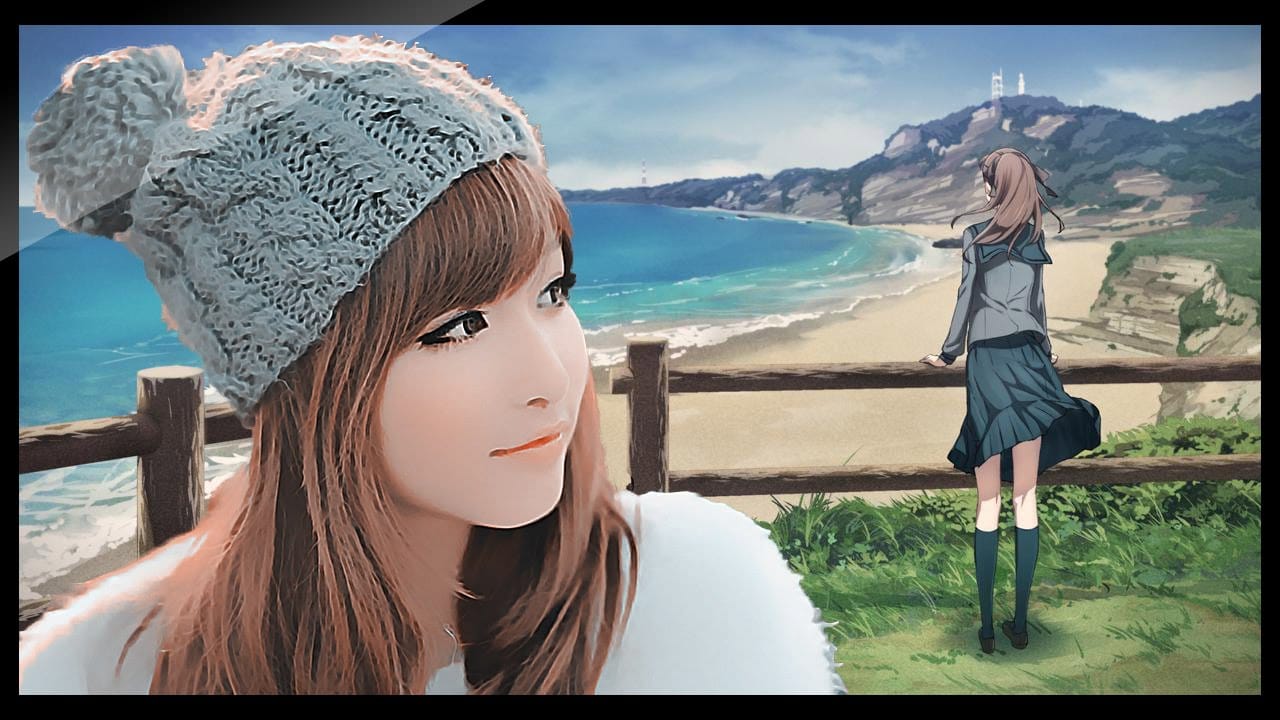
Photoshop photo to cartoon effect
In the world of digital photography, adding a unique touch to your images can truly make them stand out. One such way to achieve this is by applying a cartoon effect to your photos using Photoshop. This technique is surprisingly simple and can breathe new life into even the most ordinary of images.
By following a few straightforward steps, you can transform your photos into vibrant, works of art. The process involves a combination of adjusting the levels, applying filters, and fine-tuning the d
Create a Photo Caricature in Photoshop
The tutorial on TutsPlus demonstrates how to create a photo caricature using Adobe Photoshop. It shows the user how to exaggerate specific features of a face to produce a comical and humorous representation of a person. Photoshop's transform, warp, and liquify tools are perfect for this task, allowing the user to manipulate a photographic portrait and transform it into a unique caricature.
The step-by-step instructions guide the user through the process, from selecting and preparing the source

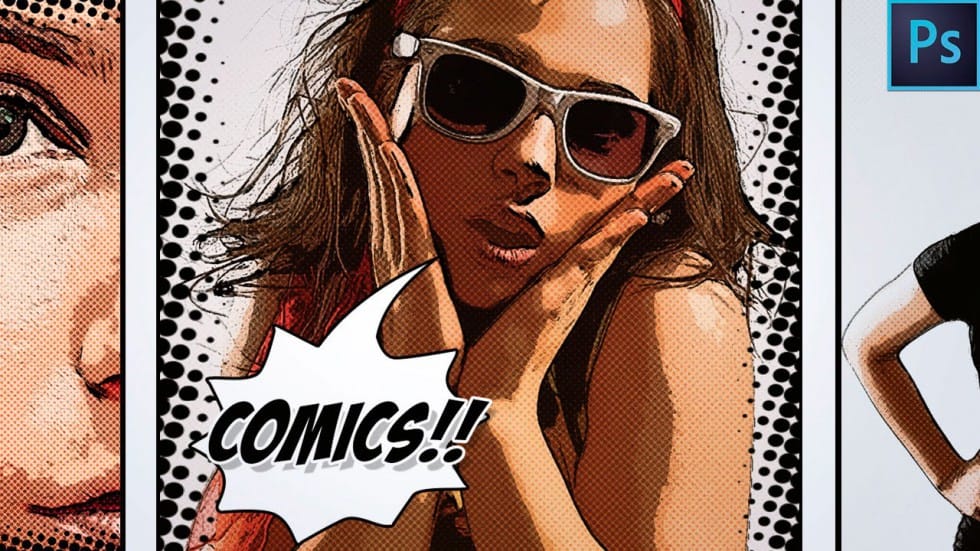
How to Make a Comic Book Cartoon Effect From a Photo in Photoshop
The author provides a step-by-step guide on how to transform a regular photo into a comic book-style cartoon effect using Adobe Photoshop. They explain the process of applying various filters and techniques to achieve the desired look.
The tutorial starts by discussing the importance of selecting the right photo for the comic book effect. The author suggests choosing an image with a clear subject and good contrast. They then guide the reader through the process of applying filters and adjustmen
Create hilarious caricatures from your friends' photos
Creating a photographic caricature of a person, regularly a friend or a relative, is simpler than it looks at first sight. In this tutorial, talented Photoshop artist Chris Spooner, from Spoon Graphics, will take you through the process of creating a realistic cartoon character effect from a photograph.
Since the base image is a photo, you won't have to draw anything from scratch, and the final artwork will retain a strong resemblance to the subject. Only this time with some nicely exaggerated