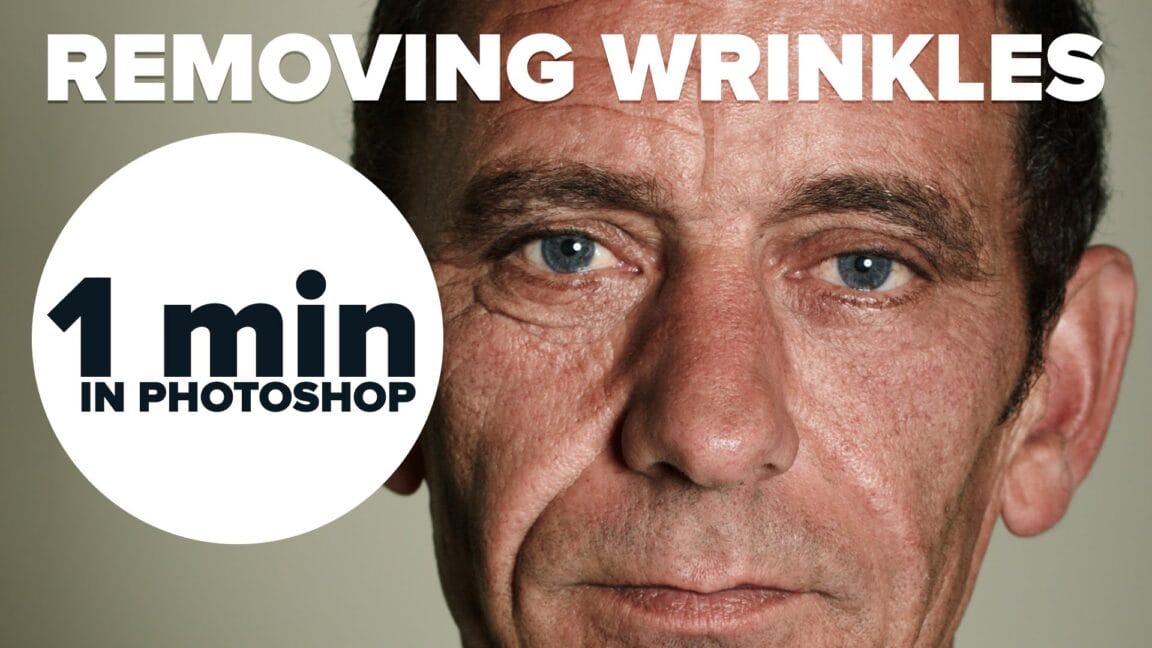
When retouching portraits, the key to natural-looking wrinkle removal lies in choosing the right approach for your image. Complete wrinkle elimination can make subjects appear artificially smooth, while subtle reduction maintains character and authenticity.
This tutorial demonstrates two distinct methods: one for complete wrinkle removal and another for natural-looking wrinkle reduction that preserves skin texture and maintains realistic aging.
Watch the Video
Practical Tips
Master these key techniques for professional wrinkle retouching that looks natural and realistic.
- Size your brush slightly larger than the wrinkle itself to capture both the line and surrounding shadows and highlights
- Use "Current and Below" sampling when working on new layers to ensure proper blending with underlying image data
- Sample skin texture from areas immediately adjacent to wrinkles for the most convincing results
- Work on a duplicated background layer when using blend modes to ensure the effect processes correctly
- Choose wrinkle reduction over complete removal to maintain natural skin character and avoid the "plastic" look
Related Articles and Tutorials
Explore these additional portrait retouching techniques for comprehensive skin enhancement workflows.
Remove Wrinkles in Photoshop with the Spot Healing Brush
In this tutorial by Howard Pinsky, you will learn how to quickly remove wrinkles in Photoshop using the Spot Healing Brush Tool. While there are various tools available for this purpose, the Spot Healing Brush is often sufficient for achieving smooth, wrinkle-free results.
The tutorial emphasizes the tool's efficiency and simplicity, making it an excellent choice for quick touch-ups.
Watch tutorial
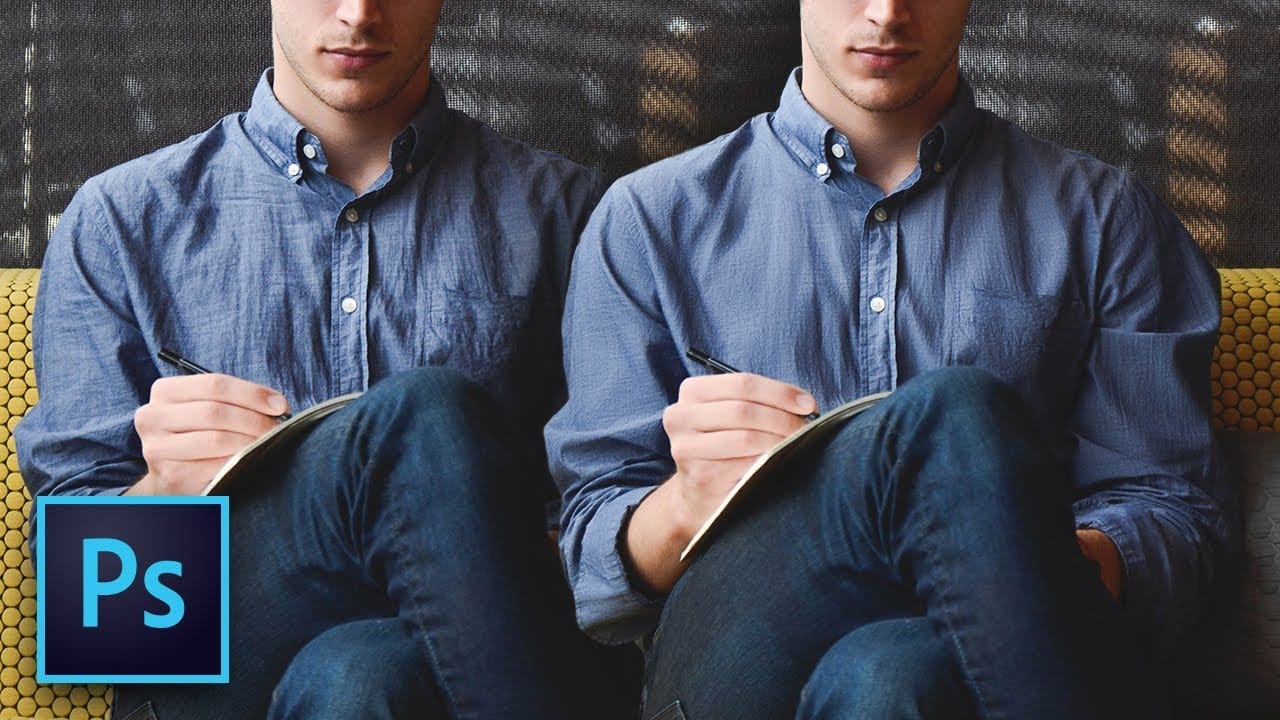
Remove wrinkles from clothes easily in Photoshop
In this tutorial by PiXimperfect you will learn the most natural way to iron your clothes and get the wrinkles off the fabric in Photoshop. Learn to use the amazing power of Frequency Separation to magically even out the creases without disturbing the texture of the fabric.
In this video, we will learn how to separate the image into wrinkles and fabric texture so that we can just work on the wrinkles and not affect the texture. Using the mixer brush, we will even out the wrinkles and creases, a
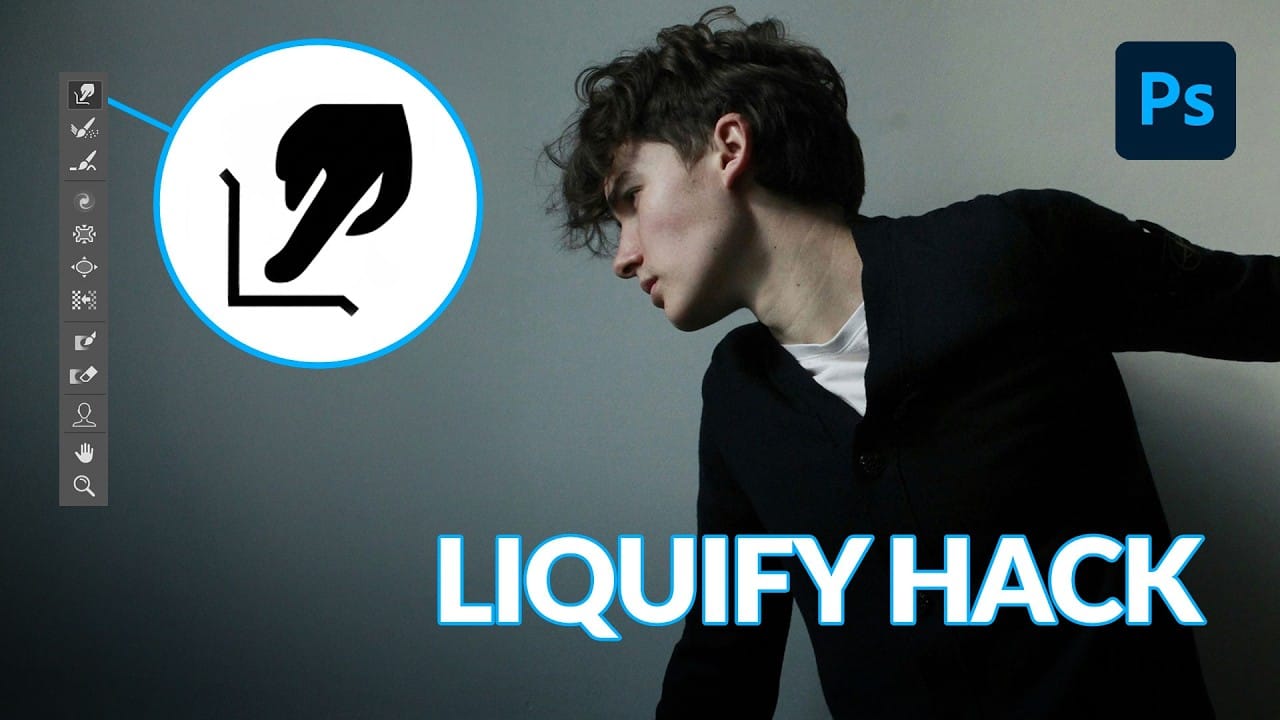
How to Use Photoshop's Liquify Tool for Non-Destructive Portrait Retouching
Clothing wrinkles, hair that lacks volume, and awkward fabric bunching can distract from an otherwise great portrait. Photoshop's Liquify tool offers a powerful solution for smoothing out these issues while preserving the natural look of your subject.
This tutorial demonstrates how to use the Liquify tool non-destructively with smart objects, focusing on clothing adjustments and hair enhancement while maintaining ethical retouching practices.
Watch the Tutorial
Essential Liquify Tool Tips
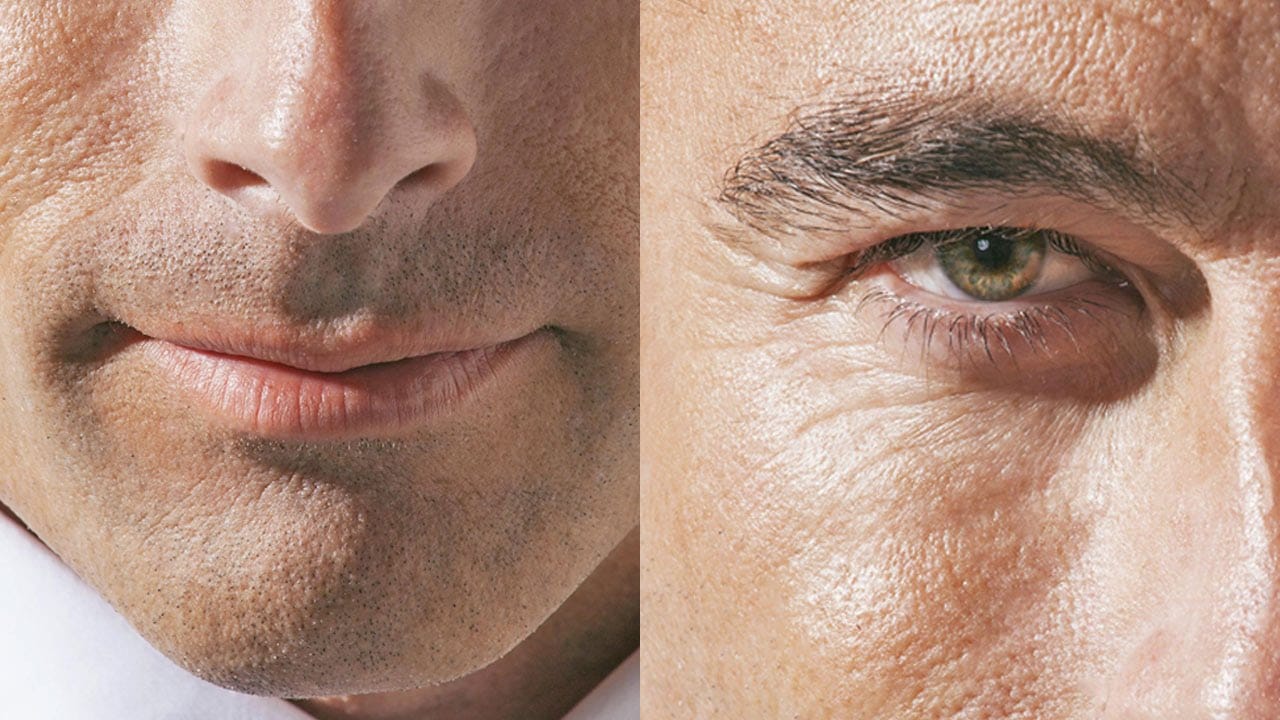
How to Retouch Mature Skin in Photoshop
In this tutorial by Aaron Nace from Phlearn, learn how to retouch handsome, mature men by reducing wrinkles, pores, and adding color back to their skin.
The approach emphasizes maintaining natural skin texture and avoiding overly intense edits that remove character. Techniques include using Shadows and Highlights adjustments to soften shadows, using the Spot Healing Brush with "Content Aware" mode to reduce wrinkles, and adding color with a Hue/Saturation Adjustment Layer.
Perfect for photogra
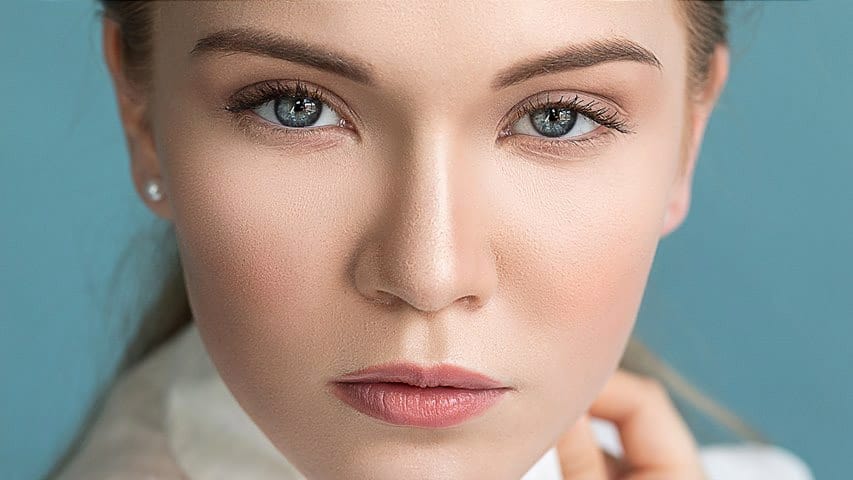
Natural Skin Smoothing in Photoshop
Professional beauty retouching demands techniques that smooth skin while preserving natural texture. This advanced method combines inverted layers with Vivid Light blend mode to create seamless skin enhancement without the artificial "plastic" look common in over-processed images.
The technique works by canceling out layer information through inversion, then selectively applying blur and sharpening filters to reconstruct realistic skin texture while eliminating blemishes and color irregularitie
How to Remove Acne in Photoshop
In this tutorial by Aaron Nace from Phlearn, learn how to effectively remove acne in Photoshop.
The process is divided into two steps: first, removing redness using Hue/Saturation to target specific red areas and make them look like normal skin tone. Second, removing blemishes with the Spot Healing Brush set to "Content Aware" and "Sample All Layers" to work non-destructively.
After clearing the blemishes, a bit of red is added back to the skin using a soft light blend mode for a natural look.

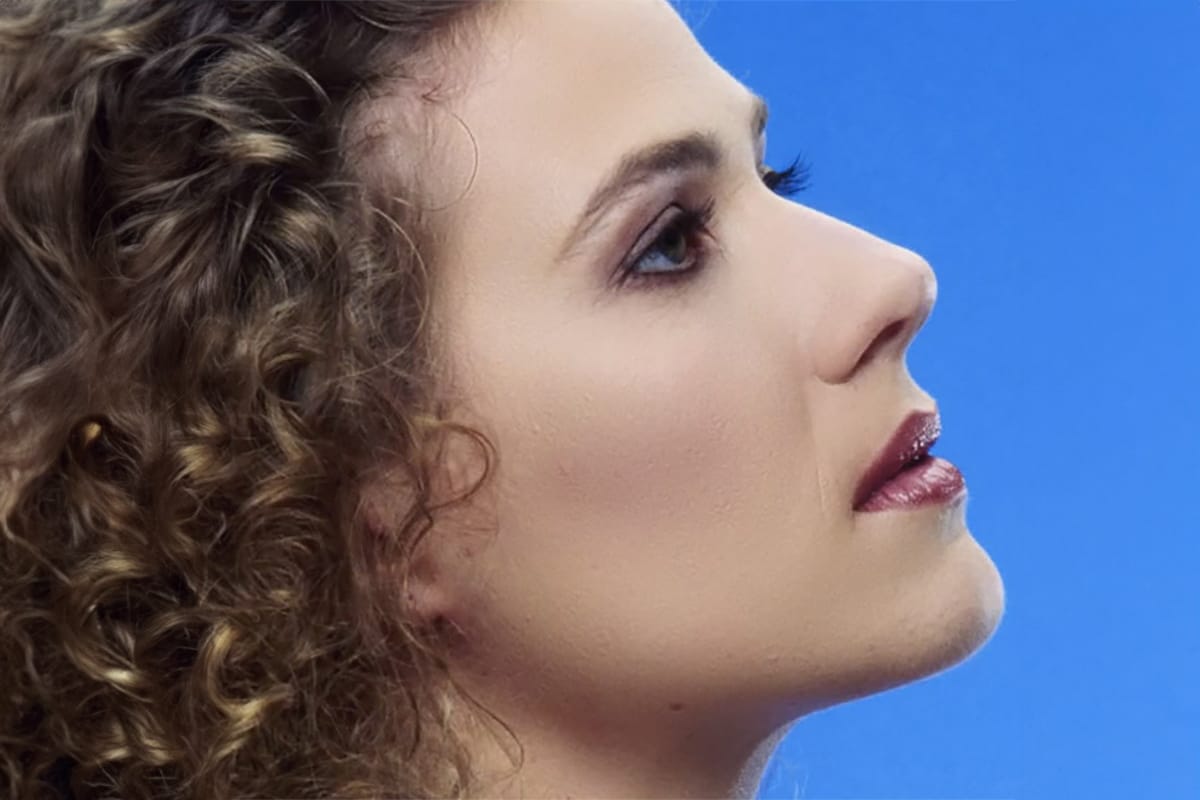
Smooth Skin and Remove Blemishes and Scars in Photoshop
Achieving flawless skin in portraits often requires careful retouching to enhance natural beauty without sacrificing detail. This tutorial demonstrates a reliable Photoshop workflow for refining skin texture and addressing common imperfections.
Viewers will discover how to efficiently smooth skin texture, eliminate blemishes and scars, and precisely restore important facial features like eyes and lips, ensuring a natural and polished outcome.
Watch the Tutorial
The Principles of Natural Ski
High-End Skin Retouching in Photoshop
Combining the power of Frequency Separation along with manual Sampling and Painting, learn how to recreate and sculpt the skin, maintaining a beautiful skin texture, in this tutorial by PiXimperfect.
Using this technique, you will not only achieve a smooth skin but also will have the control to naturally remove wrinkles, lift up the cheekbones, and renovate the whole structure of the skin with the skin texture still intact. This is an All-in-One Method whether you want to soften the skin or jus
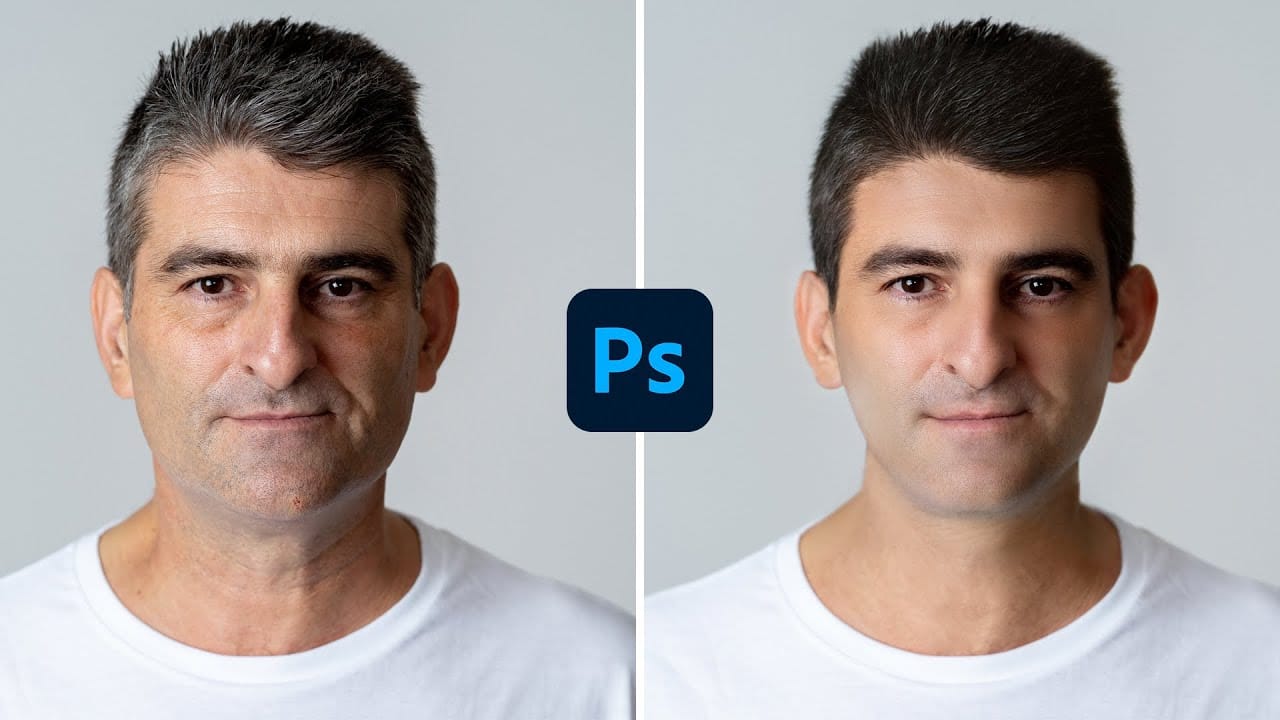
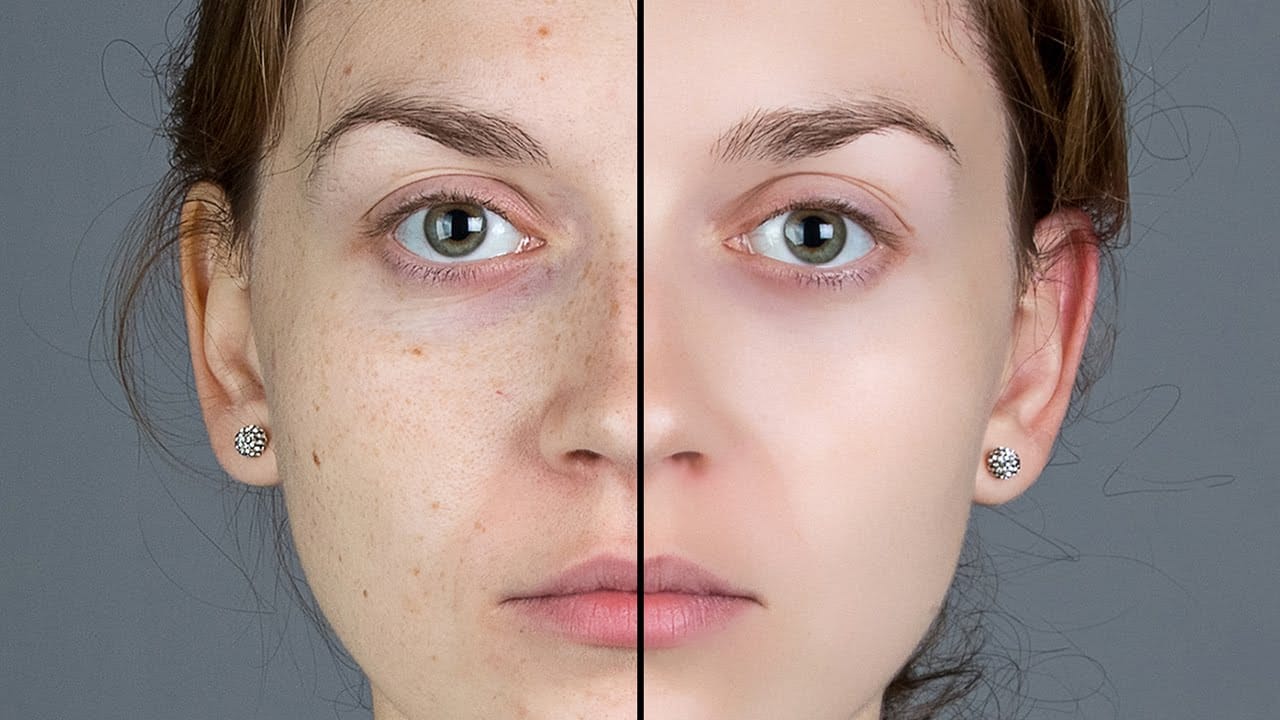
How to make someone look younger in Photoshop
In this tutorial, Jesus Ramirez demonstrates how to make someone look younger using Photoshop. This guide goes beyond the new Neural Filter that allows you to de-age or age a person with a simple slider. Jesus shares additional techniques and tools to enhance the effect, offering a more comprehensive approach to retouching.
You will learn how to use various filters and tools to smooth skin, reduce wrinkles, and brighten features for a youthful appearance. Jesus covers the following key aspects: