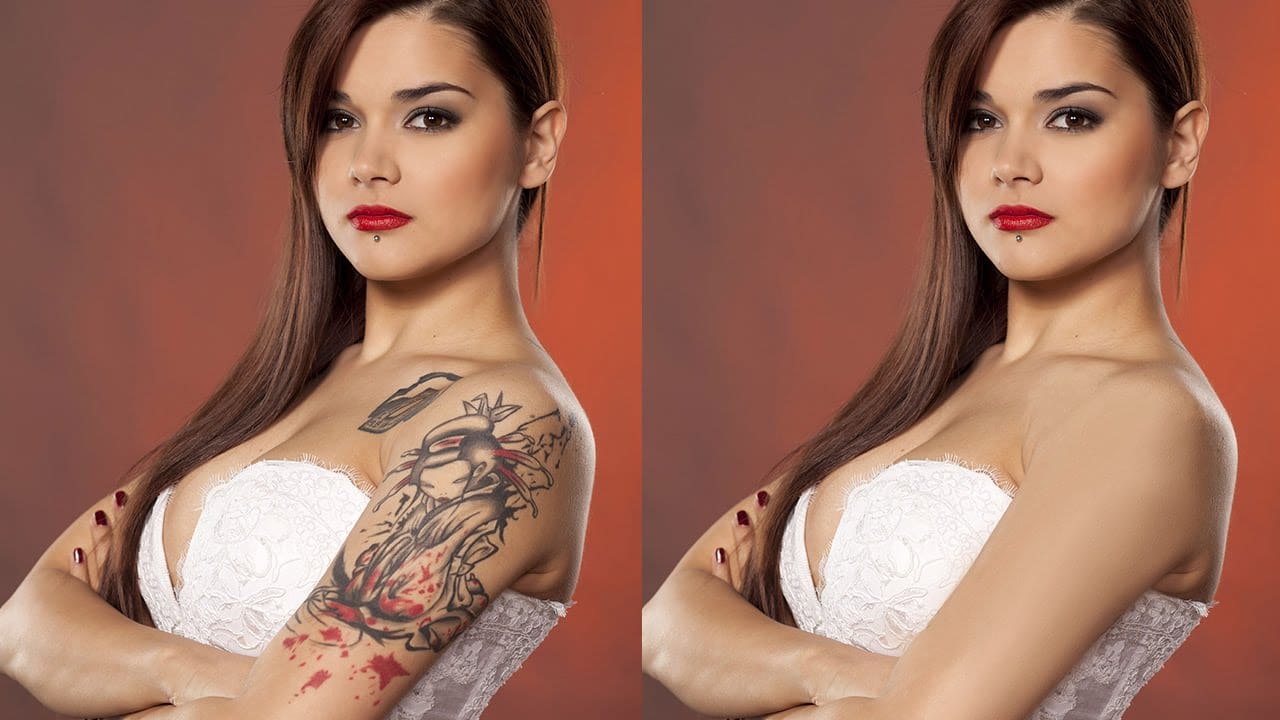
Removing tattoos from photos is now incredibly simple thanks to AI-powered generative fill. What once required complex cloning and healing techniques can now be accomplished in minutes with just a few selections and clicks.
This method works perfectly for commercial photography, brand projects, or any situation where tattoos need to be temporarily hidden while maintaining natural-looking skin texture.
Watch the Video
Practical Tips
These key strategies will help you achieve clean, natural results when removing tattoos with AI:
- Select each tattoo individually rather than multiple tattoos at once for better resolution and more variation options
- Make your lasso selection slightly larger than the tattoo itself to give the AI more context for skin texture matching
- Leave the generative fill prompt empty to let AI automatically detect and remove the selected object
- Work with smaller areas to maintain higher image quality and more precise results
- Use Shift+click to add additional selections when tattoos appear on both sides of jewelry or accessories
Related Articles and Tutorials
Explore more techniques for object removal and AI-powered editing workflows.
How to Remove a Tattoo in Photoshop
According to the author, Aaron Nace from Phlearn, removing a tattoo from an image using Photoshop is a more challenging task than simply retouching blemishes or other artifacts. While Photoshop offers excellent retouching tools, removing a tattoo can be more complex as it typically covers a larger area of the skin.
In this tutorial, Aaron demonstrates how to effectively remove a tattoo from a person's image in just a few straightforward steps using Adobe Photoshop. The author's approach aims to
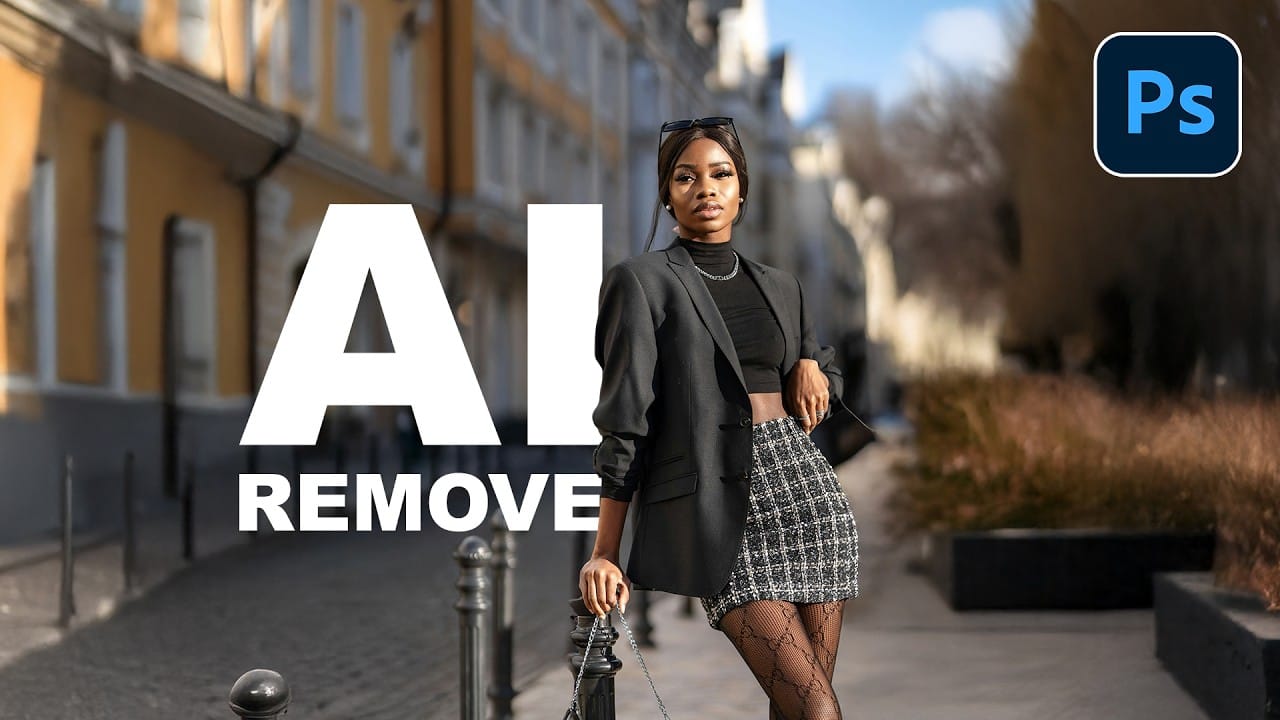
How to Remove Objects from Photos Using AI Tools in Photoshop
Photoshop's AI-powered object removal tools can eliminate unwanted distractions from your photos with minimal effort. The Remove Tool and Generative Fill feature automated detection for common distractions like people and wires, plus manual painting options for custom removals.
These tools work on separate layers, preserving your original image while giving you complete control over what gets removed and how the final result looks.
Watch the Video
Practical Tips
These key techniques will h
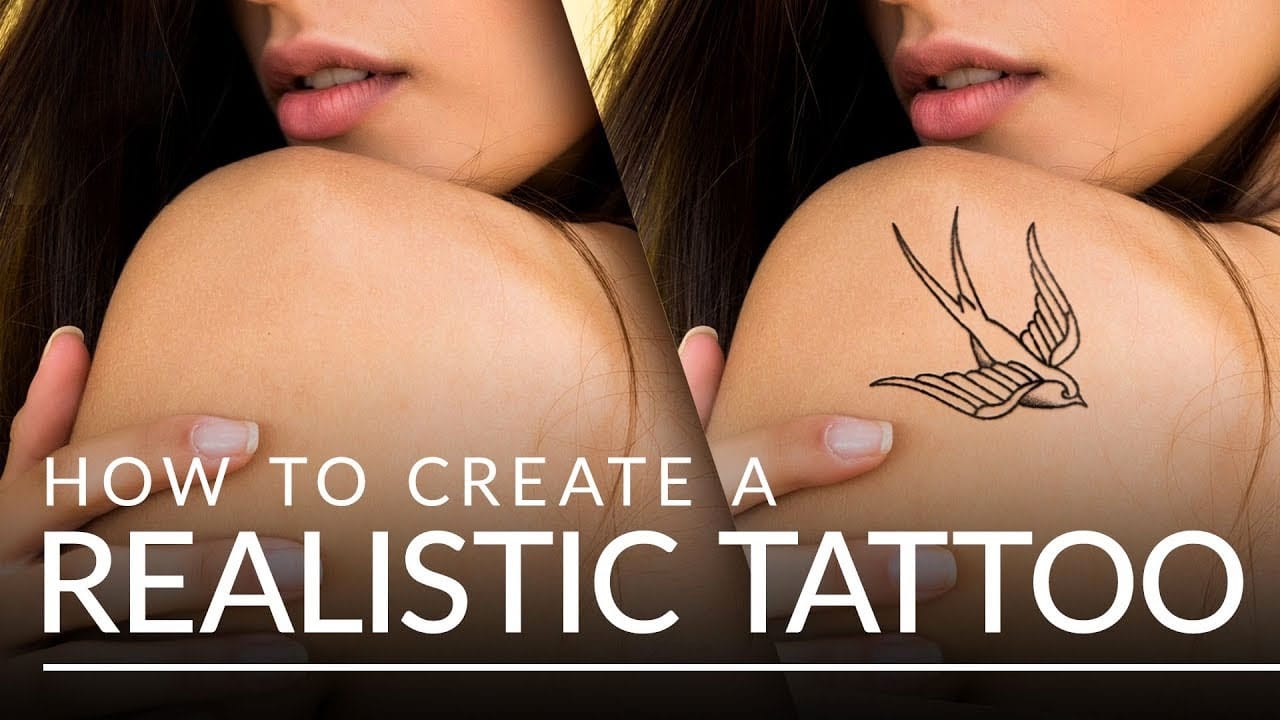
Create a realistic tattoo out of any design in Photoshop
This tutorial by Aaron Nace from Phlearn, will show you how to transform any design into a realistic-looking tattoo using Photoshop. Aaron demonstrates various tools and techniques to achieve a natural and authentic appearance.
One key step is leveraging filters to introduce variation in the lines, which helps create a more realistic tattoo look. The Liquify Tool and Smudge Tool are also utilized to follow the contours of the body, ensuring a seamless integration of the design.
Furthermore, th
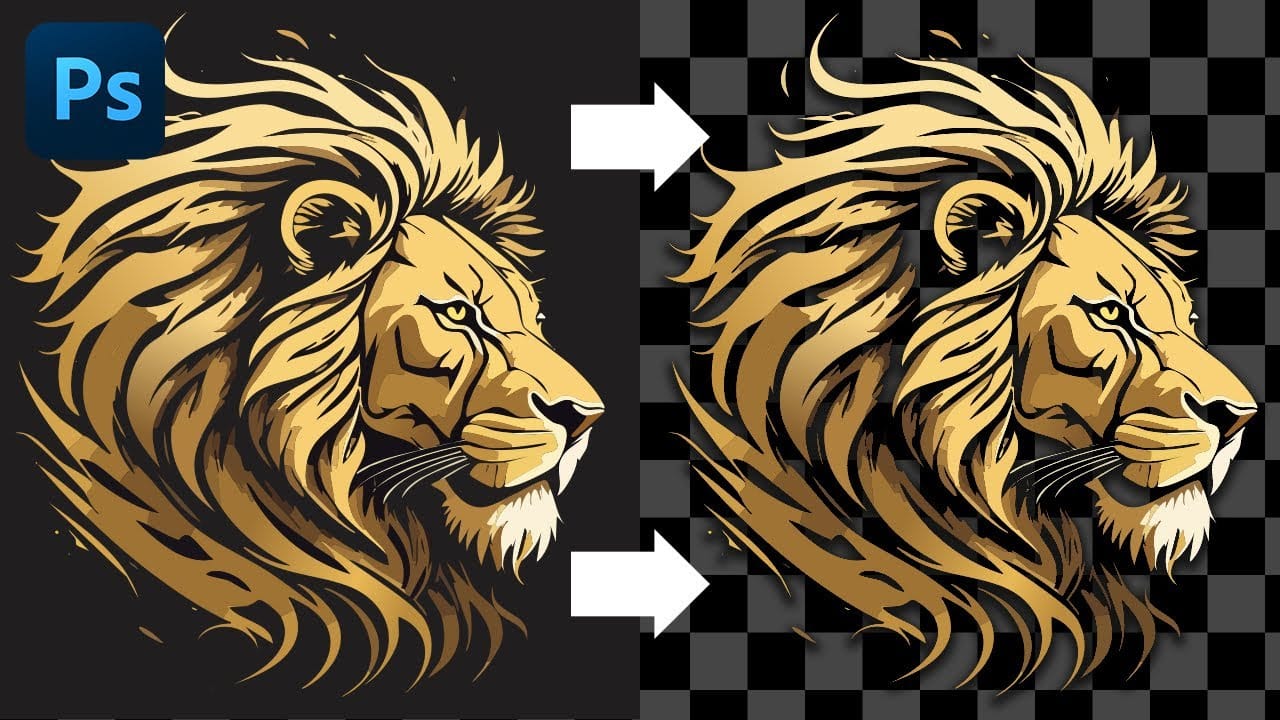
Cutting Out Complex AI Images Using Channel Masking in Photoshop
AI-generated images often contain intricate details that challenge standard background removal tools. When automatic selection methods fail to capture complex edges and fine details, manual techniques become essential.
This technique demonstrates how to use channel masking to create precise selections that preserve every detail of your AI artwork.
Watch the Tutorial
Essential Tips for Channel Masking
* Select the channel with the highest contrast between your subject and background before
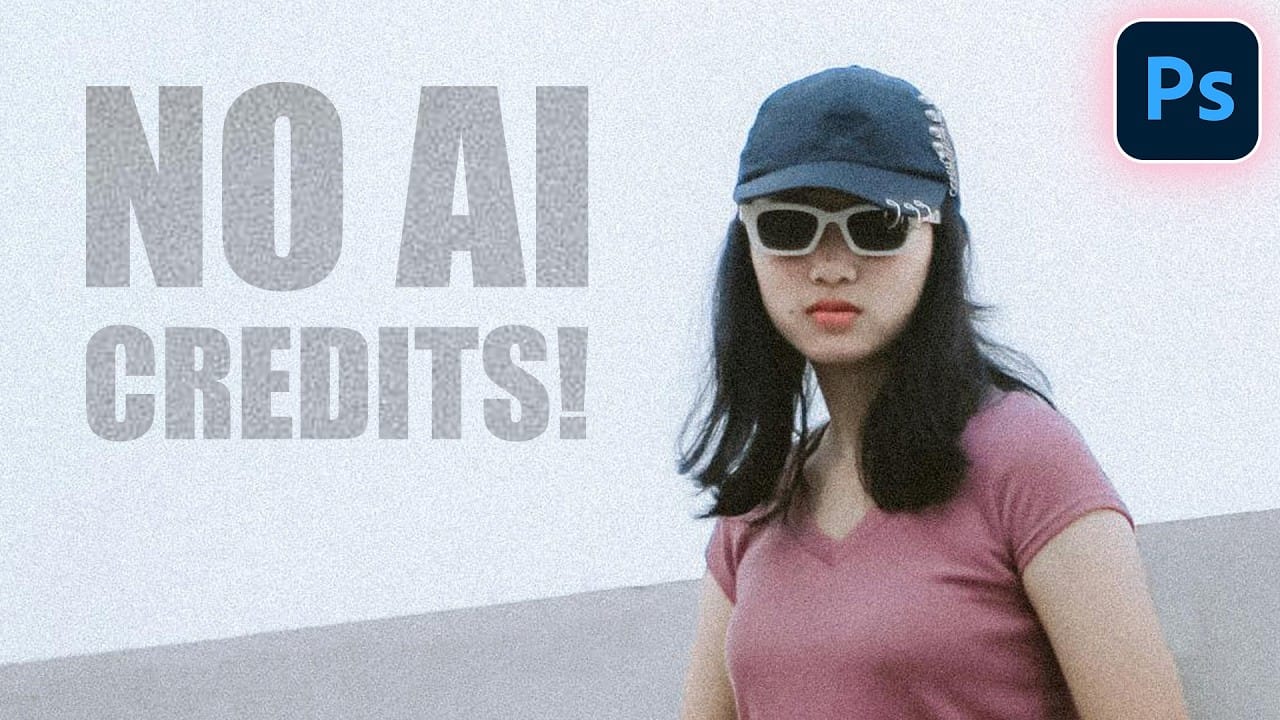
Photoshop Clone Stamp Tool: Remove Objects Without Using AI Credits
AI tools in Photoshop consume generative credits and may flag your images as artificially generated. The clone stamp tool offers a cost-free alternative for removing unwanted objects while maintaining complete control over your edits.
This traditional technique works perfectly for simple removals like cracks, blemishes, and small objects without requiring any AI assistance.
Watch the Video
Essential Clone Stamp Tips
* Create a new layer first - Never work directly on the background layer
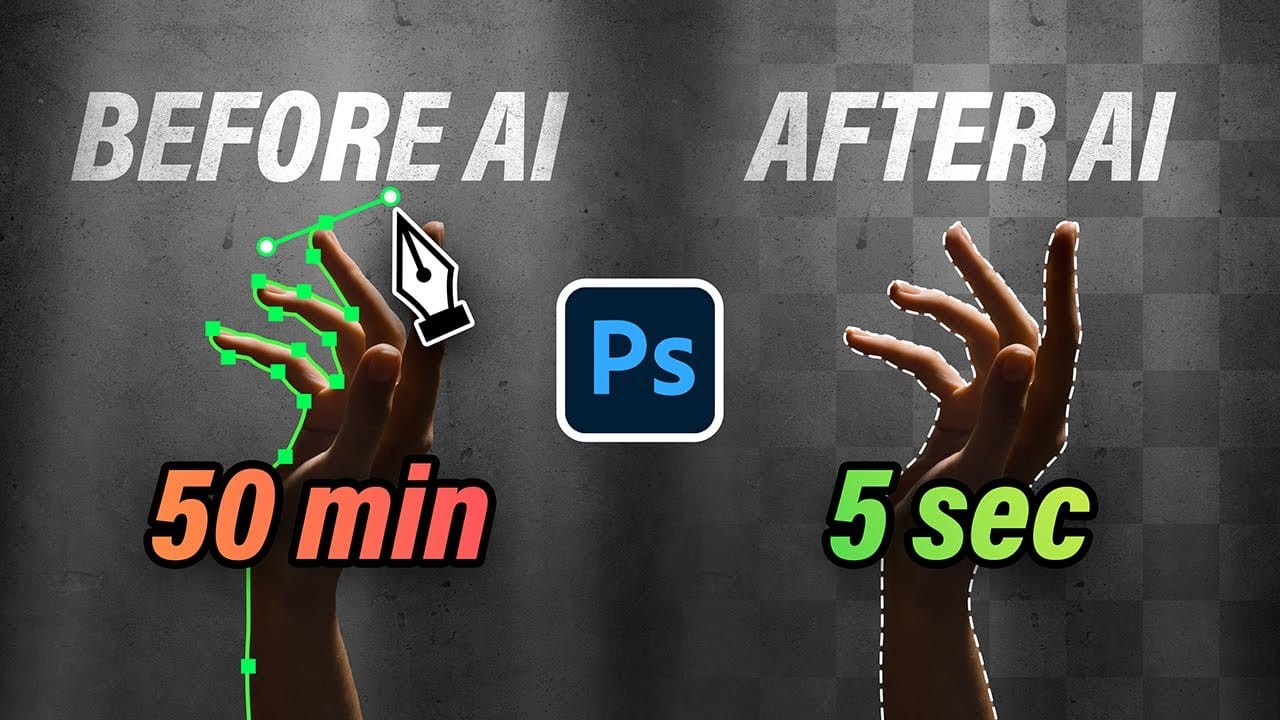
10 Ways AI Completely Transformed My Photoshop Techniques
Repetitive tasks like making complex selections, removing unwanted objects, and cleaning up blemishes can consume hours of an editor's time. While traditional Photoshop methods offer precise control, they are often slow and require significant technical skill for what should be simple fixes.
This guide demonstrates how to integrate modern AI features into your daily workflow. You will learn practical techniques for everything from one-click selections and generative fills to automated retouchin
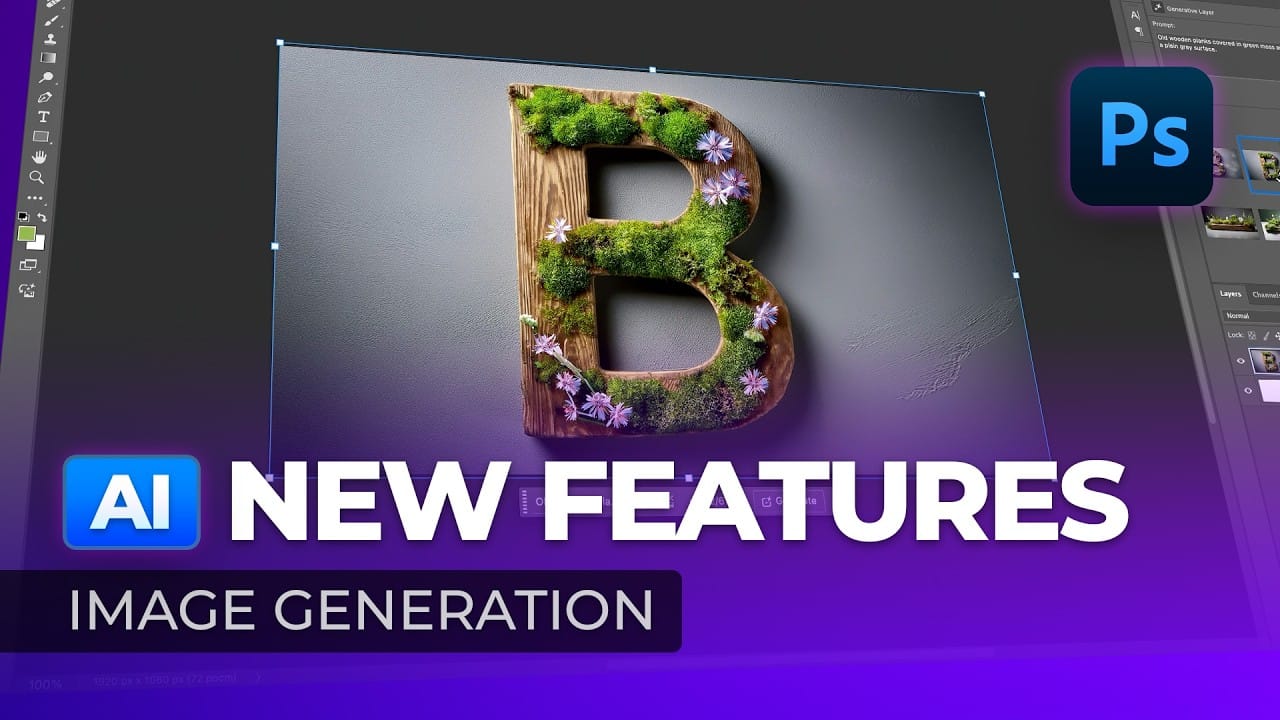
New Photoshop AI Features – Smarter, Faster, and More Efficient Tools!
Editing detailed selections, adjusting colors, and removing backgrounds in Photoshop can be tedious, especially when working with complex edges like hair or challenging objects. Manual work often stalls creative flow and makes it tough to achieve clean, professional results on tight deadlines.
This article introduces essential, time-saving features in the latest Photoshop update—including advanced AI-powered selection, color, and removal tools. Learn how these updates streamline everyday editin
How to Remove Reflections and Glare from Glasses in Photoshop Using AI
Eyeglass glare can ruin an otherwise perfect portrait, obscuring the subject's eyes with bright reflections. Photoshop's AI tools now offer powerful solutions for removing even the most stubborn reflections while preserving natural eye details.
This tutorial demonstrates proven techniques using multiple AI models and strategic masking to tackle any glare situation professionally.
Watch the Tutorial
Essential Tips for Removing Glare with AI
* Use the Rectangular Marquee Tool for selections
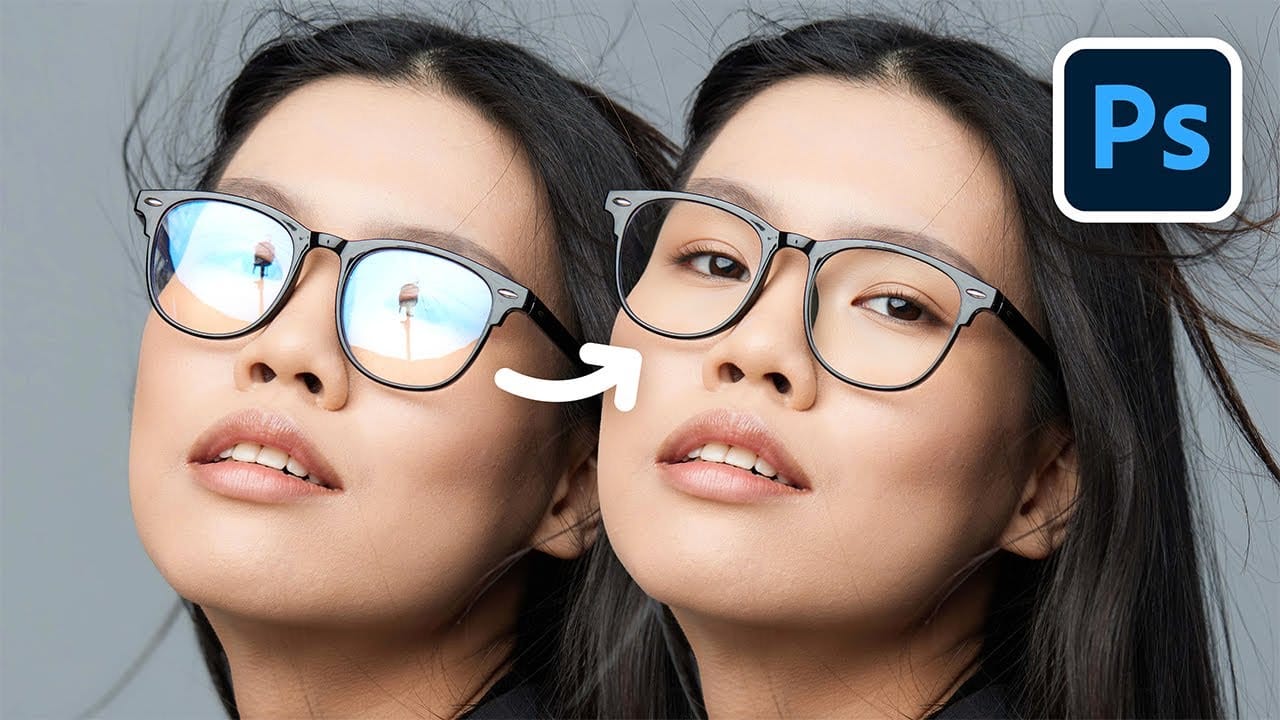
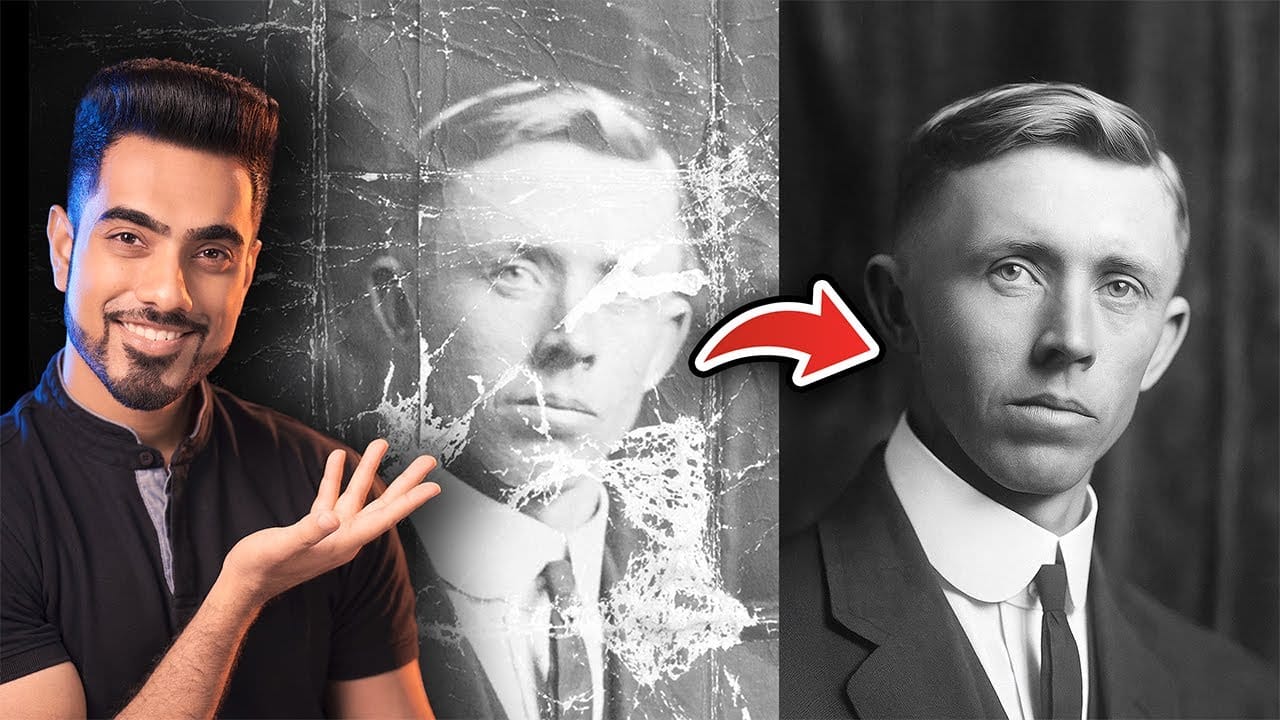
Photo Restoration: Combining AI with Photoshop for Optimal Results
Restoring old, damaged photographs can be a challenging endeavor. While many AI-powered tools promise to breathe new life into vintage images, they often fall short, either over-sharpening details, neglecting certain areas, or, most critically, altering the original likeness of individuals. This often leads to frustrating and uncanny results that strip the photos of their authentic charm.
This tutorial unveils a comprehensive workflow that marries the efficiency of AI-driven enhancement with th