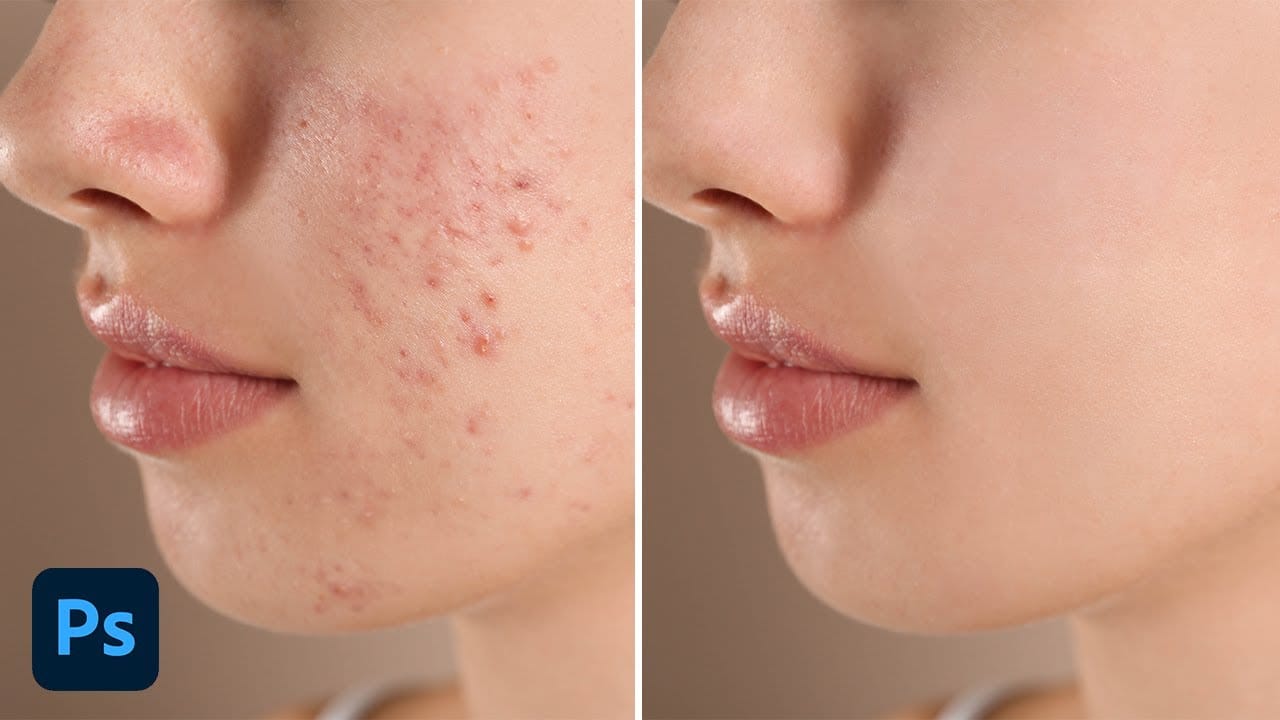
Acne removal in portraits requires a strategic approach that addresses both color and texture issues. The key to natural-looking results lies in handling the redness separately from the physical blemishes, preventing the flat, over-processed appearance that often results from direct spot removal.
This two-step method first neutralizes the red tones that make blemishes so prominent, then uses content-aware healing to seamlessly blend skin texture. The workflow maintains realistic skin variation while eliminating distracting imperfections.
Watch the Video
Practical Tips
Follow these essential techniques for professional acne removal results:
- Create a Hue/Saturation adjustment layer targeting only the red color range, then adjust the color slider to isolate problem areas before reducing saturation and shifting hue toward skin tones
- Use the Spot Healing Brush with Content-Aware mode on a new layer with "Sample All Layers" enabled to preserve your original image
- Match your brush size to each blemish - larger spots need bigger brushes, smaller imperfections need precise targeting
- Work in two passes: first remove distinct spots and pimples, then address blotchy areas and uneven skin texture
- Add subtle color variation back to the skin using a soft brush on Soft Light blend mode to maintain natural skin tones
Related Articles and Tutorials
Explore more skin retouching and blemish removal techniques to enhance your portrait editing skills.
How to easily remove acne and blemishes in Photoshop
In this Photoshop tutorial, Brendan Williams shares his straightforward three-step process for retouching skin and removing acne and blemishes. This guide is designed to be beginner-friendly, avoiding complex methods while still achieving professional results.
Brendan begins by introducing the healing brush tools. These tools are essential for removing acne and blemishes effectively. He explains how to use them properly to ensure a natural look, emphasizing the importance of maintaining skin te
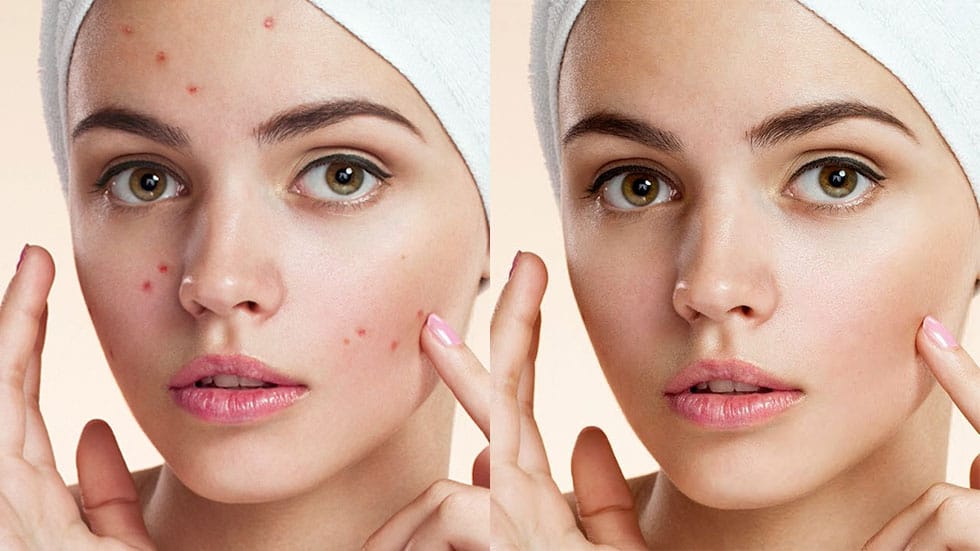
5 easy ways to clean blemishes and heal skin in Photoshop
Skin imperfections such as blemishes, acne, or scars can significantly impact the visual appeal of an otherwise excellent photograph. Achieving a polished, natural finish often becomes a challenging and frustrating task, as manual removal methods can easily lead to unnatural-looking results if not executed with precision and care.
This comprehensive tutorial delves into multiple Photoshop techniques specifically designed for effectively healing and removing skin blemishes. Viewers will learn va
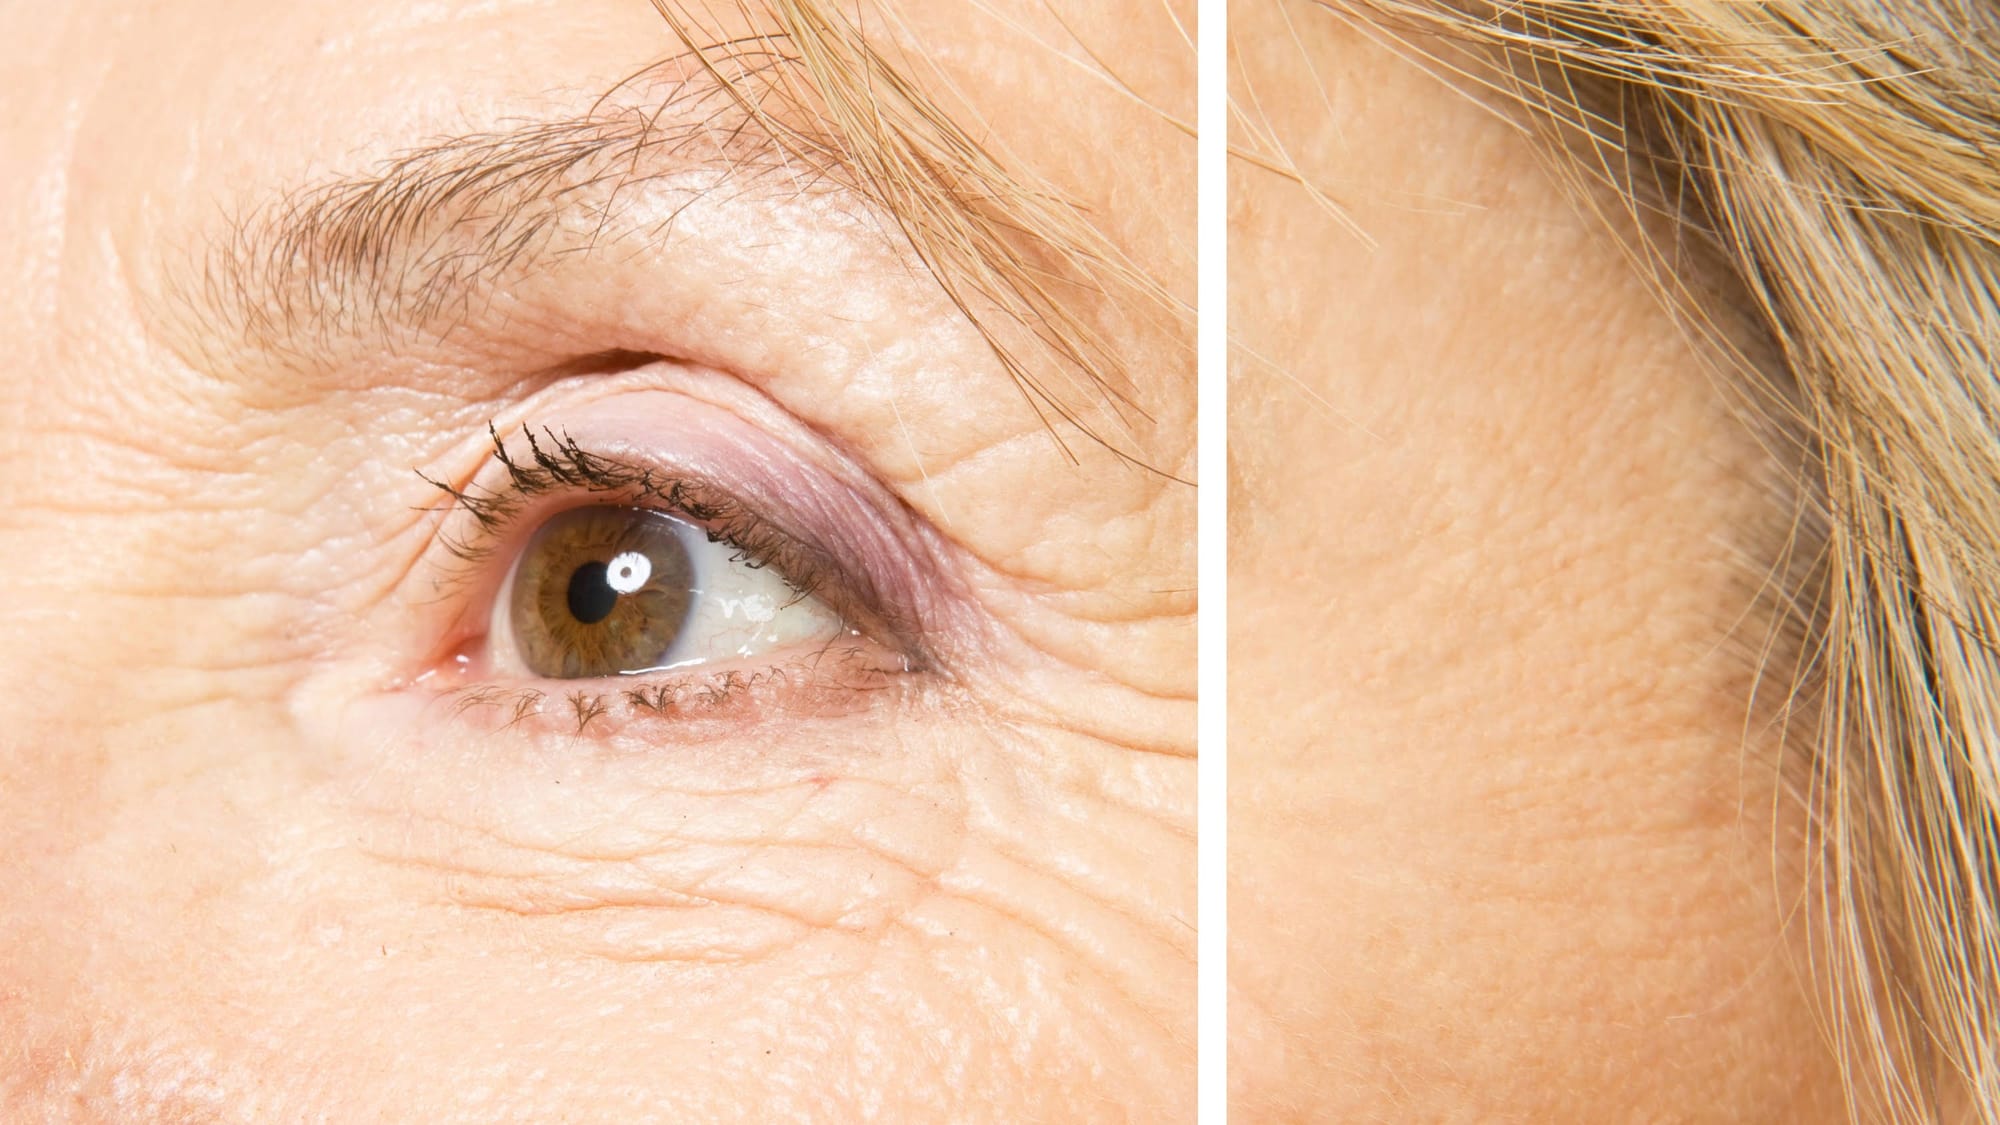
How to Remove Wrinkles in Photoshop
In this tutorial by Aaron Nace from Phlearn, learn how to remove or reduce wrinkles in Photoshop effectively.
For complete wrinkle removal, use the Healing Brush Tool with a brush size slightly larger than the wrinkle, sampling color just below it. For a more subtle approach, use the Clone Stamp tool on a duplicated background layer in "Lighten" mode to conceal wrinkles naturally.
These techniques ensure a balanced and realistic retouch, keeping the skin's natural texture intact. Perfect for e
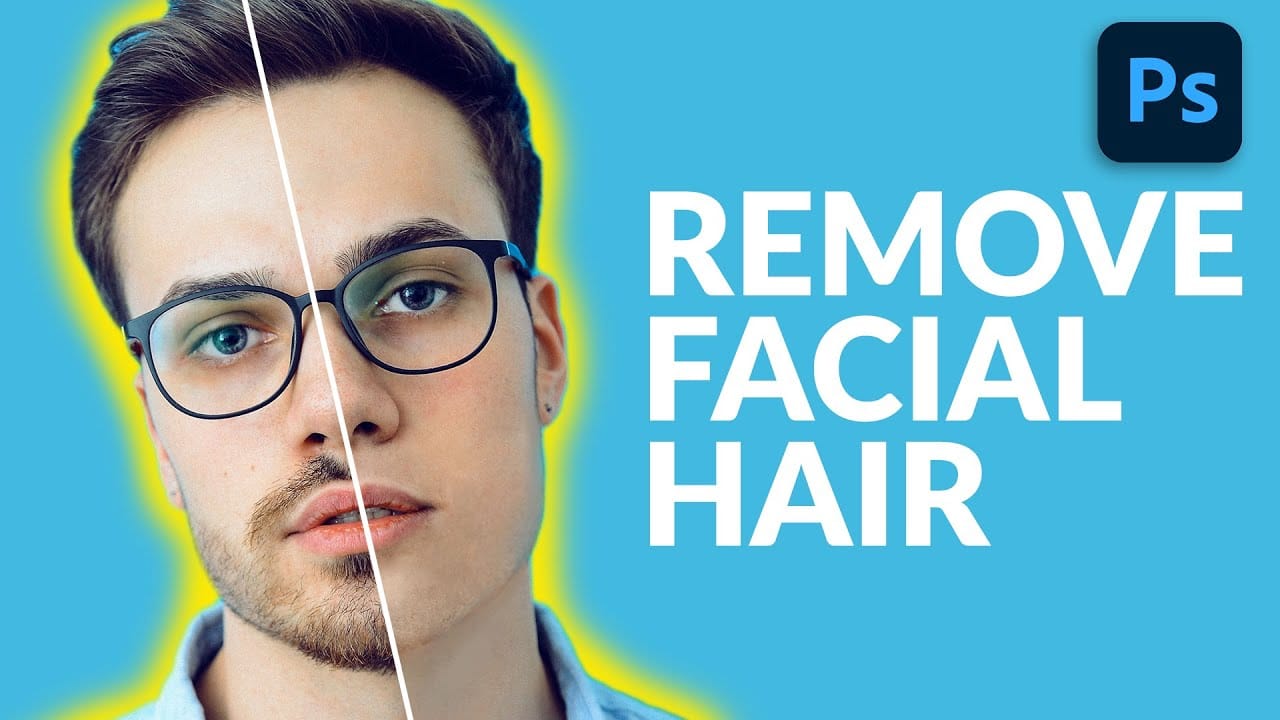
How to Remove Facial Hair in Photoshop
In today's tutorial, we will guide you through the process of effectively removing facial hair in Photoshop! Whether your subject has a prominent, full-on beard or merely a subtle 5 o'clock shadow, this lesson will equip you with the skills to paint away unwanted facial hair using the Brush Tool.
Additionally, you will learn how to recreate realistic skin texture by utilizing a second reference image, ensuring a natural look. We will also cover how to blend everything seamlessly together, emplo
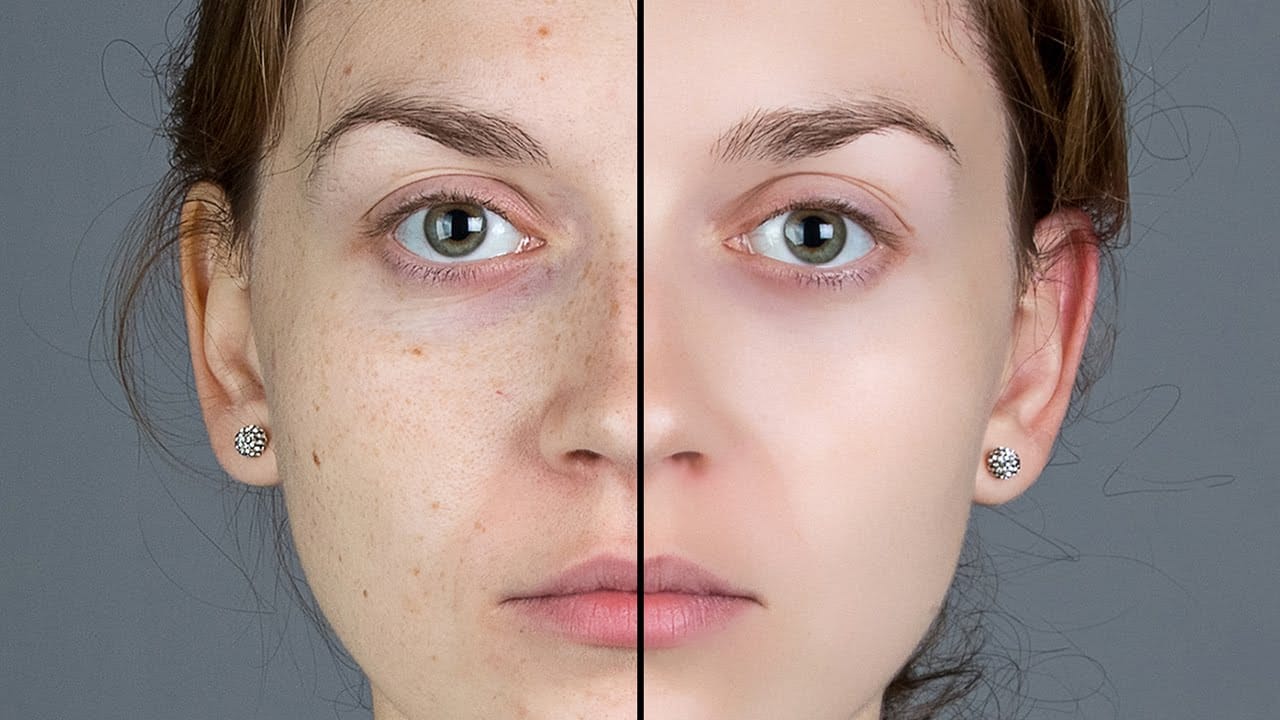
Smooth Skin and Remove Blemishes and Scars in Photoshop
Achieving flawless skin in portraits often requires careful retouching to enhance natural beauty without sacrificing detail. This tutorial demonstrates a reliable Photoshop workflow for refining skin texture and addressing common imperfections.
Viewers will discover how to efficiently smooth skin texture, eliminate blemishes and scars, and precisely restore important facial features like eyes and lips, ensuring a natural and polished outcome.
Watch the Tutorial
The Principles of Natural Ski
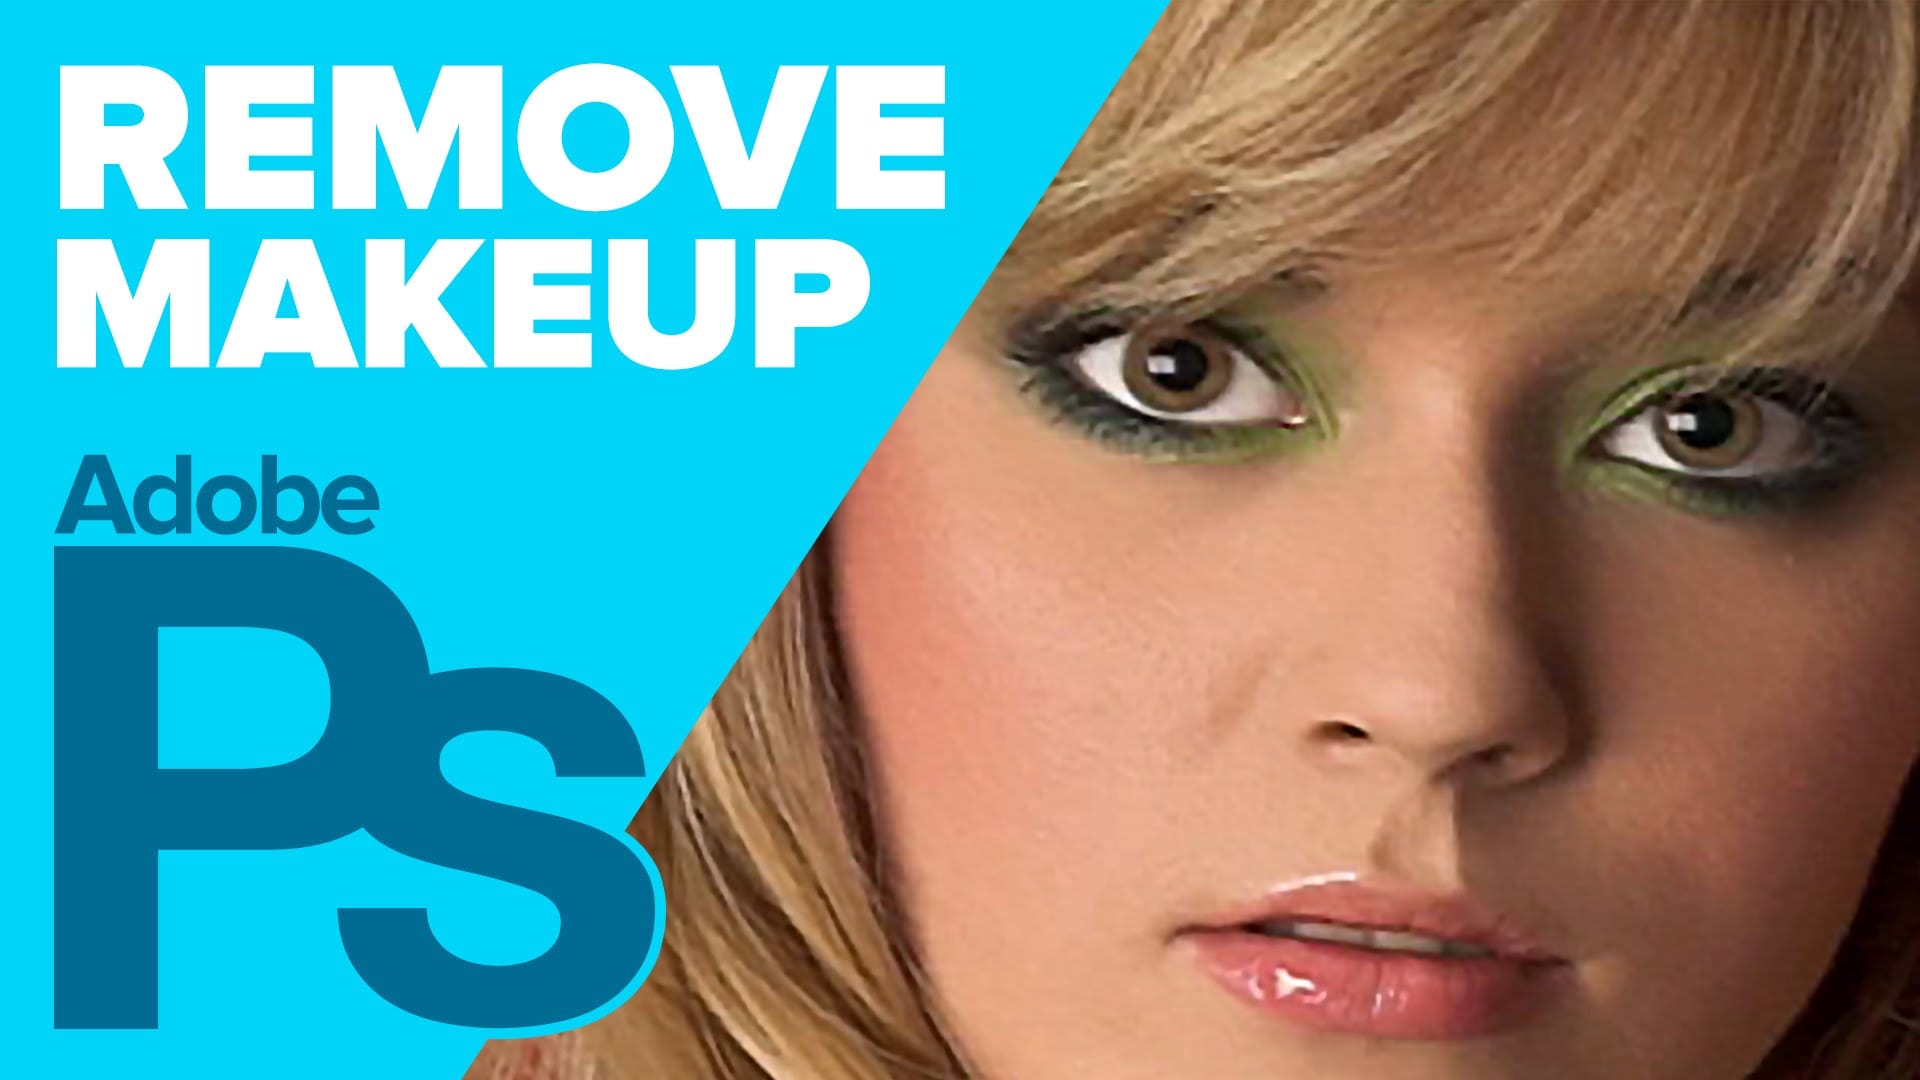
How to Remove Makeup in Photoshop
The author, Howard Pinksy, teaches how to remove makeup from a portrait photograph in this Photoshop tutorial. The tutorial guides the user through the process of removing makeup from a portrait image.
First, the user is shown how to select the areas of the face that have makeup. Then, they are instructed on how to use Photoshop's tools to erase the makeup and reveal the natural skin underneath. The tutorial also covers techniques for blending the edited areas seamlessly with the rest of the im
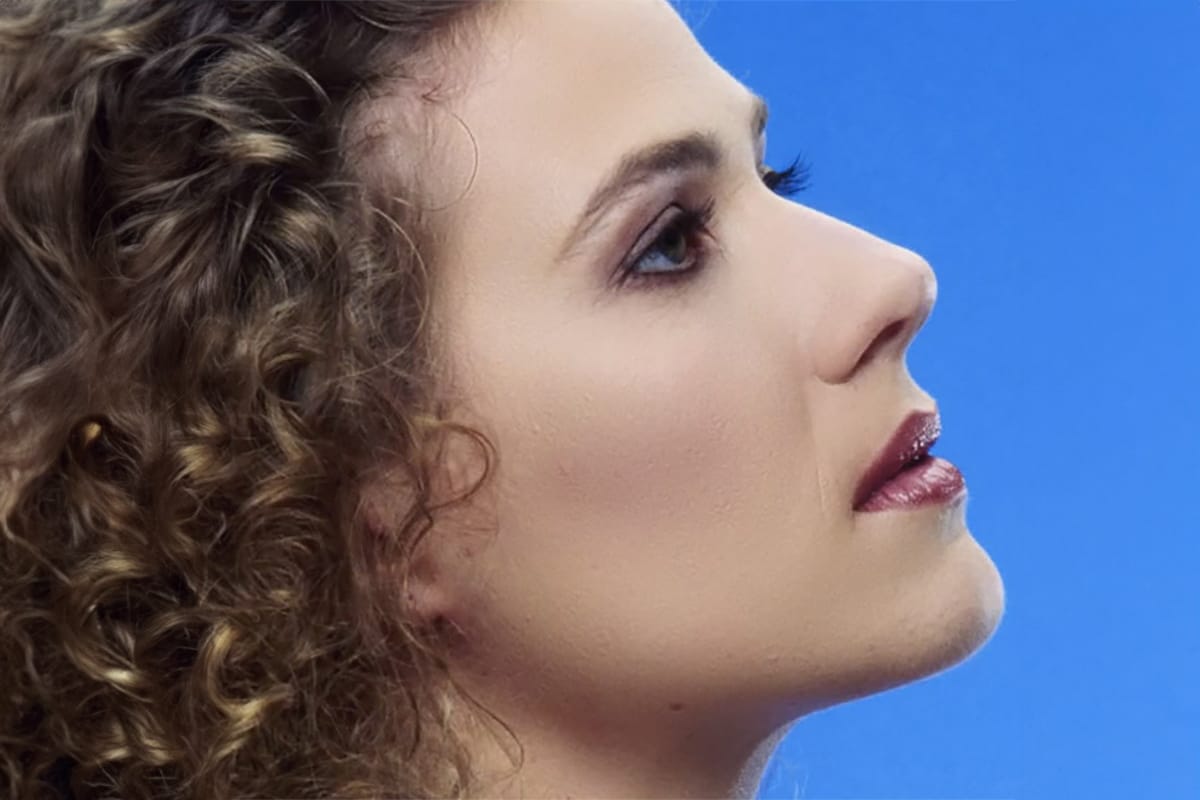
Natural Skin Smoothing in Photoshop
Professional beauty retouching demands techniques that smooth skin while preserving natural texture. This advanced method combines inverted layers with Vivid Light blend mode to create seamless skin enhancement without the artificial "plastic" look common in over-processed images.
The technique works by canceling out layer information through inversion, then selectively applying blur and sharpening filters to reconstruct realistic skin texture while eliminating blemishes and color irregularitie
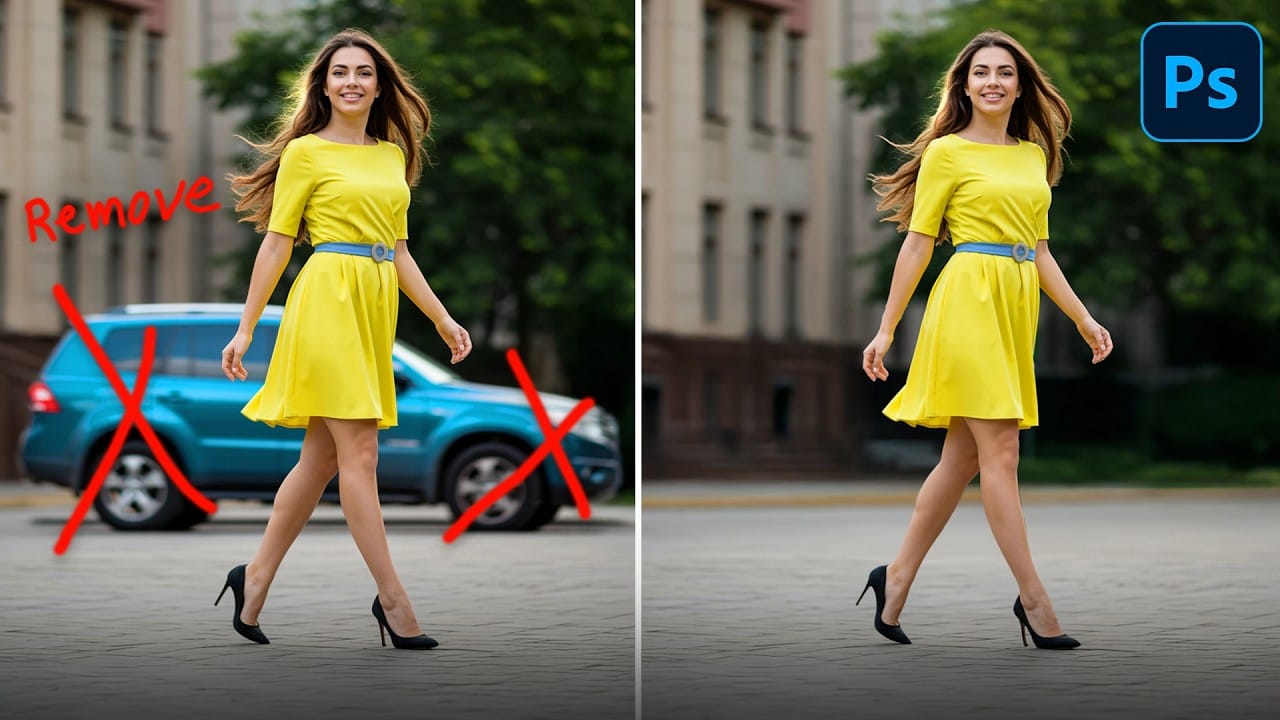
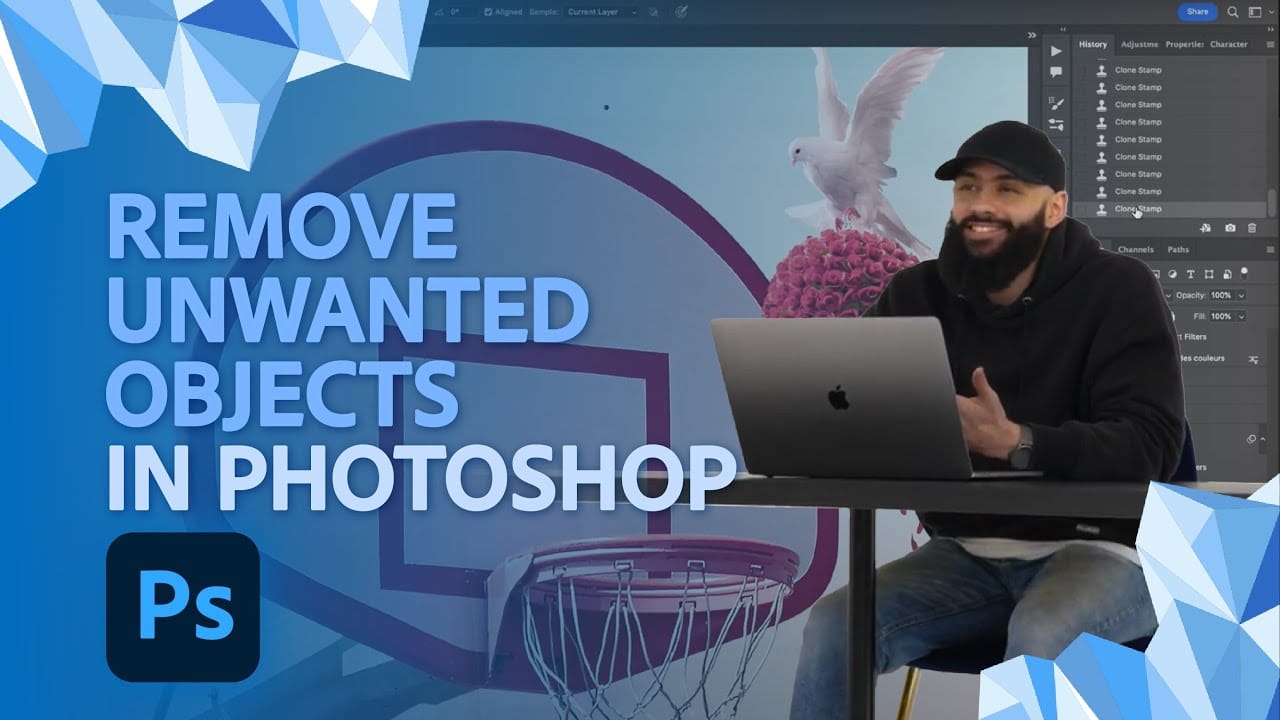
How to Remove Unwanted Objects in Different Ways in Photoshop
Do you have photographs with distracting elements that need removing? In this insightful Photoshop tutorial from artist Zak Eazy, viewers will learn several effective techniques for eliminating unwanted objects from their images. Whether it's removing superfluous signs, wires or passersby, Zak walks through practical use cases that showcase the Patch and Clone Stamp tools as well as Content-Aware Fill.
Through demonstration on real-world sample images, viewers will gain an understanding of when
How to Remove Objects from Photos Using Photoshop's Remove Tool and Clean Plate Technique
Professional photo editing often requires removing unwanted objects while maintaining natural-looking results. The challenge lies in creating seamless edges and realistic backgrounds, especially around complex subjects like hair or intricate details.
This tutorial demonstrates both basic object removal using Photoshop's Remove Tool and an advanced "clean plate" technique used in professional TV and movie poster production.
Watch the Tutorial
Essential Tips for Object Removal
* Create a ne