Removing tattoos from photos requires a systematic approach that preserves natural skin appearance. This technique combines automated tools with manual refinement to achieve realistic results that maintain proper skin tone and texture.
The process involves three essential steps: rough removal using healing tools, skin smoothing with brush techniques, and texture restoration to ensure the final image looks natural and convincing.
Watch the Video
Practical Tips
Follow these key techniques to achieve professional tattoo removal results:
- Use the Spot Healing Brush Tool set to Content Aware mode on a new layer for initial removal
- Work in small sections when painting over large tattoos for better tool performance
- Sample skin colors with Alt/Option key and paint with low flow (around 20%) for smooth blending
- Create skin texture using 50% gray layer with noise, blur, and emboss filters
- Apply texture selectively using black layer masks and white brush painting
Related Articles and Tutorials
Explore more techniques for removing and editing various elements in your photos.
How to Remove Tattoos Using AI in Photoshop
In this Photoshop tutorial Aaron Nace from Phlearn offers a clear and effective approach to blending graphics with portraits. You will learn how to use the Super Zoom feature, which allows you to upscale graphics while maintaining their resolution. This technique ensures that your designs remain sharp and clear.
Next, the tutorial introduces the use of Gradient Maps. This tool is essential for color matching, making your graphics seamlessly integrate with your portraits. You will appreciate how
Create a realistic tattoo out of any design in Photoshop
This tutorial by Aaron Nace from Phlearn, will show you how to transform any design into a realistic-looking tattoo using Photoshop. Aaron demonstrates various tools and techniques to achieve a natural and authentic appearance.
One key step is leveraging filters to introduce variation in the lines, which helps create a more realistic tattoo look. The Liquify Tool and Smudge Tool are also utilized to follow the contours of the body, ensuring a seamless integration of the design.
Furthermore, th

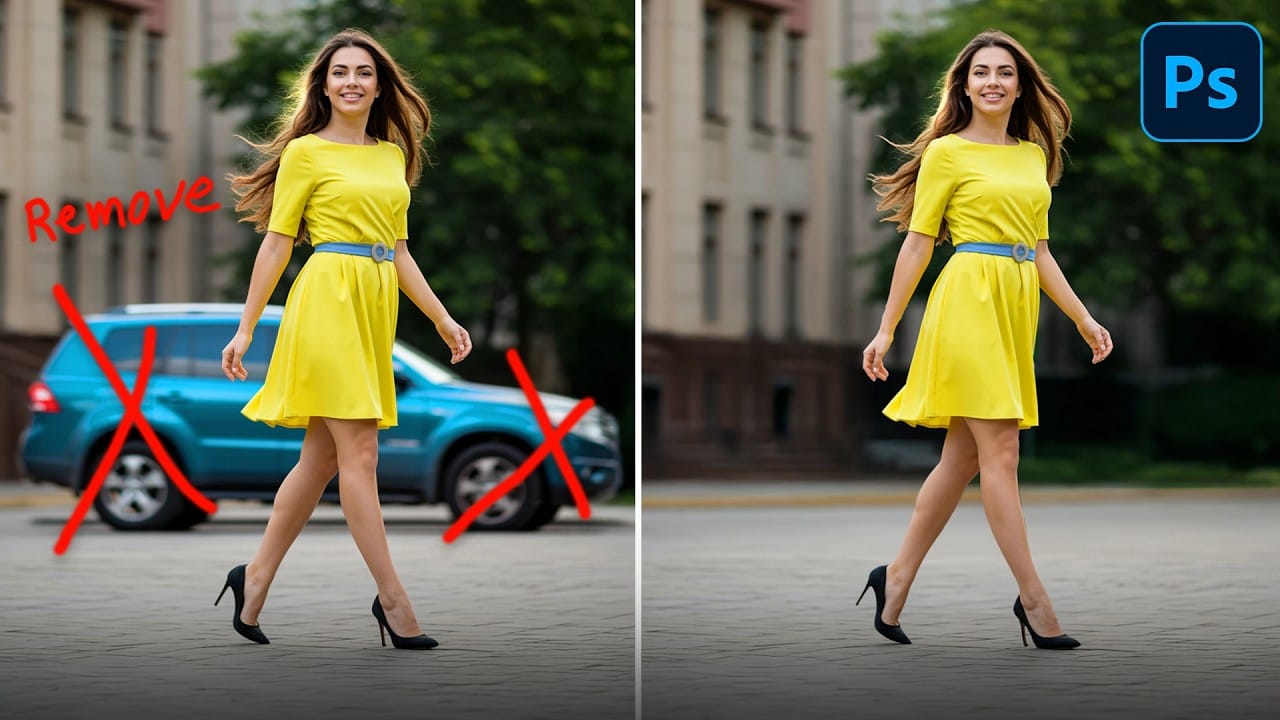
How to Remove Objects from Photos Using Photoshop's Remove Tool and Clean Plate Technique
Professional photo editing often requires removing unwanted objects while maintaining natural-looking results. The challenge lies in creating seamless edges and realistic backgrounds, especially around complex subjects like hair or intricate details.
This tutorial demonstrates both basic object removal using Photoshop's Remove Tool and an advanced "clean plate" technique used in professional TV and movie poster production.
Watch the Tutorial
Essential Tips for Object Removal
* Create a ne
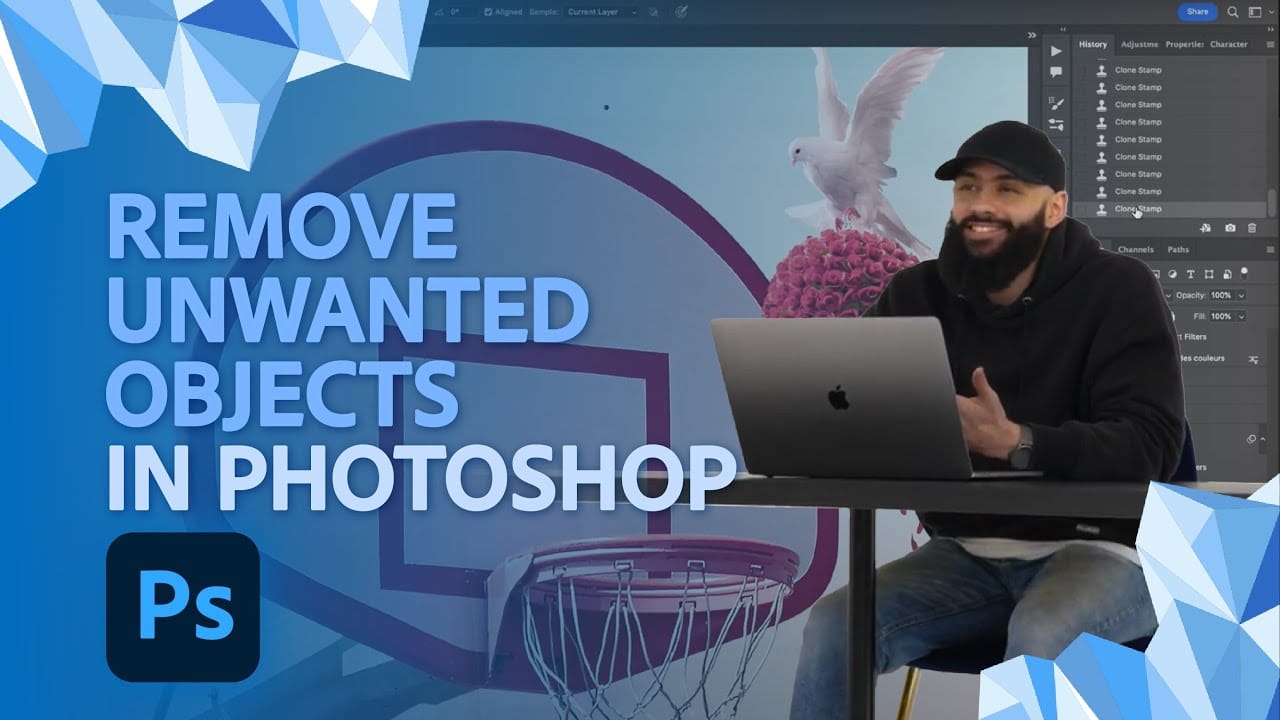
How to Remove Unwanted Objects in Different Ways in Photoshop
Do you have photographs with distracting elements that need removing? In this insightful Photoshop tutorial from artist Zak Eazy, viewers will learn several effective techniques for eliminating unwanted objects from their images. Whether it's removing superfluous signs, wires or passersby, Zak walks through practical use cases that showcase the Patch and Clone Stamp tools as well as Content-Aware Fill.
Through demonstration on real-world sample images, viewers will gain an understanding of when
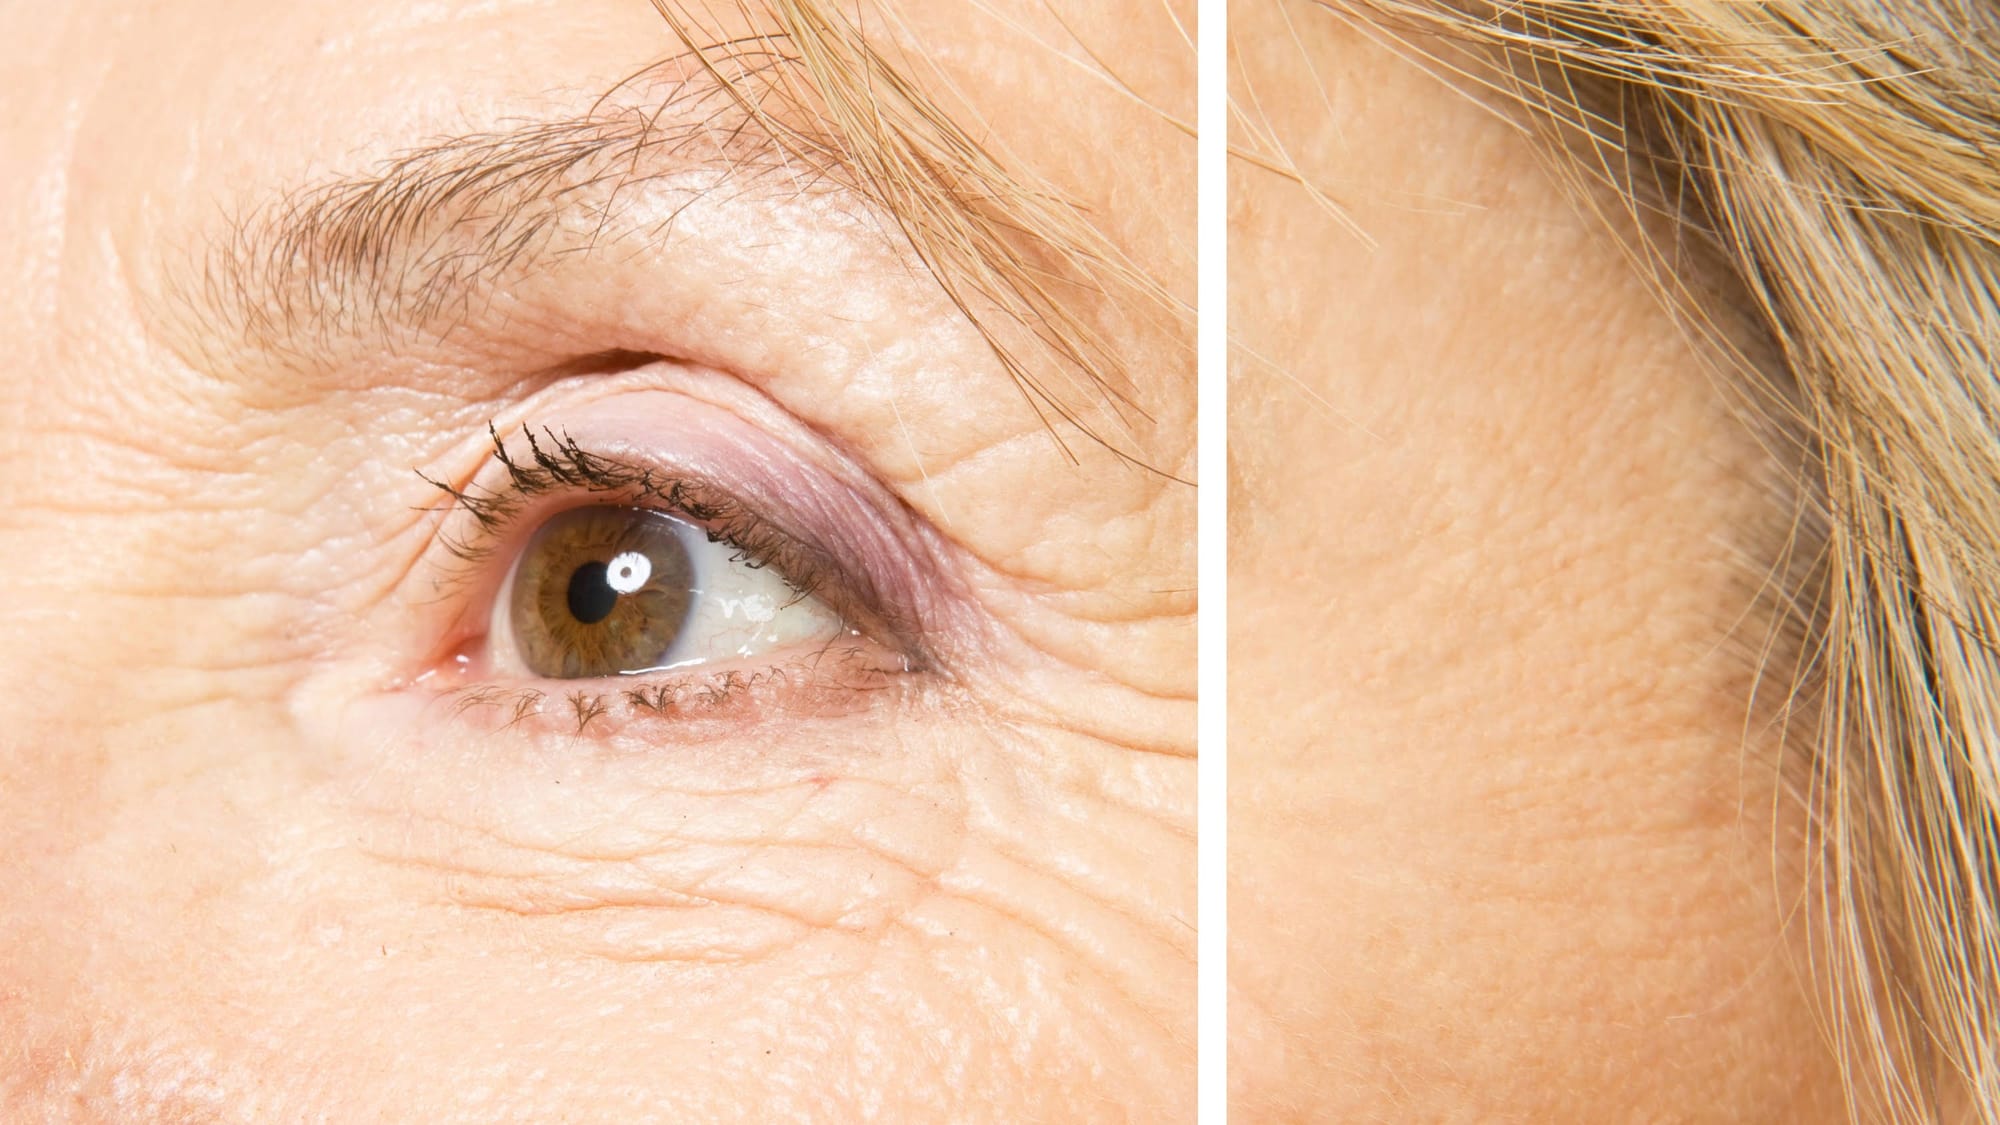
How to Remove Wrinkles in Photoshop
In this tutorial by Aaron Nace from Phlearn, learn how to remove or reduce wrinkles in Photoshop effectively.
For complete wrinkle removal, use the Healing Brush Tool with a brush size slightly larger than the wrinkle, sampling color just below it. For a more subtle approach, use the Clone Stamp tool on a duplicated background layer in "Lighten" mode to conceal wrinkles naturally.
These techniques ensure a balanced and realistic retouch, keeping the skin's natural texture intact. Perfect for e
How to Remove Acne in Photoshop
In this tutorial by Aaron Nace from Phlearn, learn how to effectively remove acne in Photoshop.
The process is divided into two steps: first, removing redness using Hue/Saturation to target specific red areas and make them look like normal skin tone. Second, removing blemishes with the Spot Healing Brush set to "Content Aware" and "Sample All Layers" to work non-destructively.
After clearing the blemishes, a bit of red is added back to the skin using a soft light blend mode for a natural look.

How to easily remove logos from clothing in Photoshop
The author, Aaron Nace from Phlearn, will show you how to easily remove logos from clothing in Photoshop. Clients often request the removal of logos, especially if they are from a competing brand. It is sometimes better to remove them completely, as logos can be distracting or unwanted in a photograph.
Removing a logo can be challenging, as it is typically placed over textures and patterns on the clothing. However, the tutorial explains that these textures and patterns can be replaced using var

How to Remove People From Photos in Photoshop: Easy and Advanced Methods
Removing unwanted elements from photographs, especially people, is a common task in digital image editing. Whether you're a professional photographer or an enthusiast, the ability to clean up a scene can transform an ordinary shot into a compelling visual, allowing the true subject or landscape to shine without distractions.
This video explores two distinct approaches to achieve this in Photoshop. Viewers will discover how to use the automated features for simpler scenarios involving crowds, an

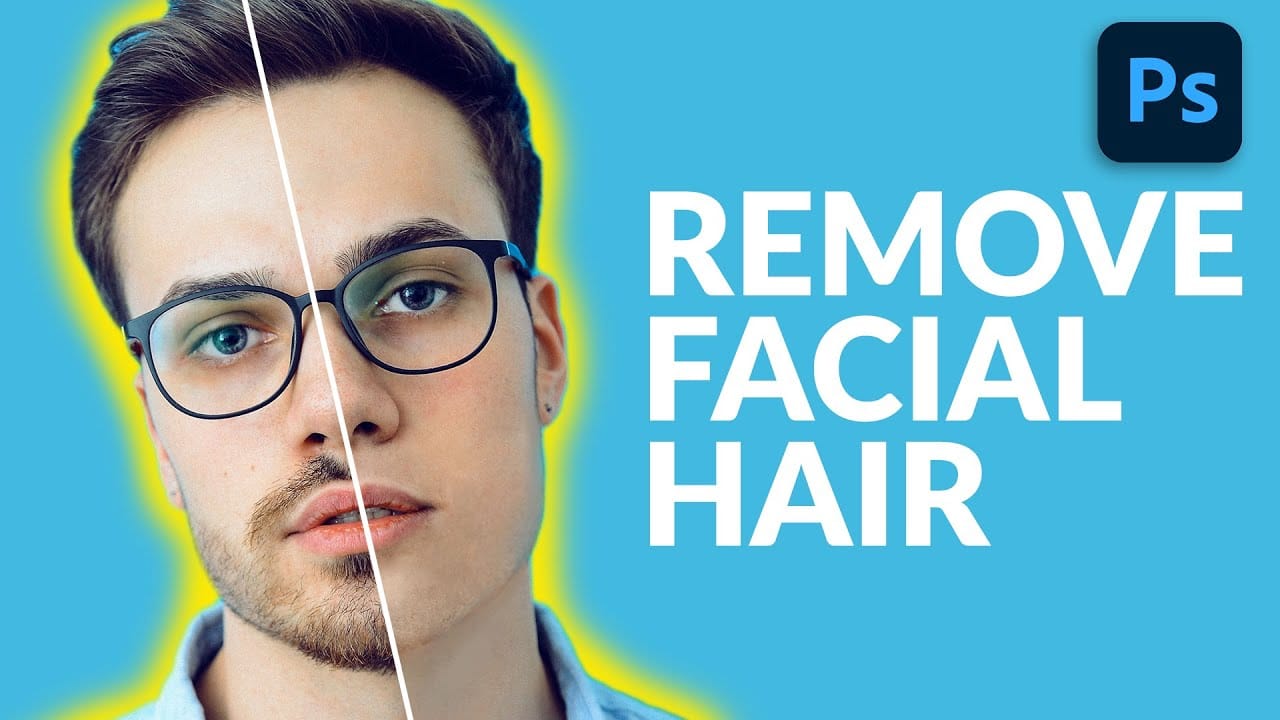
How to Remove Facial Hair in Photoshop
In today's tutorial, we will guide you through the process of effectively removing facial hair in Photoshop! Whether your subject has a prominent, full-on beard or merely a subtle 5 o'clock shadow, this lesson will equip you with the skills to paint away unwanted facial hair using the Brush Tool.
Additionally, you will learn how to recreate realistic skin texture by utilizing a second reference image, ensuring a natural look. We will also cover how to blend everything seamlessly together, emplo