A powerful Photoshop technique for creating intricate text effects involves setting a layer's fill to zero, which hides the content while preserving all layer styles. This method enables complex, multi-layered designs by stacking multiple text copies with different bevels, shadows, and patterns to build dimensional effects.
As demonstrated in tutorials like creating 1920s Jazz Age titles, this approach produces realistic depth while maintaining full editability and seamless visual integration.
Watch the Video
Video by Blue Lightning. Any links or downloads mentioned by the creator are available only on YouTube
Practical Tips for Vintage Text Design
- Use an Art Deco-style font, such as Herold Square, to capture the authentic 1920s aesthetic. This is foundational for the period look.
- Refine letter spacing using kerning (Alt/Option + Left Arrow) to ensure visually balanced and readable text. Proper kerning improves overall typography.
- Construct custom black bars with the Rectangular Marquee tool and fill for precise control over decorative elements, aligning them flush with your text.
- Leverage layer copies and adjust their Fill to 0% to showcase multiple unique layer styles simultaneously, building depth without duplicating content.
- Experiment with Bevel and Emboss settings like Chisel Hard and Smooth techniques, along with varying sizes and directions, to create distinct dimensional effects on different text layers.
More Tutorials about Period Text Effects
Delve deeper into creating unique historical and genre-specific text designs with these additional Photoshop tutorials.
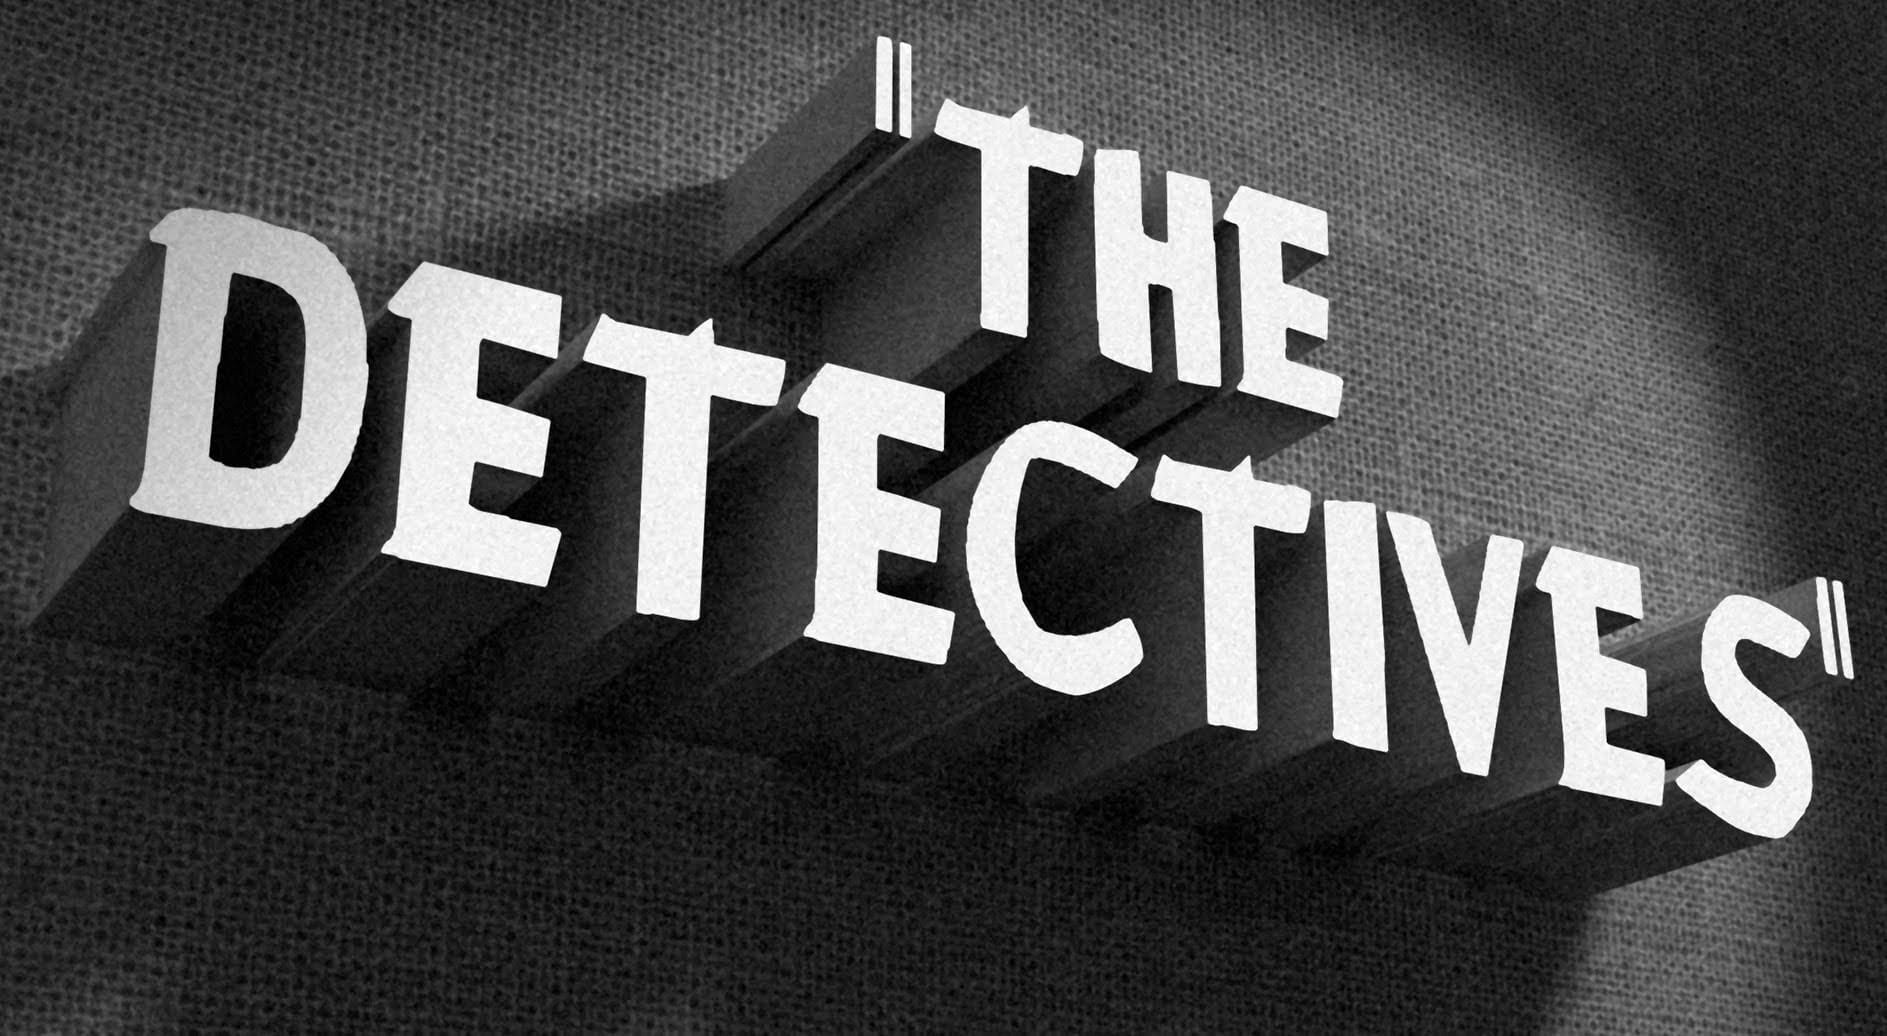
How to Create a Vintage, Film Noir Movie Title in Photoshop
In this Photoshop tutorial by BlueLightning TV, you'll learn how to design and create a film noir movie opening title card, reminiscent of crime dramas from the 1940s and 1950s.
The tutorial guides you through the process step-by-step, demonstrating techniques to achieve the classic film noir aesthetic using typography, textures, and atmospheric effects in Photoshop.
Whether you're a fan of vintage cinema or looking to create a nostalgic title card for a project, this tutorial provides the ski
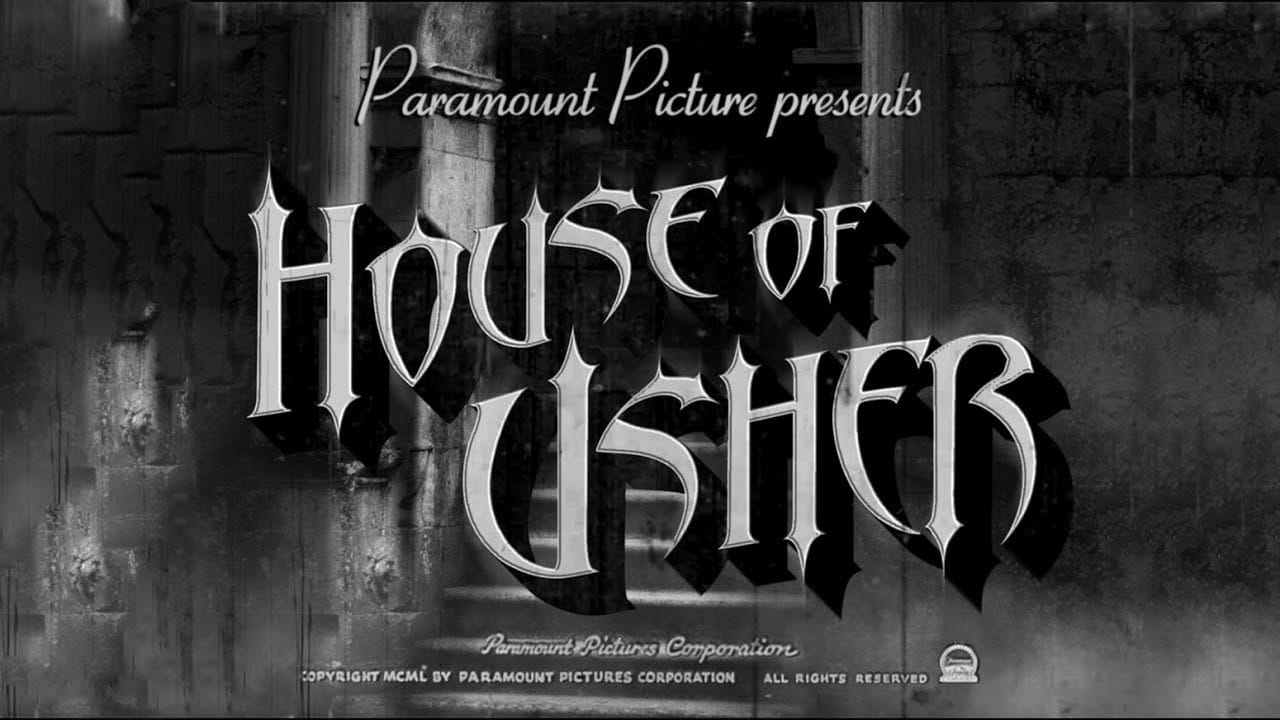
Create a Classic 1940s Horror Movie Title Design in Photoshop
This tutorial focuses on creating a classic 1940s black and white Hollywood horror movie title design. It takes you through the steps needed to achieve a vintage look, perfect for fans of that eerie cinematic style.
You will learn how to manipulate various Photoshop tools to form the text and effects reminiscent of those classic films. The combination of shadows, lighting, and textures plays a crucial role in achieving an authentic appearance. The background features a creepy dungeon setting, a
Create a vintage creased pulp fiction magazine cover in Photoshop
Explore how to create a vintage creased pulp fiction magazine cover in Photoshop with this engaging tutorial by Marty Geller from BlueLightningTV. This guide will provide a step-by-step process to help you transform your digital creations into retro masterpieces reminiscent of the classic 1940s and 1950s pulp fiction magazines.
You'll learn how to achieve an authentic vintage look by incorporating layers, textures, and color adjustments. The tutorial covers techniques to mimic the worn, creased
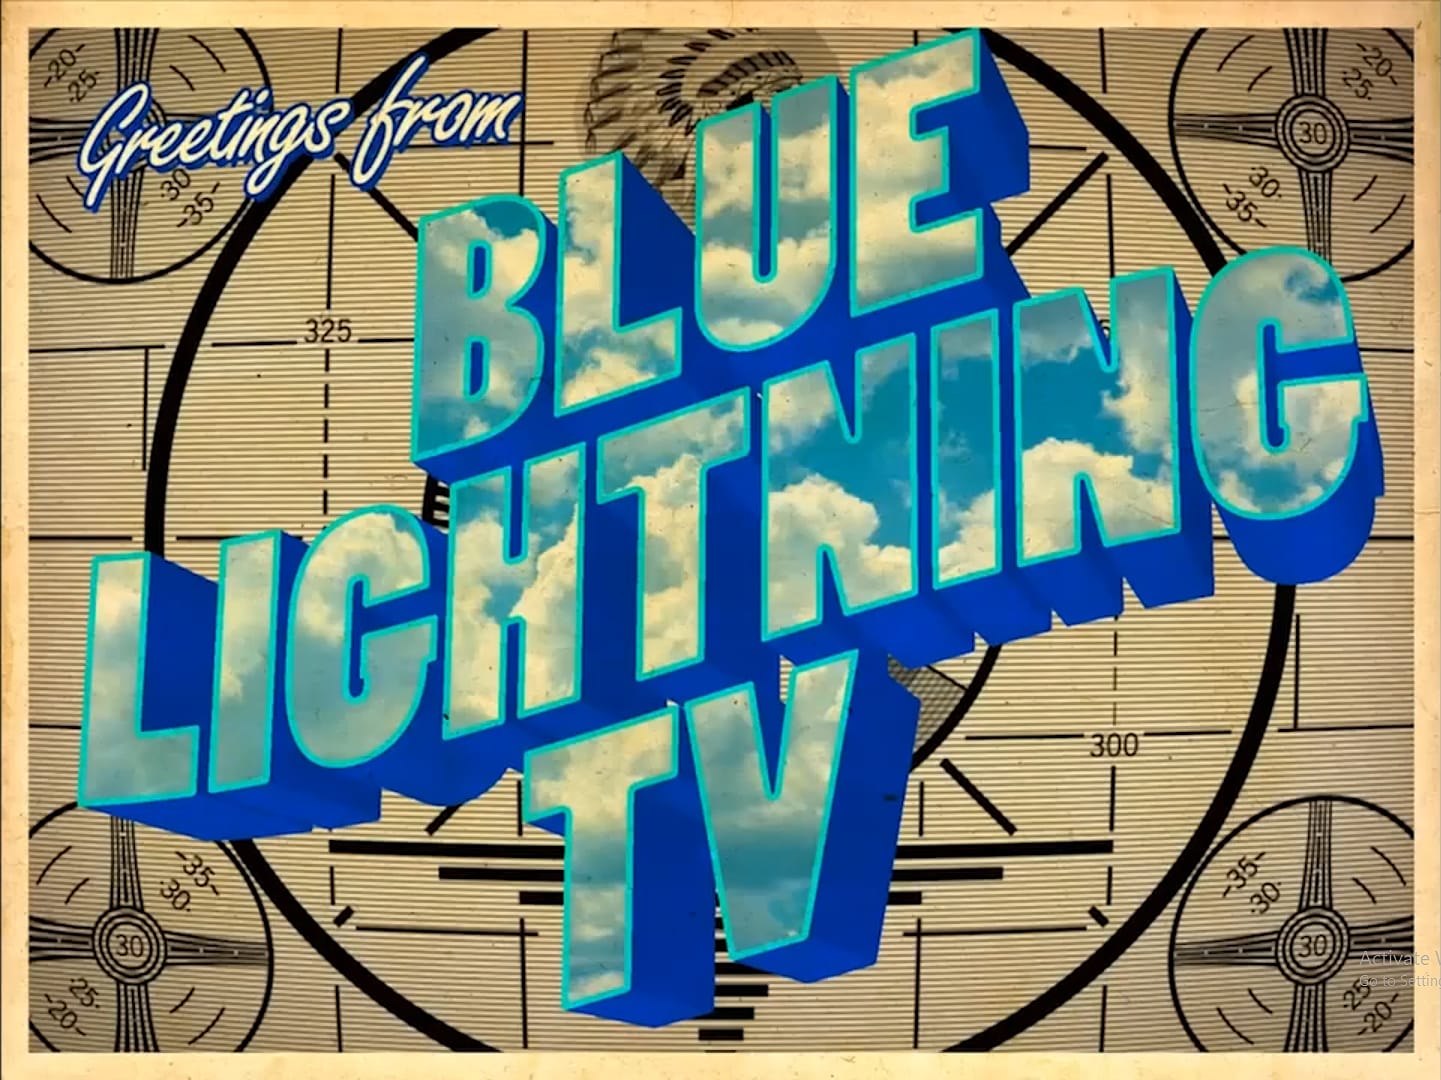
How to Create a Vintage Postcard in Photoshop
In this tutorial, Marty Geller from Blue Lightning TV demonstrates how to design a vibrant, retro-style postcard reminiscent of 1950s travel postcards.
Using the Blue Lightning TV logo as an example, Marty shows how to create large, colorful, extruded text filled with images—in this case, a cloudy sky—against a nostalgic, vintage background. This tutorial highlights techniques to replace the name and background with your own choices, allowing you to customize your design while maintaining a cla