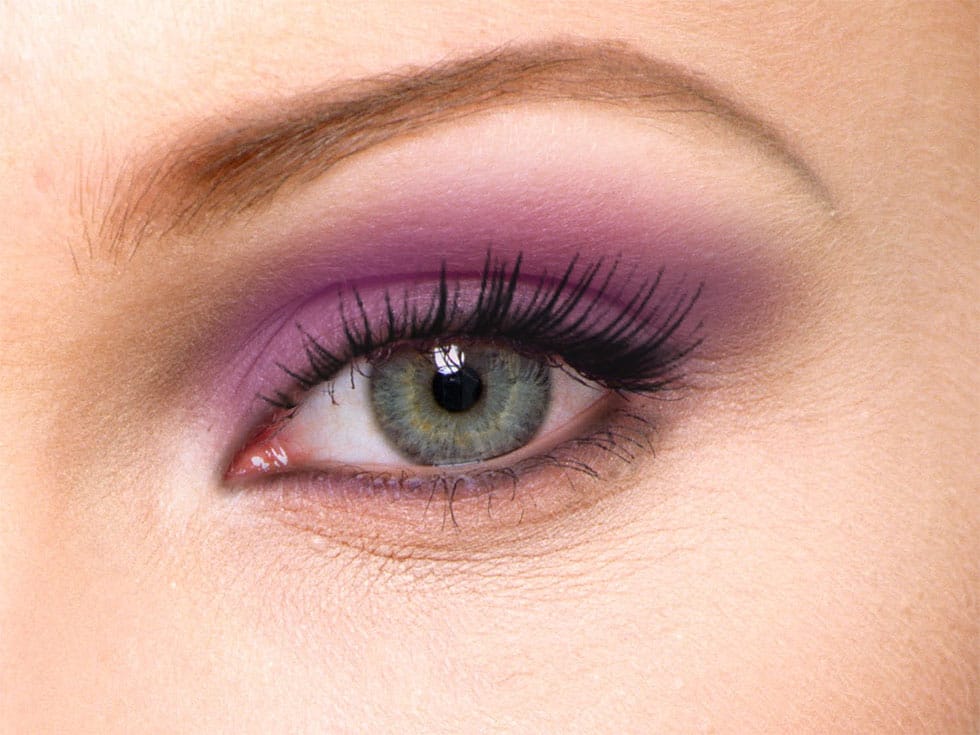
Portrait enhancement often starts with the eyes, which naturally draw viewers' attention. A combination of selective brightening, targeted color enhancement, and precise sharpening transforms ordinary eyes into captivating focal points that elevate the entire portrait.
This technique uses adjustment layers with masks to control exactly where effects are applied, ensuring natural-looking results while maintaining complete editing flexibility throughout the process.
Watch the Video
Practical Tips
These essential techniques ensure realistic eye enhancement that complements natural lighting patterns:
- Focus brightening on the bottom-right area of the iris where light naturally exits, avoiding the outer edges for realistic results
- Use Overlay blend mode for vibrant color effects and Soft Light for more subtle color enhancement when adding new tones
- Always invert adjustment layer masks to black first, then paint white only where you want the effect to appear
- Apply sharpening using the Apply Image technique with Unsharp Mask, then mask it to affect only the eye areas
- Double-click on color fill layers to change colors at any time without redoing your mask work
Related Articles and Tutorials
Explore more advanced eye editing techniques and portrait enhancement methods:
How to Color, Brighten and Sharpen Eyes in Photoshop
In this tutorial by Aaron Nace from Phlearn, learn how to enhance eyes in Photoshop to make them captivating and sharp.
Techniques include coloring the eyes by sampling natural hues and adjusting lightness and saturation, using blending modes like "Soft Light" or "Overlay" for a natural look, and softening edges with Gaussian Blur. Dodge and Burn techniques are used to enhance depth and light in the pupils, while selective sharpening draws attention to the eyes, making them stand out in portrai
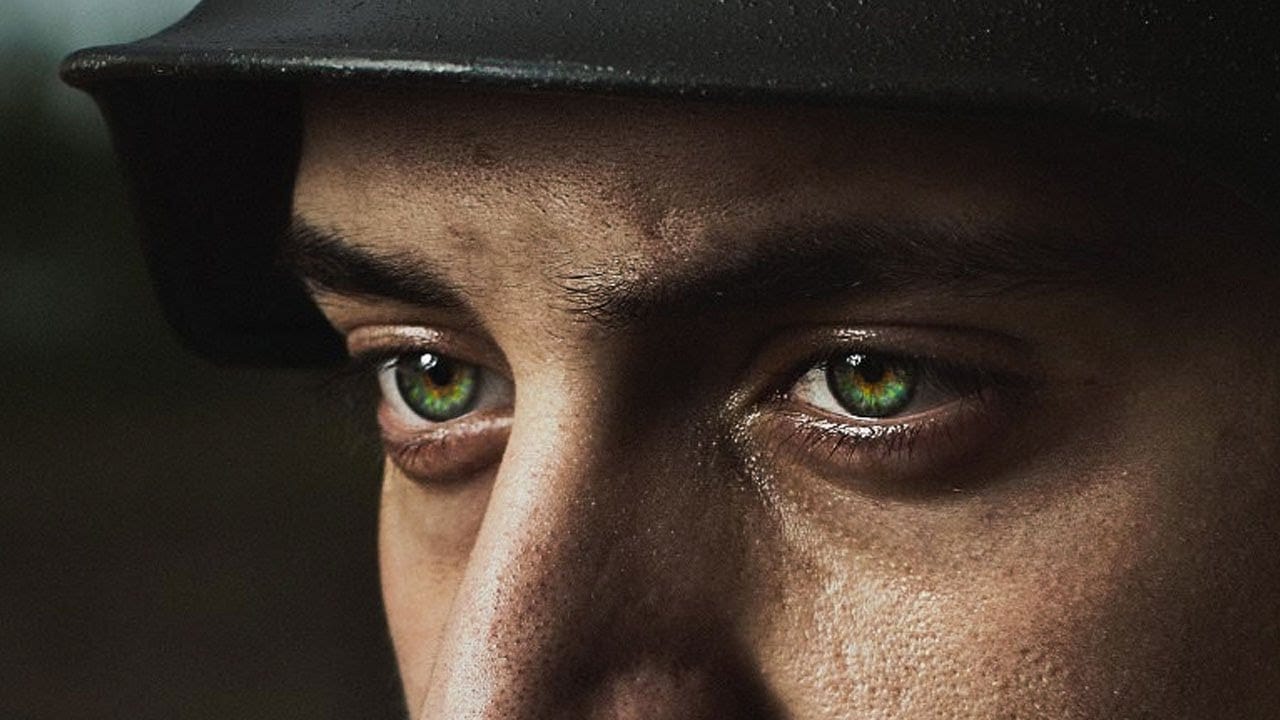
How to Enhance Dark Eyes in Photoshop Using Traditional and AI Techniques
Portrait photographers often face the challenge of completely dark, featureless eyes that resist traditional brightening techniques. When standard exposure adjustments fail to reveal detail, specialized methods can restore life and interest to these challenging areas.
This tutorial demonstrates two powerful approaches: a traditional texture-building technique using Photoshop's classic tools, and a modern AI-powered method that generates realistic iris patterns.
Watch the Tutorial
Essential
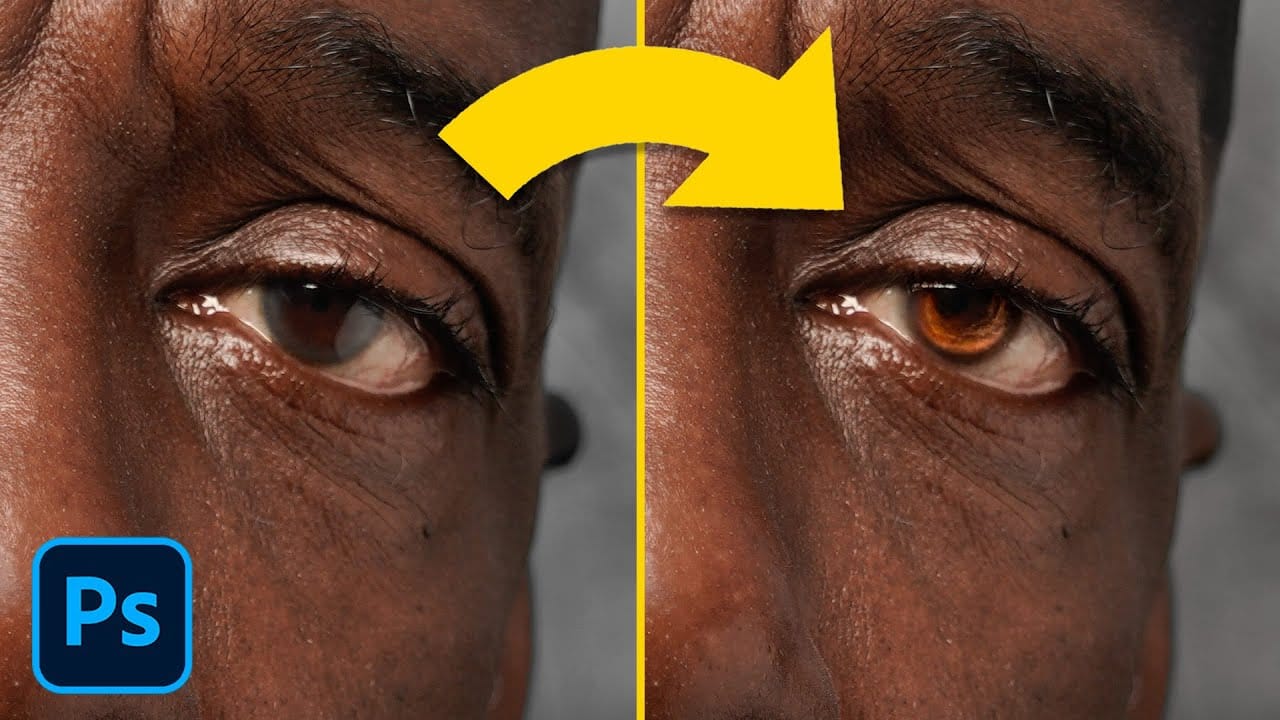
Make Eyes Dramatic in 30 Seconds with Photoshop
In this tutorial, PiXimperfect reveals a fast and effective technique to make eyes more dramatic and engaging in just 30 seconds using Photoshop. The focus is on enhancing the eyes by adding shine and depth, which can significantly elevate the overall impact of a portrait. The method involves using blend modes in combination with simple selections to introduce eye-catching highlights and contrasts.
The tutorial starts by demonstrating how to select the eye areas accurately, ensuring that the ad
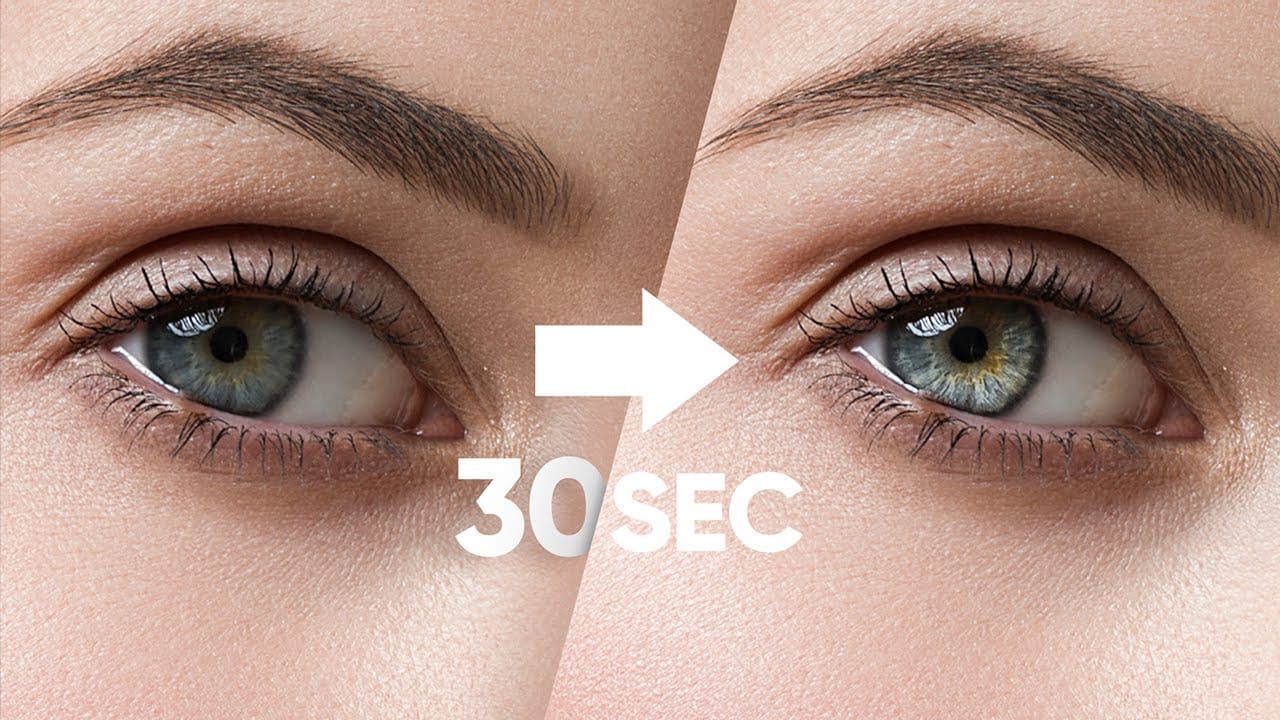
How to edit eyes in Photoshop
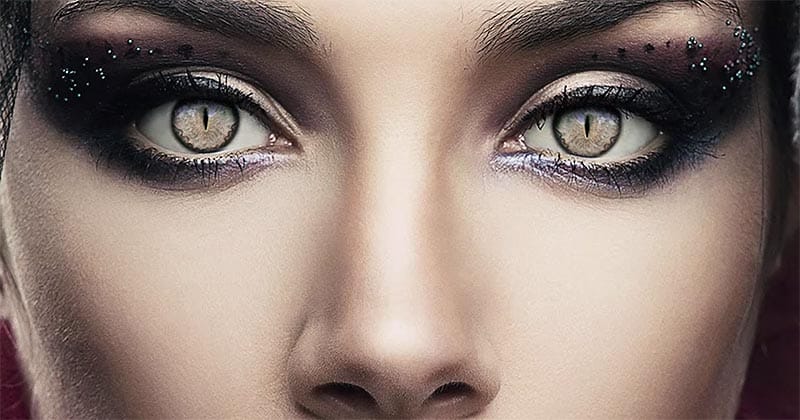
In this Photoshop tutorial by PSD Box, viewers learn how to creatively alter and enhance eye appearance in portraits.
The tutorial begins by introducing a photo of a woman and a cat's eye, demonstrating how to replace the woman's eyes with those of the cat using adjustment layers. Key adjustments include Hue/Saturation and Curves layers to modify eye color, contrast, and overall look. Techniques like layer masking ensure smooth integration of the cat's eyes onto the woman's face, while addition
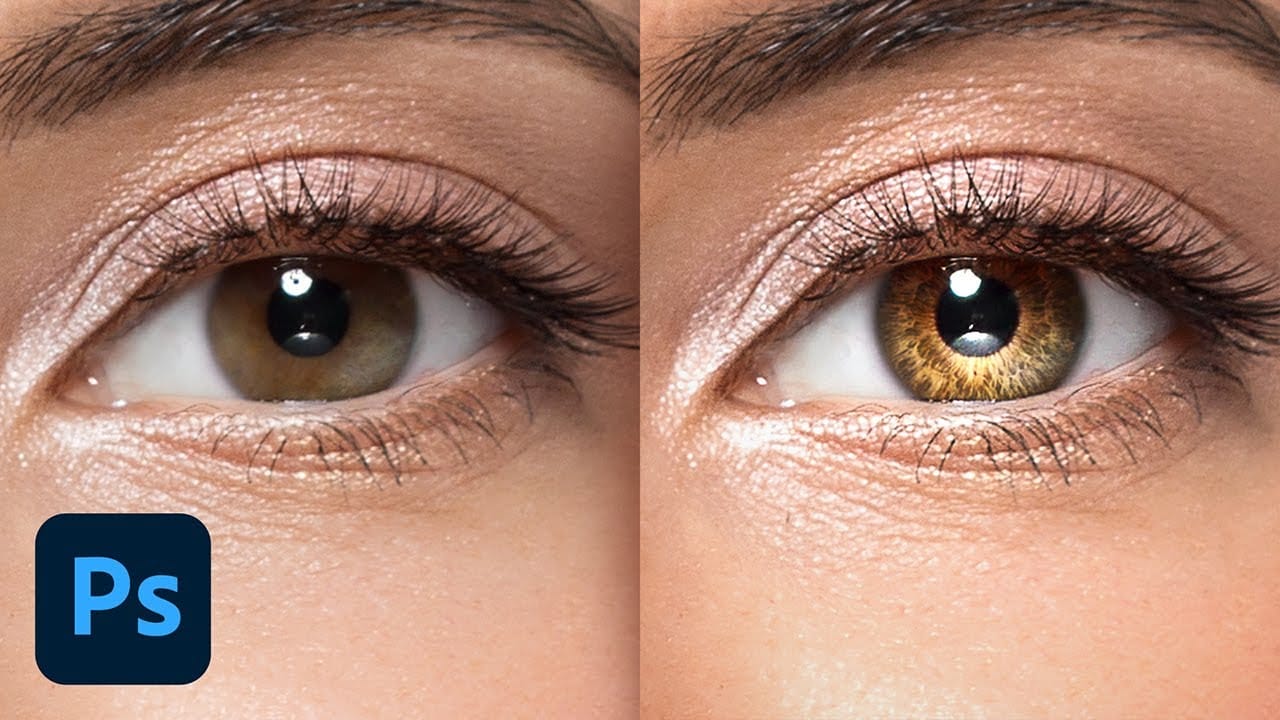
Create Insane Details in the Eyes with Photoshop
In this tutorial from PiXimperfect, you will learn how to add remarkable details to eyes in Photoshop. The process begins with the use of an iris brush that allows you to create intricate highlights and shadows, enhancing the eyes' natural beauty.
As you progress, you'll discover how to incorporate shine with a kicker light, making the eyes stand out and appear more engaging. This step is crucial for adding depth and dimension, pulling viewers' attention directly to the eyes.Finally, the tutori
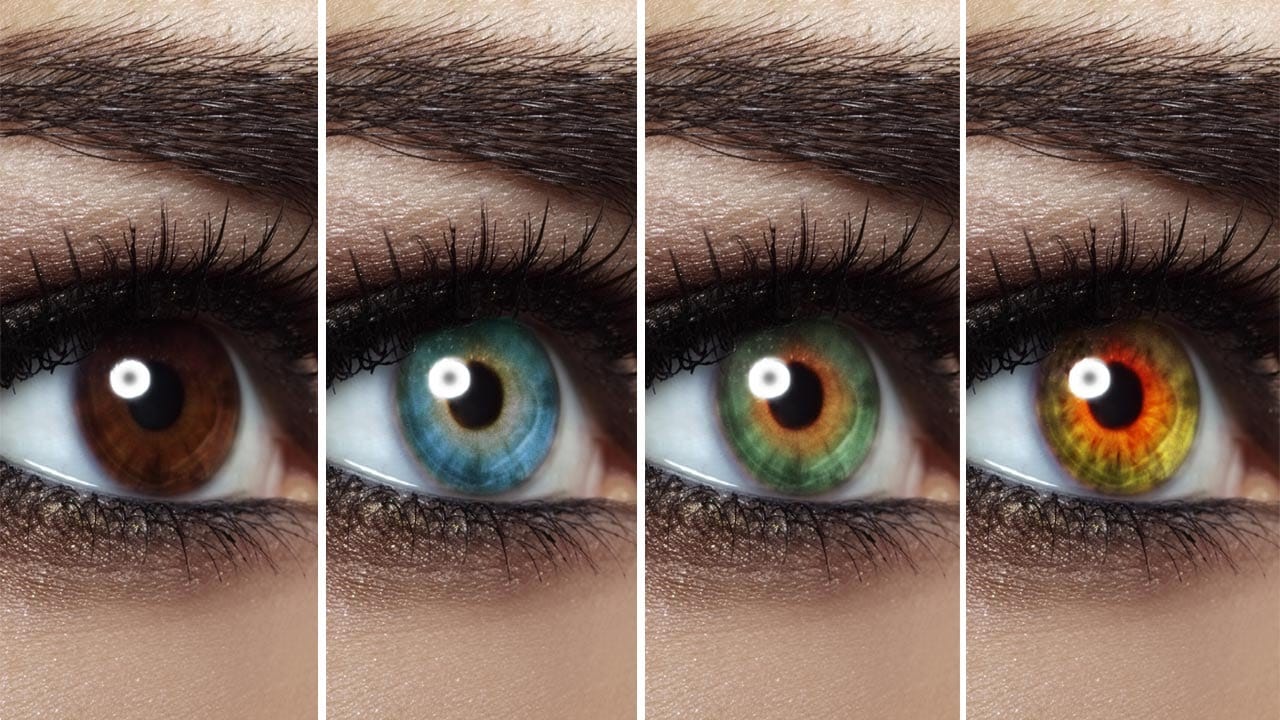
Change Eye Color in Photoshop
In this tutorial by Aaron Nace from Phlearn, discover how to transform eye colors effortlessly using Photoshop.
Aaron demonstrates techniques to precisely select and adjust eye colors using adjustment layers and masks. Learn to create realistic eye color changes by refining selections and applying hue adjustments. This tutorial is essential for photographers and digital artists looking to enhance portraits with eye-catching eye color variations, showcasing the versatility and creative possibili
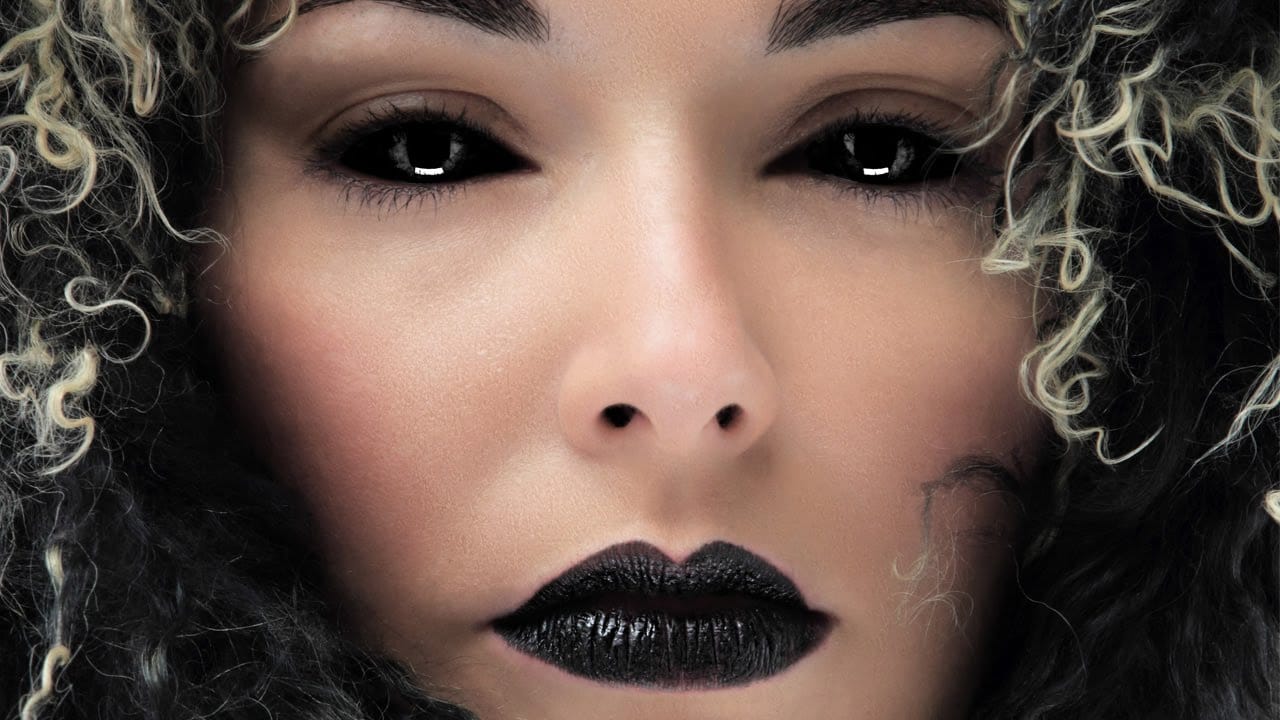
How to Black Out Eyes in Photoshop
Creating convincing black eyes in Photoshop requires more than simply painting over them with black. The key to believable results lies in preserving light reflections and creating realistic depth through strategic layering techniques.
This tutorial demonstrates how to achieve this dramatic effect while maintaining the natural lighting and shadows that make eyes appear three-dimensional rather than flat.
Watch the Tutorial
Essential Tips for Blacked-Out Eyes
Success with this technique dep
How to make colors pop in Photoshop
Selective color enhancement transforms dull photographs into vibrant, dramatic images by targeting specific areas like hair, skin, eyes, and clothing. This non-destructive approach uses precise selections and adjustment layers to boost colors naturally.
The technique creates professional results by treating each element separately, allowing you to enhance blue sweaters, brighten eyes, warm skin tones, and intensify hair colors without affecting the entire image.
Watch the Tutorial
Practical
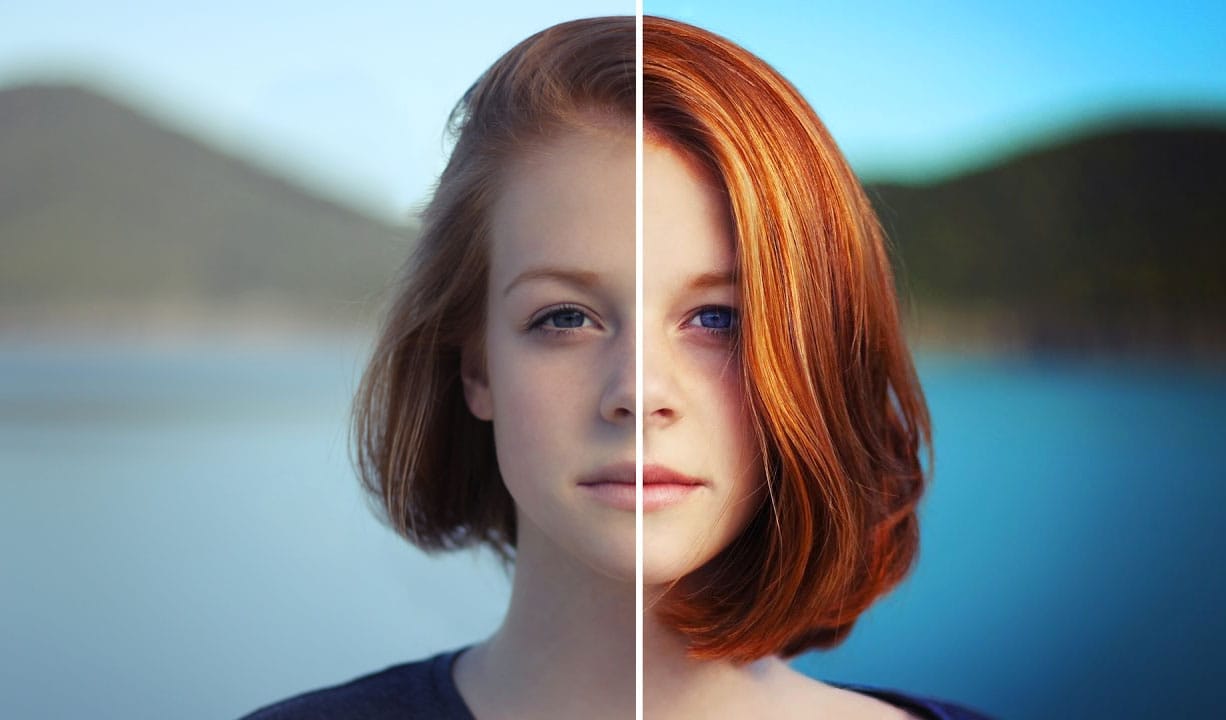
How to apply Realistic Eye Makeup Easily in Photoshop
In a step-by-step tutorial, the author provides a guide on how to add digital eye makeup using Photoshop. The video demonstrates the process of applying realistic eye makeup by utilizing various blend modes.
The author suggests using a 'Soft Brush' to apply different eye shadow colors. This technique ensures that the colors are well-blended. Additionally, the author recommends applying 'Gaussian blur' to further blend the colors and create a more seamless appearance.
Finally, the author advise