The iconic 80s chrome aesthetic transforms ordinary text into reflective, metallic masterpieces that command attention. This retro-futuristic style combines vibrant gradients, dramatic reflections, and dimensional depth to create that classic synthwave look.
This technique uses gradient mapping as the core engine, converting subtle gray variations into complex chrome reflections. Every element remains fully adjustable, allowing endless experimentation with colors and effects.
Watch the Video
Video by Texturelabs. Any links or downloads mentioned by the creator are available only on YouTube
Practical Tips
Master these essential techniques for creating convincing 80s chrome effects:
- Set your document to 16-bit color depth before starting to ensure smooth gradients and better color transitions
- Use 50% gray as your base text color, then build all chrome effects through gradient mapping and layer styles
- Place your text layer inside a group folder to isolate the bevel and emboss effects from other adjustments
- Apply outer glow effects to the group folder rather than individual layers to avoid unwanted color remapping
- Create custom gradient maps with hard transitions in the center to simulate realistic chrome reflections
Related Articles and Tutorials
Explore these chrome and retro effect tutorials to expand your metallic text arsenal:
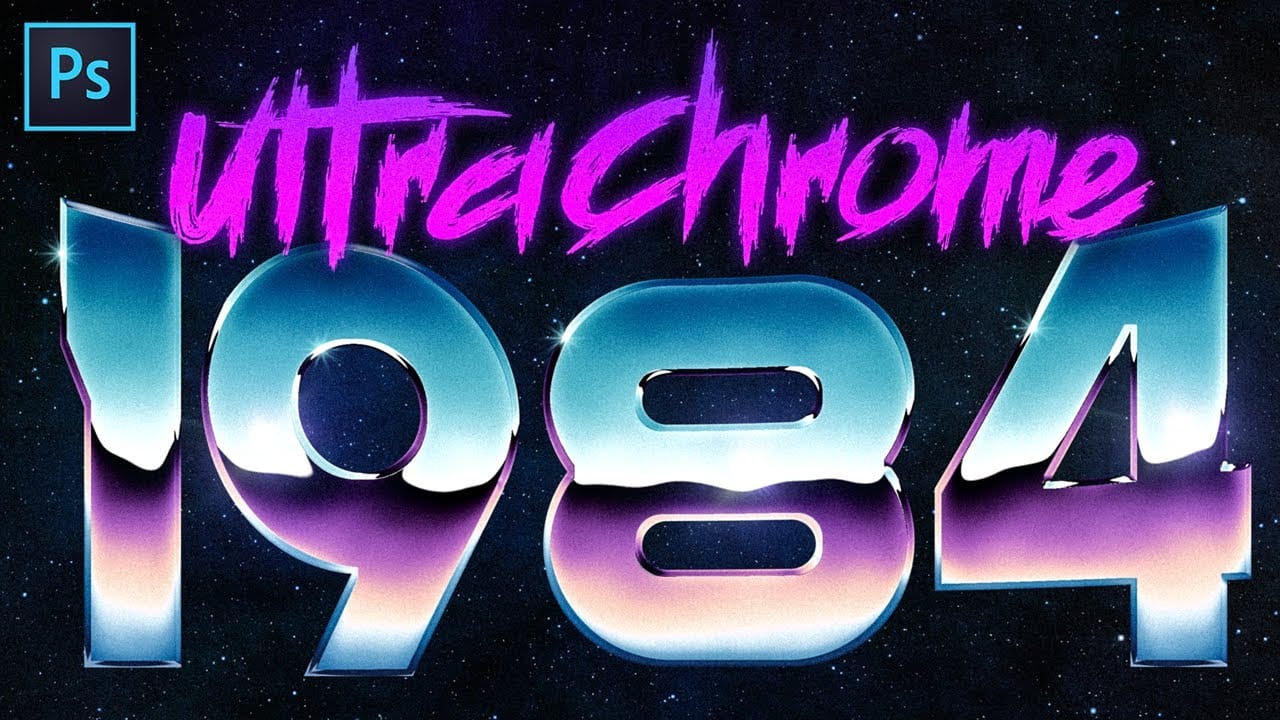
Create Super Rad 80's Chrome in Photoshop
The iconic 80s chrome aesthetic brings a bold, reflective energy to any design. This style evokes nostalgia and a futuristic vibe, making it perfect for standout titles, logos, and digital artwork.
Recreating these vibrant, high-gloss effects requires specific techniques within Photoshop. This tutorial provides a comprehensive guide to crafting detailed chrome looks with fully adjustable elements, ensuring a custom result for your projects.
Watch the Tutorial
Understanding the Core Principl
How to Create Retro Chrome Text Effects in Photoshop
Chrome text effects instantly elevate any design with their sleek, metallic finish and dimensional depth. The reflective surfaces and gradient layers create that premium, high-end aesthetic perfect for retro-futuristic designs, gaming graphics, and eye-catching headlines.
This tutorial demonstrates how to build convincing chrome effects using layer styles, gradient mapping, and color blending techniques that transform ordinary text into polished metallic artwork.
Watch the Video Tutorial
Un
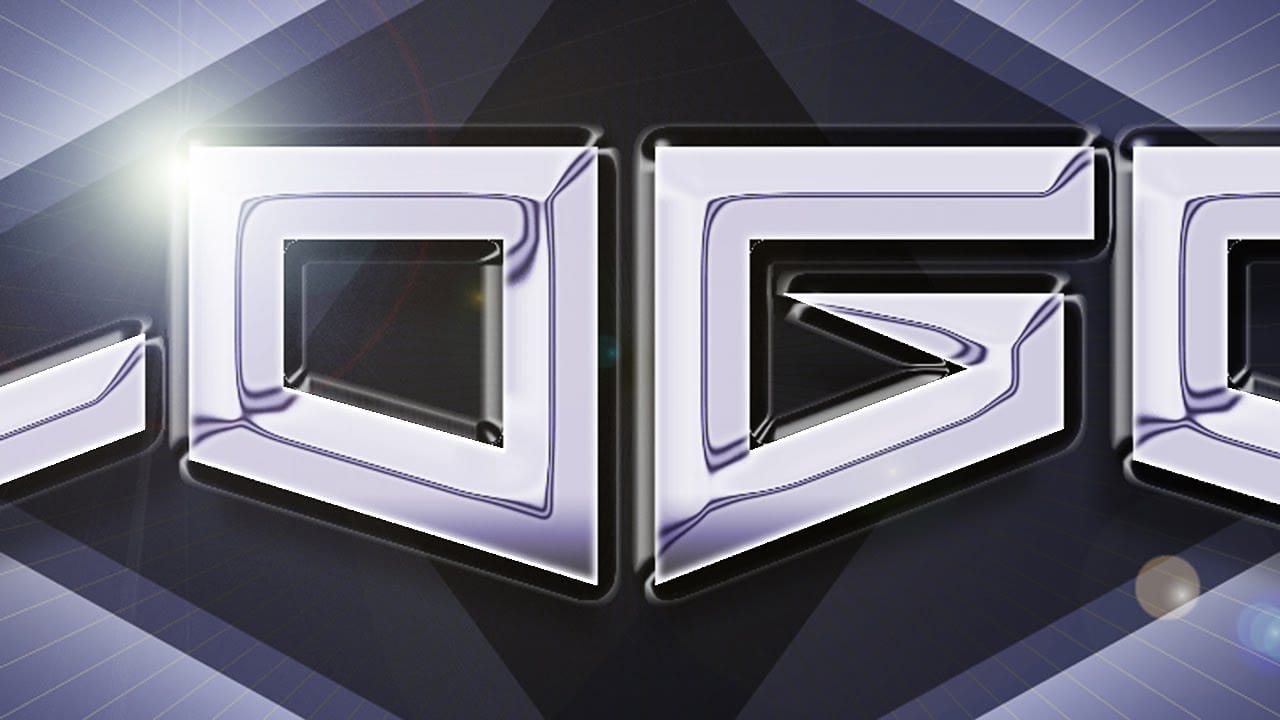
Create a sleek chrome logo in Photoshop
Creating a polished chrome logo in Photoshop can significantly elevate a brand's visual identity, lending it a sleek and futuristic appeal. This effect is highly sought after for its ability to convey professionalism and cutting-edge design.
This video tutorial demonstrates a comprehensive process for designing a custom chrome logo from the ground up. Viewers will learn how to build a dynamic background, shape reflective elements, and apply advanced layer styles to achieve a realistic metallic
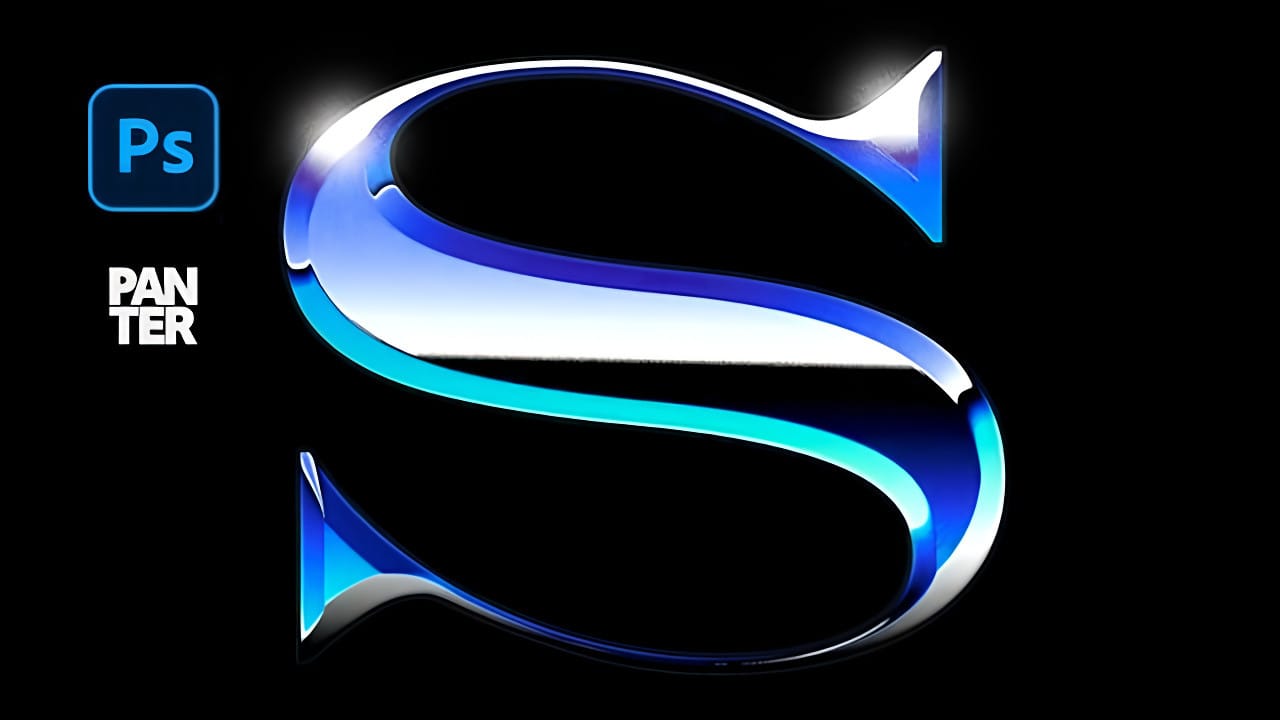
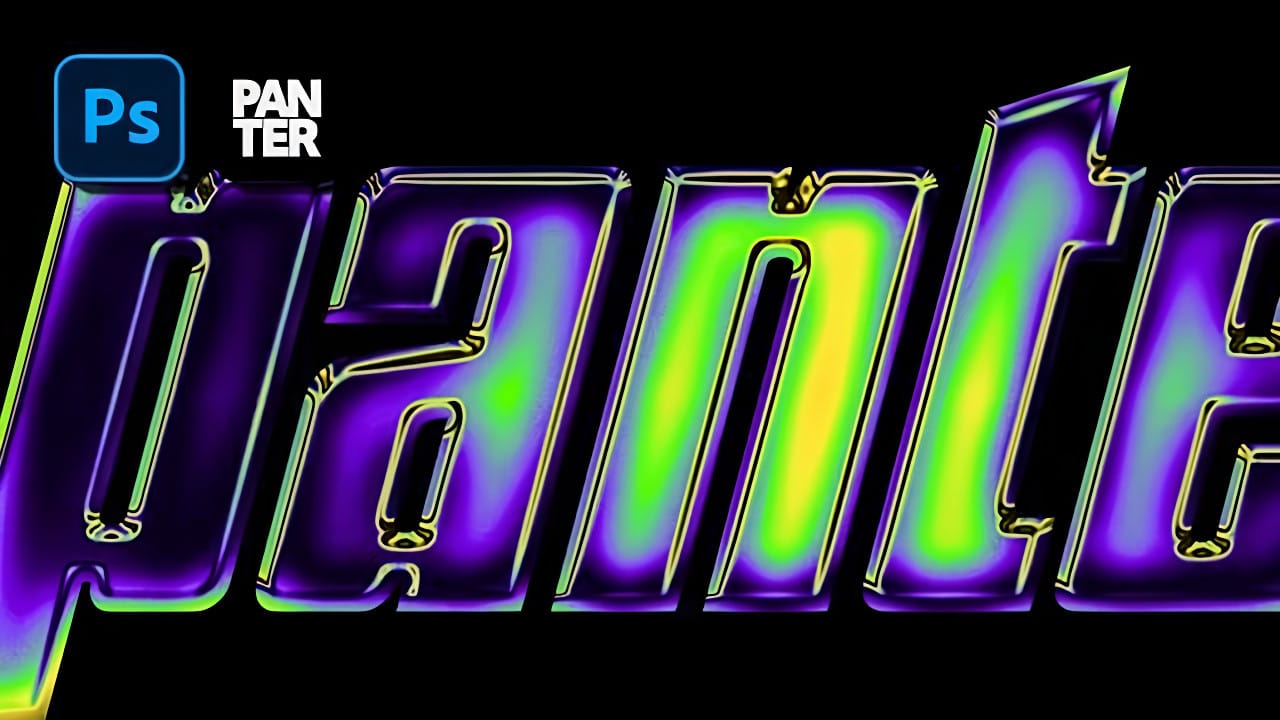
Electric chrome text effect Photoshop Tutorial
Enhance your designs with an electric chrome text effect, adding a vibrant, metallic sheen and modern edge. This tutorial demonstrates creating this captivating look in Adobe Photoshop, primarily using layer blending options, to transform ordinary text into a glowing chrome masterpiece.
Watch the Video Tutorial
The Art of Chrome Effects Through Layer Blending
Achieving a sophisticated chrome effect in Photoshop largely hinges on the strategic application of layer blending options. These pow
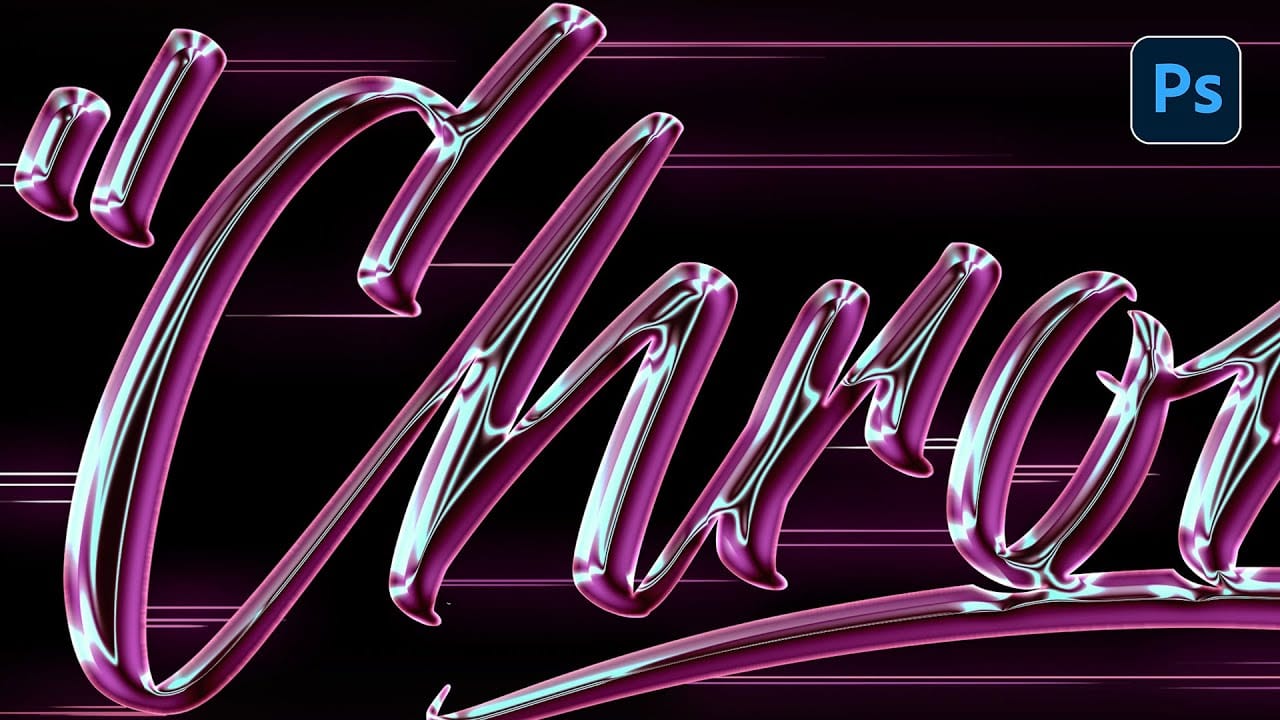
How to Create Gradient Chrome Text Effect in Photoshop
Chrome effects elevate text from ordinary typography into polished, metallic masterpieces that command attention. The reflective surfaces and dimensional depth create that premium look perfect for modern logos, eye-catching headlines, and promotional graphics that need to stand out.
This technique demonstrates how to build realistic chrome text using gradient overlays, strategic layer effects, and color adjustments to achieve a sophisticated metallic finish with vibrant rainbow reflections.
W
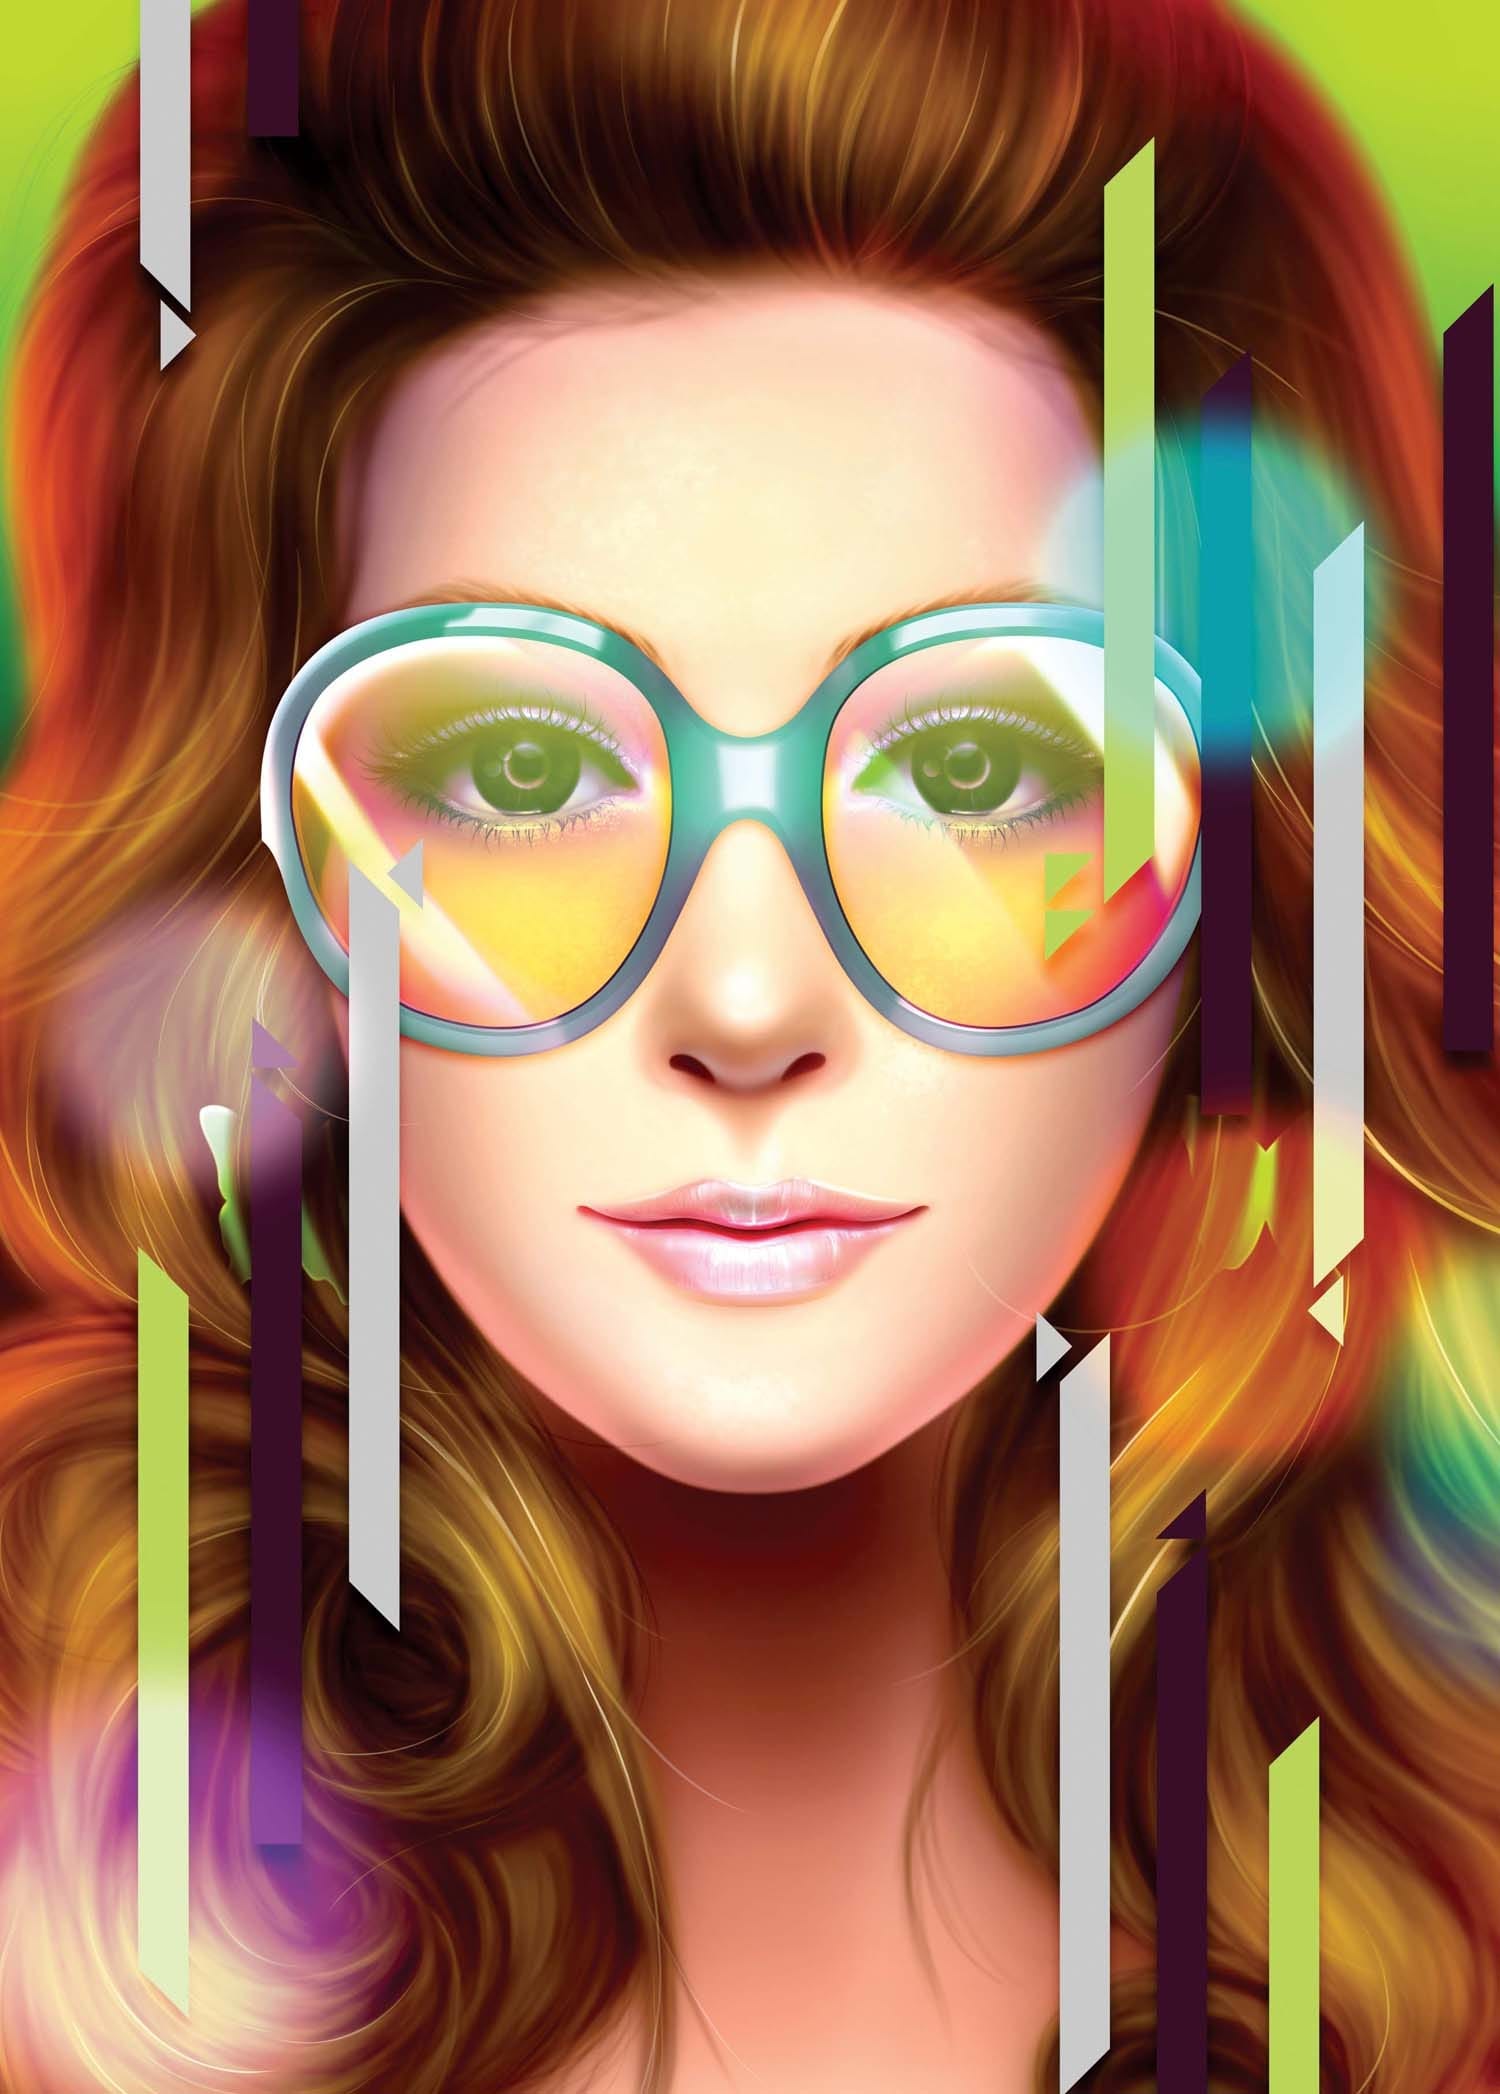
Create an 80s style airbrush illustration in Photoshop
In this tutorial, design duo KittoZutto share their secrets for creating a stunning, dreamlike painting with a bold 80s color scheme and subtle details. You'll learn how to enhance your brush skills, using various brush heads to achieve diverse effects.
Additionally, you'll discover the art of coloring, masking, and blending layers to get the most out of your digital painting. By working with numerous layers, you can focus on individual elements and quickly make adjustments to the details and c
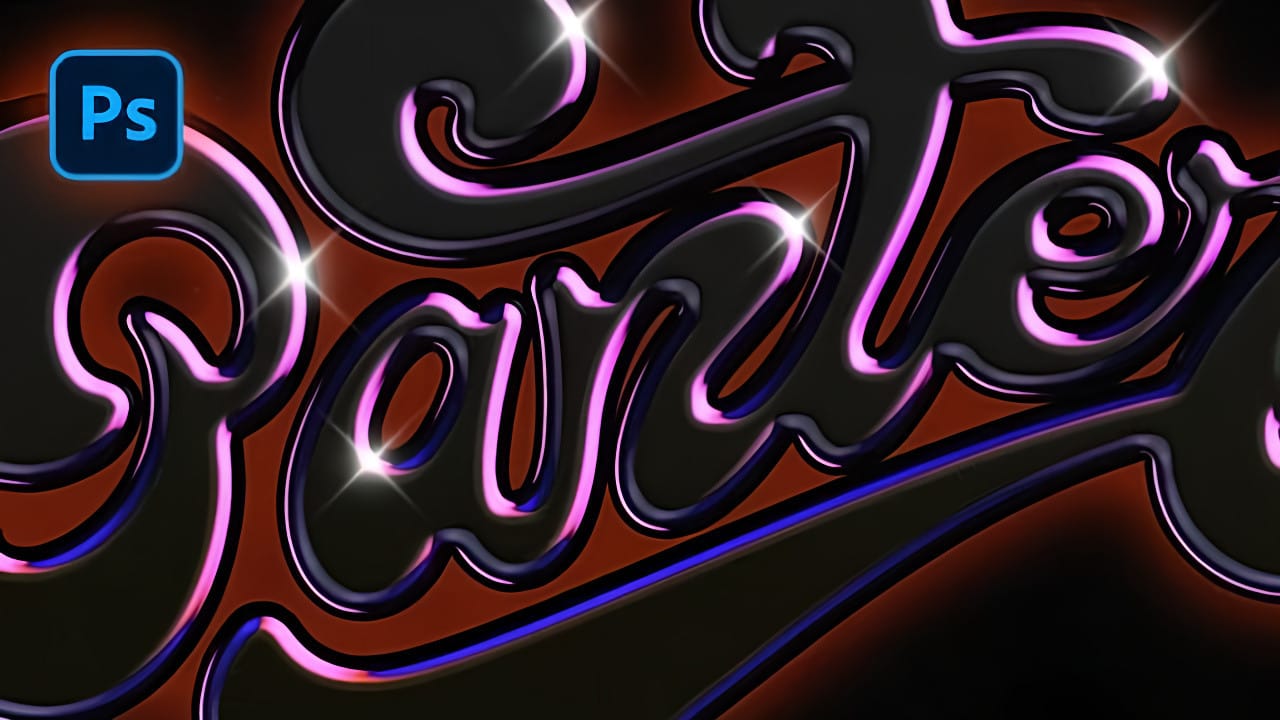
How to Create a Dark Chrome Text Effect in Photoshop Using Advanced Layer Styles
Chrome effects transform ordinary text into polished, metallic masterpieces that command attention. The reflective surfaces and dimensional depth create that premium, high-end look perfect for logos, headlines, and promotional graphics.
This tutorial demonstrates a layered approach using multiple bevel and emboss effects, strategic color choices, and gradient overlays to build realistic chrome text with a dark, sophisticated finish.
Watch the Tutorial
Understanding Chrome Text Effects in Di
Create a colorful Pop duotone in Photoshop
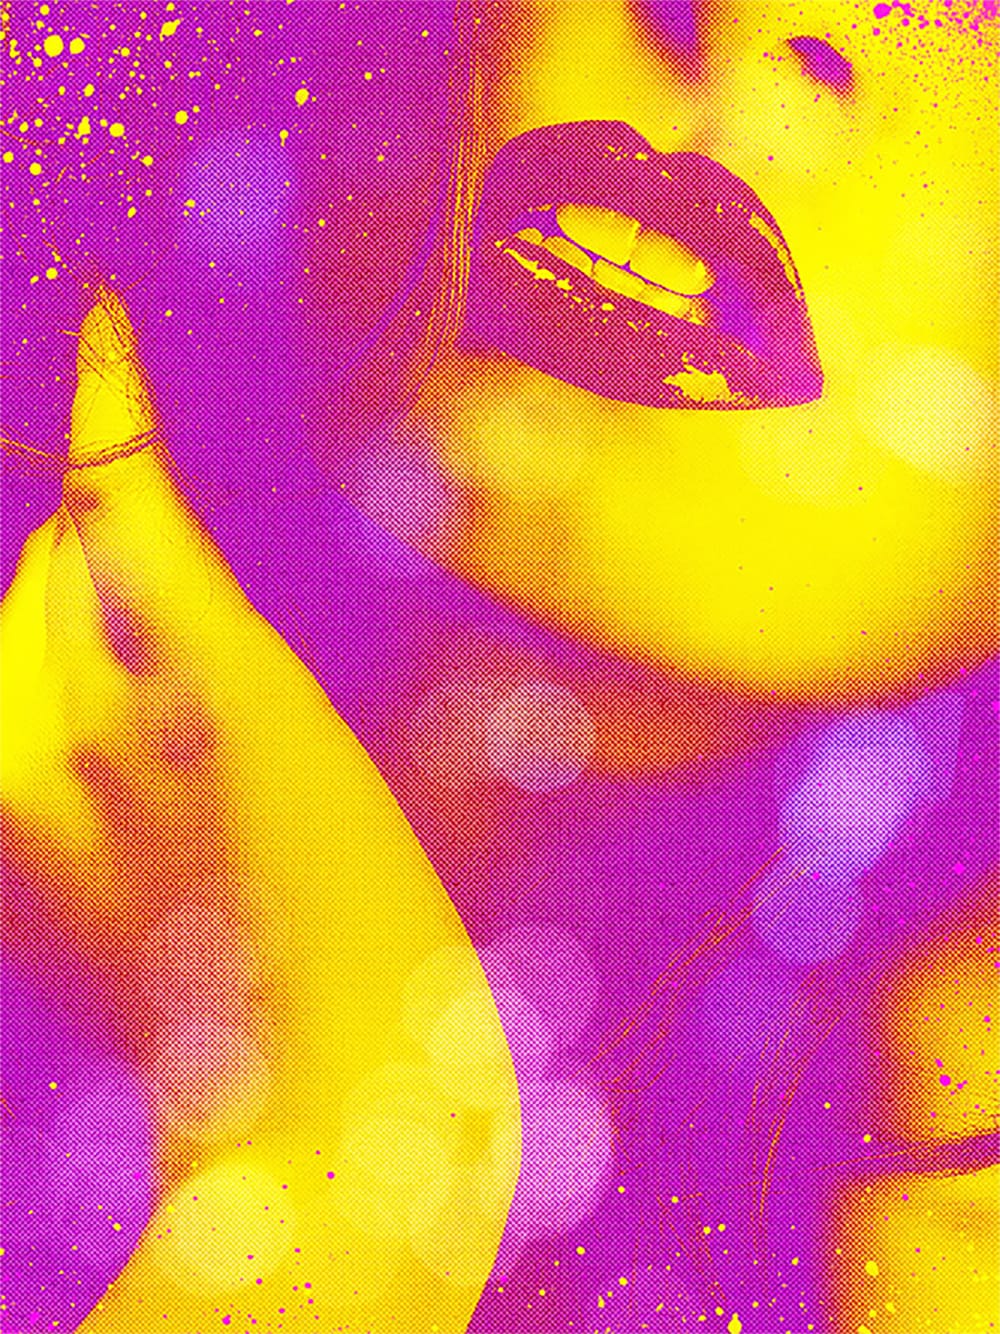
In this Photoshop tutorial, you are heading straight back to the 80s to play with fluoro colors, a trend that transforms modern-day photos into intense, oversaturated images with a retro twist.
You'll learn how to effortlessly recreate this duotone effect, allowing you to infuse your photos with a bold and sensual visual style. Whether you're looking to evoke nostalgia, add vibrancy to portraits, or simply experiment with striking color palettes, mastering this technique empowers you to create
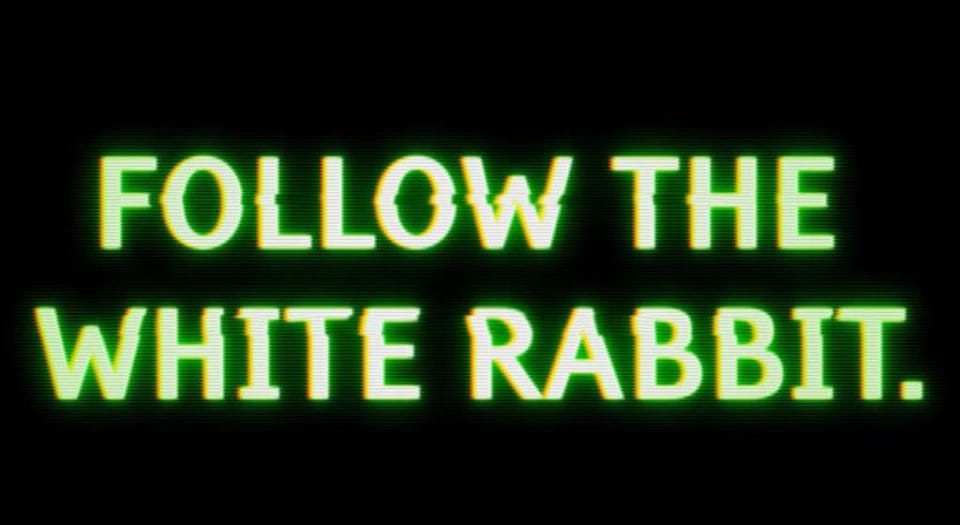
Create an awesome grainy scan-line text effect in Photoshop
In this tutorial by Blue Lightning TV, you'll learn how to create an awesome CRT scan-line text effect with digital glitches from scratch using Adobe Photoshop.
The tutorial guides you through a few easy steps to achieve this retro and glitchy aesthetic. You'll explore techniques to simulate CRT monitor scan-lines, add digital glitches, and apply effects to text, creating a unique and visually dynamic result
Whether you're nostalgic for retro tech aesthetics or looking to add a futuristic glit
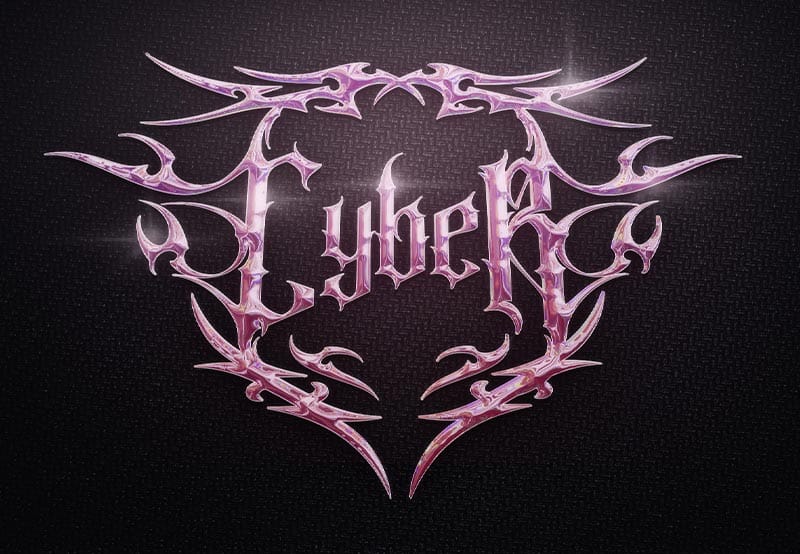
How to create a neotribal 3D chrome text effect
In this tutorial, you will explore the fascinating concept of cybersigilism while creating a striking neotribal 3D chrome text effect. This engaging process combines the creative functionalities of Adobe Illustrator, Blender, and Photoshop to produce an impressive visual result.
You will begin by forming the foundational 3D text effect in Adobe Illustrator. This step sets the stage for what comes next. Transition into Blender, where you will transform the text into a stunning 3D chrome letterin