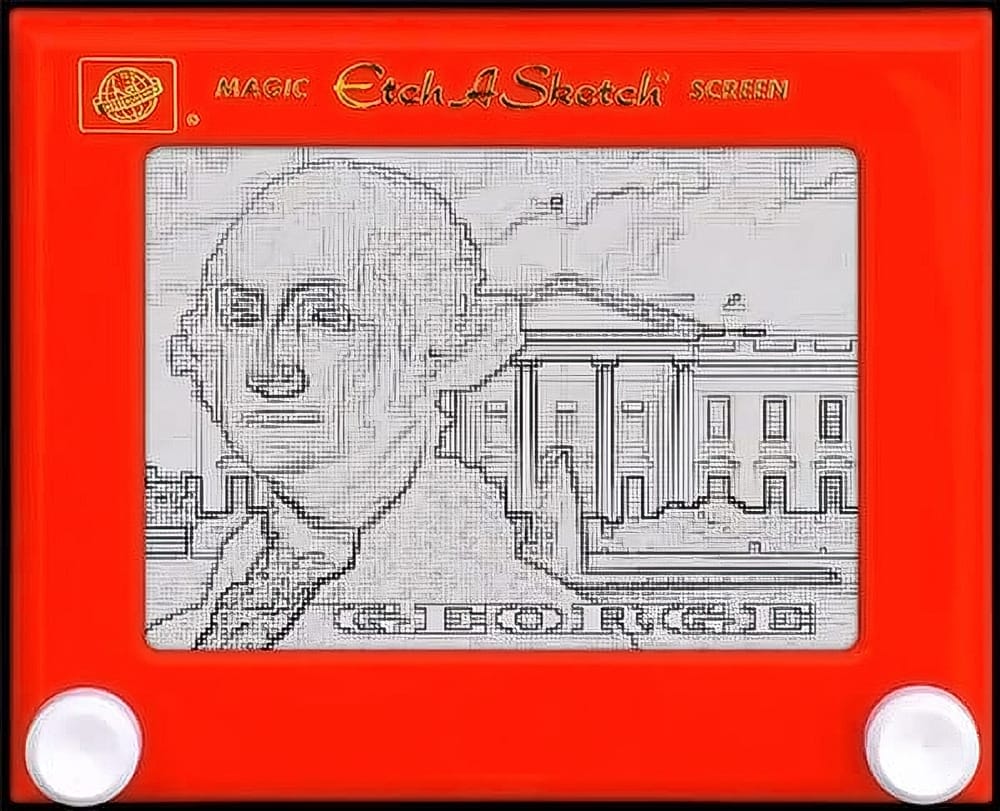
The charm of the classic Etch A Sketch toy lies in its distinctive line art. Discover how to transform photos and text into this iconic style, creating a nostalgic visual effect directly within Photoshop. This tutorial guides you through the process, allowing you to produce unique artwork that captures the essence of the beloved drawing toy.
A key technique involves combining the Mosaic and Find Edges filters, which are applied to mimic the unique aesthetic of Etch A Sketch lines. Furthermore, the tutorial demonstrates how to carefully manage layer masks and blend modes, ensuring your composite image seamlessly adopts the classic, connected line appearance.
Watch the Video
The Art of Mimicking Simple Line Art
The Etch A Sketch, first introduced in 1960, challenged users to create intricate drawings using only a continuous line. Operated by two control knobs, one for horizontal movement and one for vertical, the device's mechanism allows for unique, often angular, illustrations where every segment is inherently connected. This limitation forces a distinct artistic style, characterized by its unbroken, monochrome lines on a gray background.
Recreating this effect digitally involves simulating these core characteristics. Rather than drawing freehand, the process focuses on transforming existing images and text into this constrained line art. Digital filters and specific blending modes become tools to approximate the rigid, singular line weight and the pixilated appearance that results from the toy's internal stylus.
The challenge lies in making diverse elements, like photographic faces, architectural backgrounds, and custom text, appear as if they were drawn on the same continuous canvas. This often requires:
- Uniform line application across different source types.
- Methods to ensure all "drawn" elements are visually connected.
- Techniques that flatten color information into a stark, two-tone rendering.
Understanding these principles allows for a more authentic digital recreation of this nostalgic toy's output.
Practical Tips for Etch A Sketch Effects
- Adjust image details in dark areas using Image > Adjustments > Shadows/Highlights to ensure clarity before processing.
- Utilize the Quick Mask mode and Pen Tool for precise selections, ensuring clean cutouts of subjects from their backgrounds.
- Copy layer masks by Alt/Option-dragging them between layers, efficiently applying the screen's shape to multiple elements.
- Apply the Filter > Pixelate > Mosaic and Filter > Stylize > Find Edges filters sequentially to achieve the distinct line drawing effect.
- Merge all artwork layers and change the blend mode to Multiply, then manually connect lines with a 1-pixel Pencil Tool to mimic the continuous Etch A Sketch drawing.
Related Articles and Tutorials about Sketch Effects
Explore additional methods and artistic approaches for transforming images into various sketch styles.
