How to Color Correct Photos in Adobe Camera Raw

How to Color Correct Photos in Adobe Camera Raw

The Camera Raw filter brings professional color grading tools directly into Photoshop, offering the same powerful controls found in Lightroom. This non-destructive workflow allows you to enhance your photos with cinematic color effects while preserving your original images through smart objects.

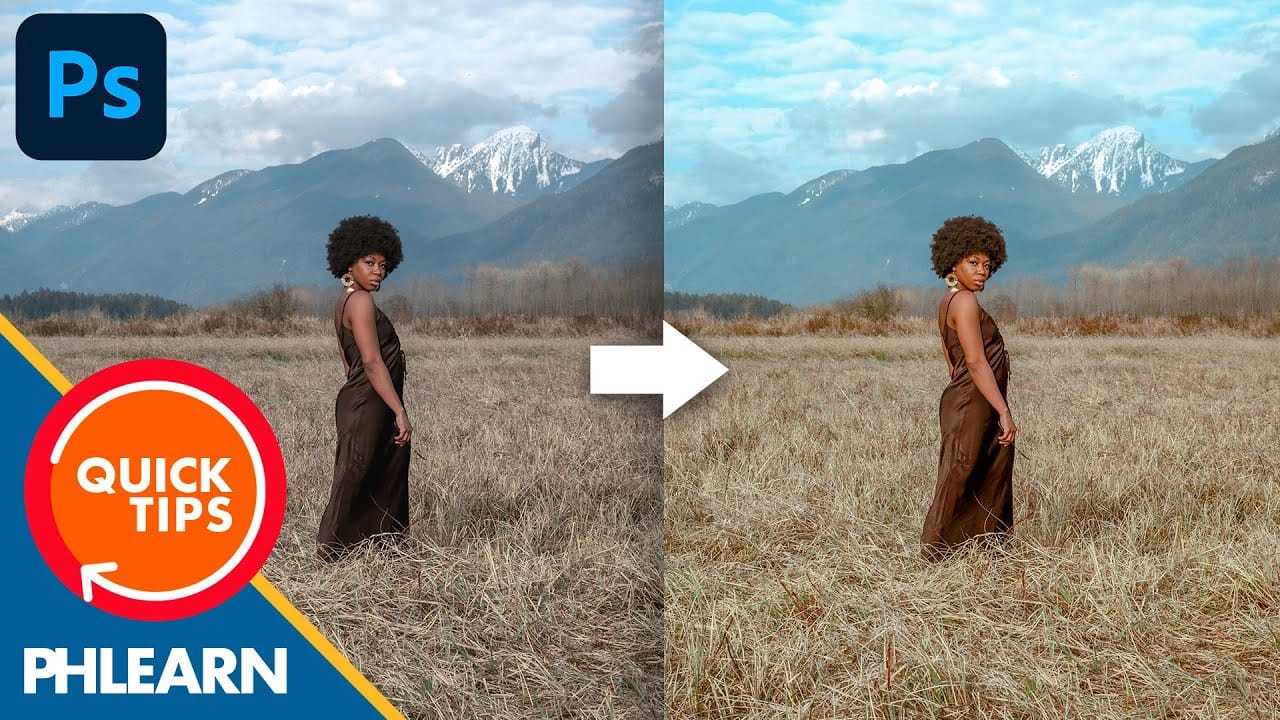
Color grading transforms ordinary photos by adding warmth to landscapes, creating mood in portraits, and applying professional film-like effects. The process involves adjusting shadows, midtones, and highlights separately to achieve sophisticated color relationships that elevate your photography.

Watch the Video

Video by PHLEARN. Any links or downloads mentioned by the creator are available only on YouTube

Practical Tips

These essential techniques will help you achieve professional color grading results:

  • Convert your layer to a smart object before applying the Camera Raw filter to enable non-destructive editing
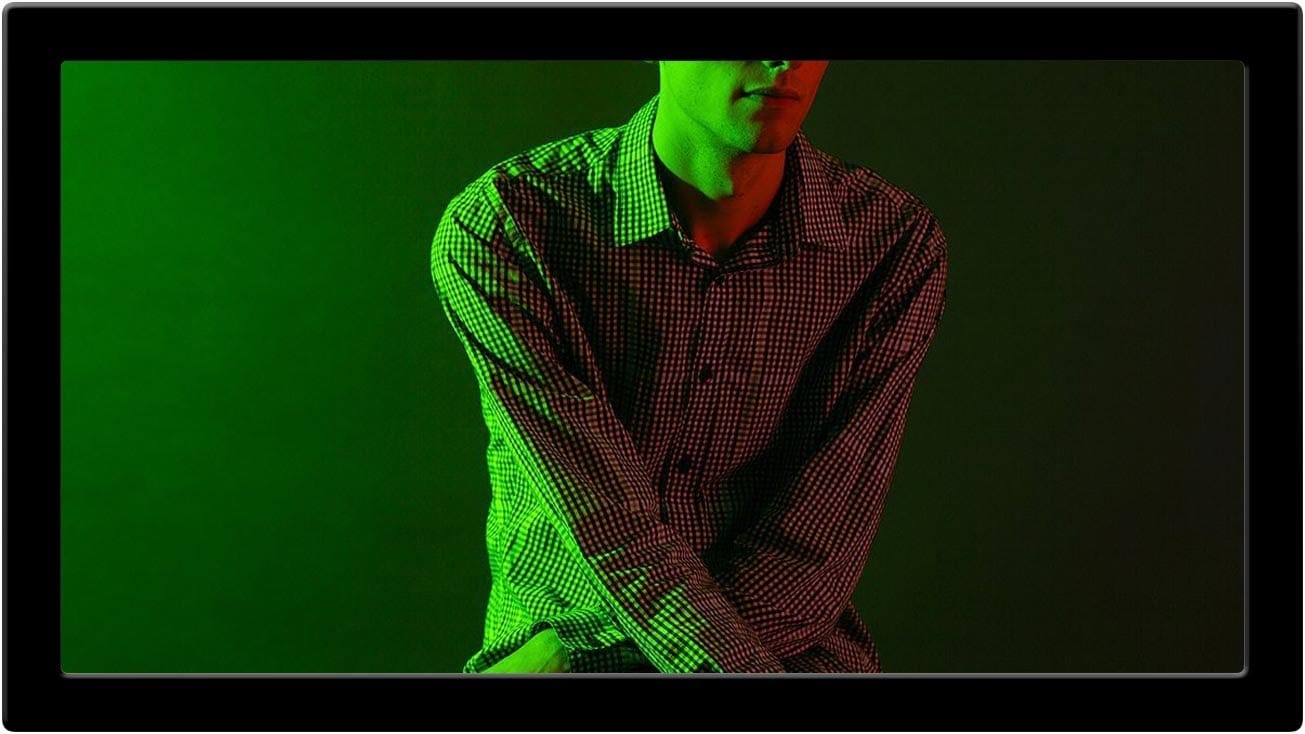
  • Start with extreme saturation when adjusting color wheels, then dial back to find the perfect balance
  • Use the blending and balance sliders to fine-tune how your color effects interact with the original image
  • Save custom presets for consistent color grading across multiple images in your portfolio
  • Adjust filter opacity after applying to control the overall strength of your color grading effect

Explore more advanced color correction and creative editing techniques for professional photo enhancement.

Create a bright and beautiful color grade in Photoshop
In this tutorial, Aaron Nace from Phlearn demonstrates how to enhance your photos with a bright and vibrant color grade using the Camera RAW filter in Photoshop. This technique is particularly effective for model photography and landscape shots, offering a way to elevate the visual appeal of your images with a polished, professional finish. Aaron guides you through the process of applying and adjusting color grades, showing how the Camera RAW filter can be used to fine-tune colors and achieve a
How to Create Perfect Black and White Photos Using Camera Raw Filter in Photoshop
Camera Raw's black and white mixer transforms color photos into striking monochrome images with precision control. The built-in adjustment tool lets you click and drag directly on your image to lighten or darken specific tones. This non-destructive method preserves your original photo while giving you complete creative control over contrast and tonal balance. Watch the Tutorial Essential Tips for Black and White Conversion * Convert your layer to a Smart Object first by choosing Filter >
Color Correction Using Lab Mode in Photoshop
In this informative tutorial by Aaron Nace from Phlearn, you will discover how to utilize LAB Mode versus RGB Mode for effective color correction in Photoshop. Many photographers face the challenge of enhancing colors without making the image appear unnatural. While working in RGB Mode, adjustments made in curves can inadvertently alter brightness and exposure. This can lead to frustrating results, especially when the goal is to maintain the integrity of the original photo. Fortunately, switch
How to Color Grade Without Oversaturating Skin Tones Using Camera Raw
Professional color grading often creates a dilemma: boosting vibrant colors while keeping skin tones natural. Traditional saturation adjustments can make portraits look overprocessed, turning skin an unflattering orange or magenta. This technique uses Camera Raw's masking tools to selectively enhance background colors while protecting skin tones, creating vibrant images that still look authentic. Watch the Video Practical Tips These key techniques will help you achieve professional color g
One click instantly fixes color in Photoshop
In this tutorial by Colin Smith from Photoshop Cafe, you'll learn how to instantly fix the color of your photos in a single click using Photoshop and Lightroom. Colin introduces a powerful tool that can correct color issues effortlessly, making your images look more natural and vibrant. This quick tutorial focuses on achieving perfect color balance with minimal effort. Whether you're a beginner or a seasoned Photoshop user, Colin's method is straightforward and effective, allowing you to enhanc
Fix Underexposed Photos Easily in Photoshop
Fixing underexposed photos in Photoshop is easier than you might think. This guide provides a straightforward approach to brightening dark images using the Camera Raw filter. The process is simple to follow, making it suitable for users of all skill levels. The tutorial focuses on step-by-step instructions. You will learn how to navigate the Camera Raw filter to effectively lighten photos. This method offers a non-destructive way to improve image brightness and recover details lost in shadows.
New Camera Raw Adjustment Layers in Photoshop: Color Grading, Clarity, and Grain
Working with multiple layers in Photoshop traditionally required complex workarounds to apply Camera Raw adjustments. The old process involved merging layers, converting to smart objects, and losing the flexibility that makes adjustment layers so powerful. Three new adjustment layers bring Camera Raw's most useful tools directly into your layers panel. These additions eliminate the need for destructive editing while maintaining all the masking and blending capabilities you expect from adjustmen
Advanced Black and White Photo Editing with Selective Masking in Photoshop
Most black and white conversions fall flat because they rely on simple global adjustments that treat the entire image uniformly. Professional-level dramatic black and white photos require selective contrast adjustments that target specific areas like skies, foregrounds, and tonal ranges independently. This approach transforms ordinary monochrome images into compelling, high-contrast photographs with depth and visual impact. Watch the Full Tutorial Essential Tips for Advanced Black and White
Remove color cast from colored lights in Photoshop
This tutorial by Aaron Nace from Phlearn provides practical guidance on removing color casts caused by colored lights in Photoshop. If you've ever faced the challenge of an image where one light source disrupts the overall color balance, this tutorial will be helpful. You will learn step-by-step techniques to correct the color discrepancies in your images. The process goes beyond basic adjustments, as it requires careful editing to achieve a natural look. The tutorial emphasizes understanding t

Get tutorials & freebies delivered to you.

Subscribe to the Photoshop Roadmap newsletter, a weekly roundup of new tutorials, insights and quality downloads, trusted by 6500+ readers.

You might also like

How to Remove Glasses Reflections with Firefly Image Model 5 in Photoshop

Glasses reflections can ruin otherwise perfect portraits, obscuring your subject's eyes and creating distracting bright spots. While traditional AI models can remove these reflections, they often alter facial features and frame details in the process. Photoshop's new Firefly Image Model 5 changes this by preserving facial...

How to Create Realistic Specular Highlights Using Basic Brush Techniques

Specular highlights bring objects to life by simulating how light reflects off surfaces. These bright spots of reflected light add dimension and realism to your digital artwork, making flat surfaces appear three-dimensional and convincing. This technique uses simple brush strokes combined with strategic blending modes to create professional-looking highlights that...

How to Create a Wood Engraving Effect from Photos in Photoshop

Wood engravings capture the timeless aesthetic of traditional printmaking, transforming ordinary photographs into artwork that resembles hand-carved illustrations. This technique combines the rustic charm of wood textures with the precise detail of engraved lines, creating images that feel both historical and artistic. The process uses non-destructive editing methods and smart...

When to Skip Layer Duplication in Modern Photoshop Workflows

The old advice to always duplicate layers when editing in Photoshop stems from earlier versions that lacked today's powerful tools. Modern Photoshop workflows often make layer duplication unnecessary, especially for common tasks like object removal, sky replacement, and background changes. Understanding when to skip this step saves storage...

Why Testing Your Thumbnails Across Generations Improves Video Performance

The best thumbnail designs make sense to everyone, not just your target audience. When you create thumbnails that only speak to your specific niche or generation, you limit your video's potential reach and engagement. Testing your thumbnails with people from different age groups reveals clarity issues you might...

How to Use Photoshop 2026's New Dehaze Tool for Better Background Clarity

Hazy backgrounds can make even the most stunning landscapes look flat and lifeless. Photoshop 2026's new dehaze feature transforms these atmospheric challenges into clear, vibrant scenes with precise control. The key to getting professional results lies in making targeted selections before applying the dehaze effect. This approach ensures...

You’ve successfully subscribed to Photoshop Roadmap
Welcome back! You’ve successfully signed in.
Great! You’ve successfully signed up.
Success! Your email is updated.
Your link has expired
Success! Check your email for magic link to sign-in.