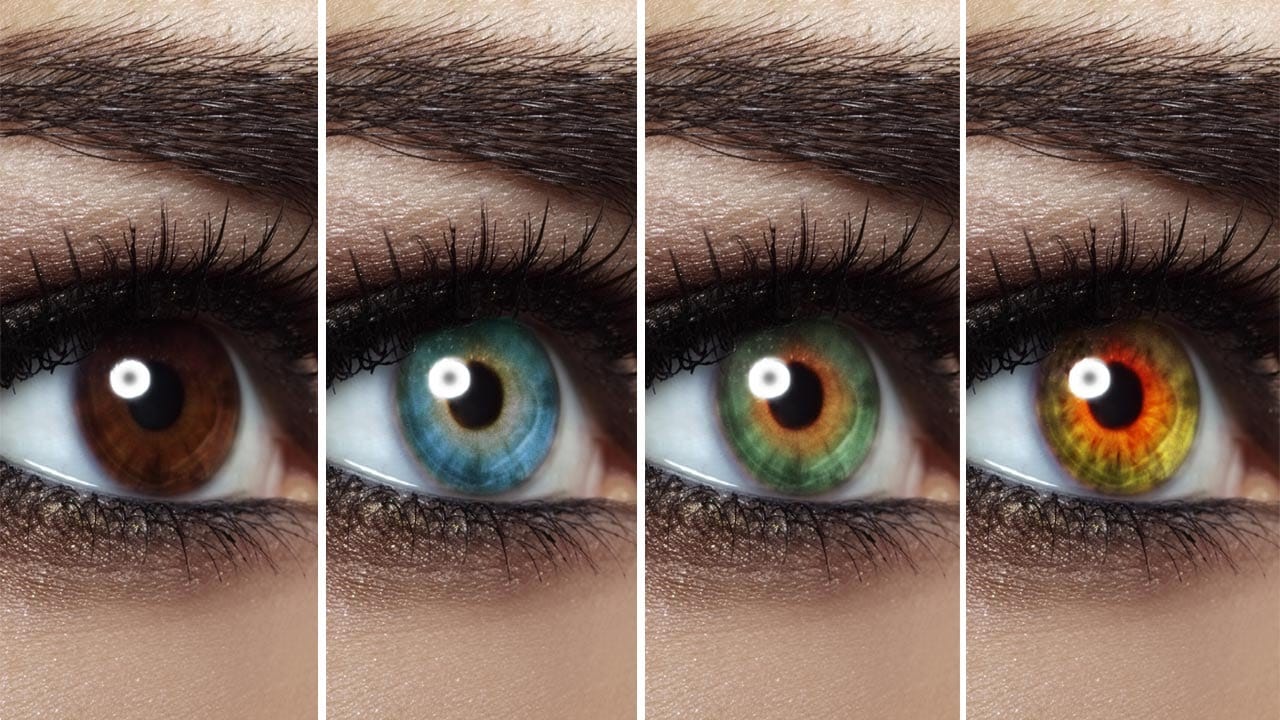
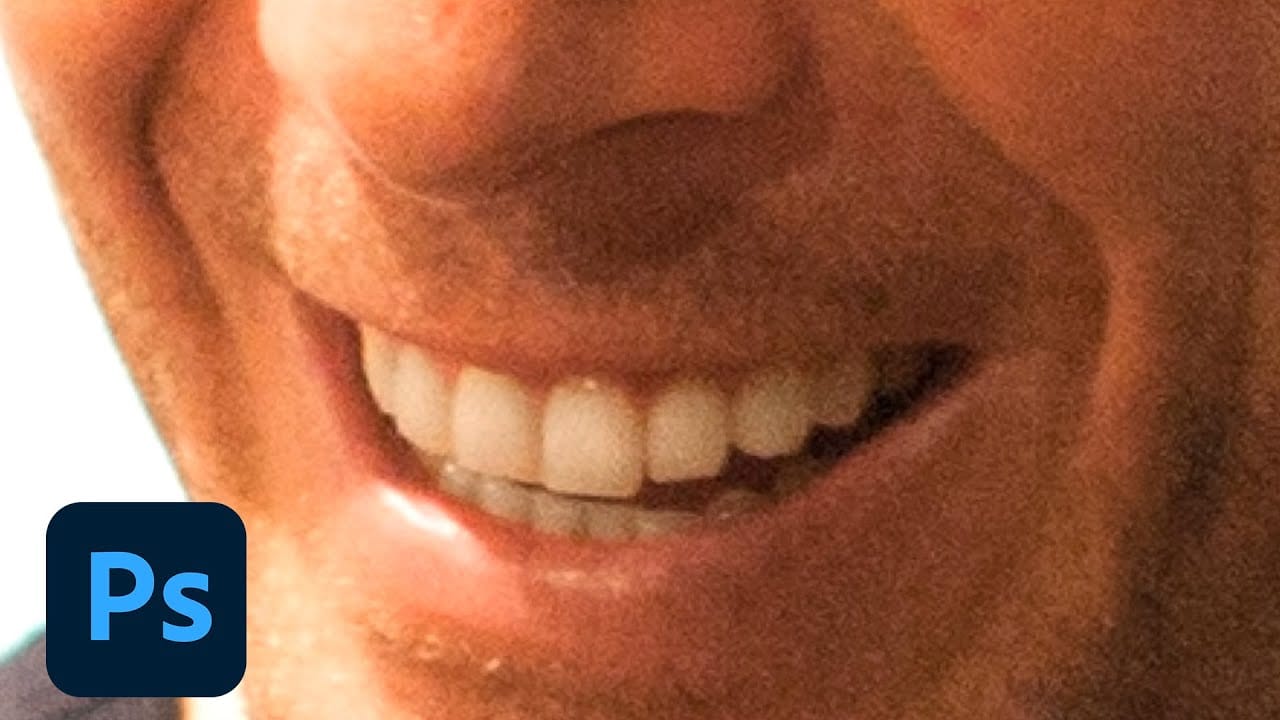
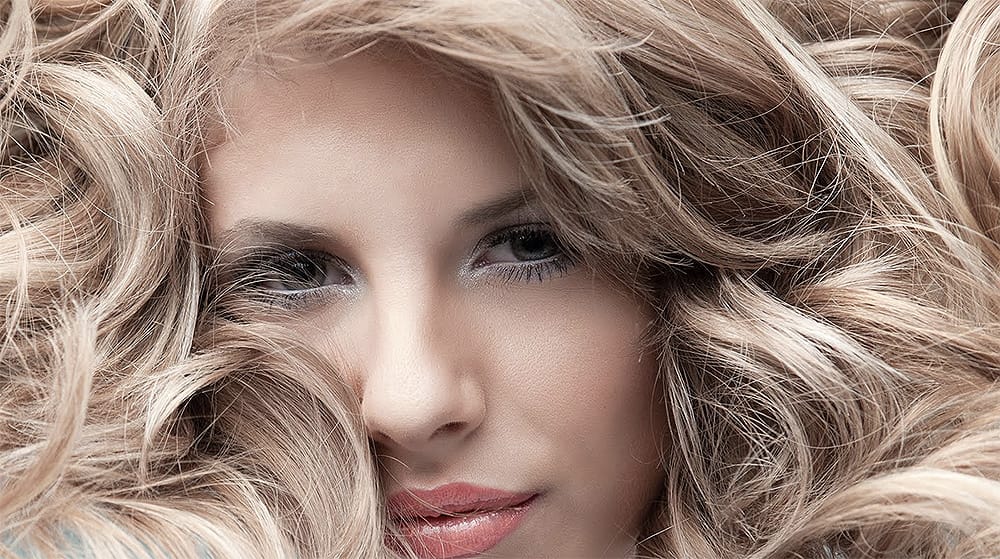
How to Color, Brighten and Sharpen Eyes in Photoshop

How to Color, Brighten and Sharpen Eyes in Photoshop

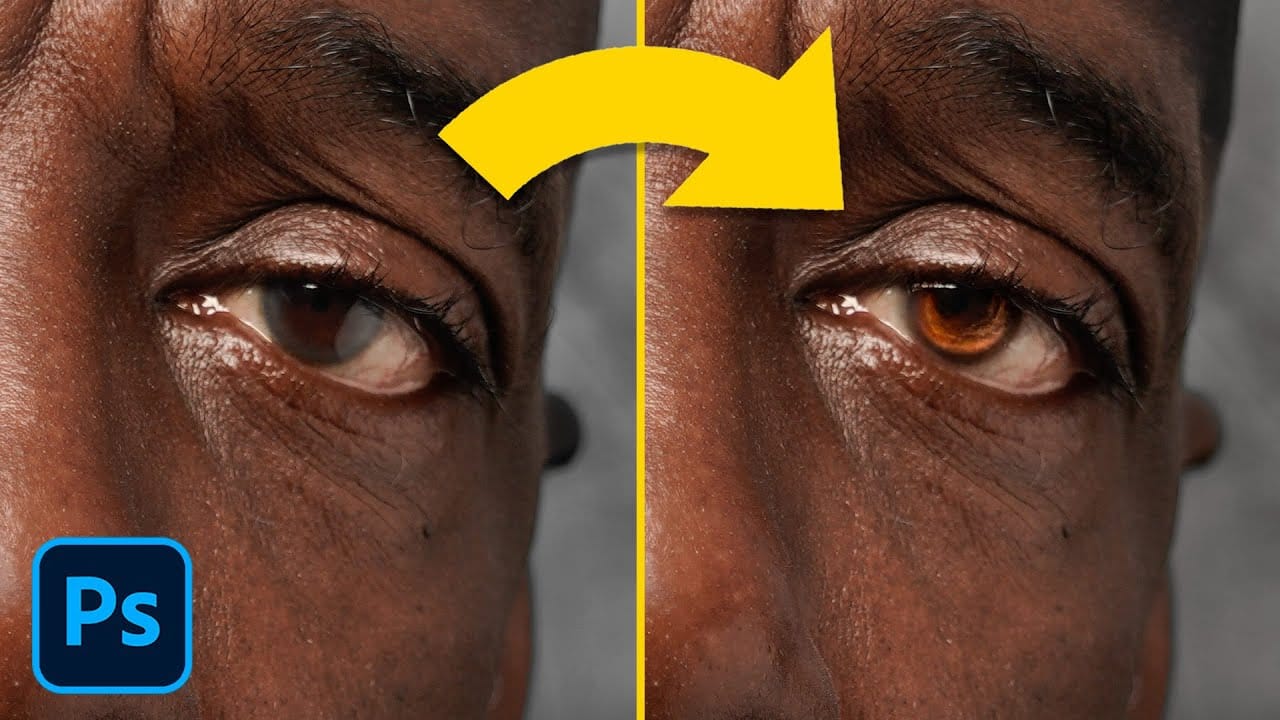
Eyes are often the focal point of portrait photography, but they don't always capture attention in their natural state. This comprehensive tutorial demonstrates how to transform ordinary eyes into captivating features through strategic color enhancement, precise lighting adjustments, and professional sharpening techniques.

The method focuses on enhancing existing eye colors rather than completely changing them, creating natural-looking results that draw viewers into the portrait. You'll learn to work with light sources, build depth through brightness adjustments, and apply multiple sharpening approaches for maximum impact.

Watch the Video

Video by PHLEARN. Any links or downloads mentioned by the creator are available only on YouTube

Practical Tips

Master these essential eye enhancement techniques for professional portrait results:

  • Sample existing eye colors with Alt+click, then increase saturation and brightness in the color picker before painting
  • Apply multiple colors on separate layers using different iris tones to create realistic depth and variation
  • Use Soft Light or Overlay blend modes for color layers, then add subtle Gaussian blur for natural integration
  • Position brightness adjustments opposite to the main light source reflection in the eye for realistic lighting
  • Apply the High Pass sharpening method on a desaturated layer to avoid color shifts while enhancing details

Explore additional eye enhancement and portrait retouching techniques with these comprehensive tutorials.
How to Enhance Eyes in Photoshop
In his tutorial, Aaron Nace, the founder of Phlearn, guides viewers through the process of enhancing any set of eyes to achieve their absolute best appearance. Nace demonstrates techniques using Photoshop's powerful tools, including Curves for sculpting highlights and shadows, Solid Color Fill Layers for color enhancement and adjustment, and the Unsharp Mask filter for professional-level sharpening. The tutorial offers a comprehensive approach to eye retouching, equipping viewers with the skill
How to Enhance Dark Eyes in Photoshop Using Traditional and AI Techniques
Portrait photographers often face the challenge of completely dark, featureless eyes that resist traditional brightening techniques. When standard exposure adjustments fail to reveal detail, specialized methods can restore life and interest to these challenging areas. This tutorial demonstrates two powerful approaches: a traditional texture-building technique using Photoshop's classic tools, and a modern AI-powered method that generates realistic iris patterns. Watch the Tutorial Essential
Make Eyes Dramatic in 30 Seconds with Photoshop
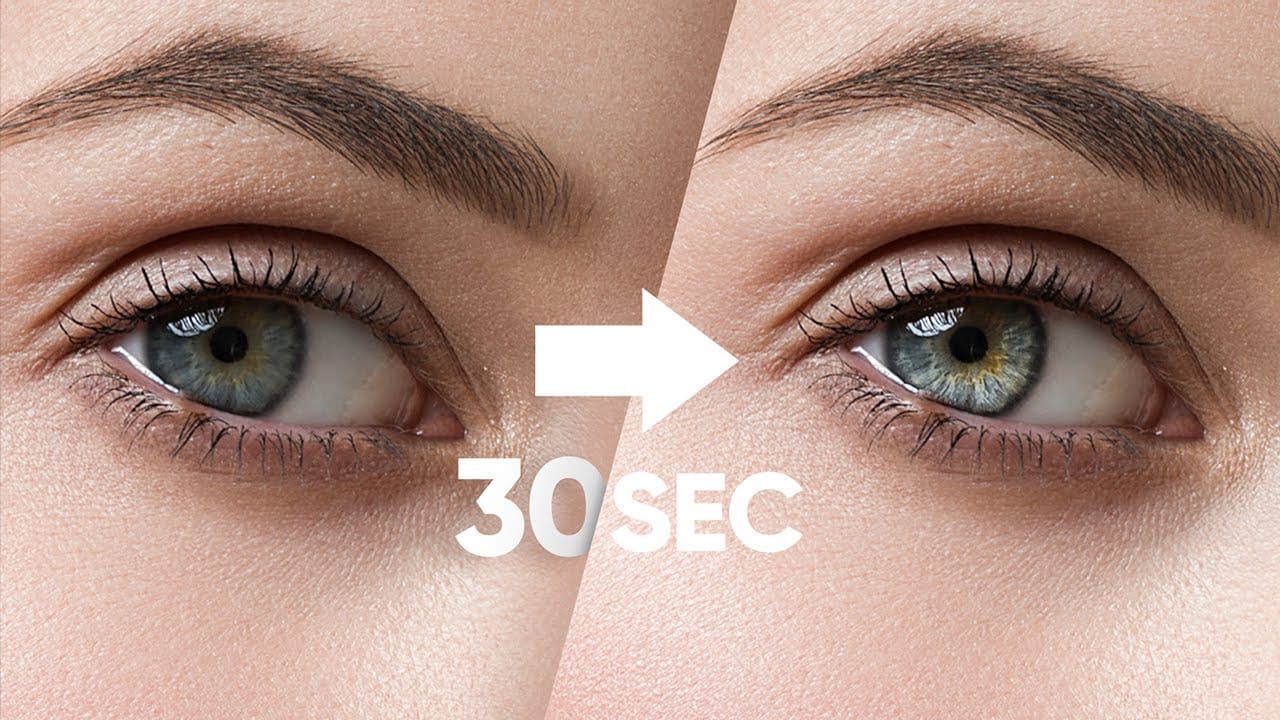
In this tutorial, PiXimperfect reveals a fast and effective technique to make eyes more dramatic and engaging in just 30 seconds using Photoshop. The focus is on enhancing the eyes by adding shine and depth, which can significantly elevate the overall impact of a portrait. The method involves using blend modes in combination with simple selections to introduce eye-catching highlights and contrasts. The tutorial starts by demonstrating how to select the eye areas accurately, ensuring that the ad
How to make colors pop in Photoshop
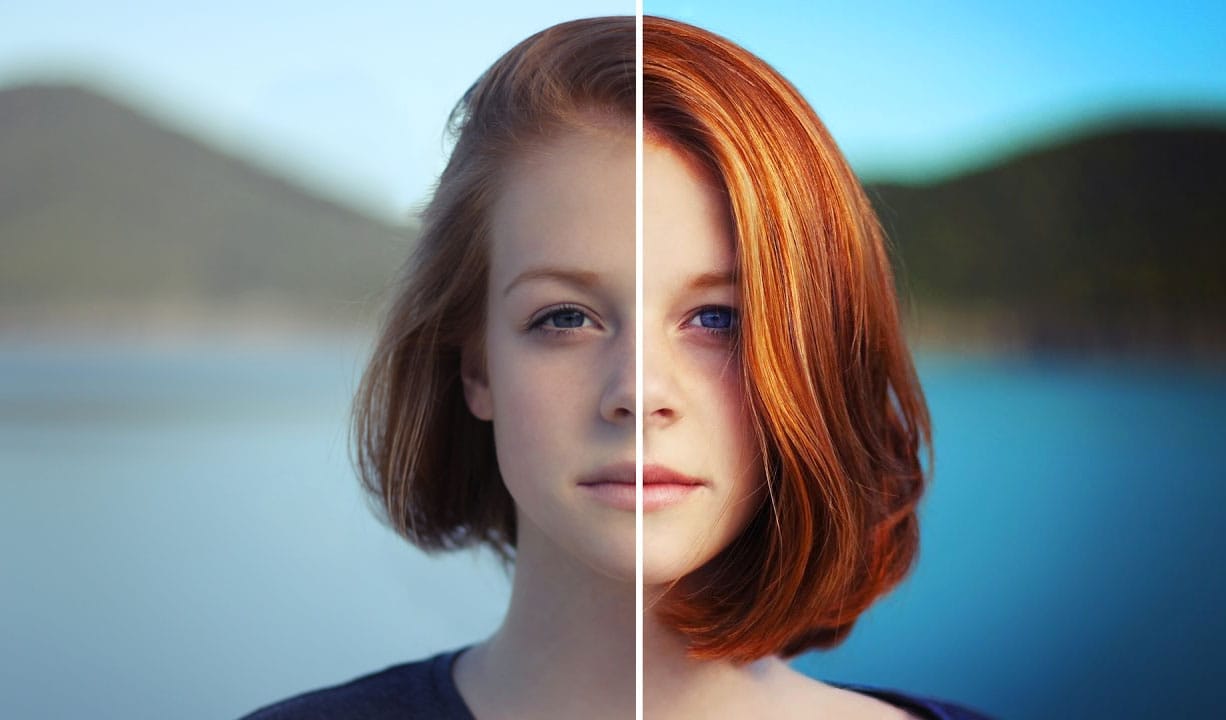
Selective color enhancement transforms dull photographs into vibrant, dramatic images by targeting specific areas like hair, skin, eyes, and clothing. This non-destructive approach uses precise selections and adjustment layers to boost colors naturally. The technique creates professional results by treating each element separately, allowing you to enhance blue sweaters, brighten eyes, warm skin tones, and intensify hair colors without affecting the entire image. Watch the Tutorial Practical
Create Insane Details in the Eyes with Photoshop
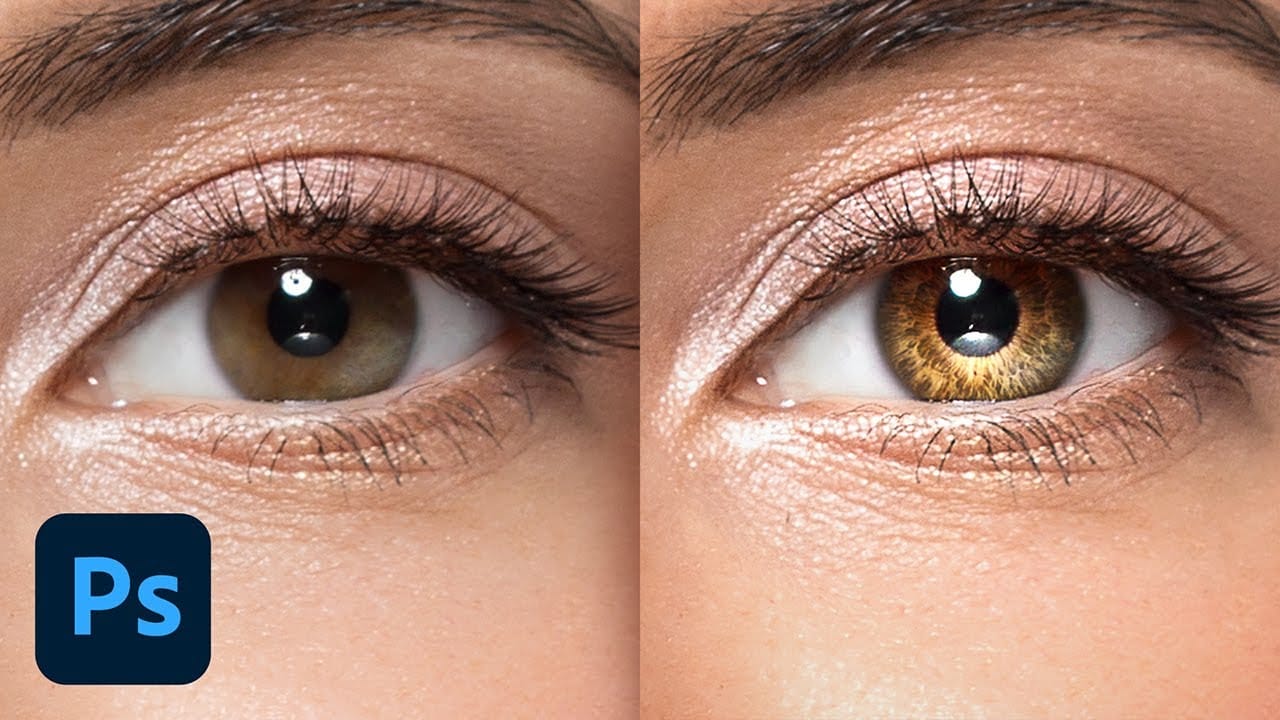
In this tutorial from PiXimperfect, you will learn how to add remarkable details to eyes in Photoshop. The process begins with the use of an iris brush that allows you to create intricate highlights and shadows, enhancing the eyes' natural beauty. As you progress, you'll discover how to incorporate shine with a kicker light, making the eyes stand out and appear more engaging. This step is crucial for adding depth and dimension, pulling viewers' attention directly to the eyes.Finally, the tutori
How to edit eyes in Photoshop
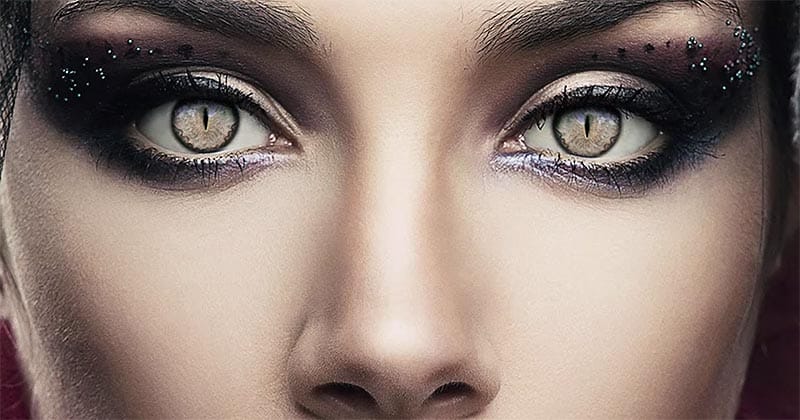
In this Photoshop tutorial by PSD Box, viewers learn how to creatively alter and enhance eye appearance in portraits. The tutorial begins by introducing a photo of a woman and a cat's eye, demonstrating how to replace the woman's eyes with those of the cat using adjustment layers. Key adjustments include Hue/Saturation and Curves layers to modify eye color, contrast, and overall look. Techniques like layer masking ensure smooth integration of the cat's eyes onto the woman's face, while addition
Change Eye Color in Photoshop
In this tutorial by Aaron Nace from Phlearn, discover how to transform eye colors effortlessly using Photoshop. Aaron demonstrates techniques to precisely select and adjust eye colors using adjustment layers and masks. Learn to create realistic eye color changes by refining selections and applying hue adjustments. This tutorial is essential for photographers and digital artists looking to enhance portraits with eye-catching eye color variations, showcasing the versatility and creative possibili
Removing Red Eye and Whitening Teeth
This video tutorial by Bryan O'Neil Hughes, for Adobe Photoshop Playbook series, covers how to fix red eye and whiten teeth in Photoshop. The first part focuses on the red eye correction tool, which is straightforward: simply zoom in on the eye and draw a box around the red area, and Photoshop will automatically correct it. The second part addresses teeth whitening, which is a bit more complex. After zooming in on the teeth, you use the Dodge tool set to mid-tones with low exposure to lighten
Learn how to sharpen images properly in Photoshop
The article provides a step-by-step guide on how to properly sharpen images in Photoshop. It explains a non-destructive method that allows users to beautifully enhance their images with just a few simple steps. The tutorial walks the reader through the process of sharpening an image in Photoshop. It outlines the key techniques and settings to use in order to achieve the desired level of sharpness without damaging the original file. The article emphasizes the importance of using a non-destructiv

Get tutorials & freebies delivered to you.

Subscribe to the Photoshop Roadmap newsletter, a weekly roundup of new tutorials, insights and quality downloads, trusted by 6500+ readers.

You might also like

Painting Digital Art Backgrounds: Techniques and Workflow

A well-crafted background can anchor an entire digital painting, providing atmosphere, depth, and visual context for the subject. This video demonstrates practical approaches to building backgrounds from scratch using digital tools, covering brush selection, color layering, and compositional thinking. Watch the Video Practical Tips Keep these core principles in...

How to Use the Light Adjustment Layer in Photoshop

Photoshop's new Light adjustment layer brings Camera Raw controls — exposure, contrast, highlights, shadows, whites, and blacks — directly into the layers panel as a fully non-destructive, maskable layer. This means you can stack multiple light adjustments, target specific subjects, and combine them with Blend If and other adjustment...

How to Use Object Selection, Remove Background, and the Selection Brush in Photoshop

Selections determine the quality and flexibility of almost every edit you make in Photoshop. Three modern tools — the Object Selection tool, Remove Background with Harmonize, and the Selection Brush — handle the most common selection tasks with far less manual effort, while keeping your original image intact through non-destructive layers....

How to Paint a Digital Background and Composite Wildlife Into It

Building a painted digital background from scratch gives you full control over color, mood, and composition before a single wildlife photo is placed. This walkthrough covers the complete process: blocking in shadows on a black canvas, layering foliage with textured brushes, positioning bird subjects on hand-painted stones, and using...

How to Sharpen Skin Texture Using Frequency Separation in Photoshop

Retouched skin can look great up close but lose all its natural texture the moment you zoom out. Rather than relying on standard sharpening filters, you can recover that texture by duplicating the high-frequency layer inside a frequency separation setup — a method that works whether or not you'...

You’ve successfully subscribed to Photoshop Roadmap
Welcome back! You’ve successfully signed in.
Great! You’ve successfully signed up.
Success! Your email is updated.
Your link has expired
Success! Check your email for magic link to sign-in.