Creating realistic pattern overlays on clothing requires more than simply placing a texture on top. The fabric needs to conform to wrinkles, follow the garment's contours, and blend naturally with existing highlights and shadows.
This technique combines precise selection work, the Liquify filter, and strategic blending modes to transform any pattern into convincing fabric that appears to be part of the original garment.
Watch the Video
Practical Tips
These key techniques will help you achieve realistic pattern application on clothing:
- Size your pattern larger than the clothing area to avoid visible edges and ensure complete coverage
- Use the freeze mask tool in Liquify to protect wrinkle areas while warping surrounding fabric
- Apply multiply blending mode to preserve original shadows and fabric details beneath your pattern
- Create clipping masks with duplicated background layers to add realistic highlights and shadows
- Pull pattern edges in opposite directions around folds to simulate fabric wrapping over contours
Related Articles and Tutorials
Explore more pattern and fabric manipulation techniques with these comprehensive guides.
How to add a logo or pattern to a shirt in Photoshop
In his Photoshop tutorial, author Colin Smith guides viewers through the process of adding a logo, graphic, pattern, or texture onto clothing. This technique allows for quick and easy customization of apparel, enabling users to swap out designs in a matter of seconds.
Smith's step-by-step instructions demonstrate how to seamlessly incorporate the desired visual element onto a shirt or other garment. By leveraging the power of Photoshop's layers and blending modes, users can achieve a profession
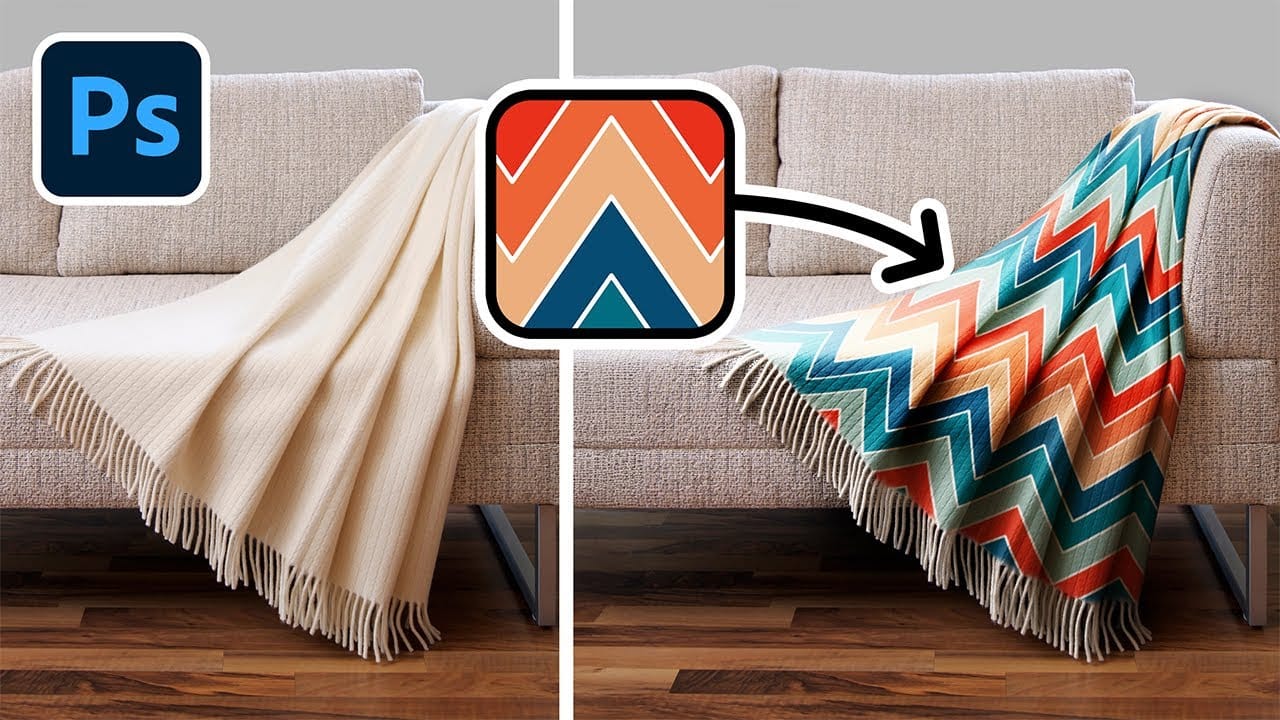
Add Patterns to Any Fabric in Photoshop
Digital artists and designers often face the challenge of integrating patterns onto fabric textures in a way that looks natural and convincing. Simply overlaying a pattern rarely achieves the desired realism, as fabric surfaces are rarely flat and uniform. Understanding how to make patterns conform to the unique contours of textiles is essential for creating believable composites and product mockups.
This video tutorial provides a comprehensive guide to applying patterns to various fabric types
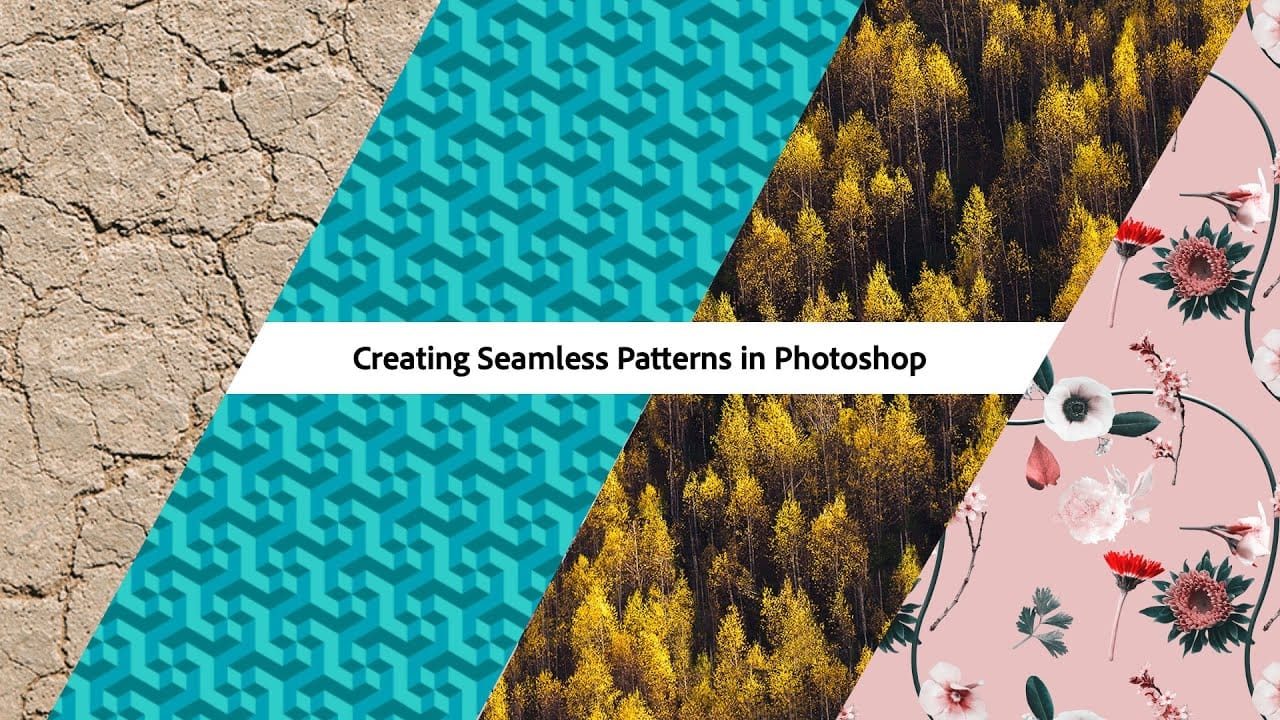
Creating Seamless Patterns in Photoshop
In this tutorial, Adobe Evangelist Paul Trani delves into the process of creating seamless patterns in Photoshop. Seamless patterns are essential for various design projects, from backgrounds to textiles, and mastering them can significantly enhance your design capabilities.
Paul takes you through the entire process, from setting up your initial design to ensuring that the pattern tiles seamlessly across any surface. He covers essential techniques such as defining pattern edges, adjusting spaci
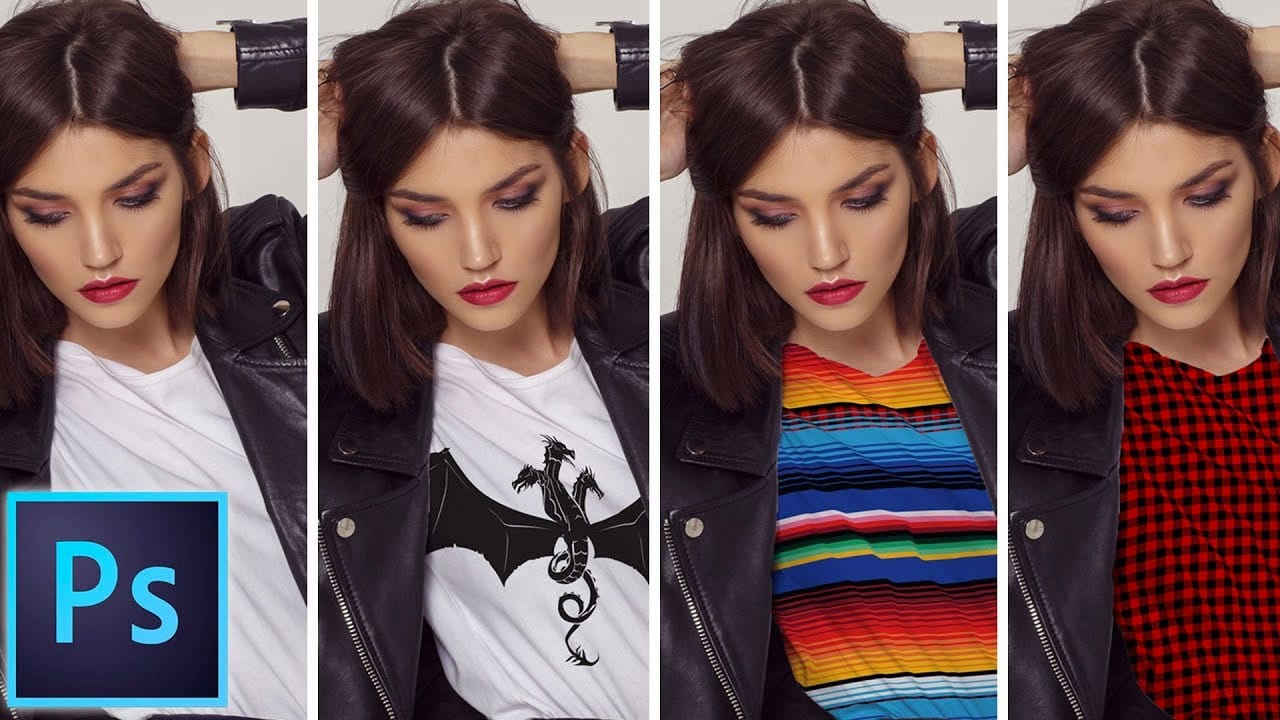
How to change the color of clothing in Photoshop
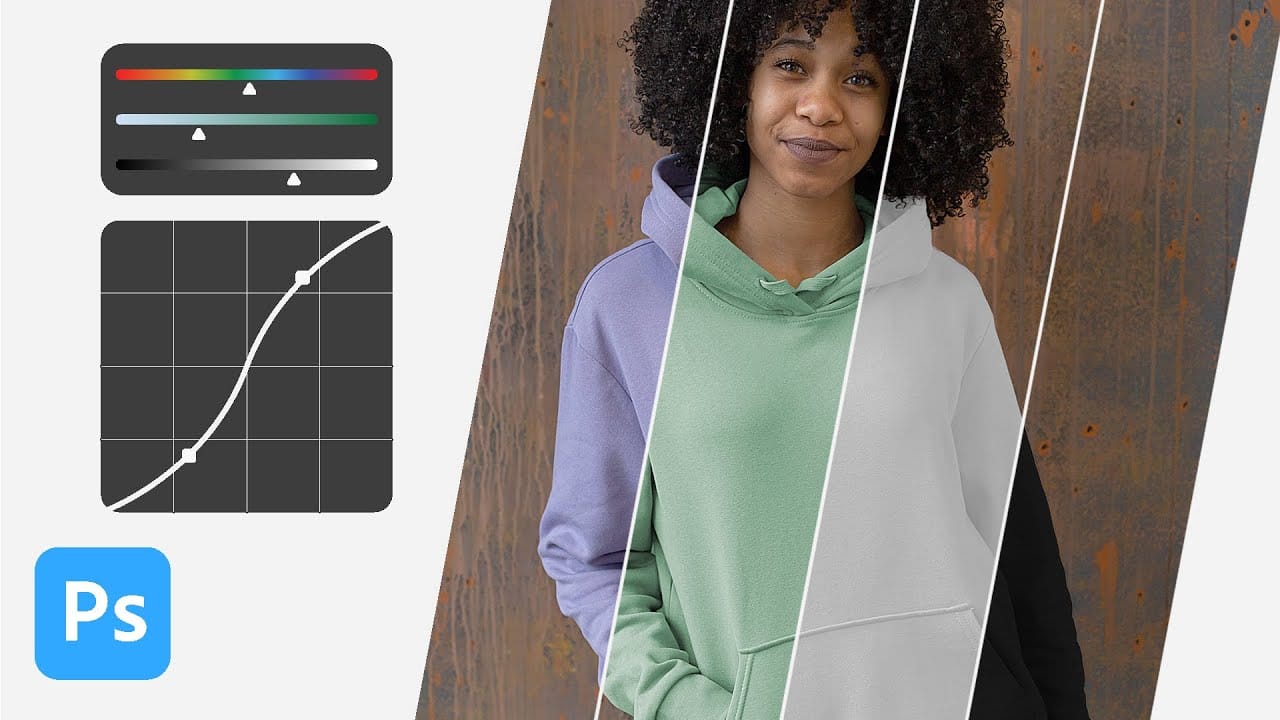
In this tutorial, Aaron Nace from Phlearn shows you how to change the color of clothing in Photoshop, even transforming it to black or white. This comprehensive guide covers essential tools and techniques to ensure perfect detail and realistic highlights and shadows.
Aaron demonstrates how to use Layer Masks, Curves Adjustment Layers, and Hue/Saturation Adjustment Layers to create precise selections that isolate the clothing from the rest of the image, adjust brightness and contrast, and manipu
How To Create Detailed Graphic Patterns in Photoshop
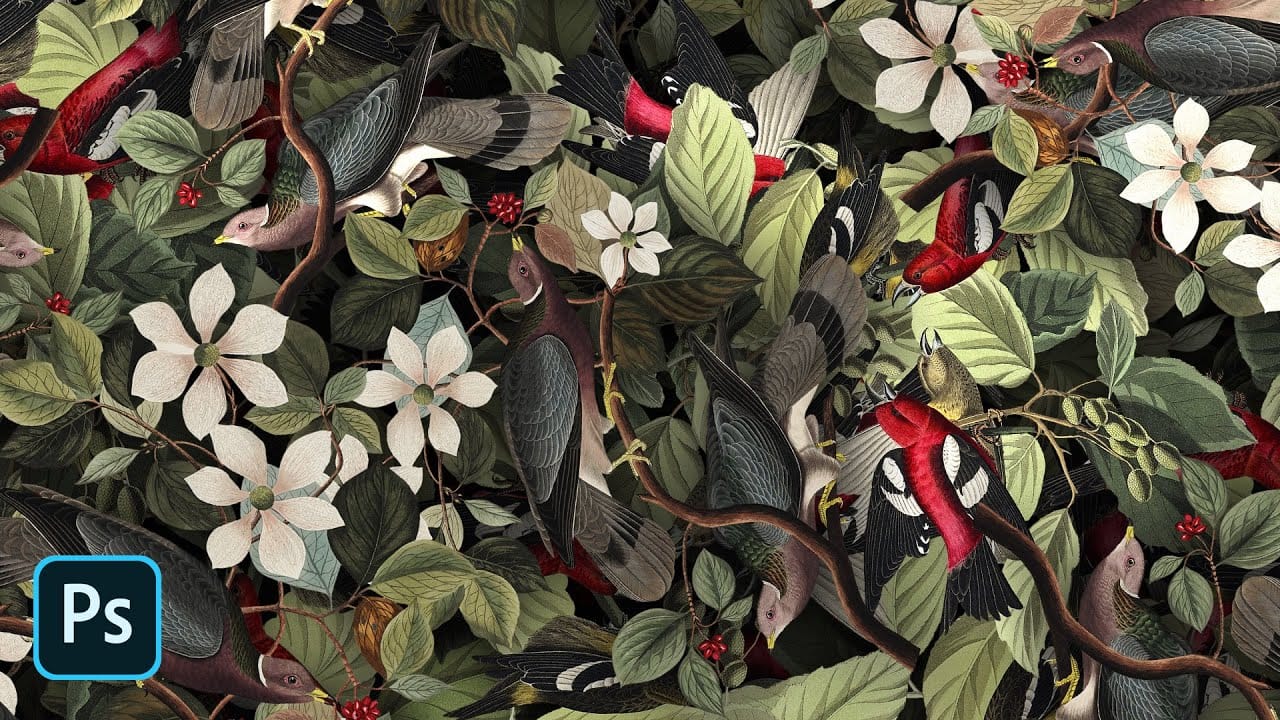
Transforming a single image into a sprawling, intricate design can elevate any creative project, from custom fabrics to unique digital backgrounds. This technique allows designers to fill vast areas with graphics, producing complex visual textures without noticeable repetition. It offers an innovative way to generate dynamic backgrounds and decorative elements that truly stand out.
This tutorial reveals an effective method for developing detailed abstract patterns using any source image, like a
3 Powerful Techniques to Create Seamless Patterns in Photoshop
Seamless patterns are a fundamental element in graphic design, essential for creating engaging backgrounds, unique textures, and cohesive visual branding. Crafting patterns that repeat flawlessly, without visible edges or disruptions, can transform your design projects from good to exceptional. This capability proves invaluable for everything from digital art to professional composites, ensuring visual continuity and aesthetic appeal.
This tutorial offers a comprehensive guide to producing seam
How to create seamless patterns in Photoshop with graphics or images
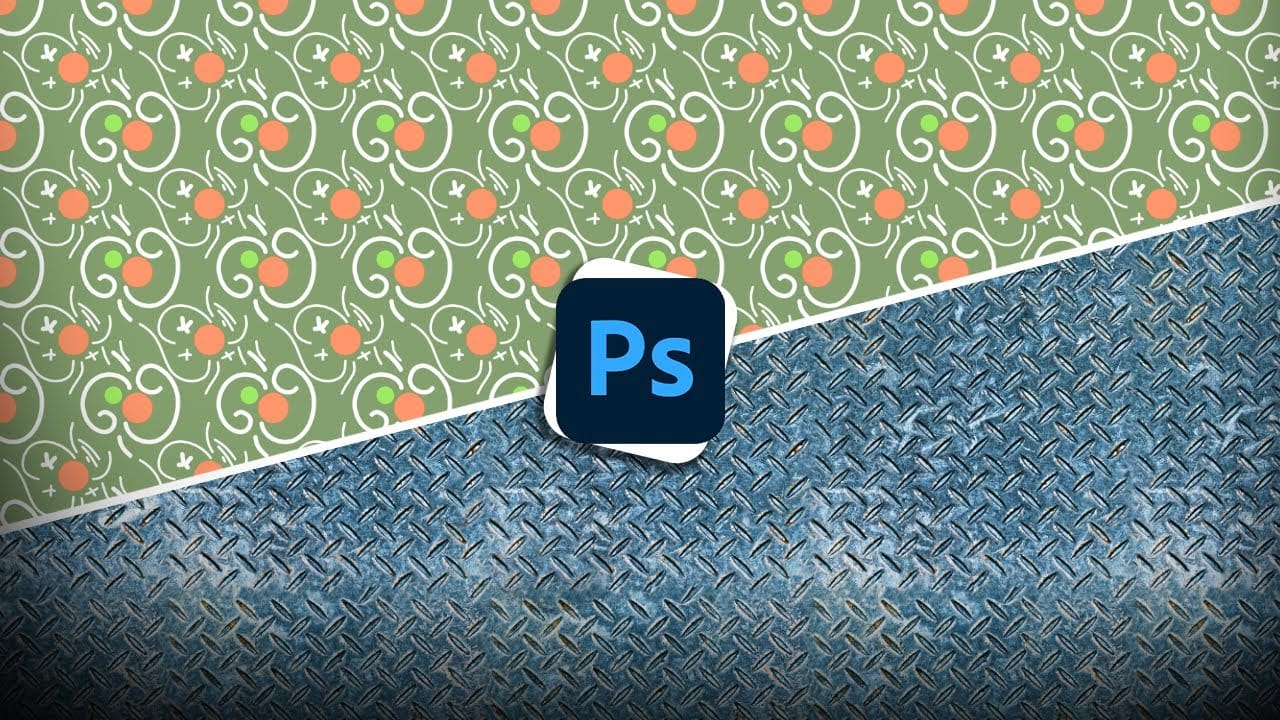
Seamless patterns are a fundamental element in graphic design, offering endless possibilities for backgrounds, textures, and various creative projects. Mastering their creation allows designers to elevate their work, ensuring visual continuity and professional polish across any application.
This tutorial provides a clear guide on how to produce these versatile patterns in Photoshop, whether you are working with custom graphics or existing images. You will learn the essential techniques to achie
How to Create Seamless Patterns in Photoshop Using the Offset Filter
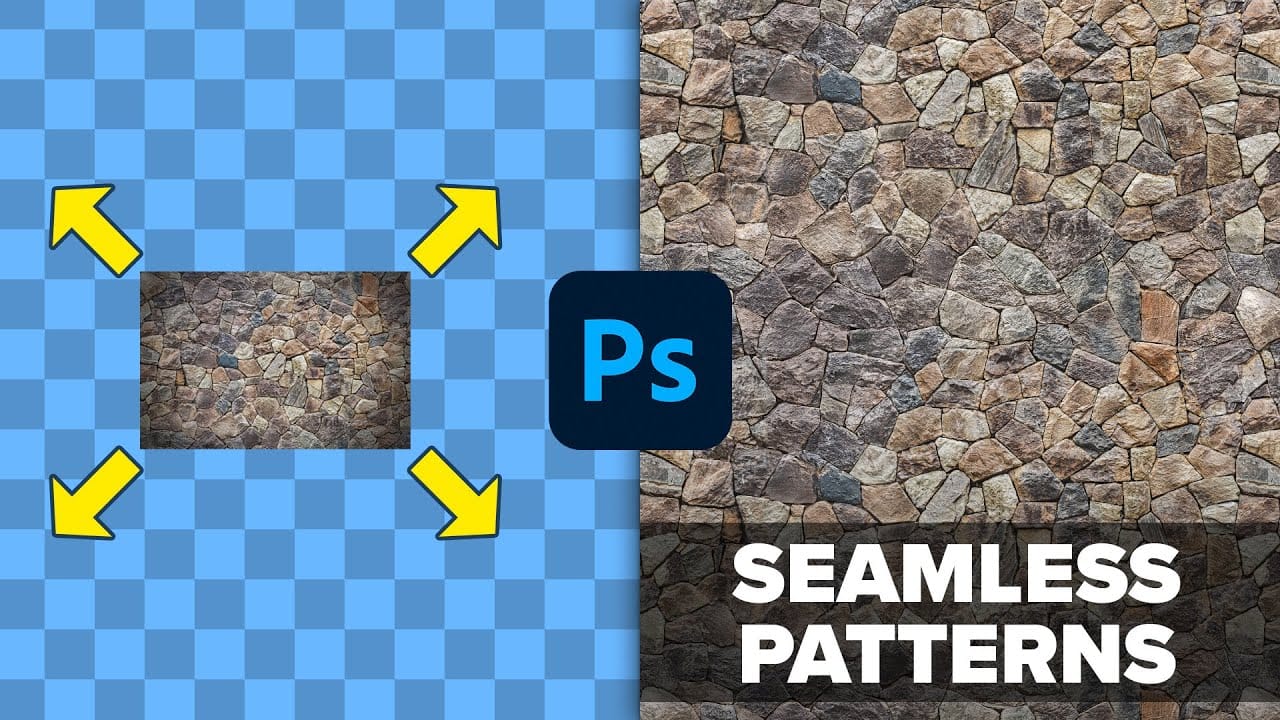
Transforming ordinary images into professional repeating patterns opens up endless creative possibilities. From custom backgrounds to textile designs, seamless patterns eliminate obvious cutting lines and repetitive elements that reveal themselves when an image tiles across a surface.
This technique works with any type of image - from photographs to collages to digital artwork - and creates patterns that can be scaled, rotated, and positioned without showing visible seams or obvious repetition.

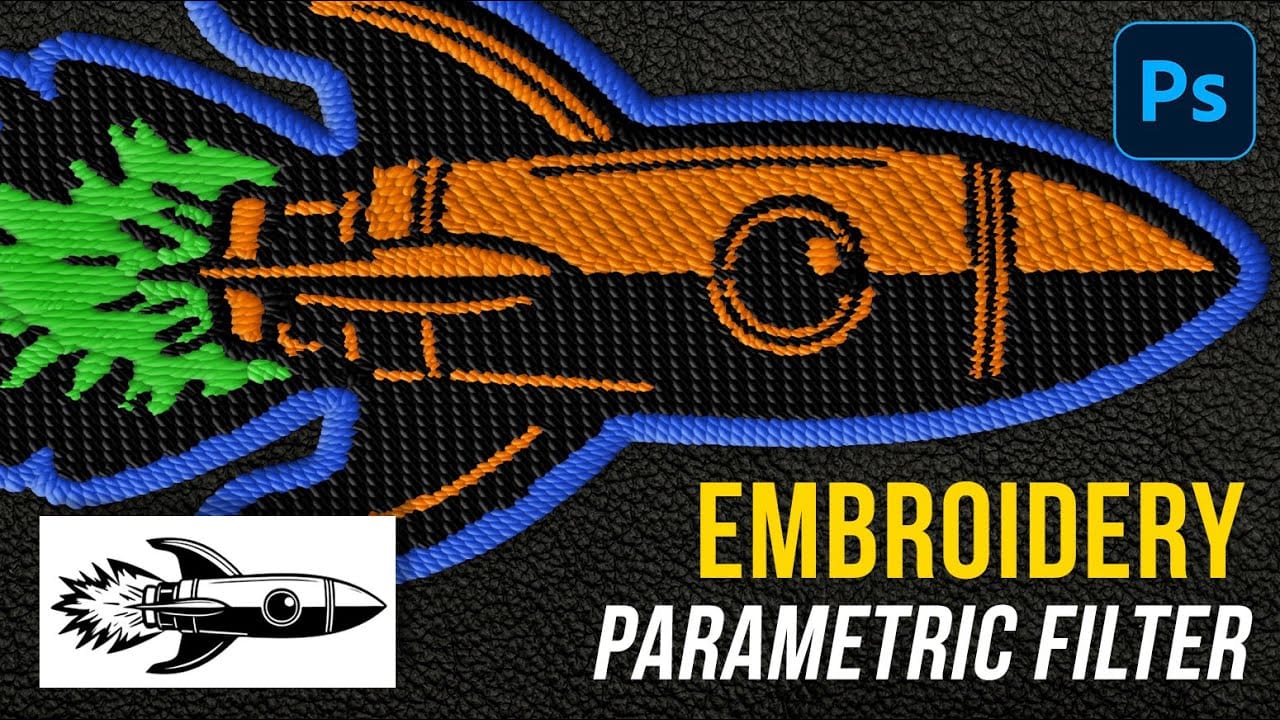
How to Create Realistic Embroidery Effects Using Photoshop's Parametric Embroidery Filter
Adobe's introduction of parametric filters in Photoshop beta has opened up new possibilities for creating realistic textile effects without complex manual techniques. The embroidery filter stands out as particularly powerful for transforming logos, graphics, and text into convincing stitched designs with remarkable detail and customization options.
This tutorial demonstrates how to use the new parametric embroidery filter to create authentic-looking knitted embroidery effects. You'll learn the