Glowing text transforms ordinary typography into luminous, eye-catching design elements that command attention. The ethereal quality of well-executed glow effects can elevate logos, headers, and graphics with professional polish.
This tutorial demonstrates how to build convincing glow effects using multiple Gaussian blur layers, smart objects, and gradient mapping techniques in Photoshop.
Watch the Tutorial
Practical Tips for Professional Glow Effects
Follow these key techniques to create convincing glowing text effects:
- Work at 16-bit depth to ensure smooth color blending and avoid artifacts in your glow transitions
- Create multiple blur layers with increasing values: start at 0.5 pixels and scale up through 3, 10, 25, 75, 250, and 500 pixels for realistic light falloff
- Convert text layers to smart objects before applying filters to maintain editability and non-destructive workflow
- Use gradient maps with clipping masks to introduce color variations while maintaining luminosity control
- Add subtle texture elements like lens artifacts or atmospheric effects to create photographic realism
Related Articles and Tutorials about Glowing Text Effects
Explore more techniques for creating luminous typography and neon-style text effects.
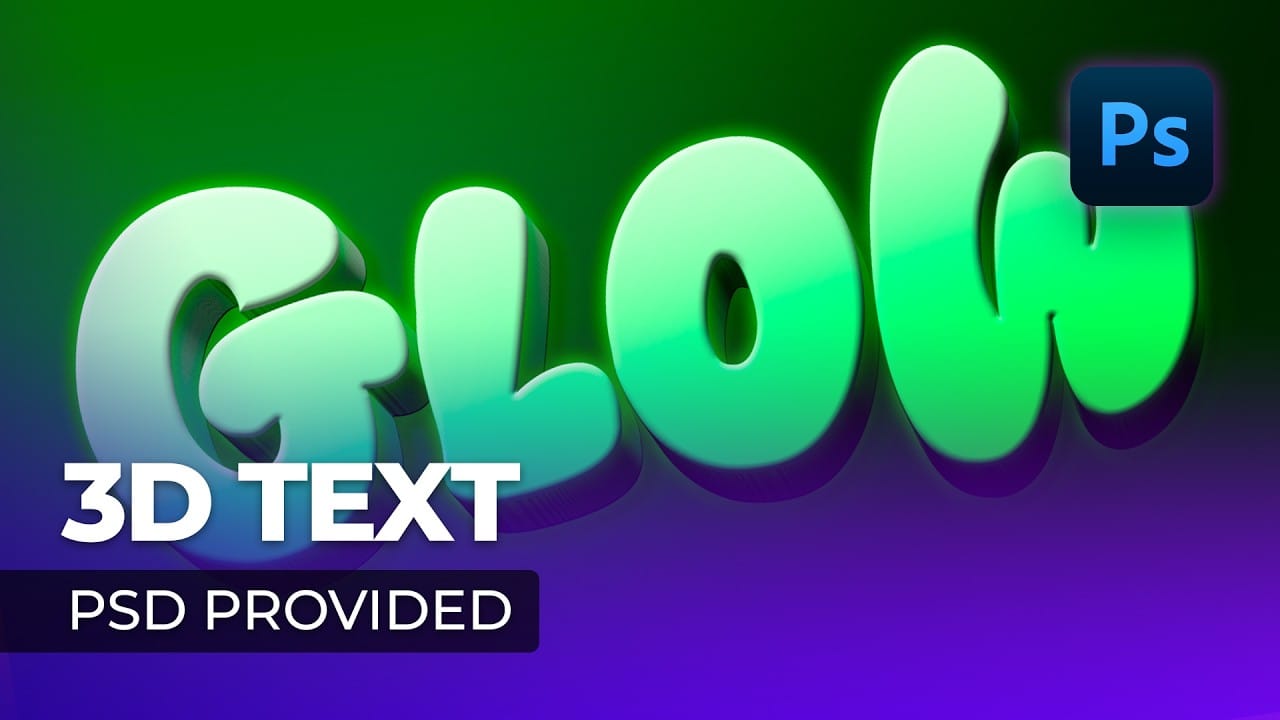
Creating a 3D Glowing Text Effect in Photoshop
Adding depth and luminosity to text can transform a simple design into something visually striking. The combination of 3D extrusion and glow effects creates text that appears to leap off the page, making it perfect for logos, headers, and eye-catching graphics.
This tutorial demonstrates how to build a complete 3D text effect with glowing elements using Smart Objects and layer effects. The technique covers everything from creating dimensional text to applying multiple glow layers for enhanced v
Futuristic Neon Text Effect in Photoshop
Discover how to combine futuristic aesthetics with raw, distressed character in Photoshop.
This tutorial guides you through crafting a unique grungy text effect, blending modern styles with industrial textures for striking typography designs.
Watch the Video Tutorial
Practical Tips for Futuristic Grunge Text Effects
To achieve this distinctive text effect, follow these key steps in Photoshop:
* Start with a grungy background texture, duplicating and importing it into your document.
* Se

Create a Neon Text Effect in Photoshop with Blur and Layer Styles
Neon signs bring instant energy to any design with their electric glow and vibrant colors. The luminous quality that makes real neon so captivating can transform ordinary text into something that feels alive and pulsing with light.
This video demonstrates how to recreate that distinctive neon look using Photoshop's blur filters and layer effects. The technique builds multiple glowing layers to achieve an authentic electric sign appearance.
Watch the Tutorial
Building Authentic Neon Glow Eff

New Year Fireworks Text Effect
Are you looking to add a touch of excitement and celebration to your text designs? Then you've come to the right place. In this tutorial, we will be teaching you how to create a dynamic and visually stunning fireworks text effect in Adobe Photoshop.
One of the key elements of this effect is the use of custom brushes. We will be showing you how to create your own unique brushes and how to utilize the Brush panel to tailor the brush to your desired look and feel. You will then learn how to apply